Rules
Learn how to set and manage rules for your users
- Before you start, log in as a user with Jira Administrators global permissions. For more information, see Atlassian documentation.
- Since the app is able to update fields and is accessed by all the users, it requires granting certain permissions:
- View Jira issue data
- Create and manage issues
- View user profile
Rules allow for automating various user pickers while keeping an uninterrupted workflow. You can set the order in which users appear in the user picker and create additional conditions and restrictions. All the rules are created and accessible on a single screen.
Creating a rule
Steps
- On the main screen, open the panel by clicking New rule.

- Insert the details of your rule.

- Type in the name of the rule.
- Select your preferred user picker.
- Choose if the rule should replace already existing users in the user picker.
- Select the project that the rule will apply to.
- Select the statuses that will trigger the queue.
Note
The rule is triggered either when a status changes to the triggering status or the issue is created with the triggering status as the first one in the workflow.
- Type in the JQL condition. (Optional)
- Set the order of the queue by selecting the users.
- Click Save.
Result
A new rule is added.

Managing rules
When the rule is created, you can manage it using the actions menu on the right side of each rule.

Scheduling
You can specify precisely when the rule is supposed to be enabled, including setting single or yearly global holidays. In order to do so, select the calendar icon from the actions menu.

Steps

- Turn on the toggle to enable the schedule.
Note
If you disable the schedule toggle, the rule will be active at all times.
- Set the timezone to match your region.
- Check the box next to the day you want to enable the rule on.
- Set the timeframe in which the rule is active. You can add multiple timeframes on a single day. To do so, click on the plus icon next to the checked day.
- [Optional] Add a global holiday on which the rule is disabled through the entire day.
- Set the name of the holiday
- Set the date
- Choose repetition
- Click Save.
Result
Schedule is added and status indicates if the rule is currently working.

Editing
You can edit the details of the rule anytime, regardless if the rule is working at the moment. Select the gear icon from the actions menu to open the editing panel.

Once you finished editing, click Save.
Deleting
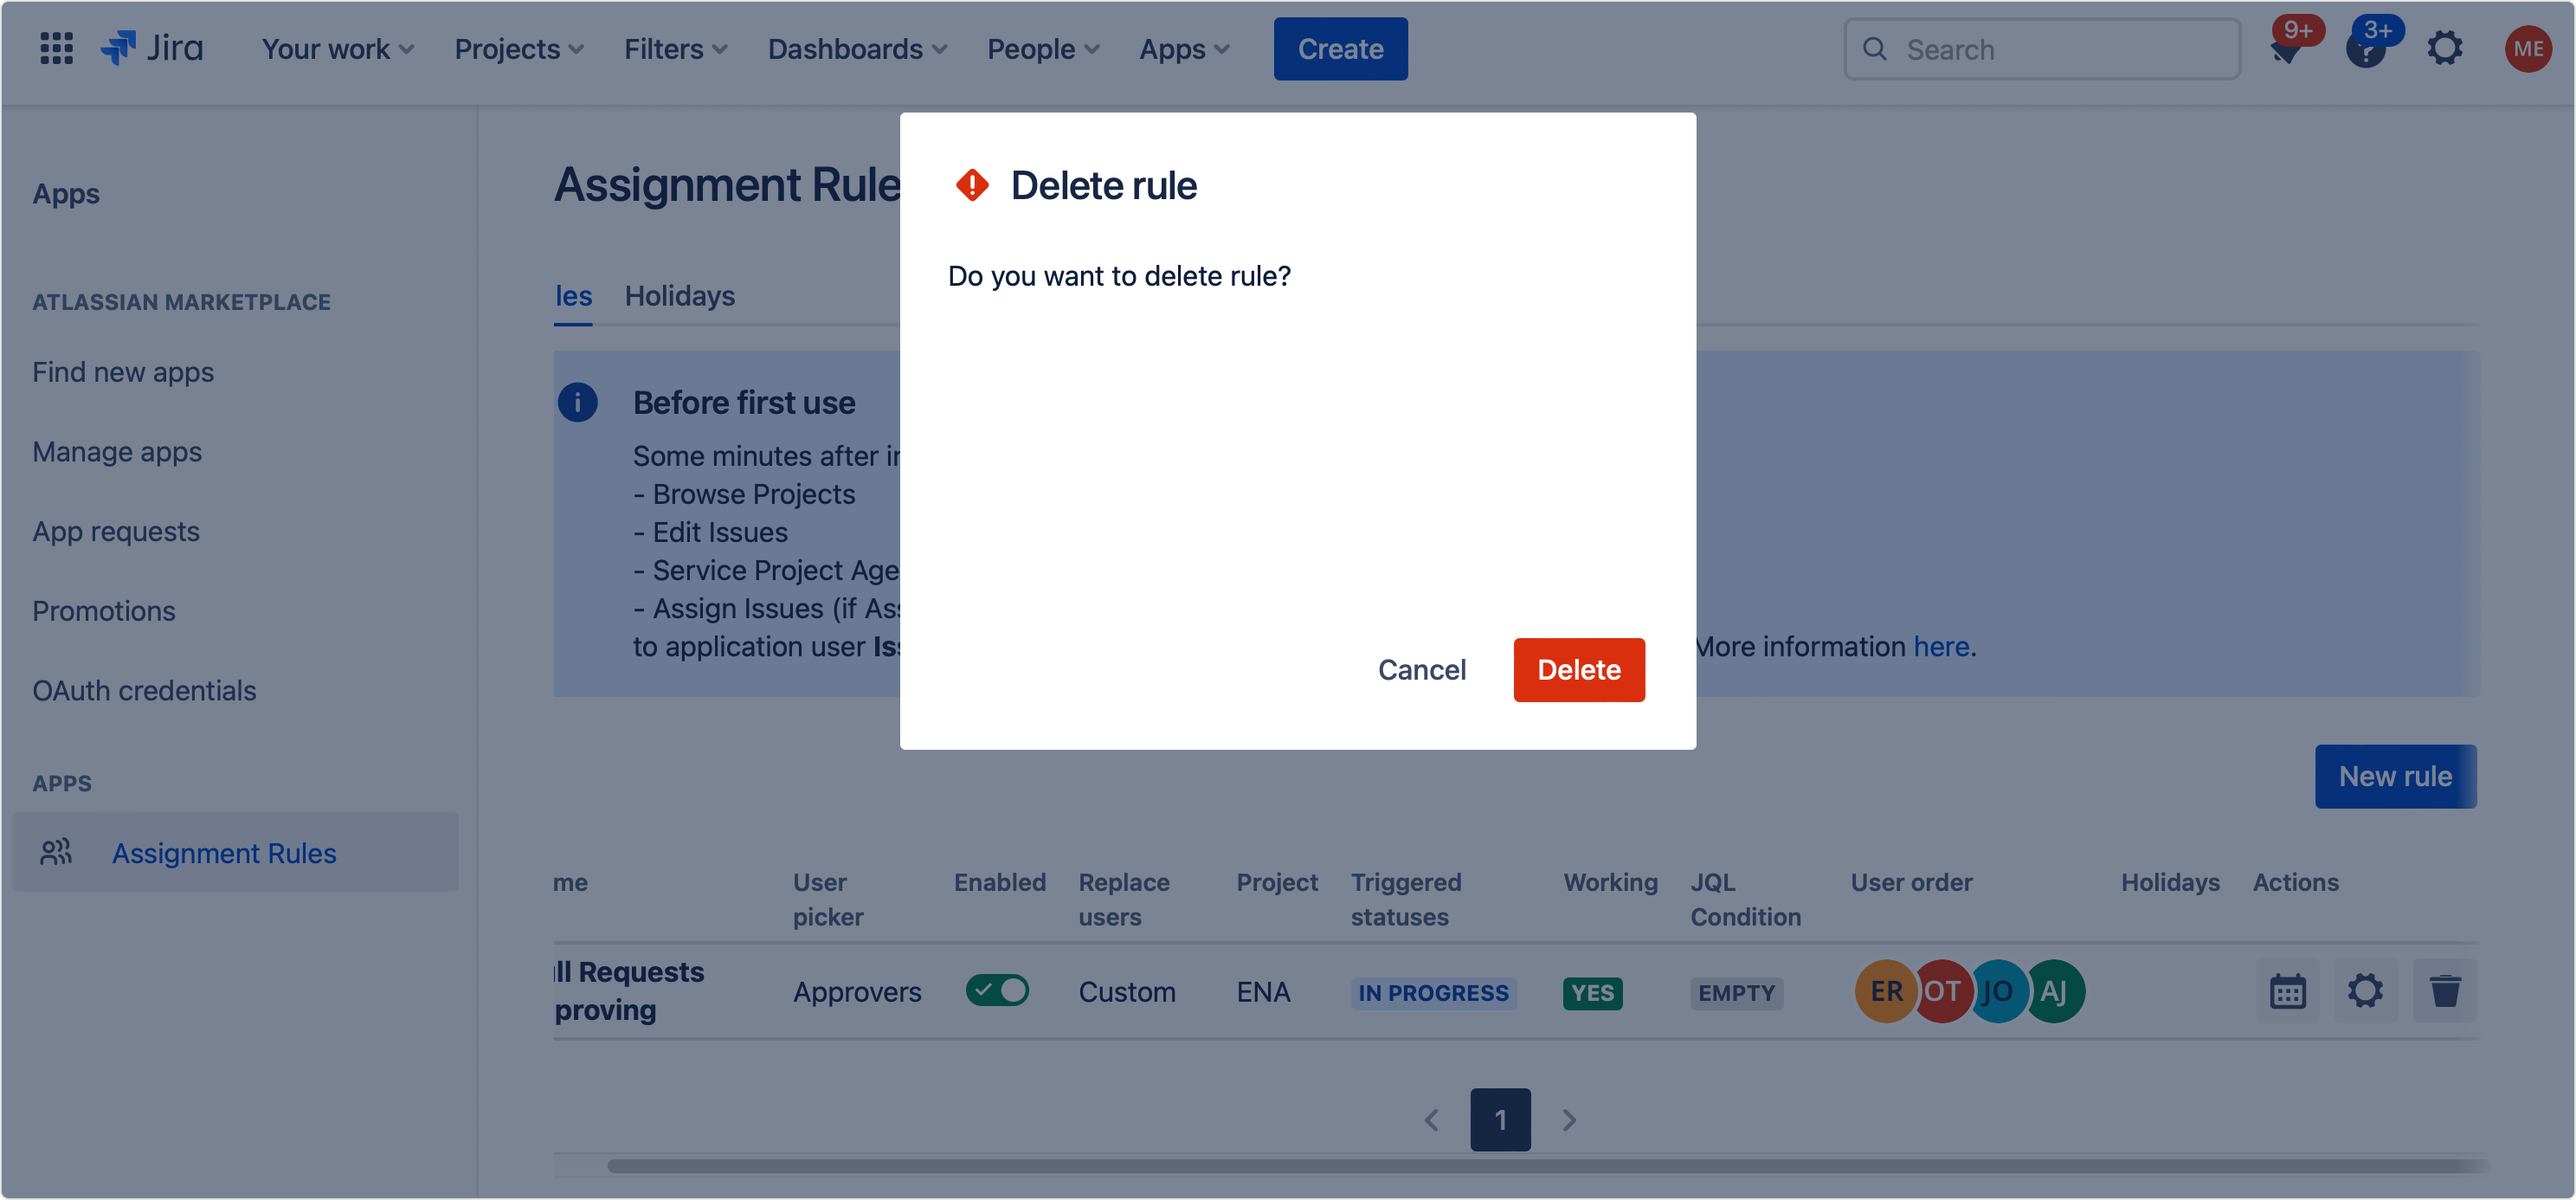
In order to delete a rule, select the bin icon from the actions menu.

Deleting a rule is irreversible. We strongly recommend disabling the rule instead.
In order to temporarily disable the rule by turning off the toggle on the app’s main page. This toggle is turned on by default. The rule is suspended, and you can resume it anytime, picking up from the same spot.

Holidays
Each user included in the rule can define a holiday, where they are skipped in the queue and can’t be added to the new rules. The configuration below works only for the Jira global admin. If you want to configure the holidays as a user, see user guide.
Steps
- Click on the Holidays tab.

- Click Add holiday.

- Specify which user is going on holidays.
- Set the timezone to match your region.
- Set the start and the end date of the holidays.
- [Optional] Turn off the toggle and choose which rule the user should be skipped in. By default, the holiday applies to all rules.
- Click Save.

If you can’t find the answer you need in our documentation, raise a support request.