- Get started
- About
- First steps
- Glossary
- Migration
- Configuration
- Global configuration
- Repository
- Template configuration
- Template scope
- Manage templates
- Supported fields
- Permissions
- Using templates
- Create issue from template
- Create issue structures
- Apply template to existing issue
- Recreate issue
- Use template custom field on issue create screen
- Default templates
- Direct link
- JQL searchers
- Variables
- Static variables
- Dynamic variables
- Smart defaults
- Basics
- Smart issues
- Smart users
- Smart dates
- Smart project
- How to use smart defaults
- App Integrations
- Team-managed projects
- Jira Software
- Jira Service Management
- Advanced Roadmaps
- Issue Checklist for Jira
- Advanced
- Automation
- Legacy automation action
- REST API
- Create issue and apply template with Jira REST API
- Security
- Security statement
- App permissions
Apply template
This chapter provides information on how to add a template to the existing issue by using Apply template button.
Use Apply template
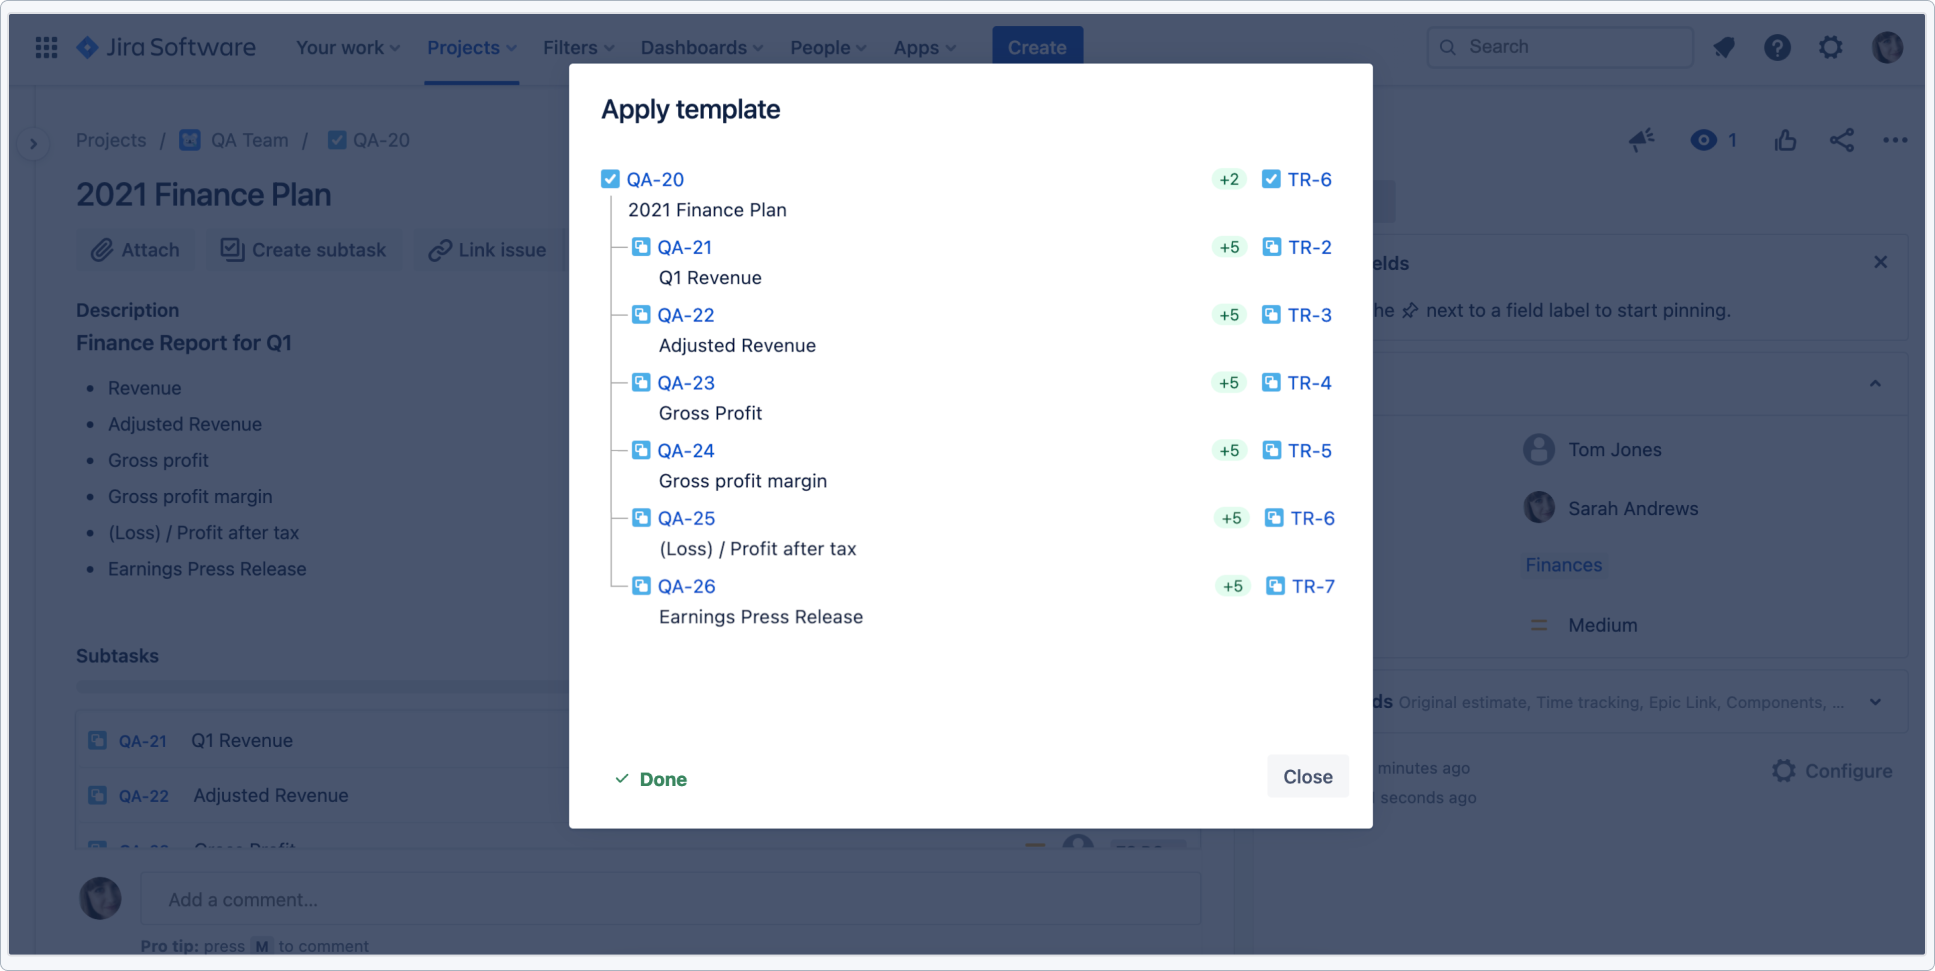
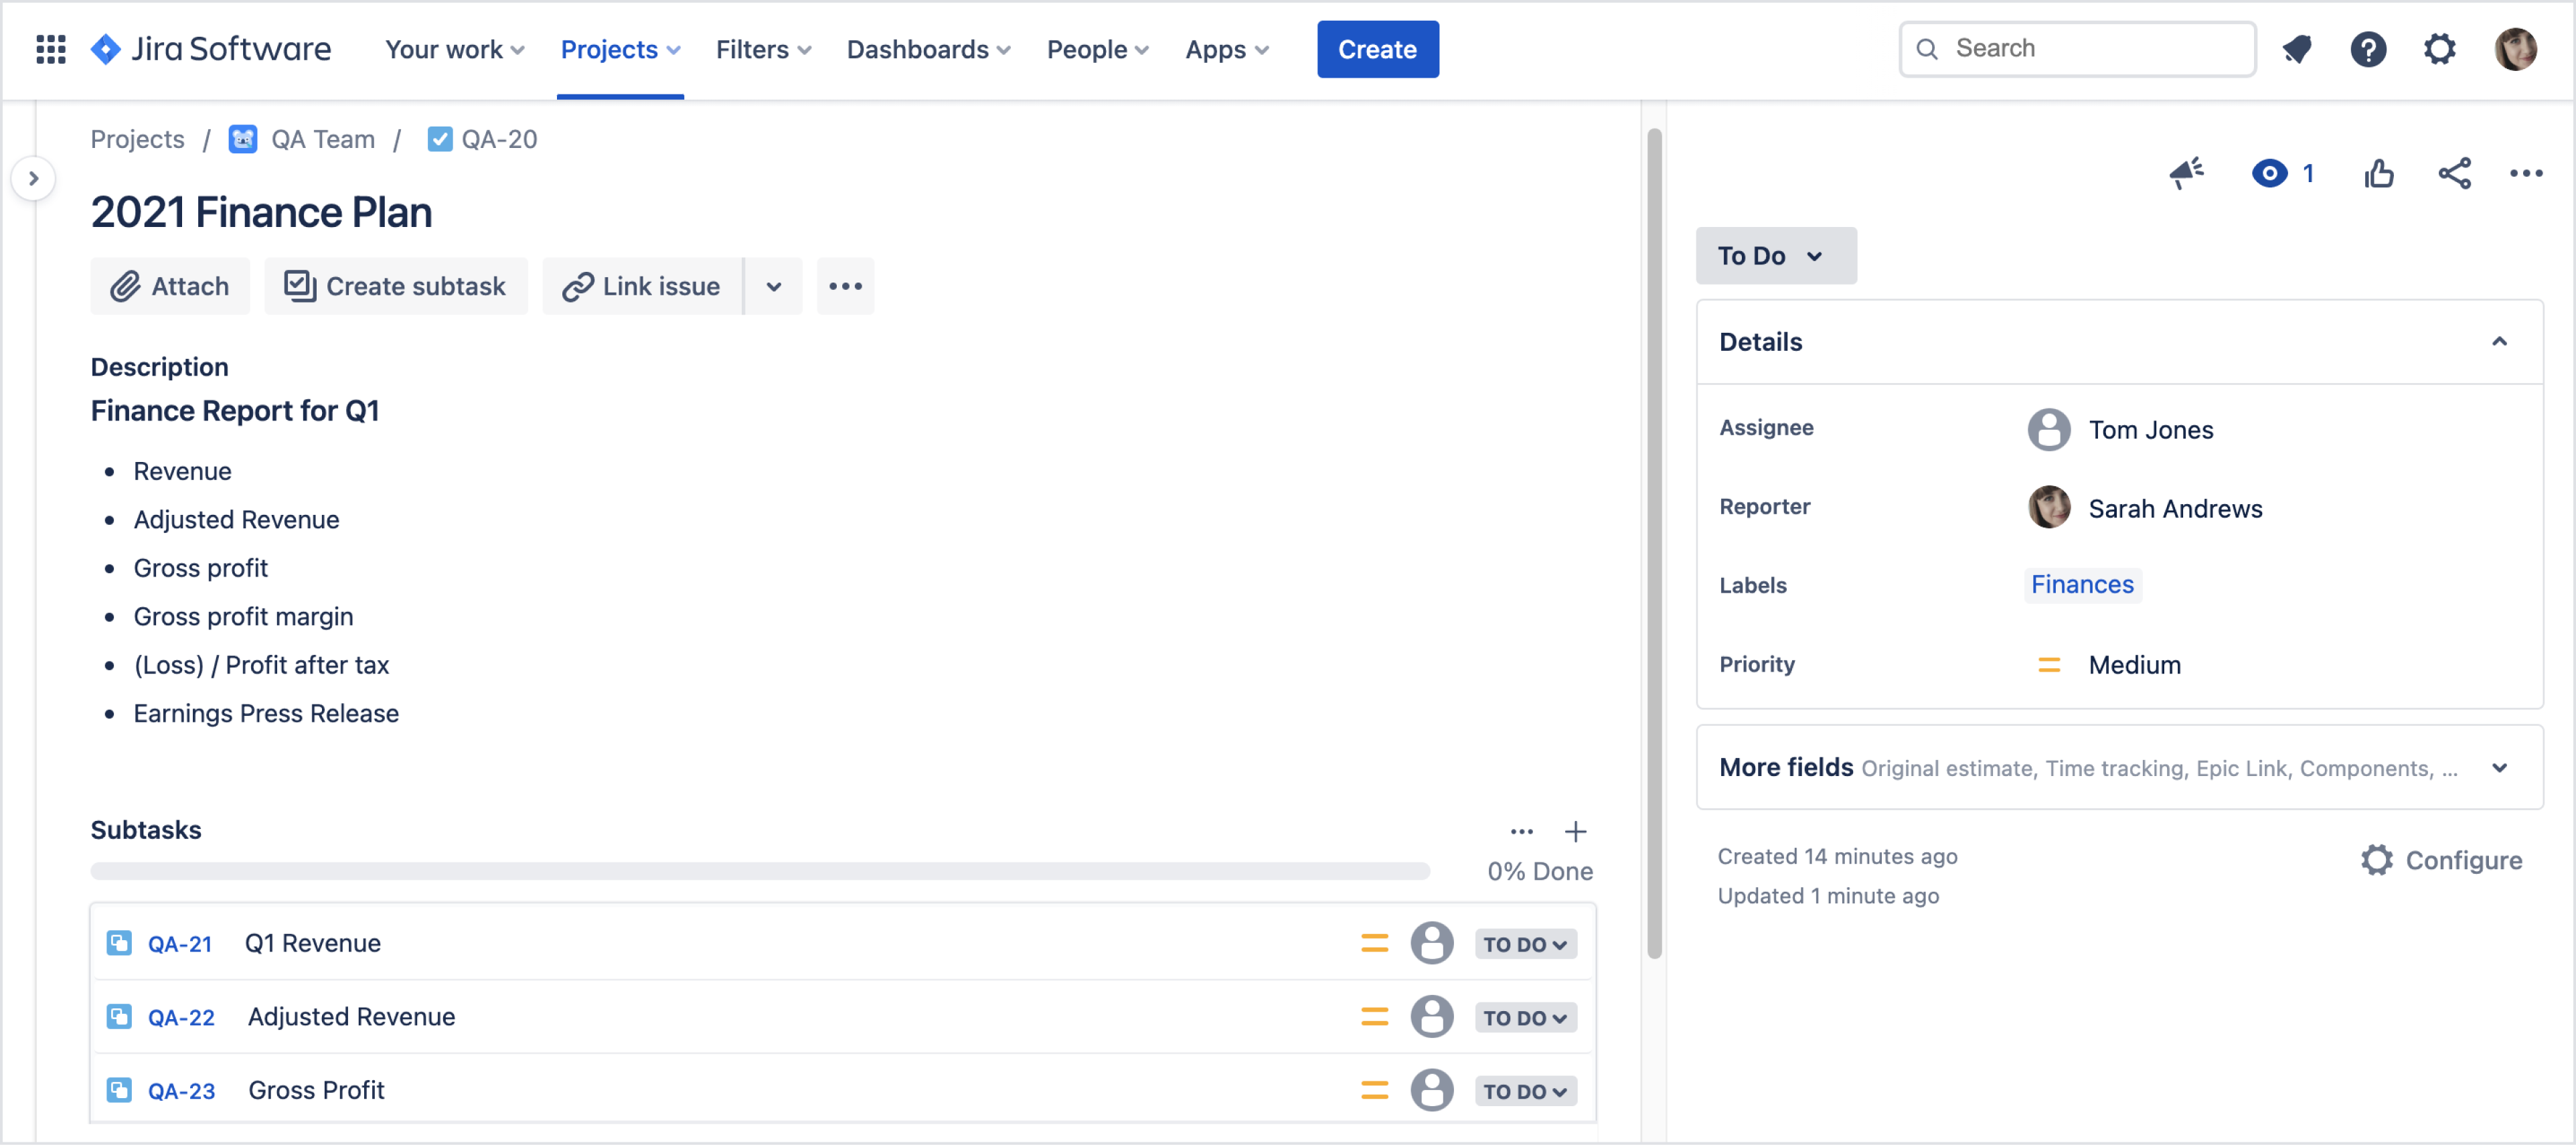
Apply template feature allows you to apply a template to an existing issue. You will find the link to the dialog on issue view, in the Actions menu. Apply template supports Dynamic Variables.
Steps
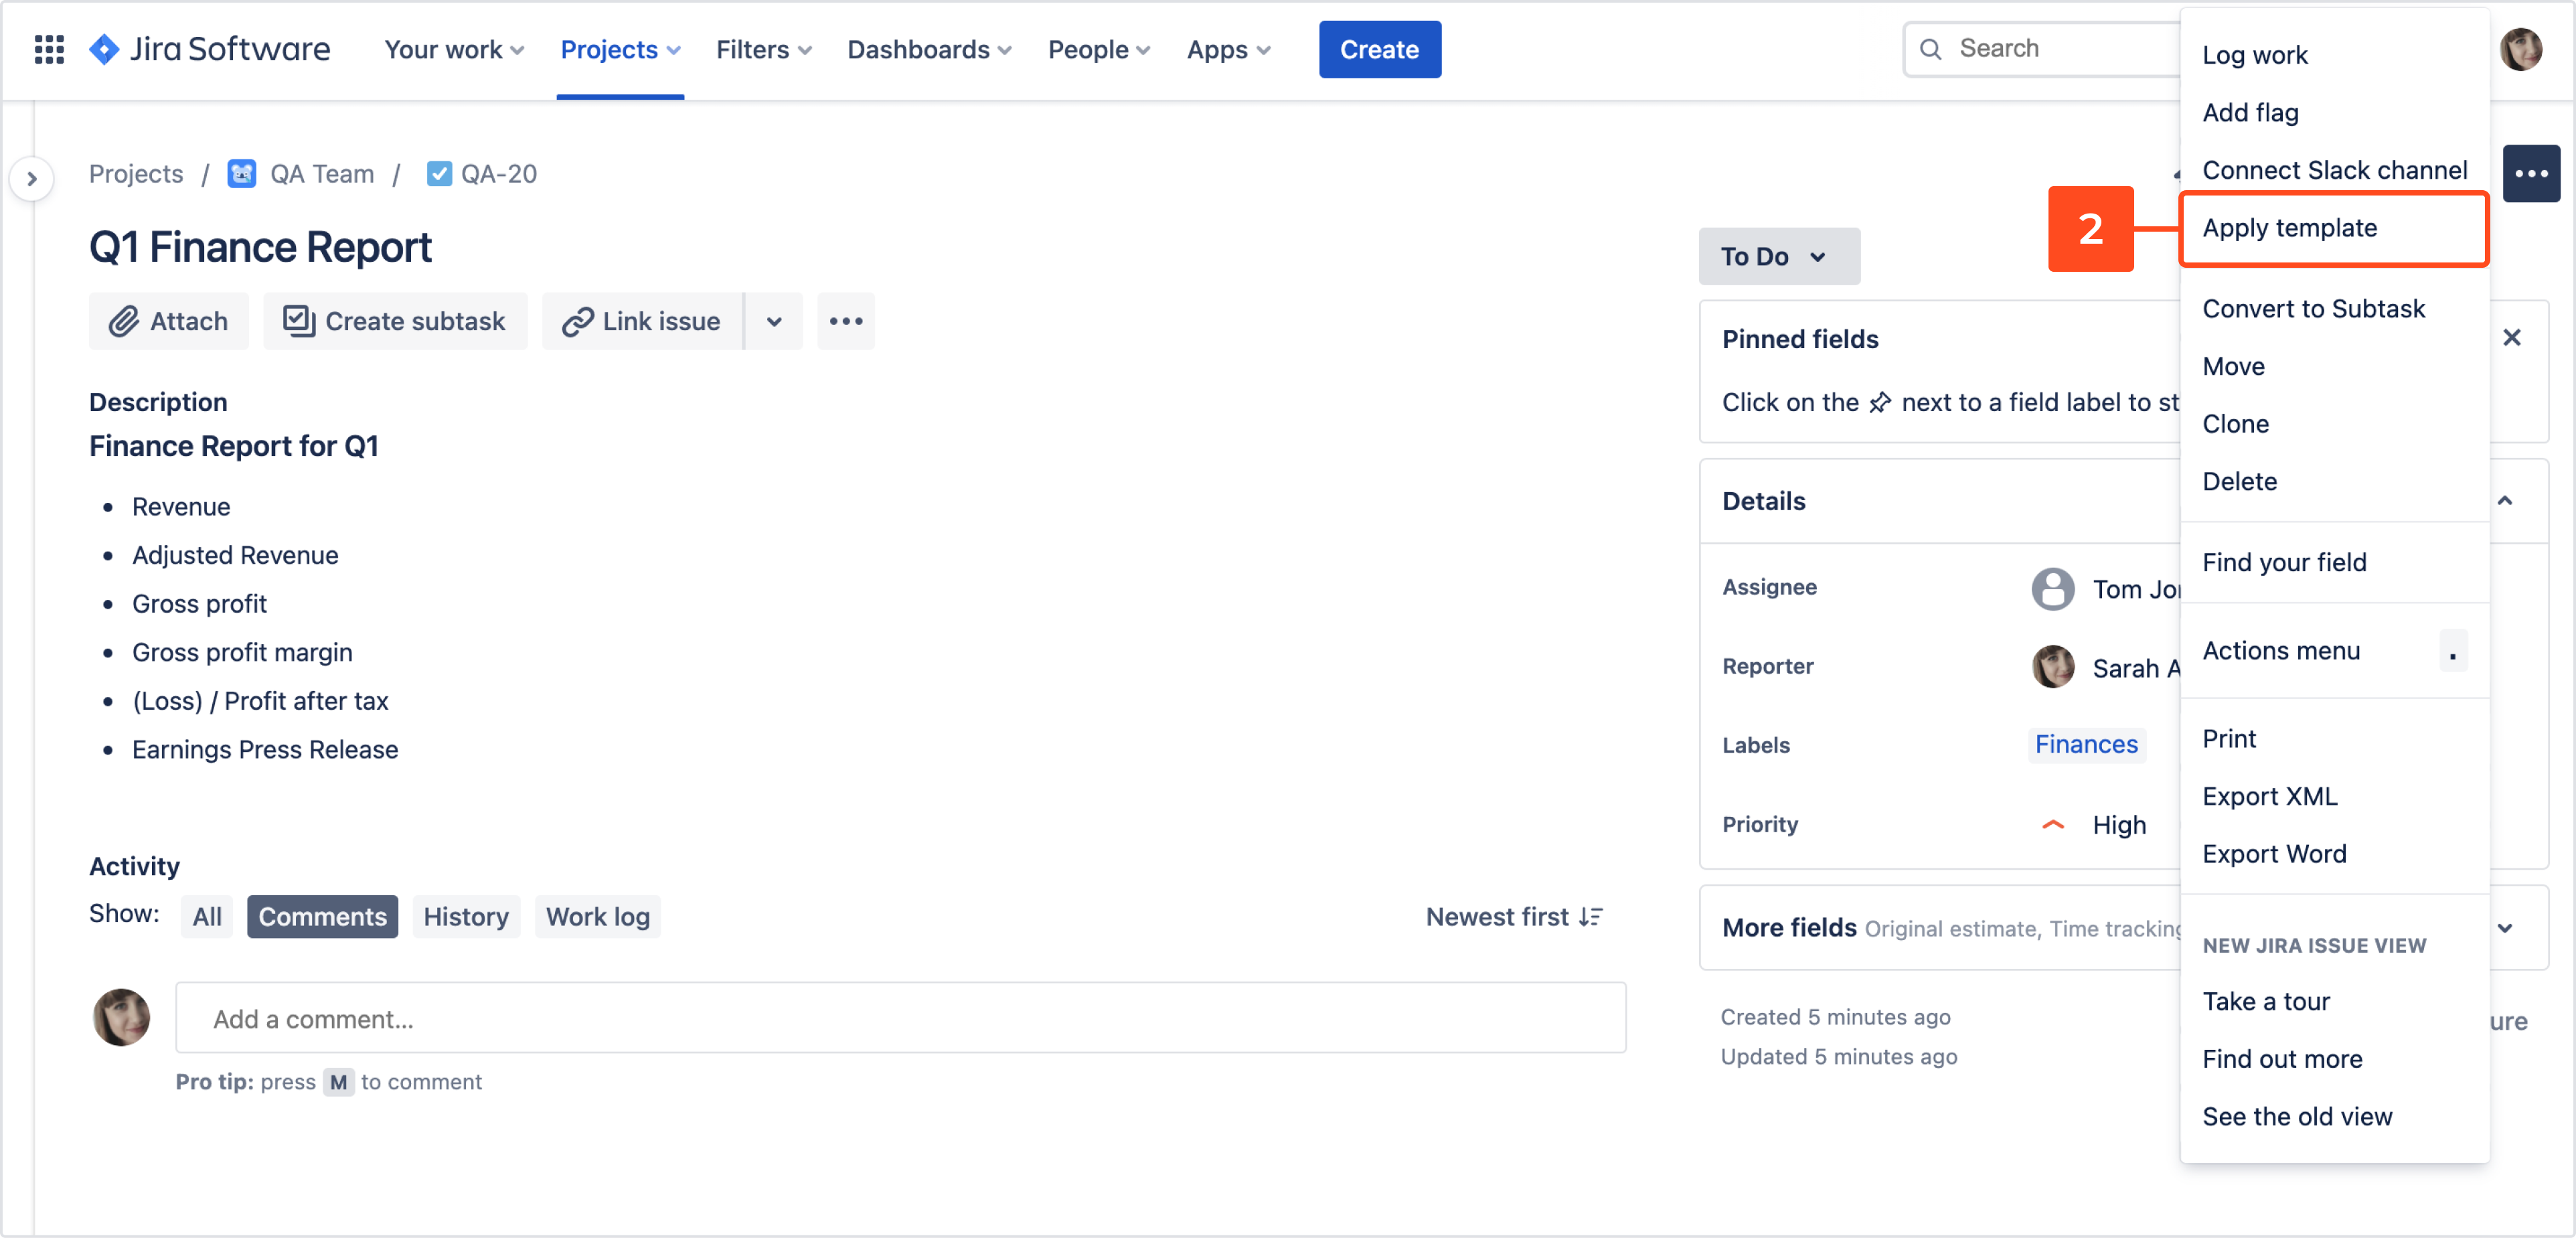
- Navigate to the target issue and click More.
- Select Apply template from the list. Apply template dialog appears.
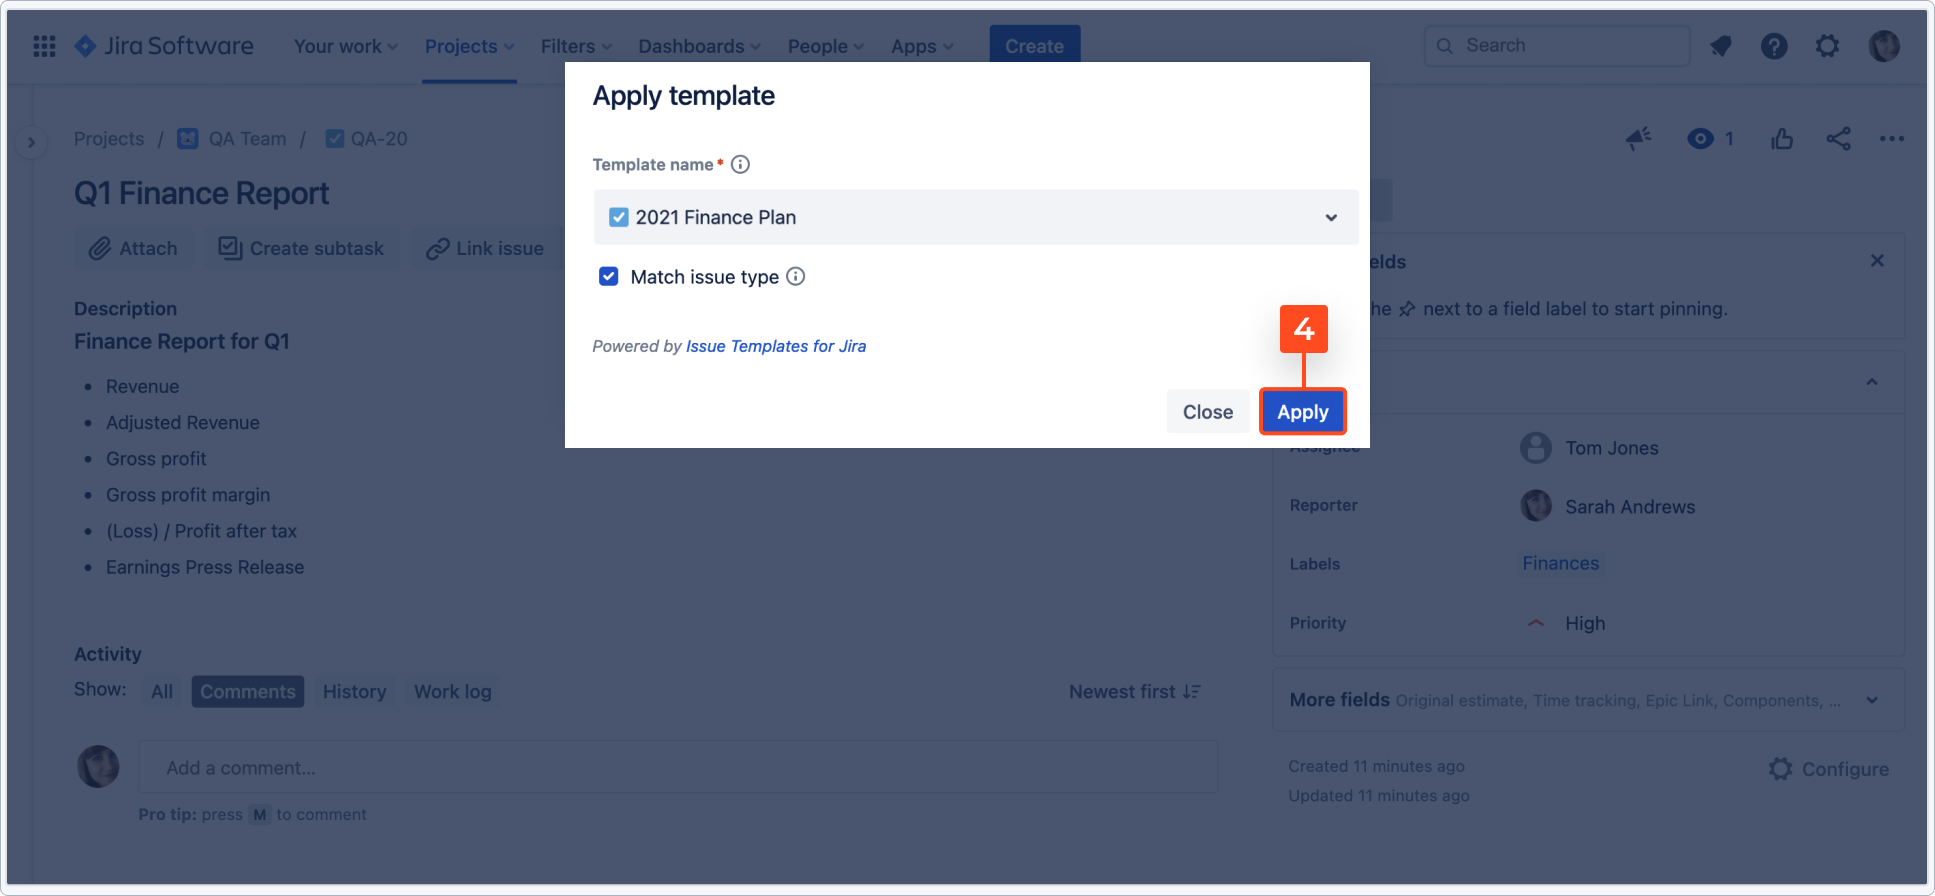
- Select a template.
TipIf you choose the Match type option, templates with the same issue type name as target issue will be available on select list.
- Click Apply.
Result
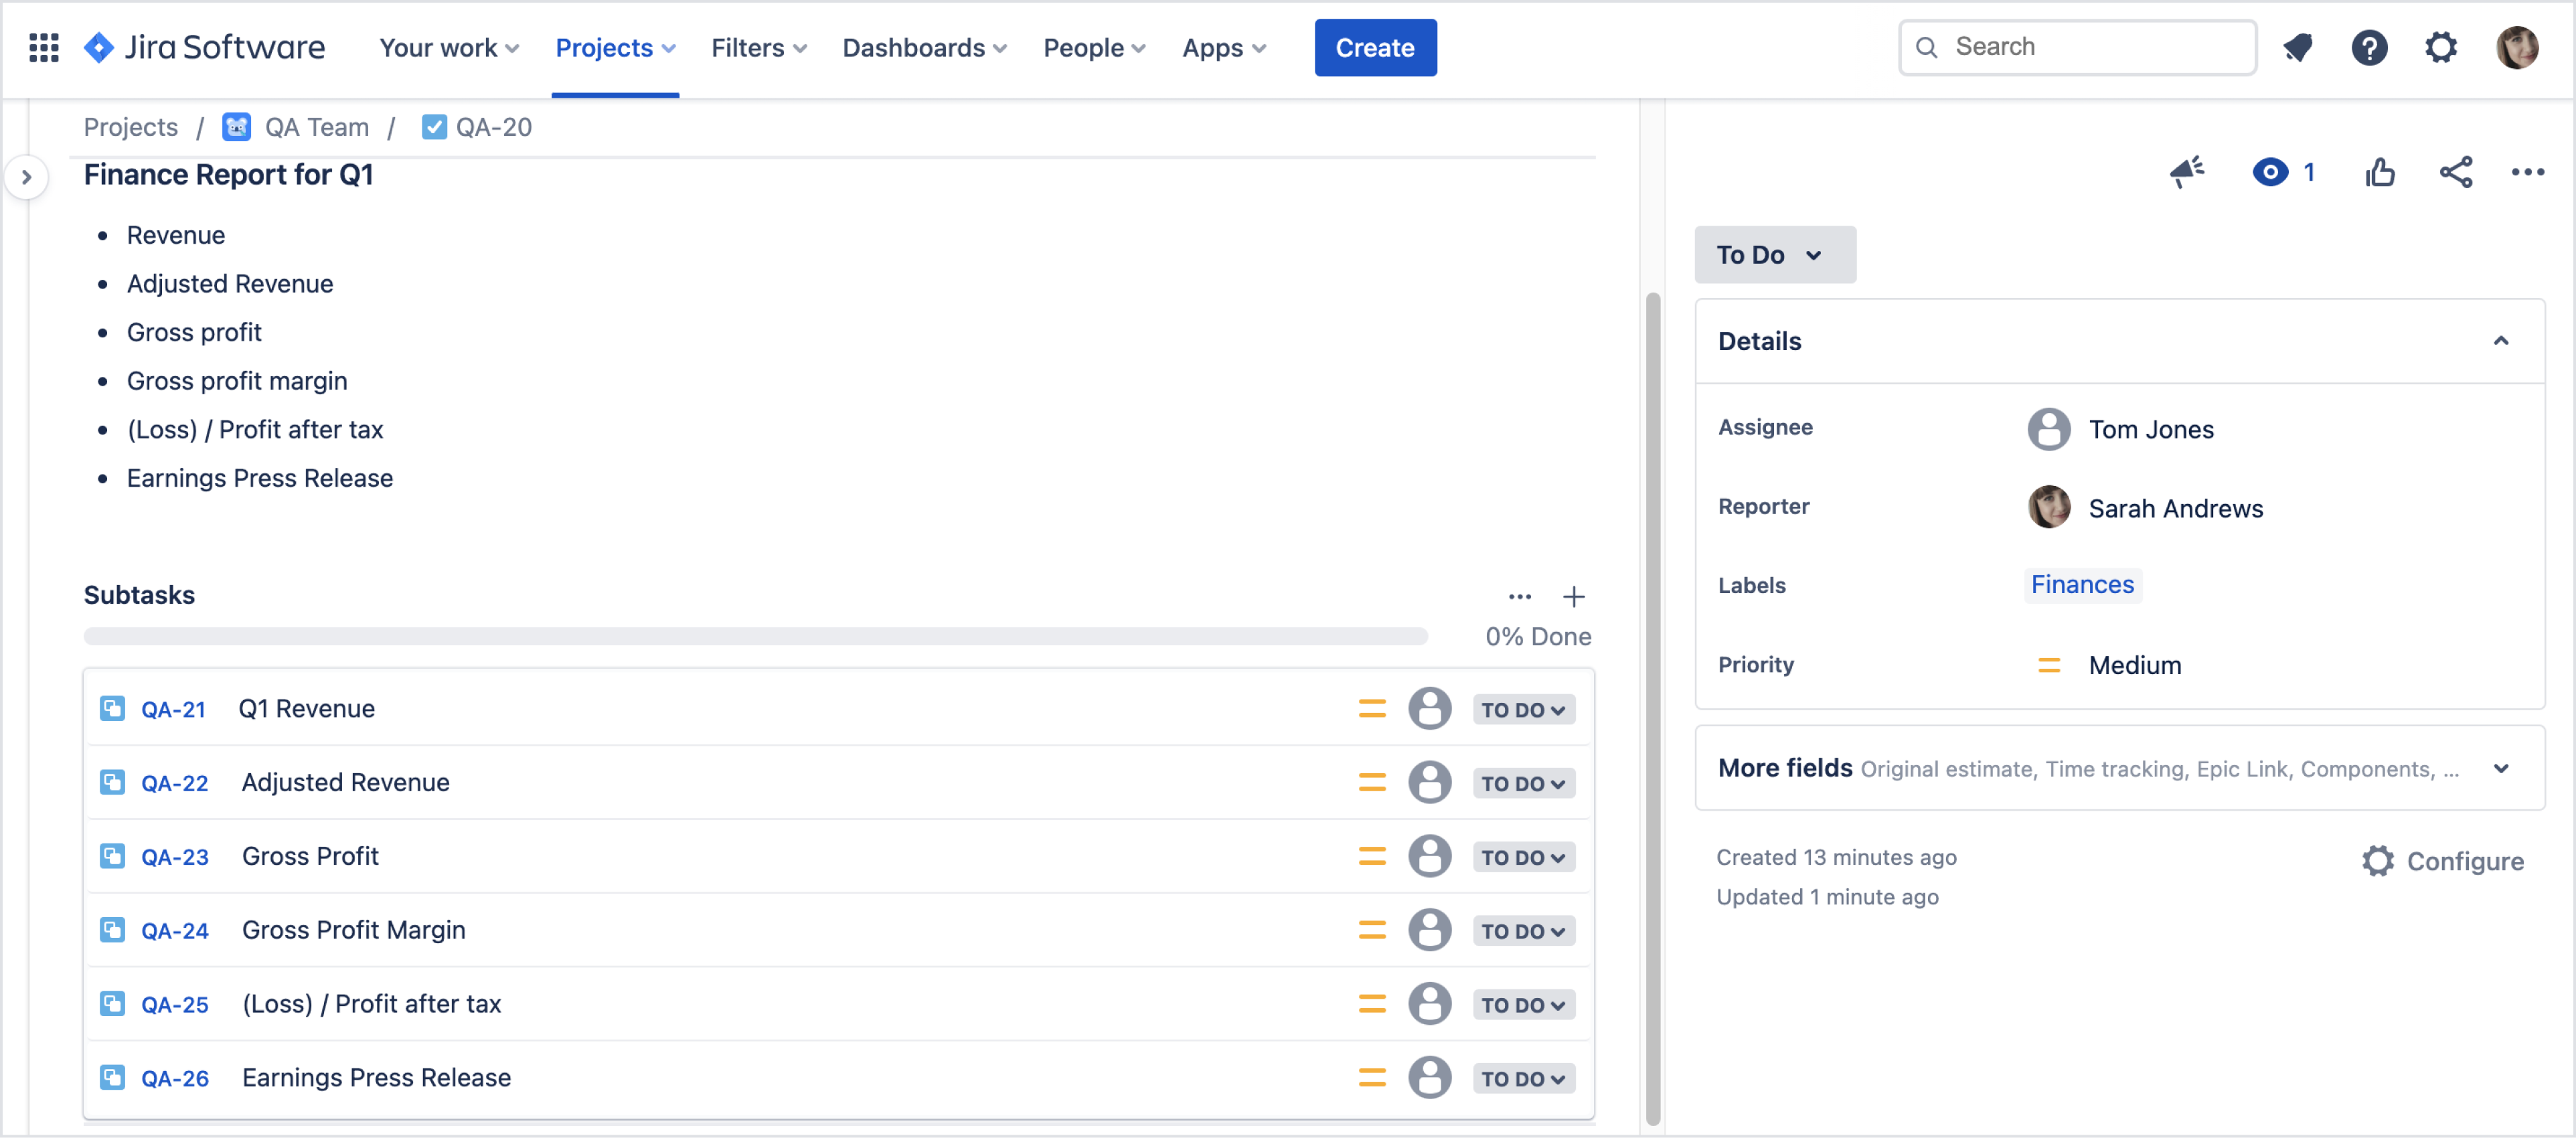
Issue is updated with the values from the template.
If you can’t find the answer you need in our documentation, raise a support request*.
Visibility
To select which user groups can use Apply template follow instructions in the Global configuration chapter.
Apply template via issue property
This chapter provides information about applying template via issue property.
Apply template can be used in Automation, Jira REST API.
You can trigger Apply template when you create an issue via REST API or using Automation action. There are two ways to do it:
- First one is to use the Template custom field
- Second one is to add properties parameter to the body of /rest/api/3/issue
We recommend the second approach, because it allows you to pass dynamic variables and doesn’t require changing your screen settings.
For further information, click here.
Apply template post function
This page provides information how to use apply template post function
Apply template post function allows you to automatically complete fields with values from a template after the transition is performed. While adding a post function you can select a relevant template, which will be applied to already created issue. This post function works exactly the same as apply template feature.
Before you start
Prepare the template, make sure to edit template’s scope.
Steps
- To apply this template to every newly-created issue, go to Project settings > Workflows
- Click the pencil icon to edit the chosen workflow.

If you want to apply different templates for different issue-types you need to split the workflow.
-
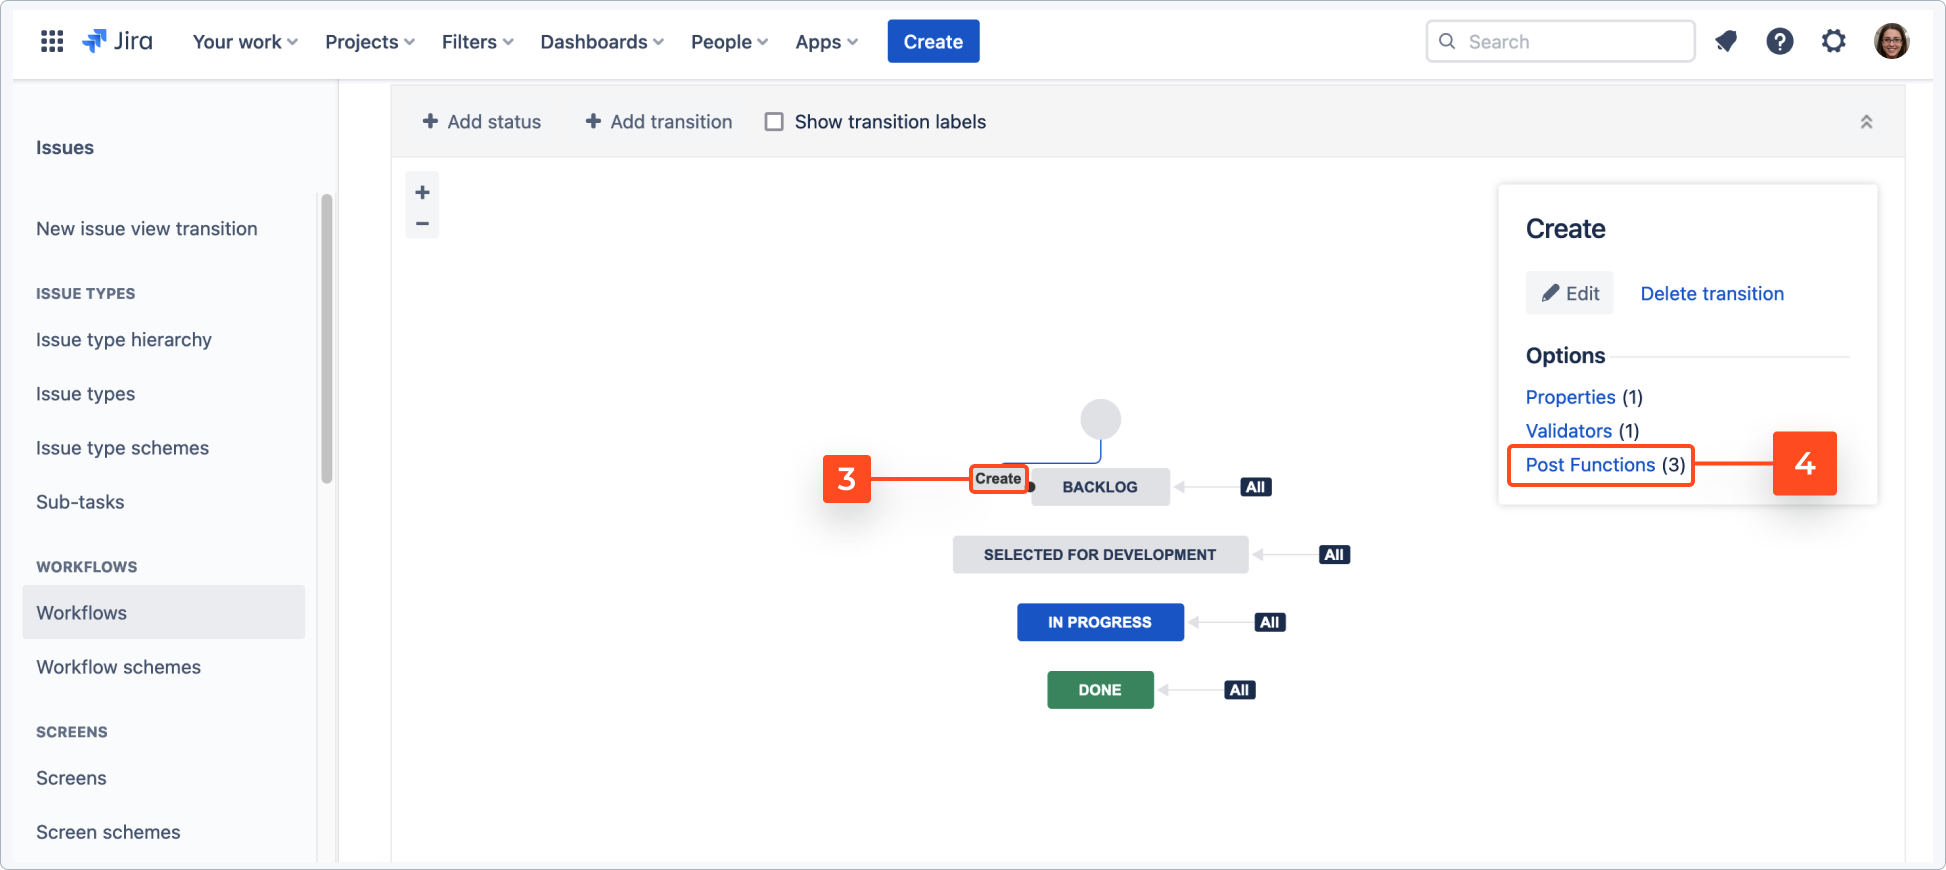
Click Create to edit the initial transition.
TipYou can add a post-function to different transitions and it can create sub-tasks or complex structures. -
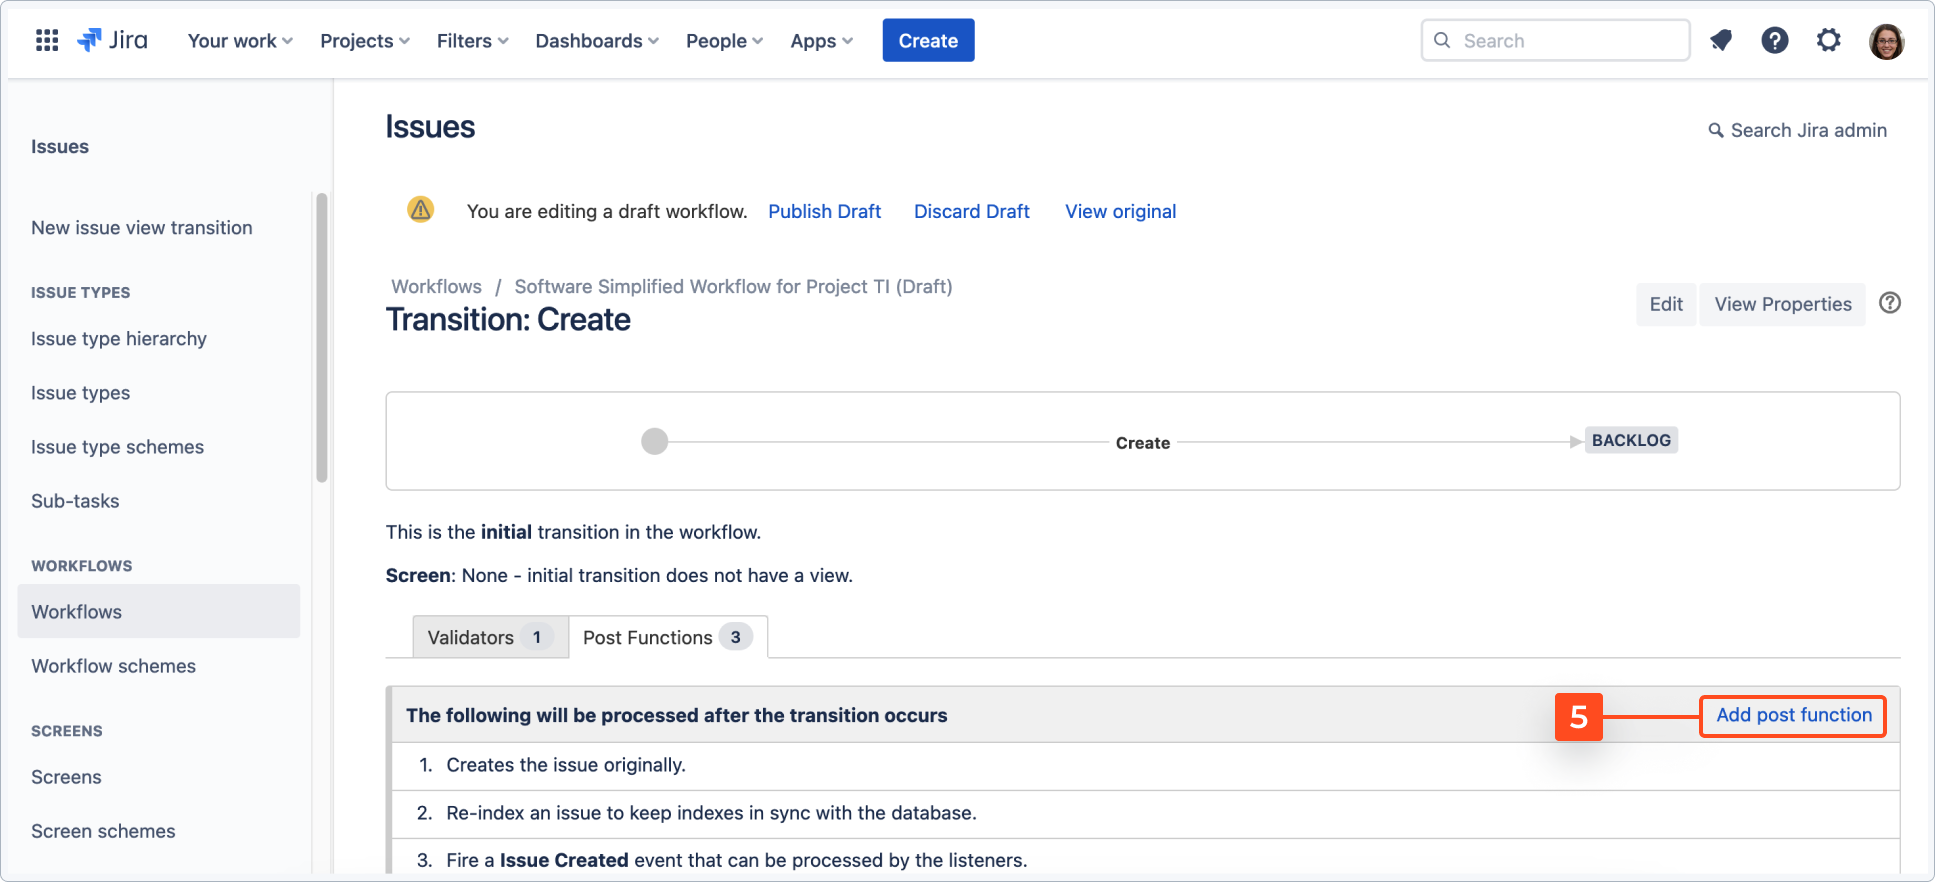
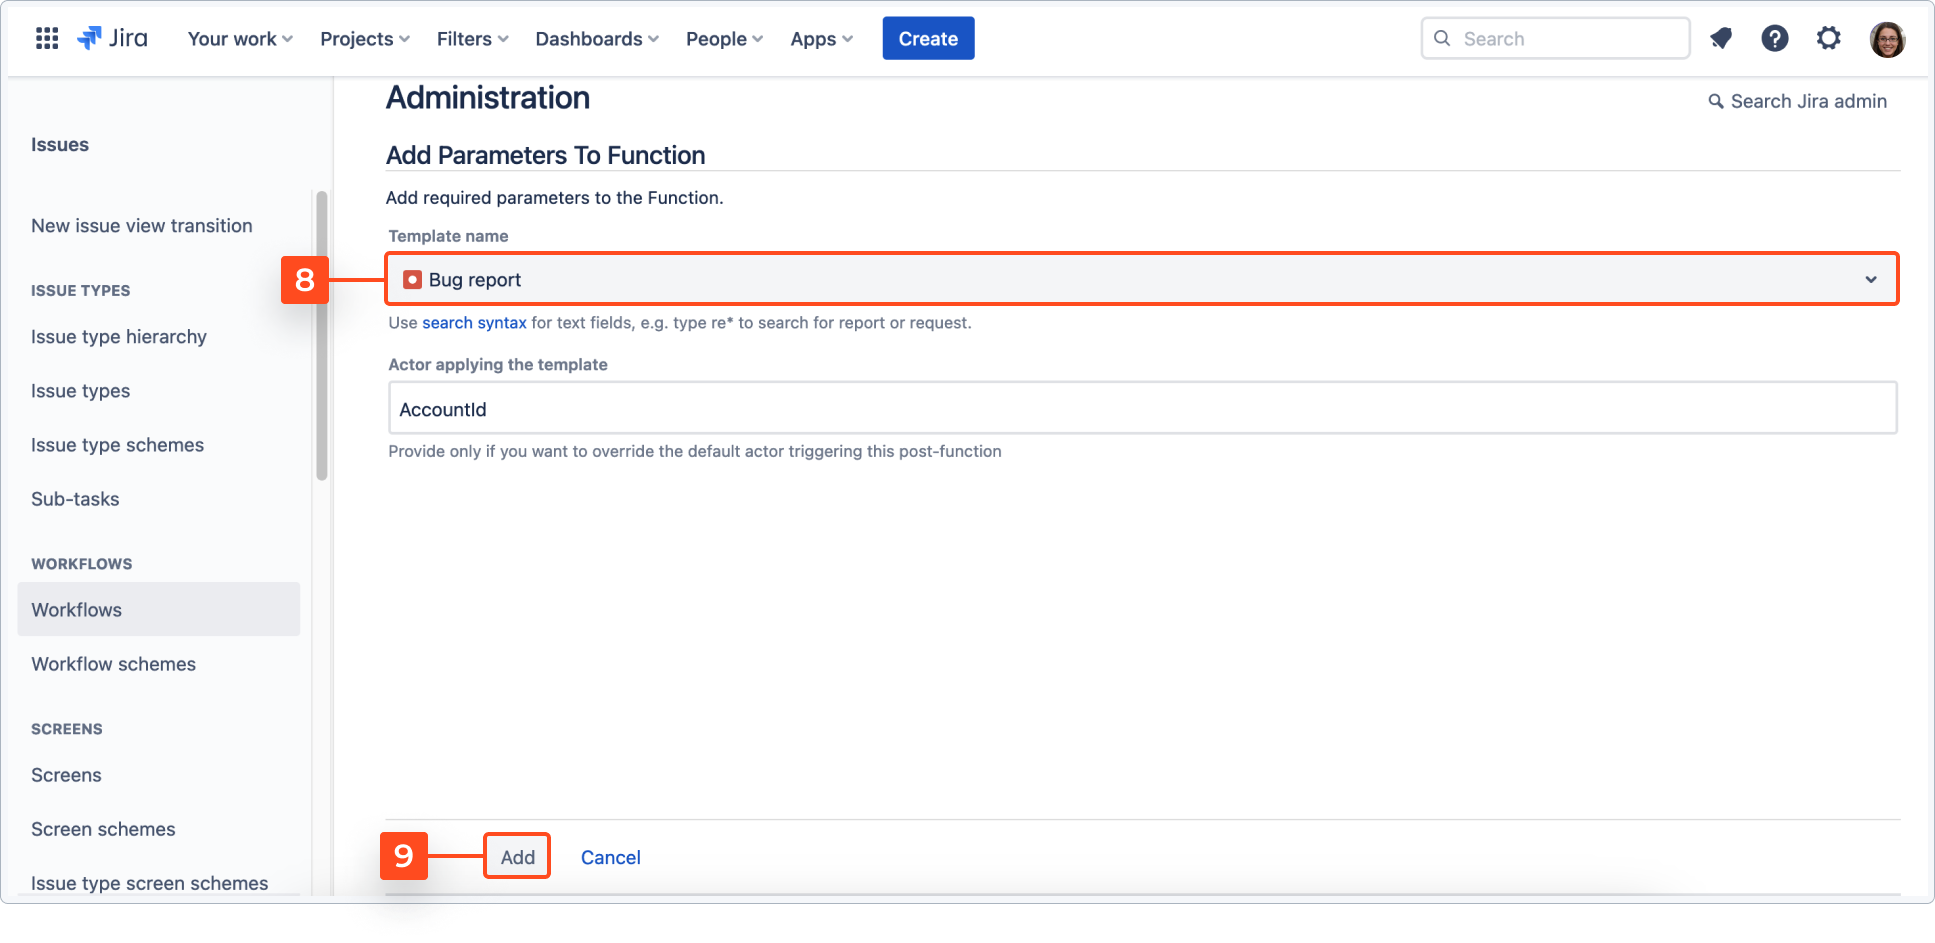
Select Apply template.
-
Click Add.

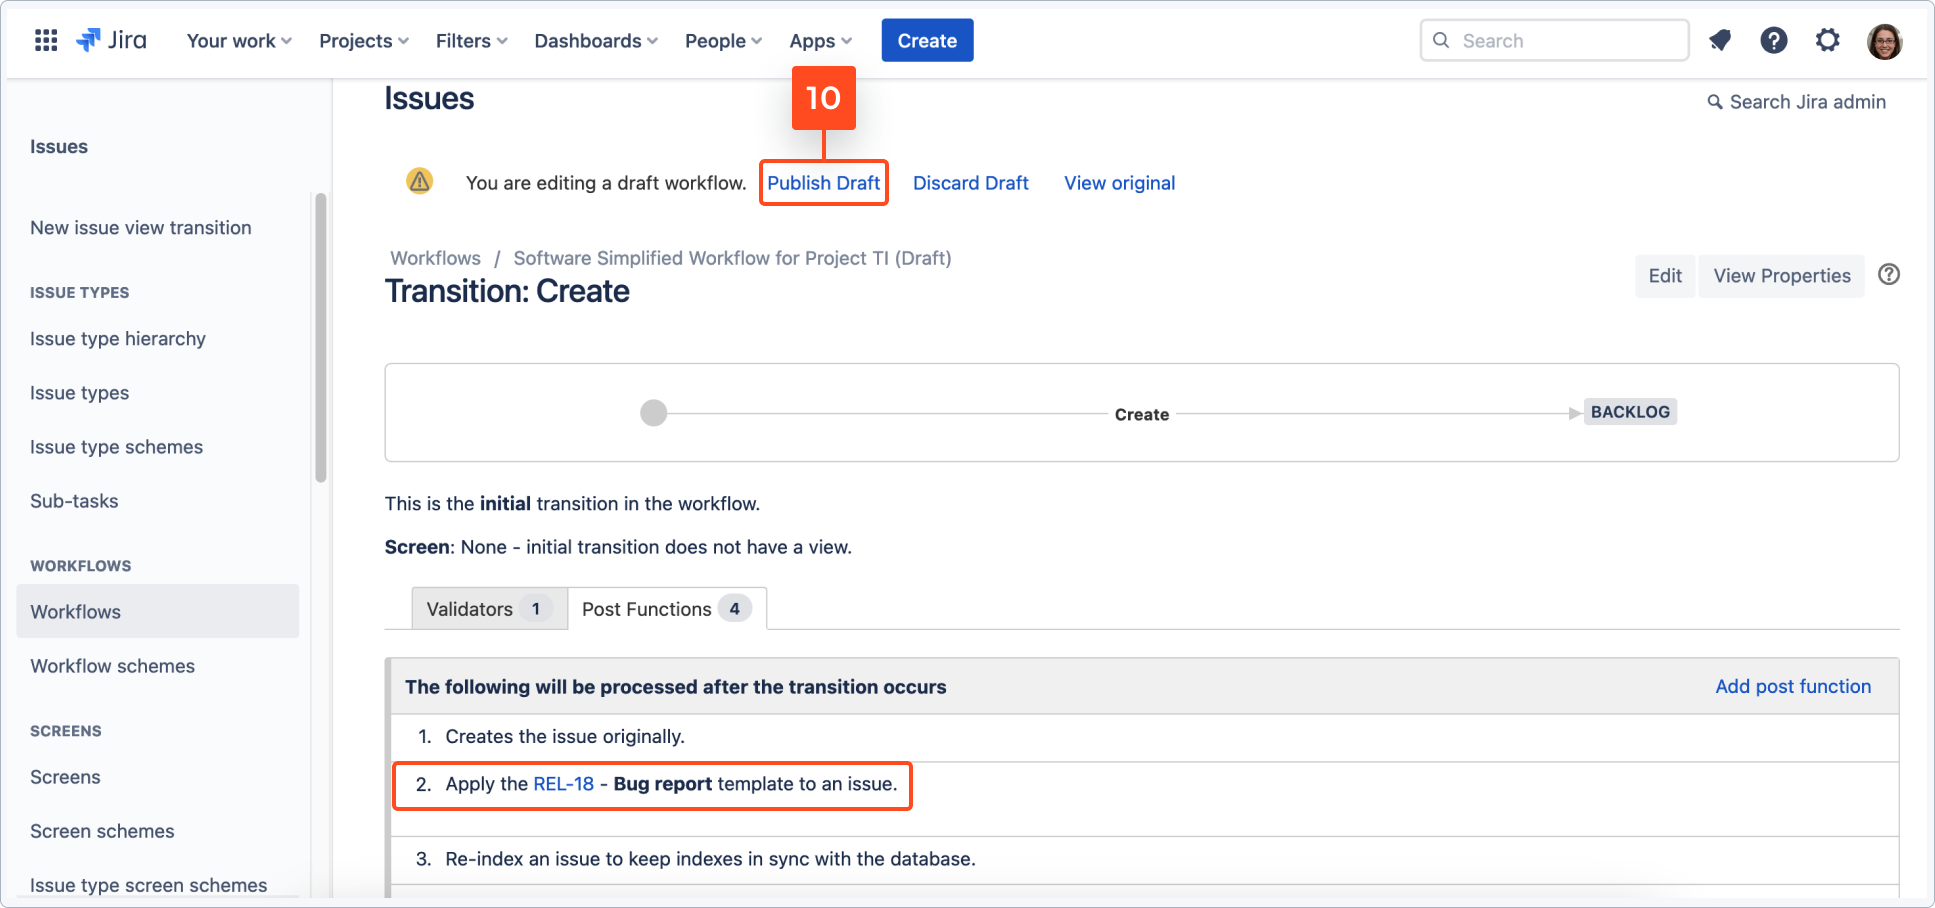
As a result, it will be added to the transition.
Result
When an issue is created, the assigned template will be automatically applied. For fields defined in the template’s scope, values from the template will be copied to the issue. If the template issue has children issues or linked issues, they will also be recreated.
