- User guide
- Customer's view
- Search
- Filters
- Administrator guide
- Settings
- View as
- User scopes
- Fields configuration
- Filters management
Customer’s view
Learn how to use the app-provided Requests page
Accessing Requests page
My Requests Extension provides its own version of the Requests page, available instead of the native Jira Requests page. In order to access My Requests page, go to the Help Center first.
Steps
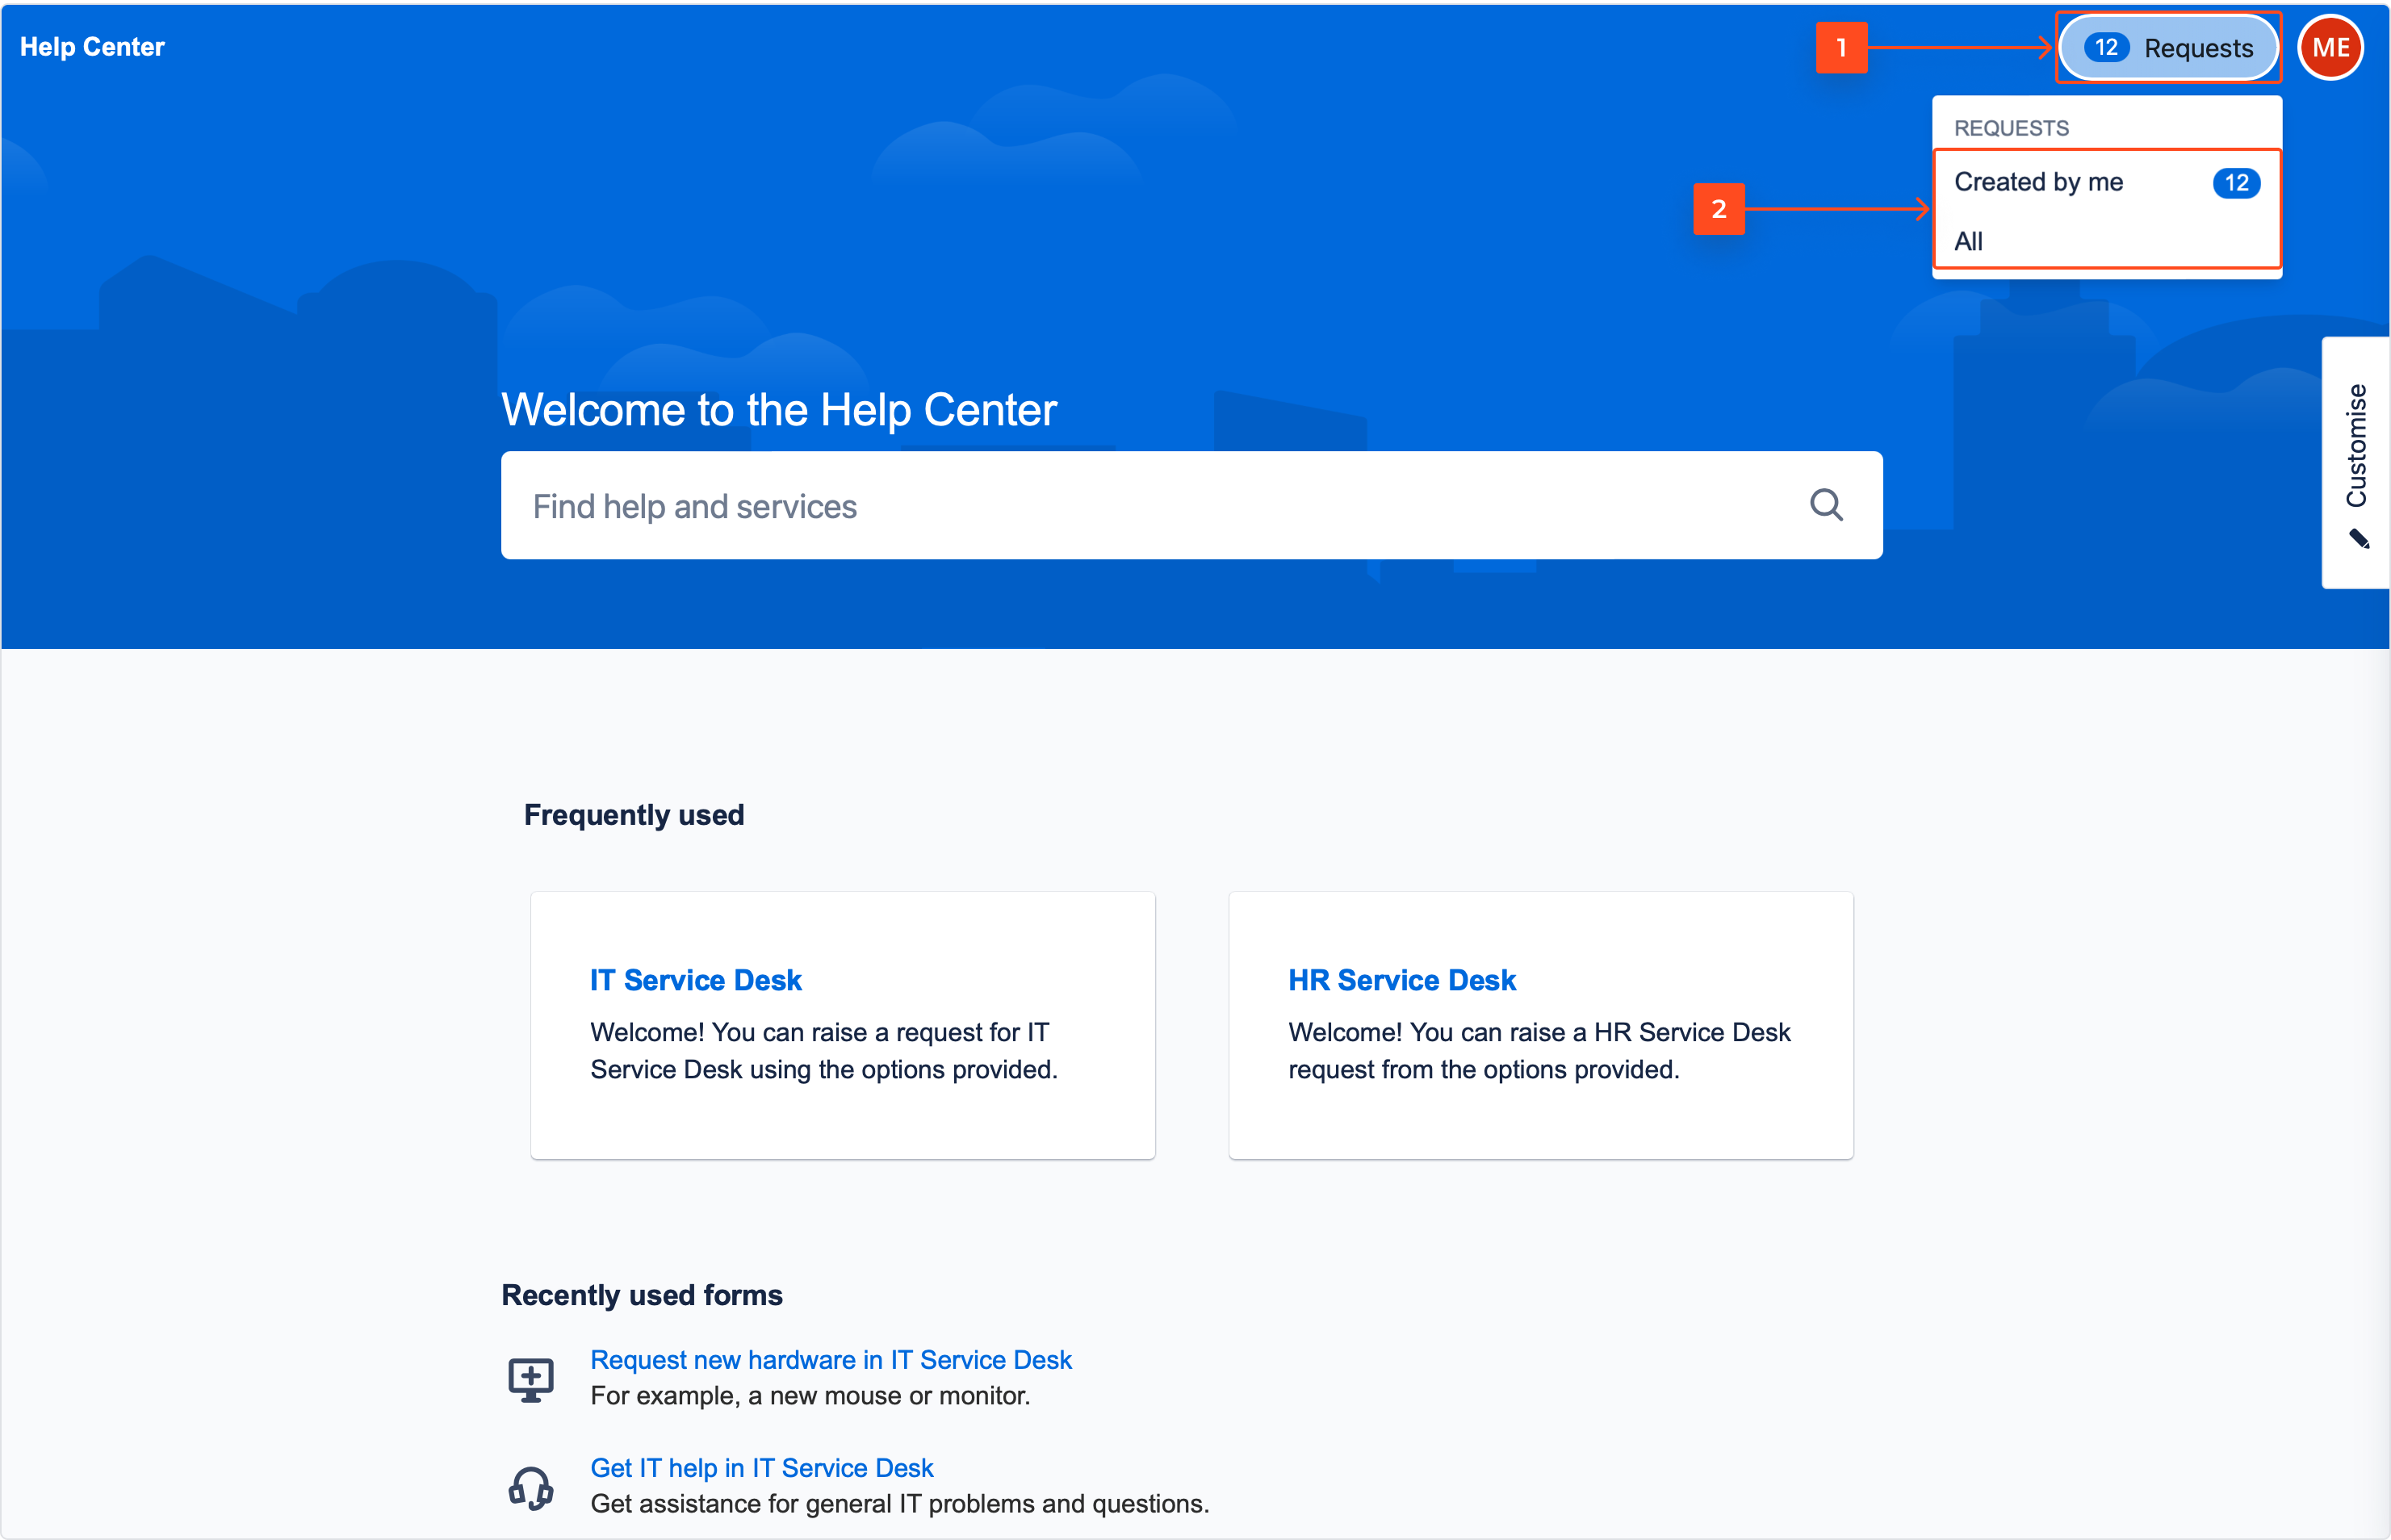
- Go to your Help Center page and click on the Requests button in the top right corner.
- Select either All or Created by me.
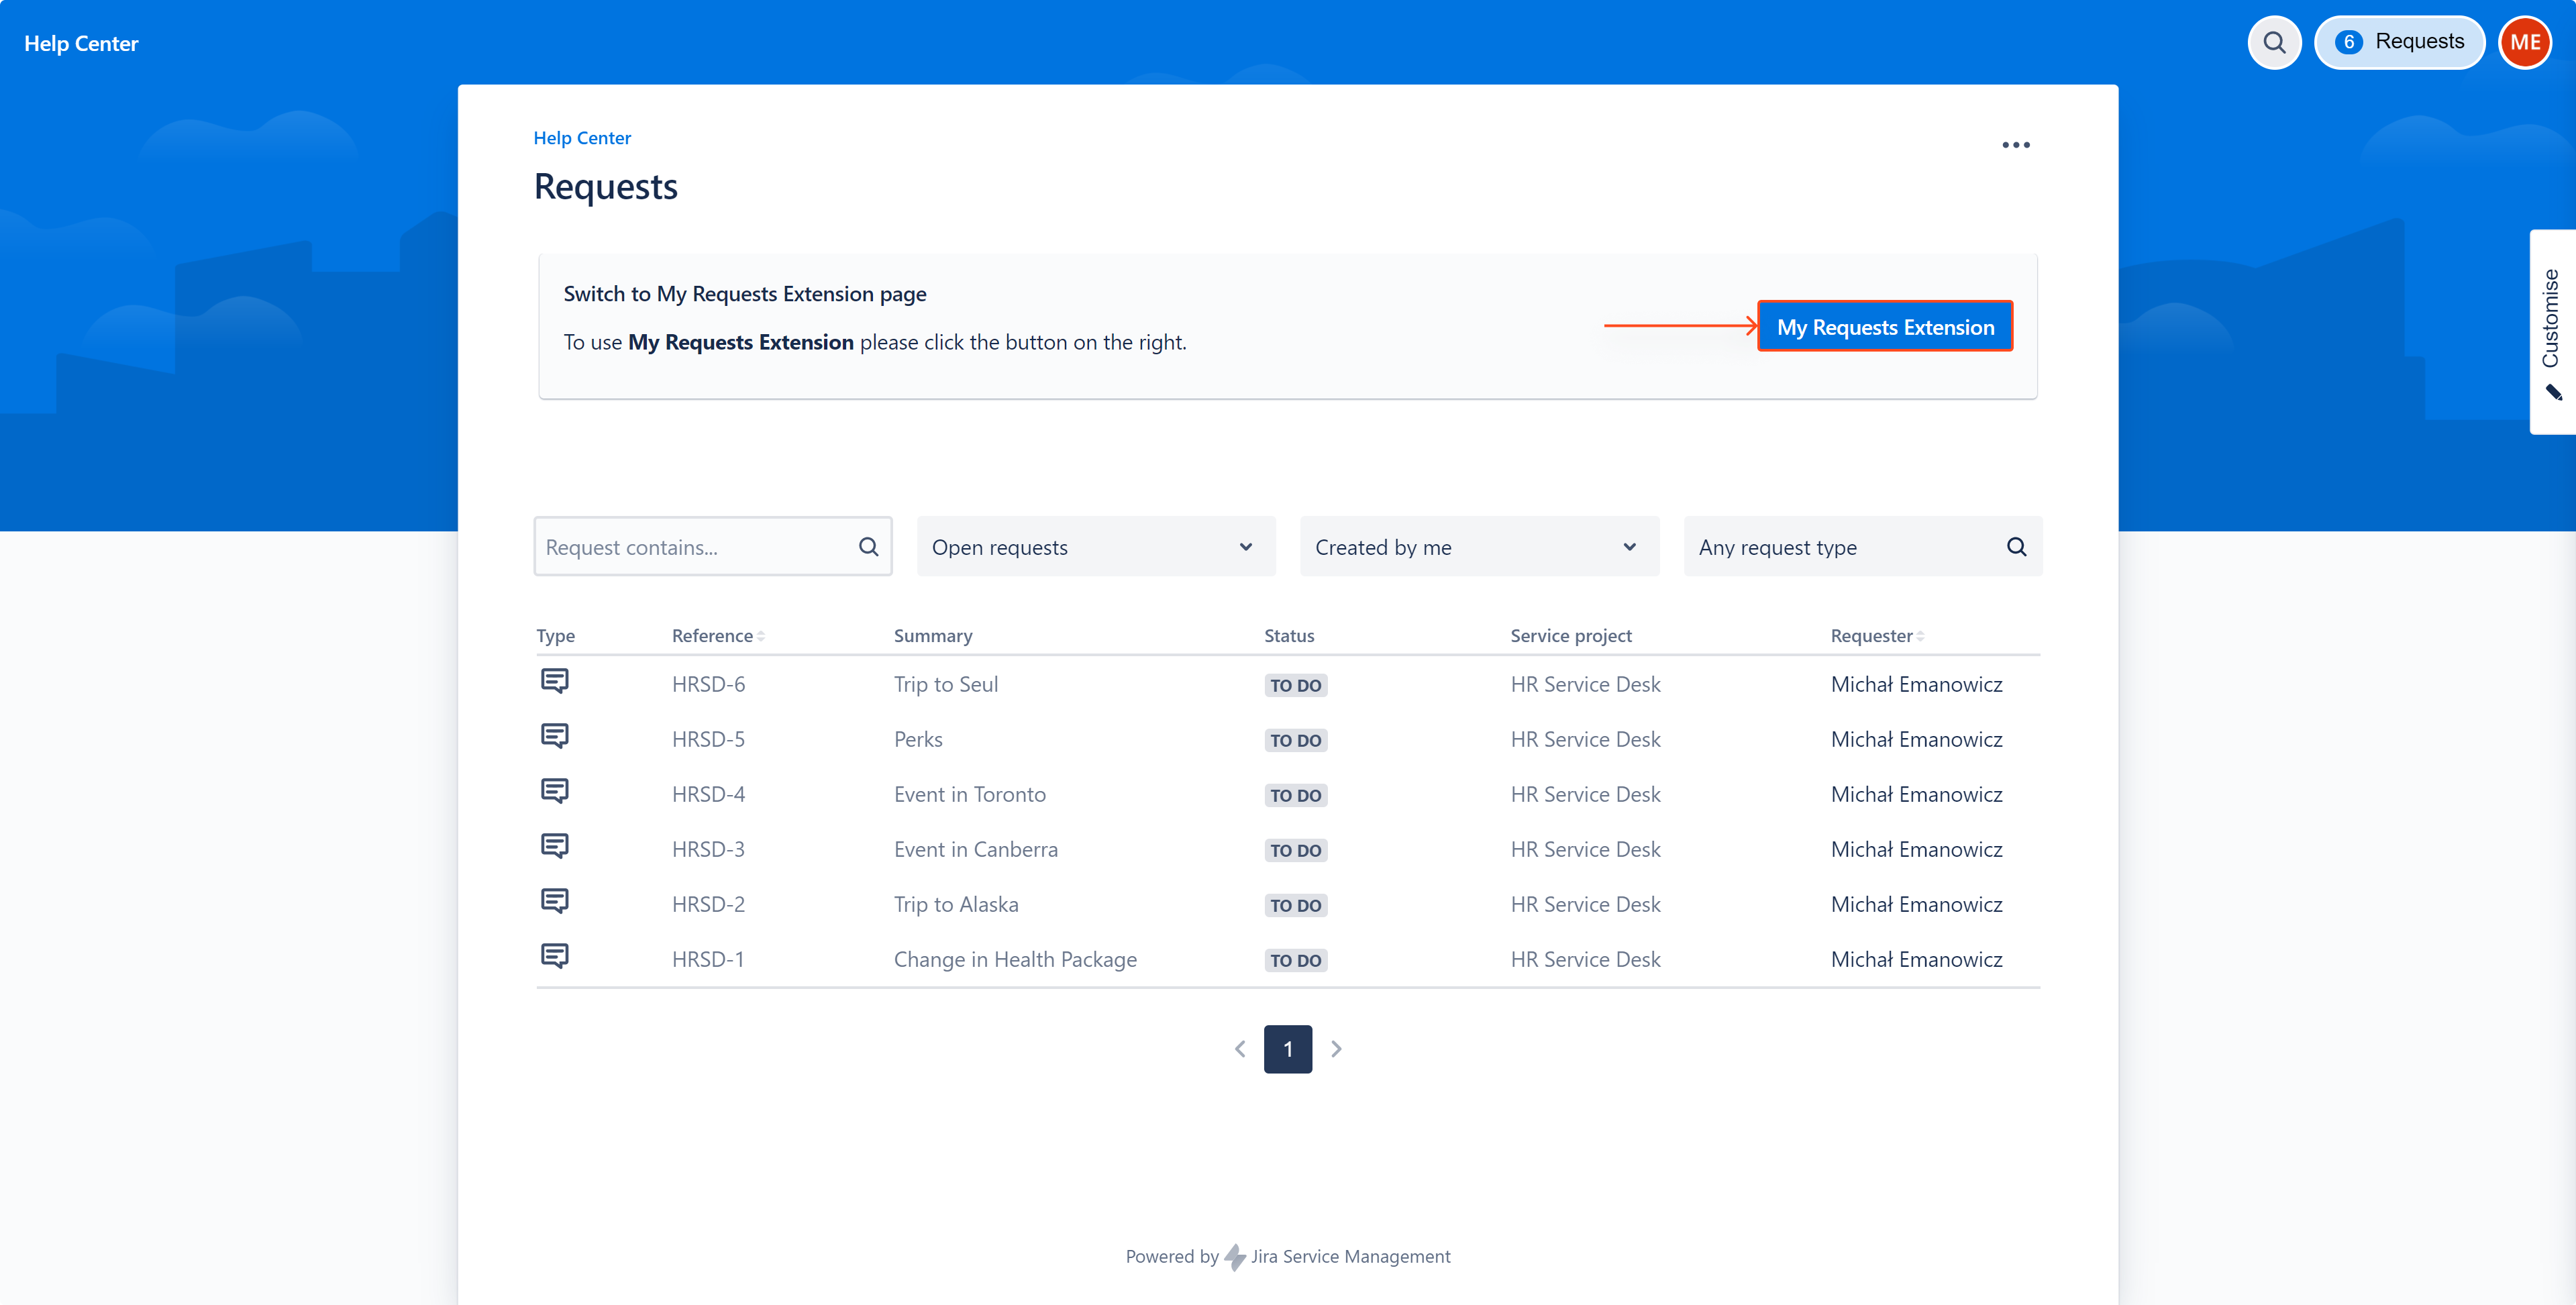
- Click on My Requests Extension button placed on the top banner of the default Jira requests page.
Result
You will be redirected to our app’s main Requests page with a new URL: instancename.myrequests.net/requests.
Managing Requests view
In your Requests view you have full control over what you want to see and how you want to see it.
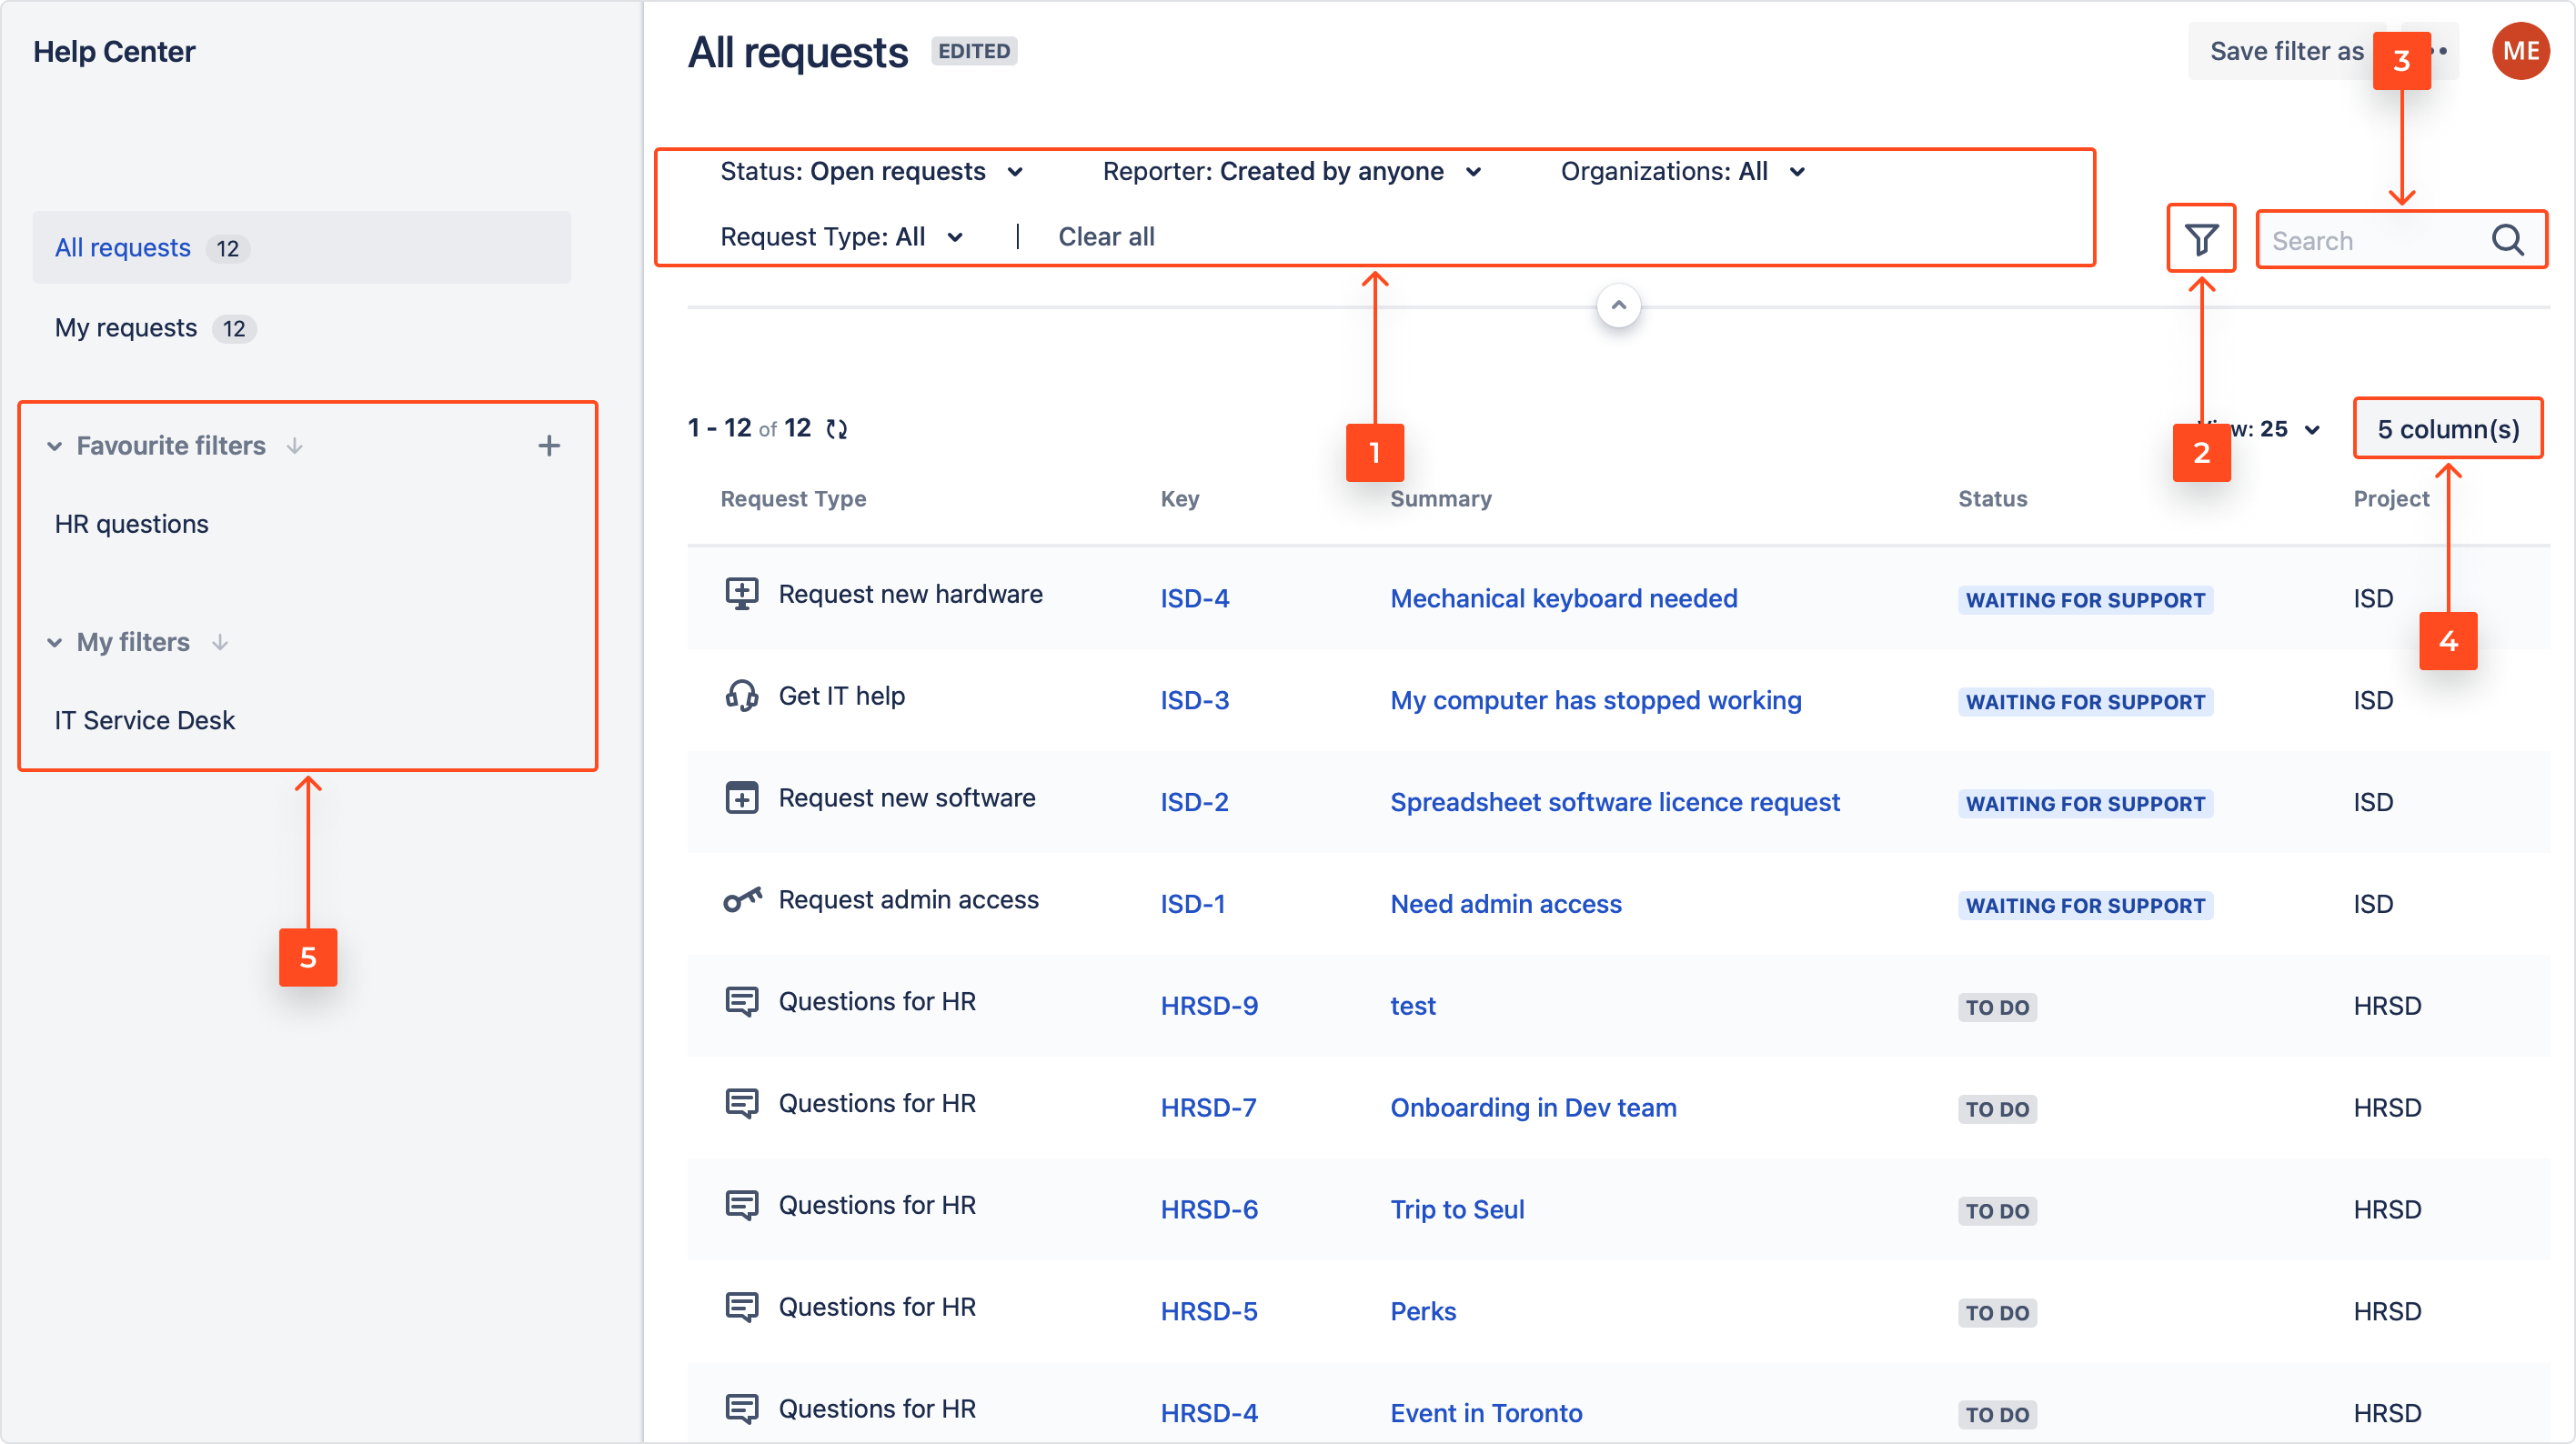
- If you want to filter your Requests by different criteria, choose them from available options as shown below.
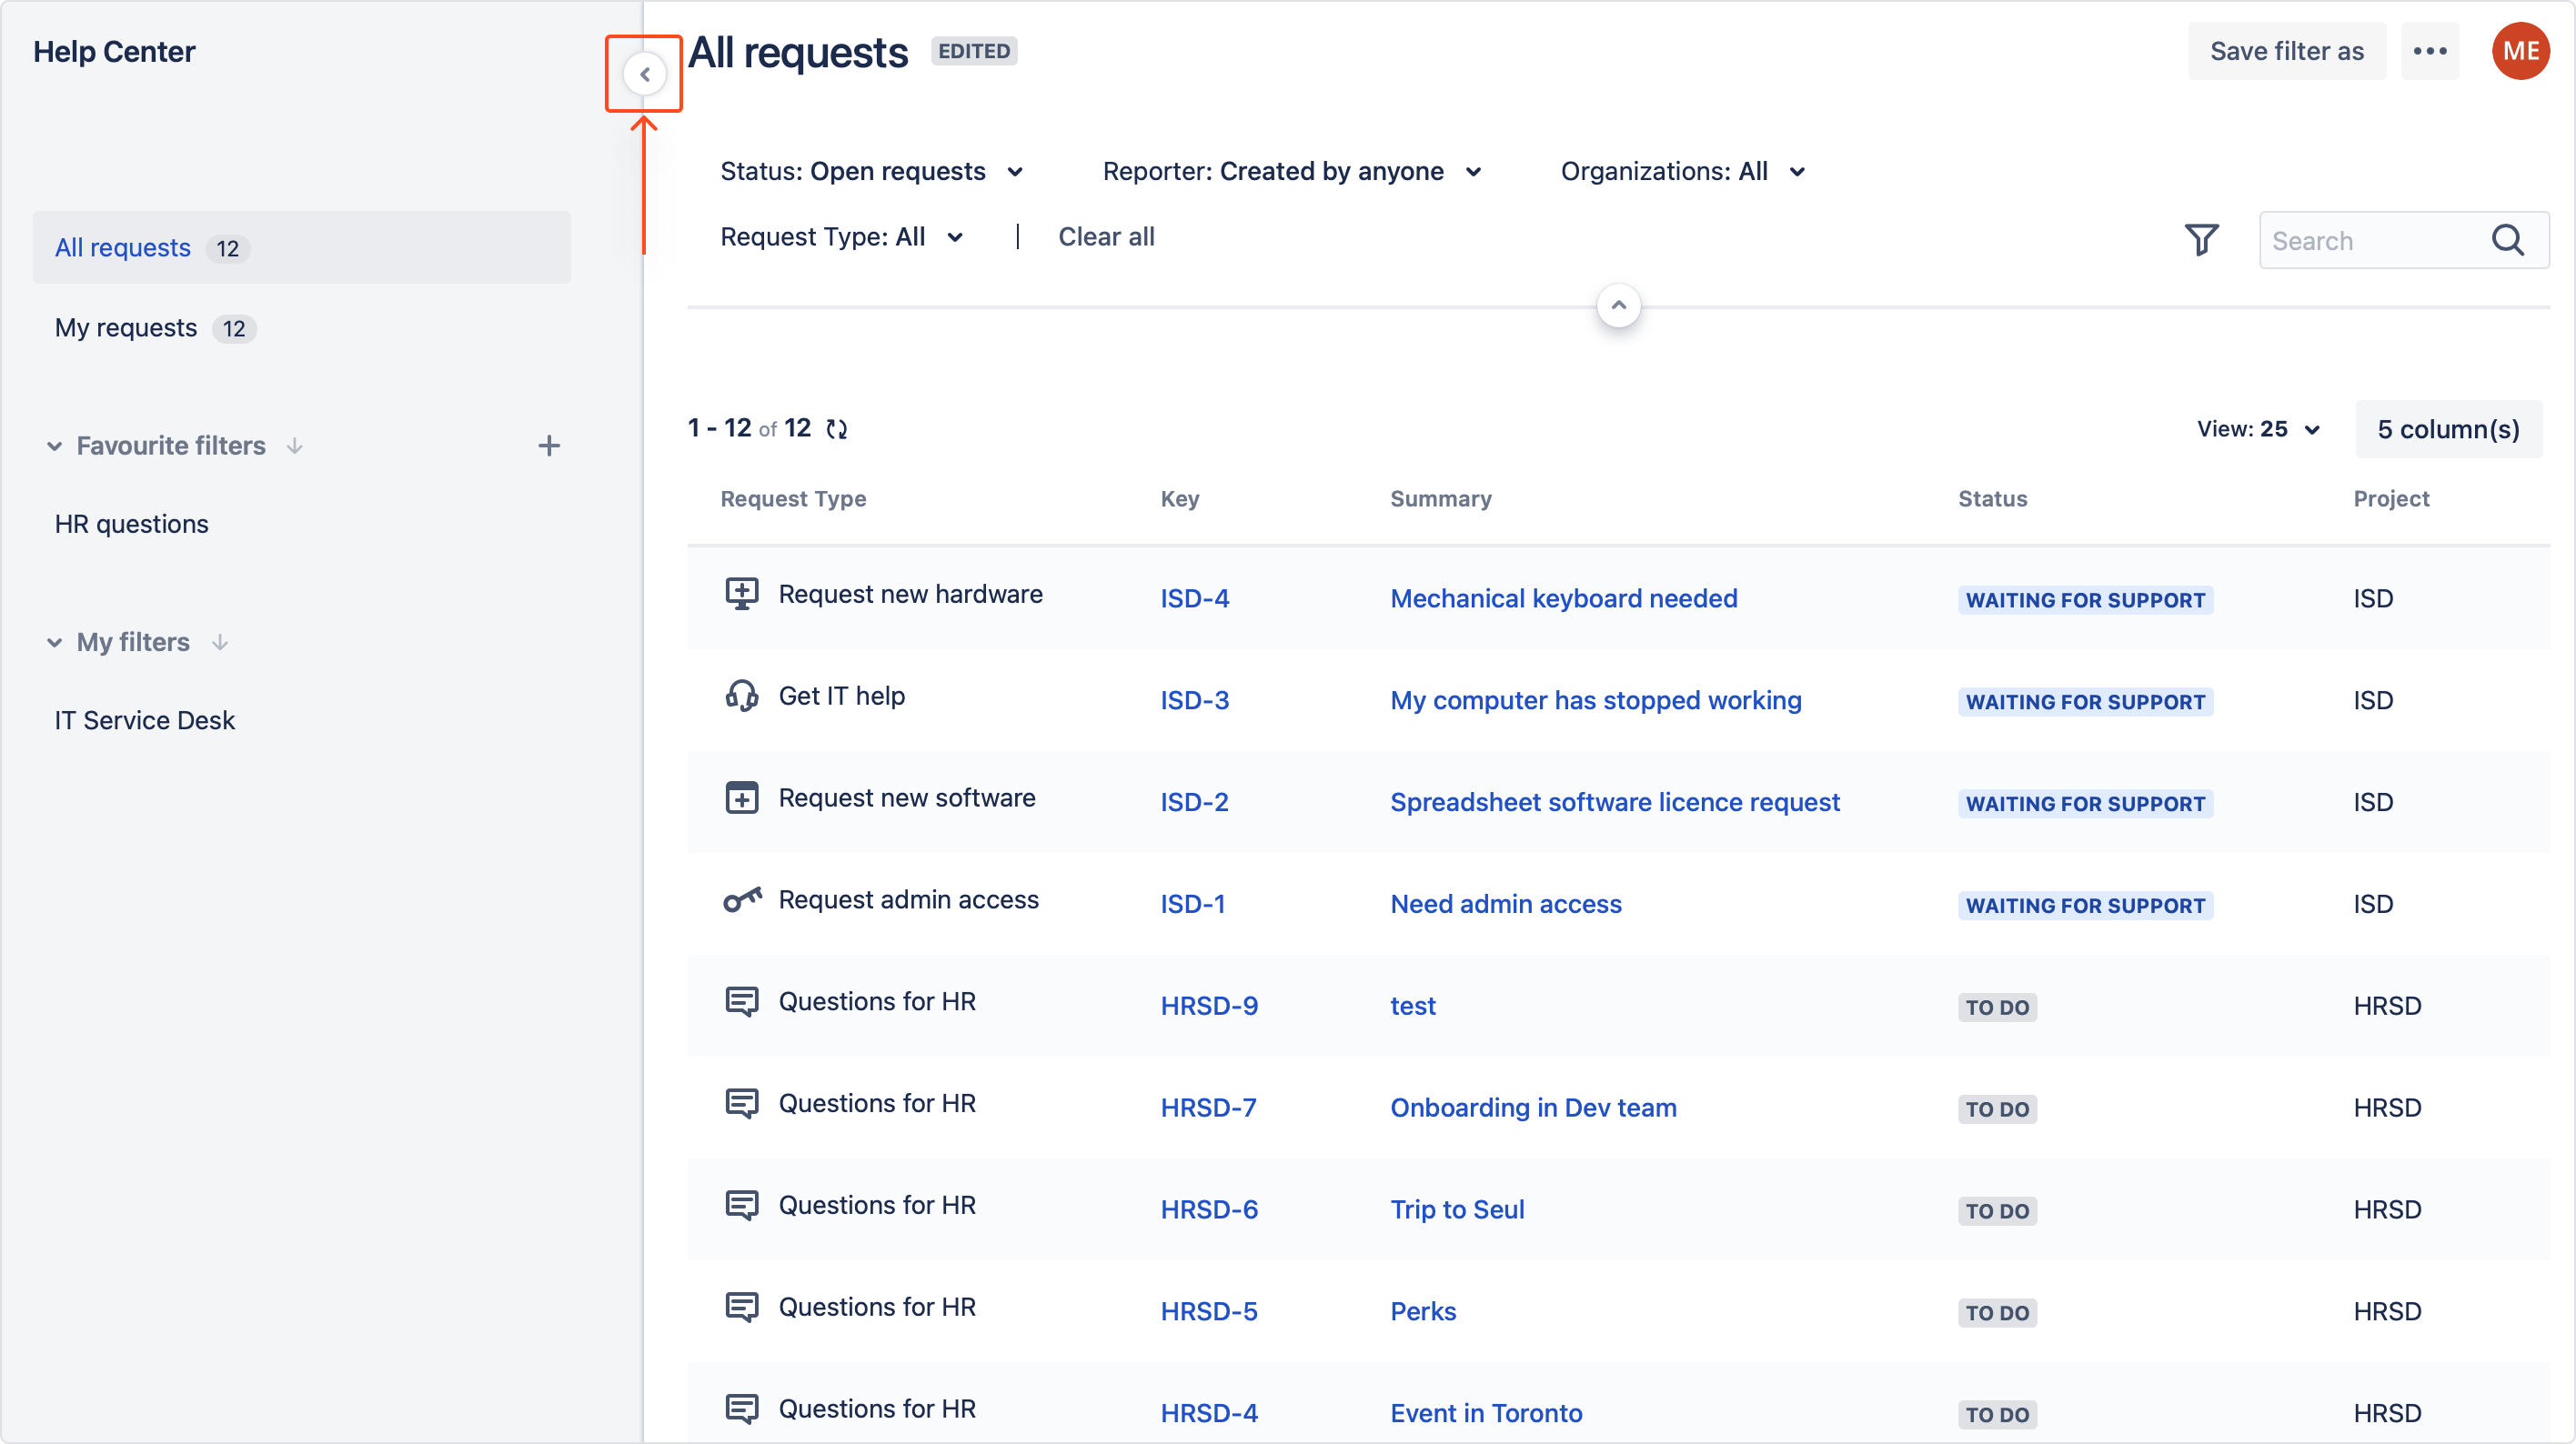
- You can remove or add new criteria by clicking a funnel icon on the right side. Choose the desired fields and click to add them as active criteria.
By filtering requests you can also include the criteria categories that are empty. To display the requests with no criteria items defined, use the is empty option.
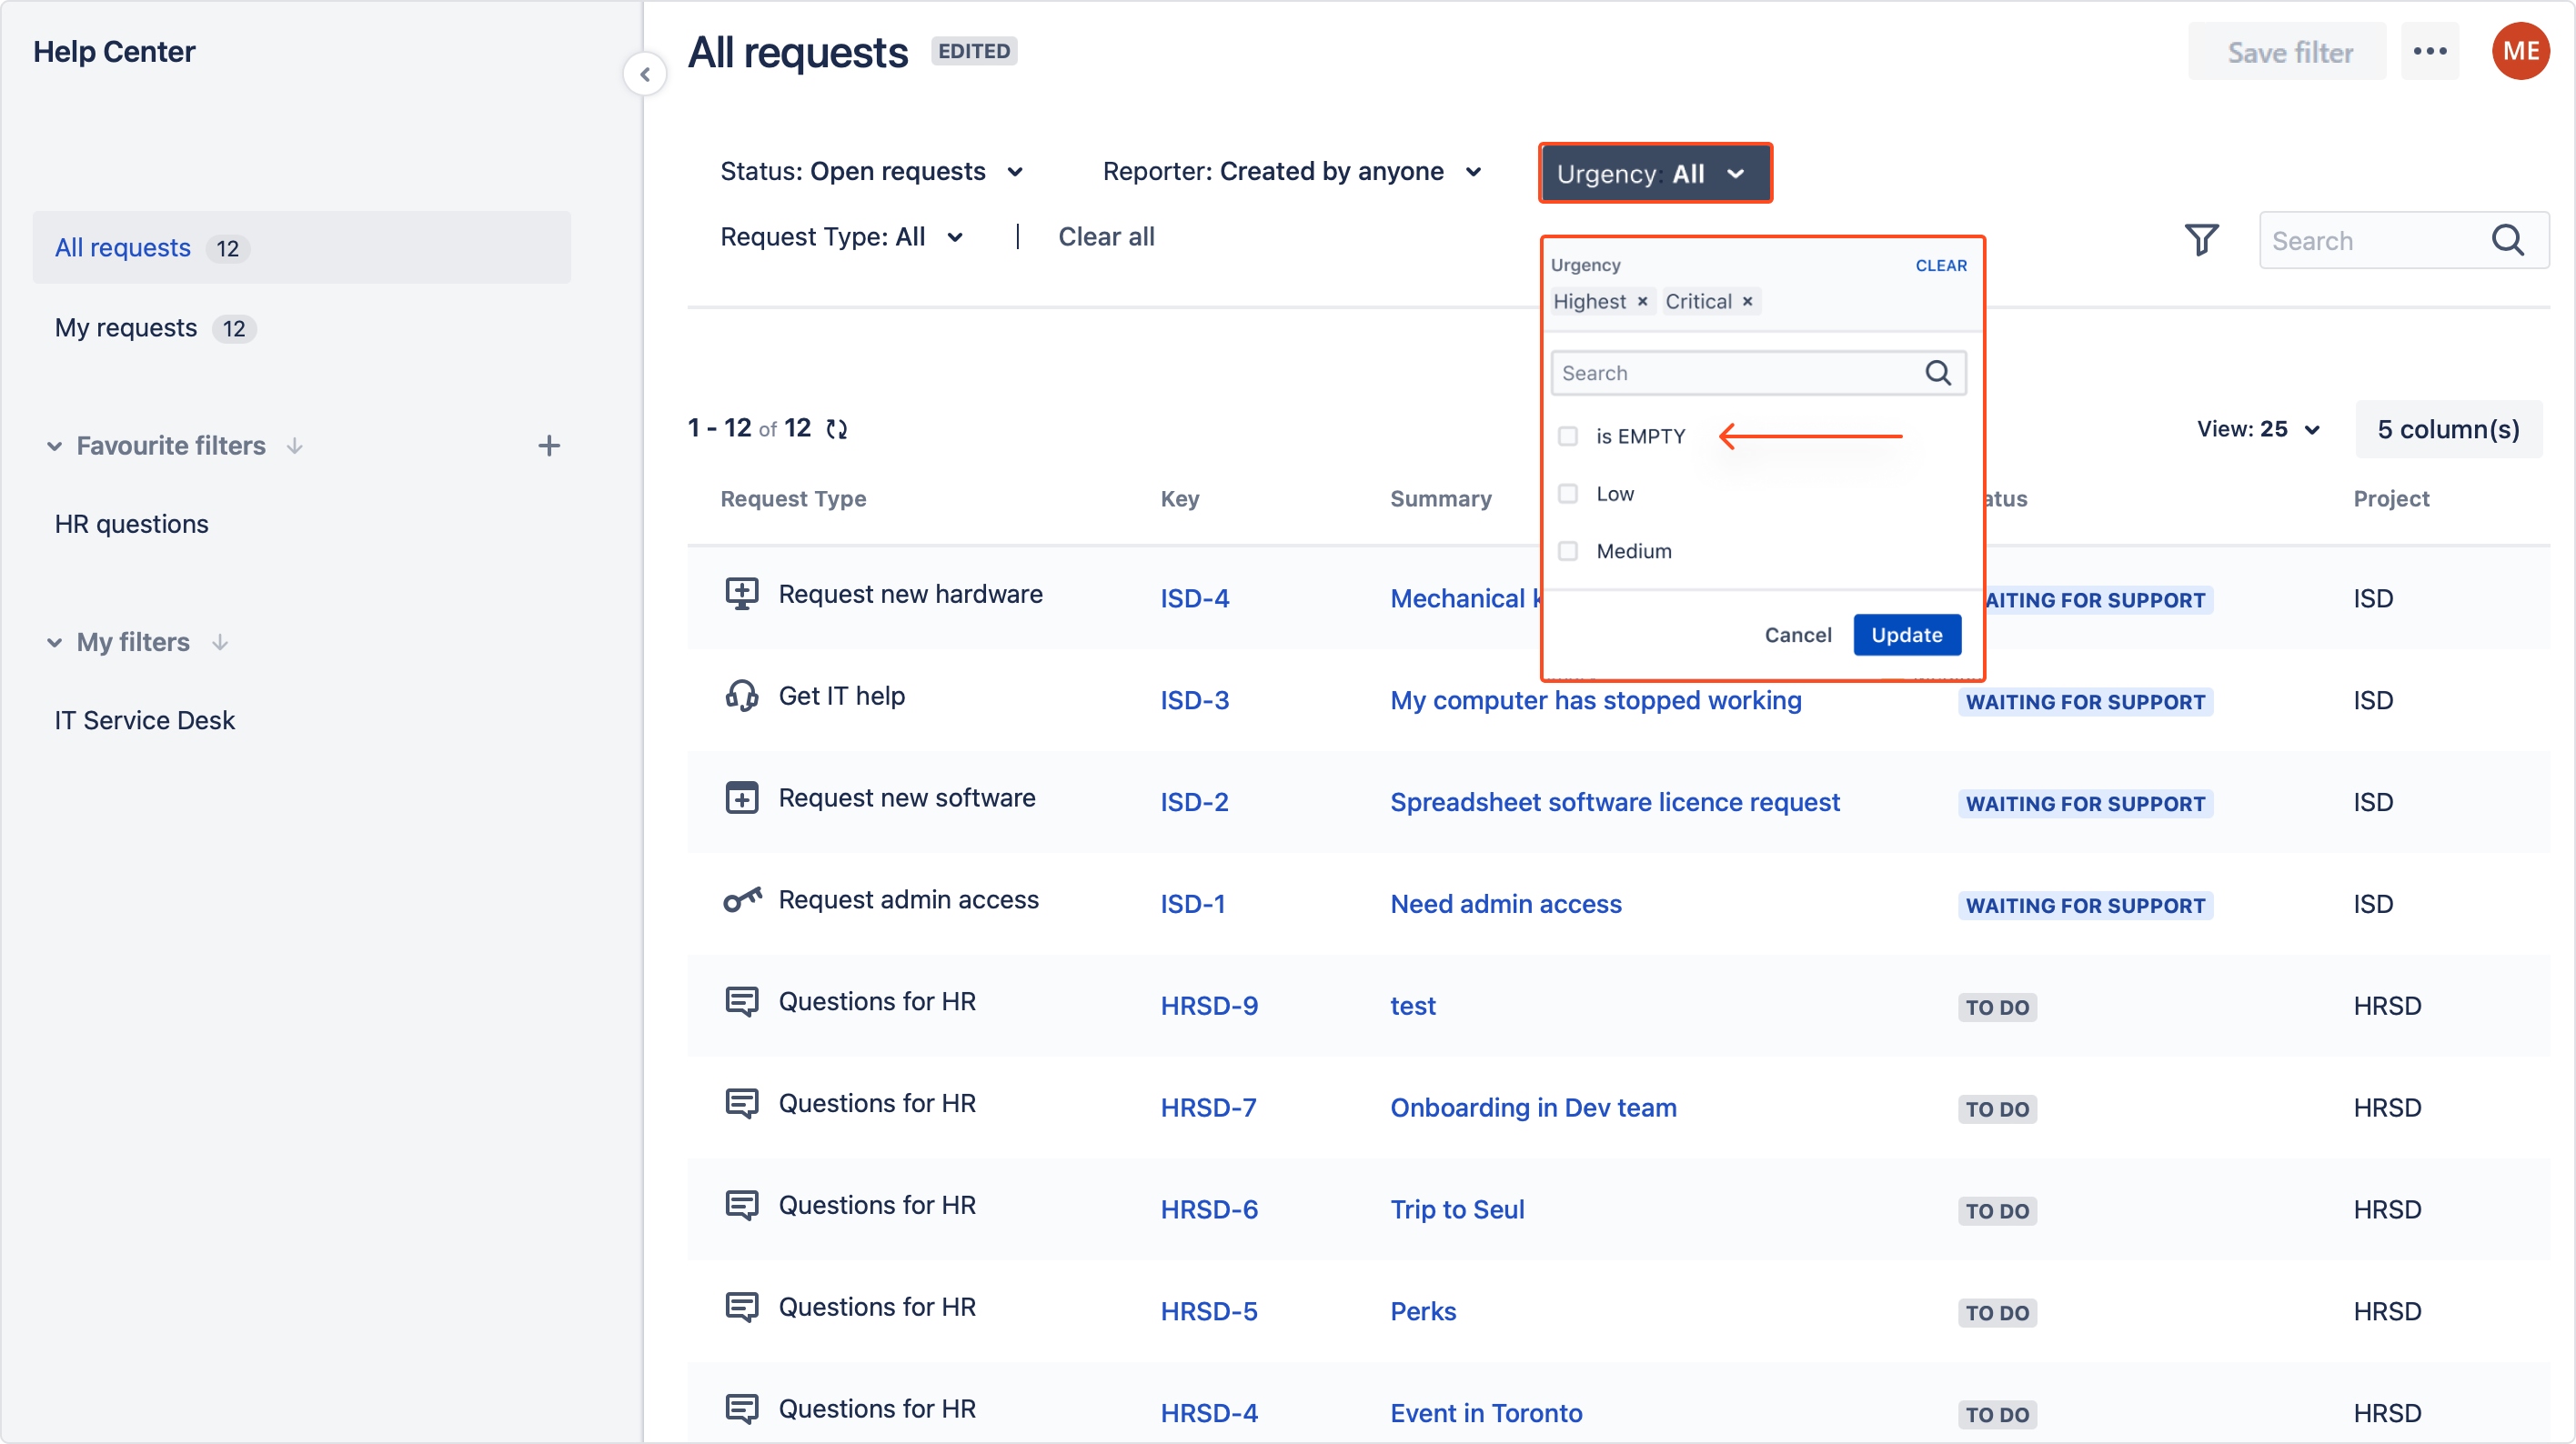
Bear in mind that selecting empty categories by filtering is available for both Jira and custom fields excluding the following fields: Approvals, Comment, Created, Linked issues, Organization, Priority, Project, Reporter, Status, Summary, Issue Type, Updated.
- In order to search the requests by any text, click on the search bar and type in whatever text you want. Search is possible by Issue Key, Summary and Description.
- You can remove or add columns visible on your Requests page by clicking the columns button. Choose the desired fields and click to add them as active criteria.
- Your saved filters appear on the left sidebar of the view.
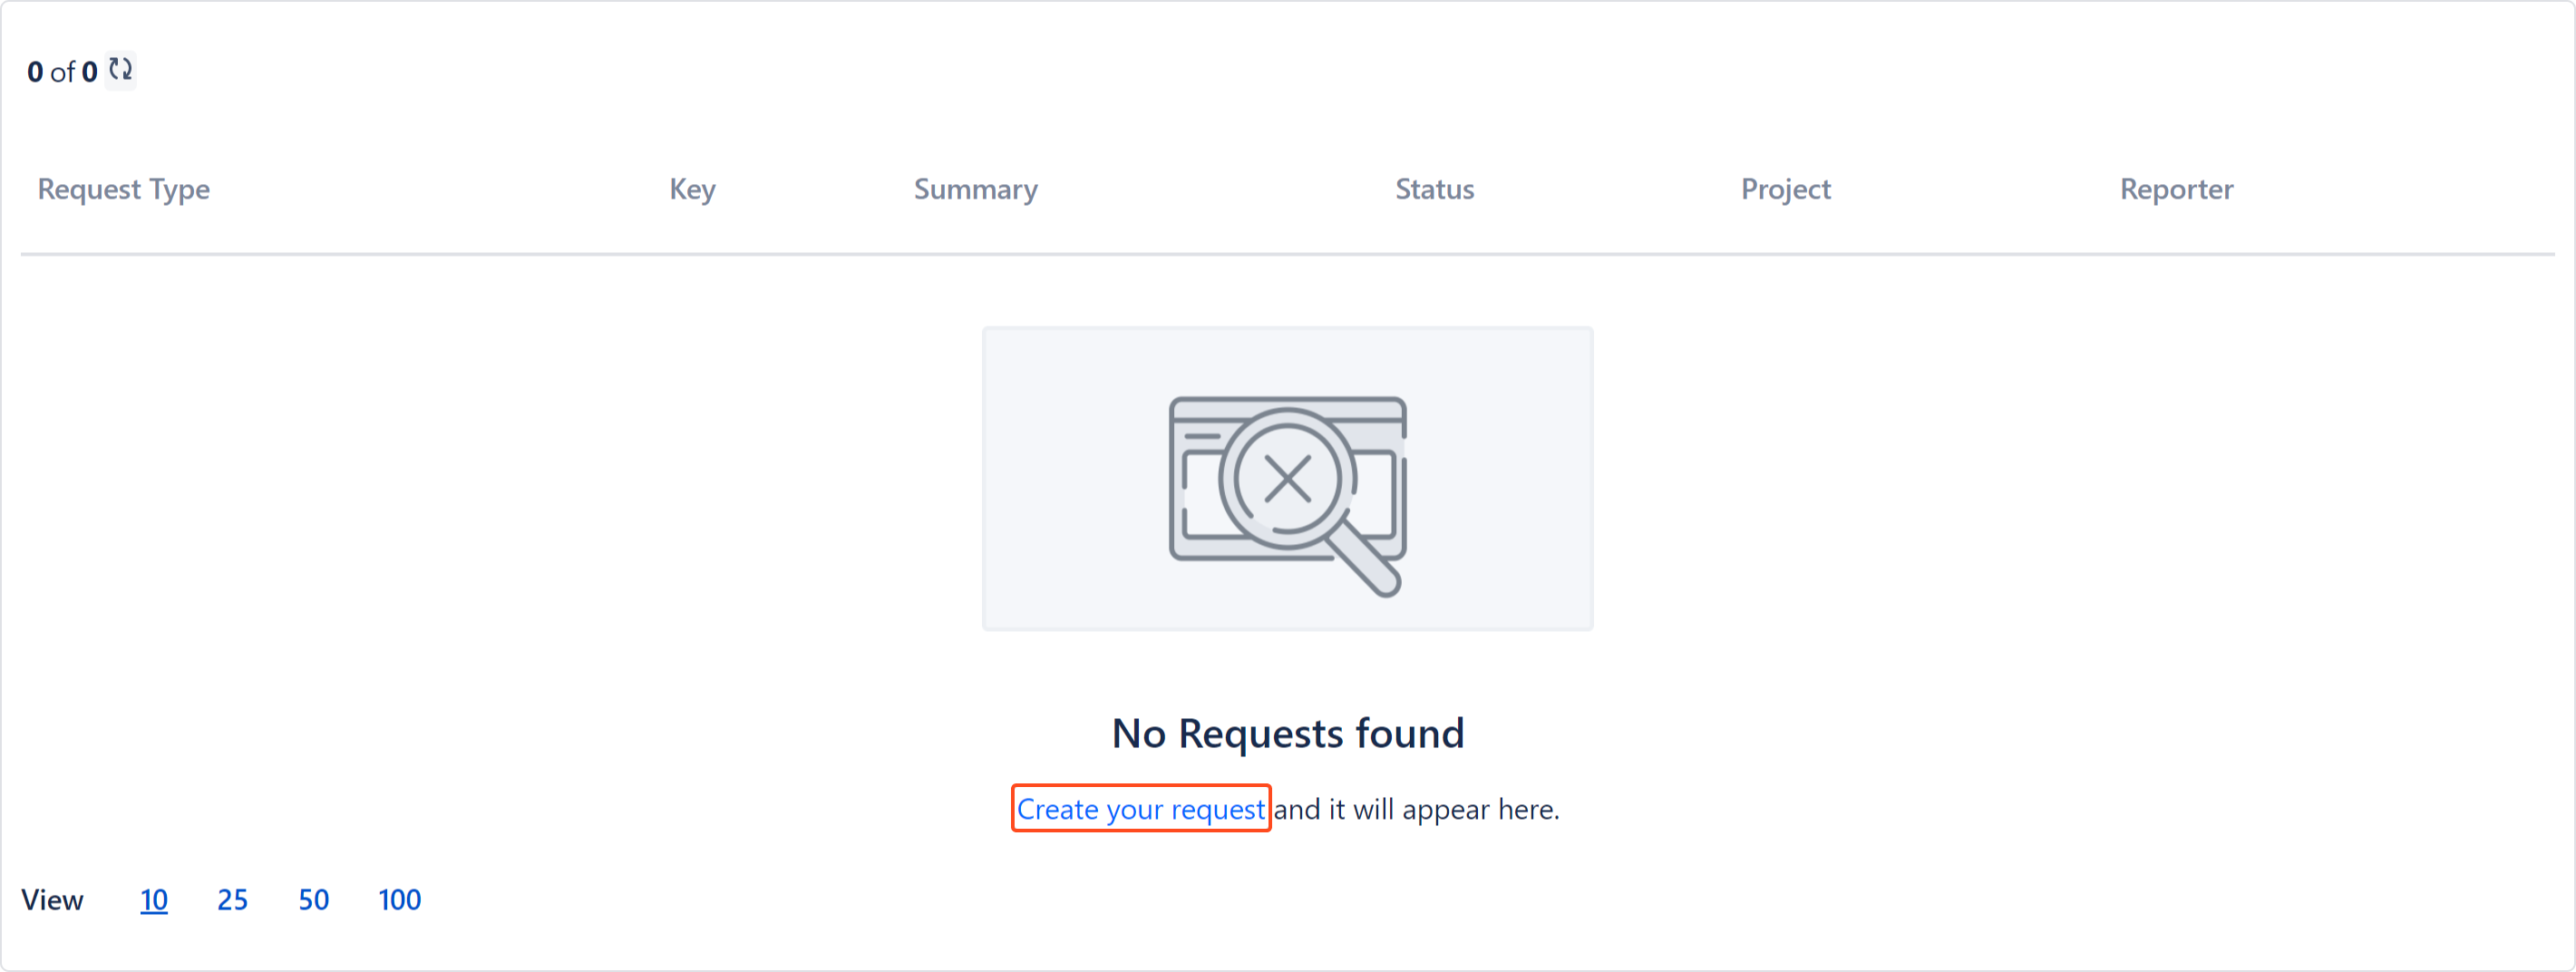
If you do not have any requests yet, go to the Customer Portal and make your first by clicking create a request as shown below.
If you’re having trouble displaying requests with configured Issue Security Level, see the FAQ chapter.
Exporting
You can easily export a list with requests by using the export icon. It’s possible to export files to the following formats:
- CSV
- XLSX
Click on the three dots menu in the upper right corner and select Export to CSV or Export to XLSX from the drop-down list.

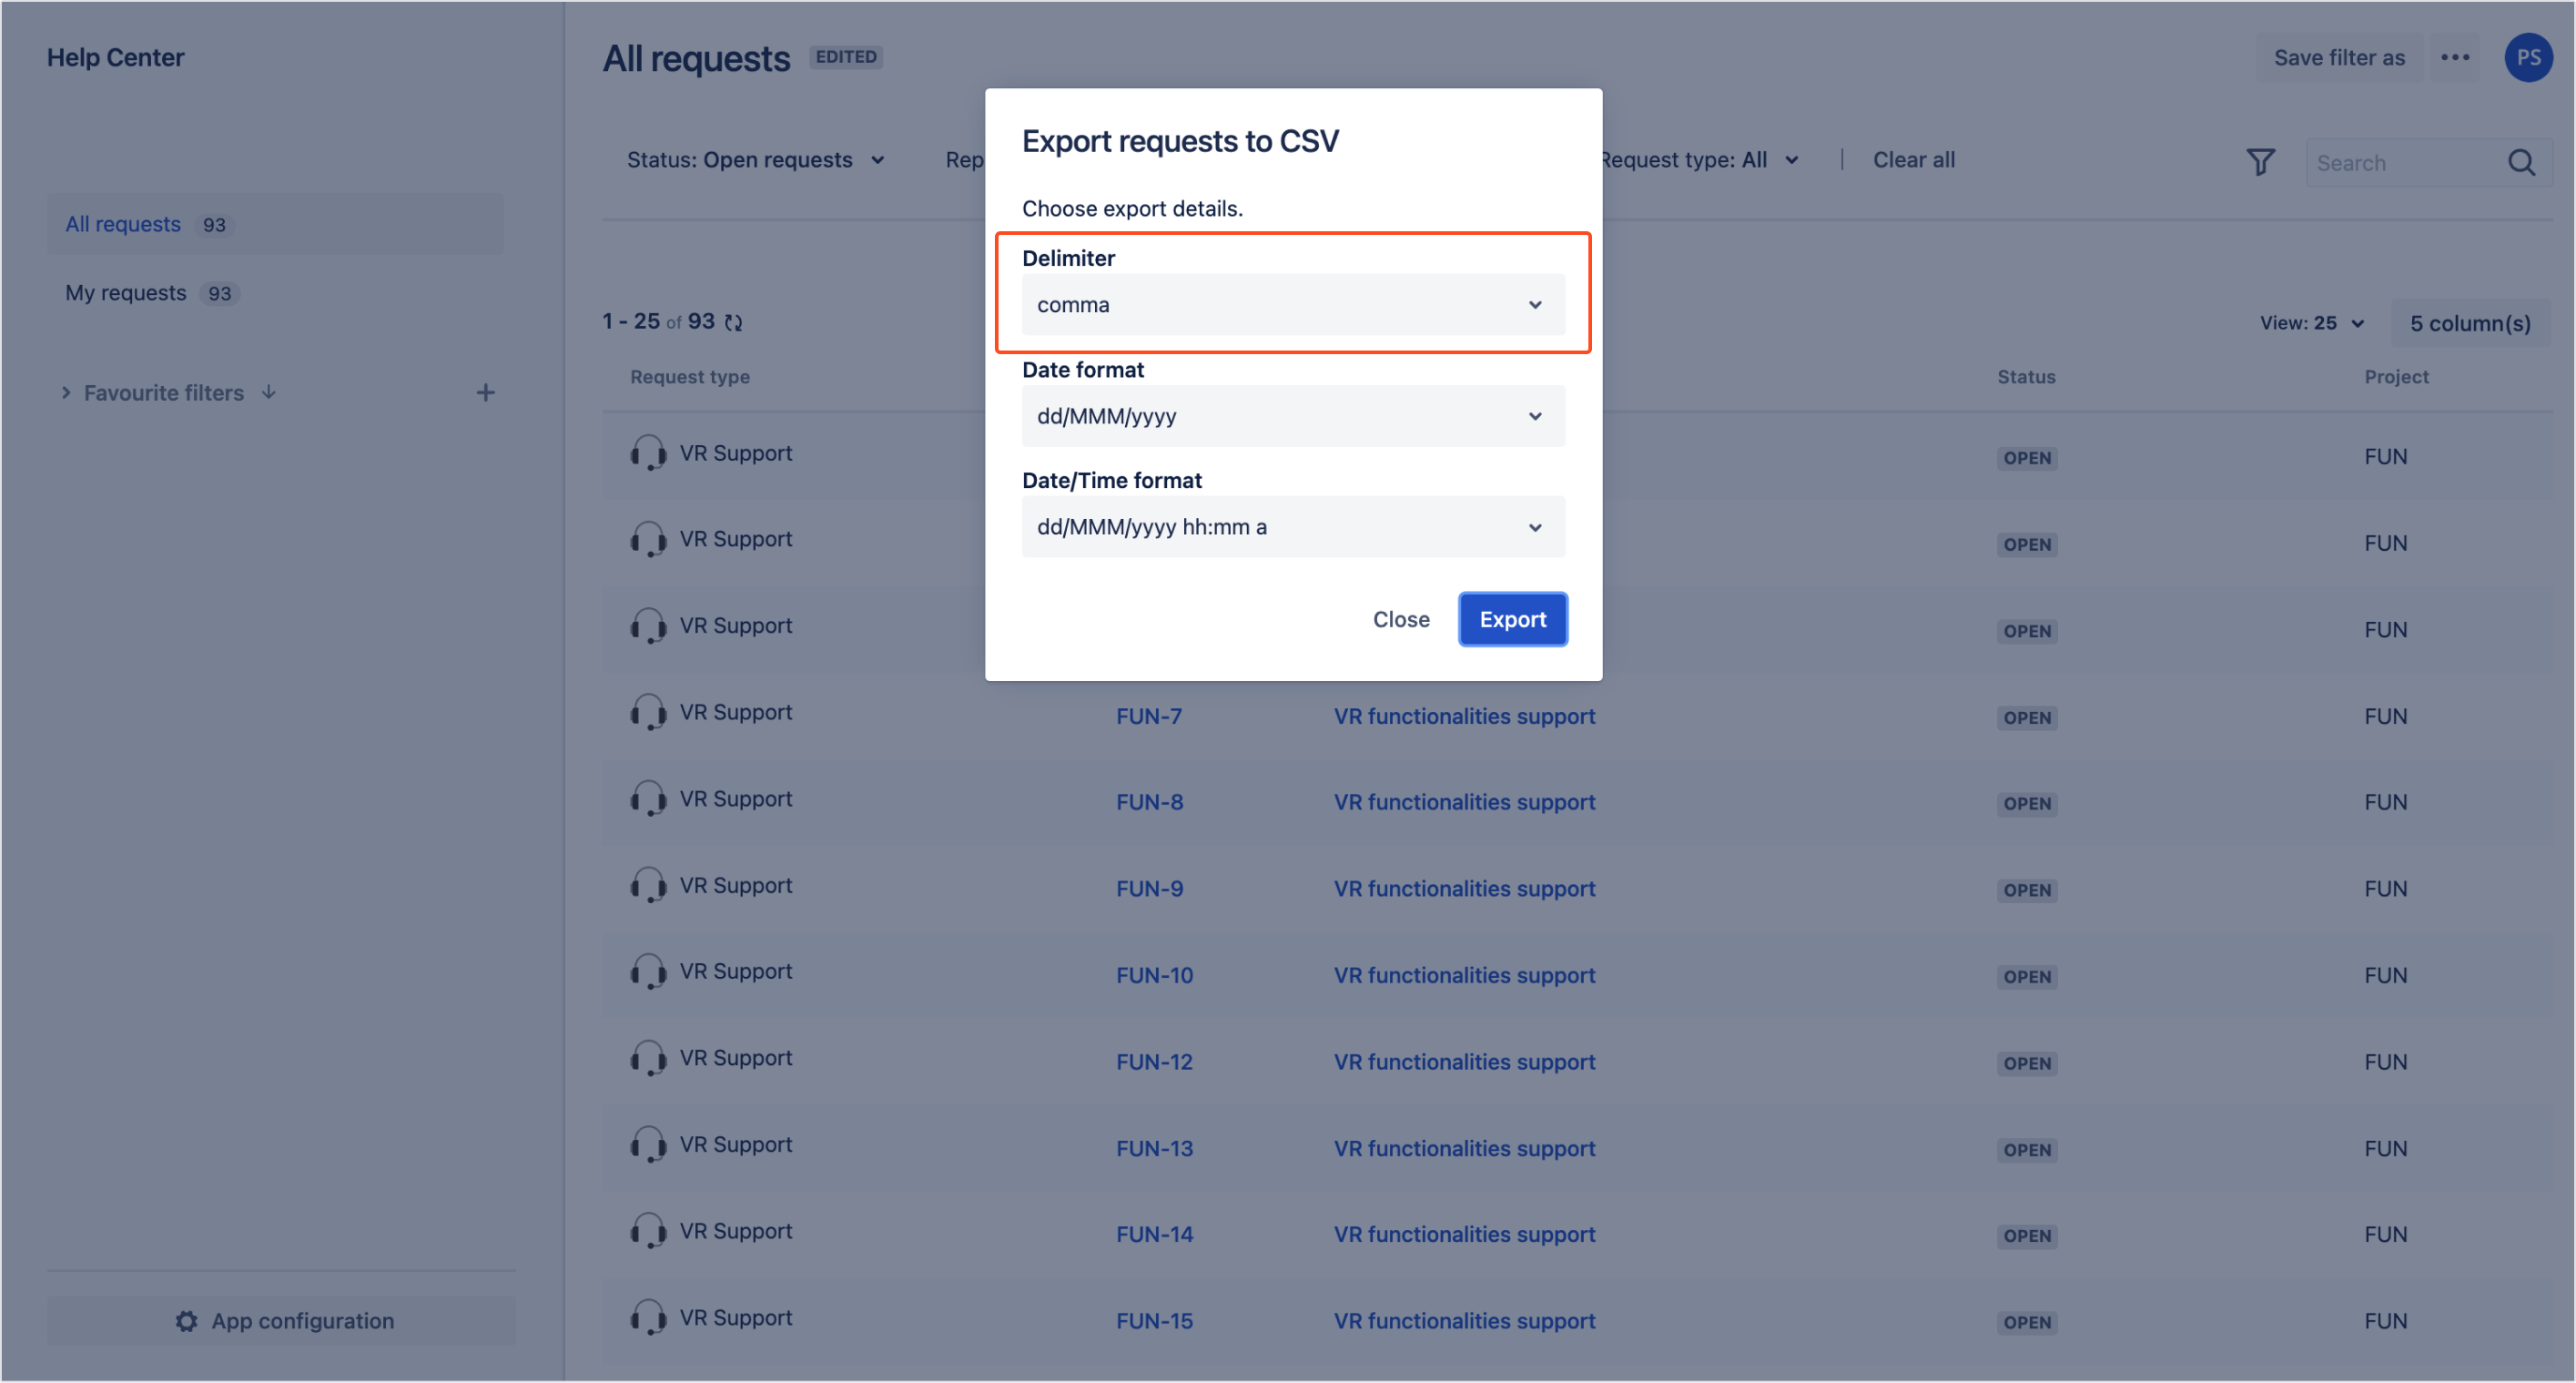
When exporting the list with requests to the CSV and XLSX files you can also select Date format and Date/Time format for your files.

By determining Date format you can select the format from the following options:
- dd/MMM/yyyy (a default option)
- dd/MM/yyyy
- MM/dd/yyyy
Check examples of the displayed Date format options below.
| Date | Date Format Option |
|---|---|
| 28/Nov/2023 | dd/MMM/yyyy |
| 28/11/2023 | dd/MM/yyyy |
| 11/28/2023 | MM/dd/yyyy |
By determining Date/Time format you can select the format from the following options:
- dd/MMM/yyyy hh:mm a (a default option)
- dd/MM/yyyy hh:mm a
- MM/dd/yyyy hh:mm a
- dd/MM/yyyy HH:mm
- MM/dd/yyyy HH:mm
Check examples of the displayed Date/Time format options below.
| Date/ Time | Date/ Time Format Option |
|---|---|
| 28/Nov/2023 7:40 AM | dd/MMM/yyyy hh:mm a |
| 28/11/2023 7:40 AM | dd/MM/yyyy hh:mm a |
| 11/28/2023 7:40 AM | MM/dd/yyyy hh:mm a |
| 28/11/2023 7:40 | dd/MM/yyyy HH:mm |
| 11/28/2023 7:40 | MM/dd/yyyy HH:mm |
- The exported CSV file contains columns and field values which were visible on the requests screen.
- The maximum number of requests you can export at one go is set by the Jira Administrator.
If you can’t find the answer you need in our documentation, raise a support request. Include as much information as possible to help our support team resolve your issue faster.
