- User's guide
- Project view
- Navigation
- Relations
- Requirement
- Test Case
- Test Plan
- Test Execution
- Defect
- REST API
- REST API
- Authentication
- Test Key
- Jira REST API
- Requirements
- Test Case
- Test Plan
- Test Execution
- Test Case Execution
- Defects
- Tree Structure
- Example of use
Create Defect
This chapter provides information about creating Defects.
There are three places where you can create a Defect:
Wherever you decide to report a bug or error, you will always have two options:
- to report a new defect or
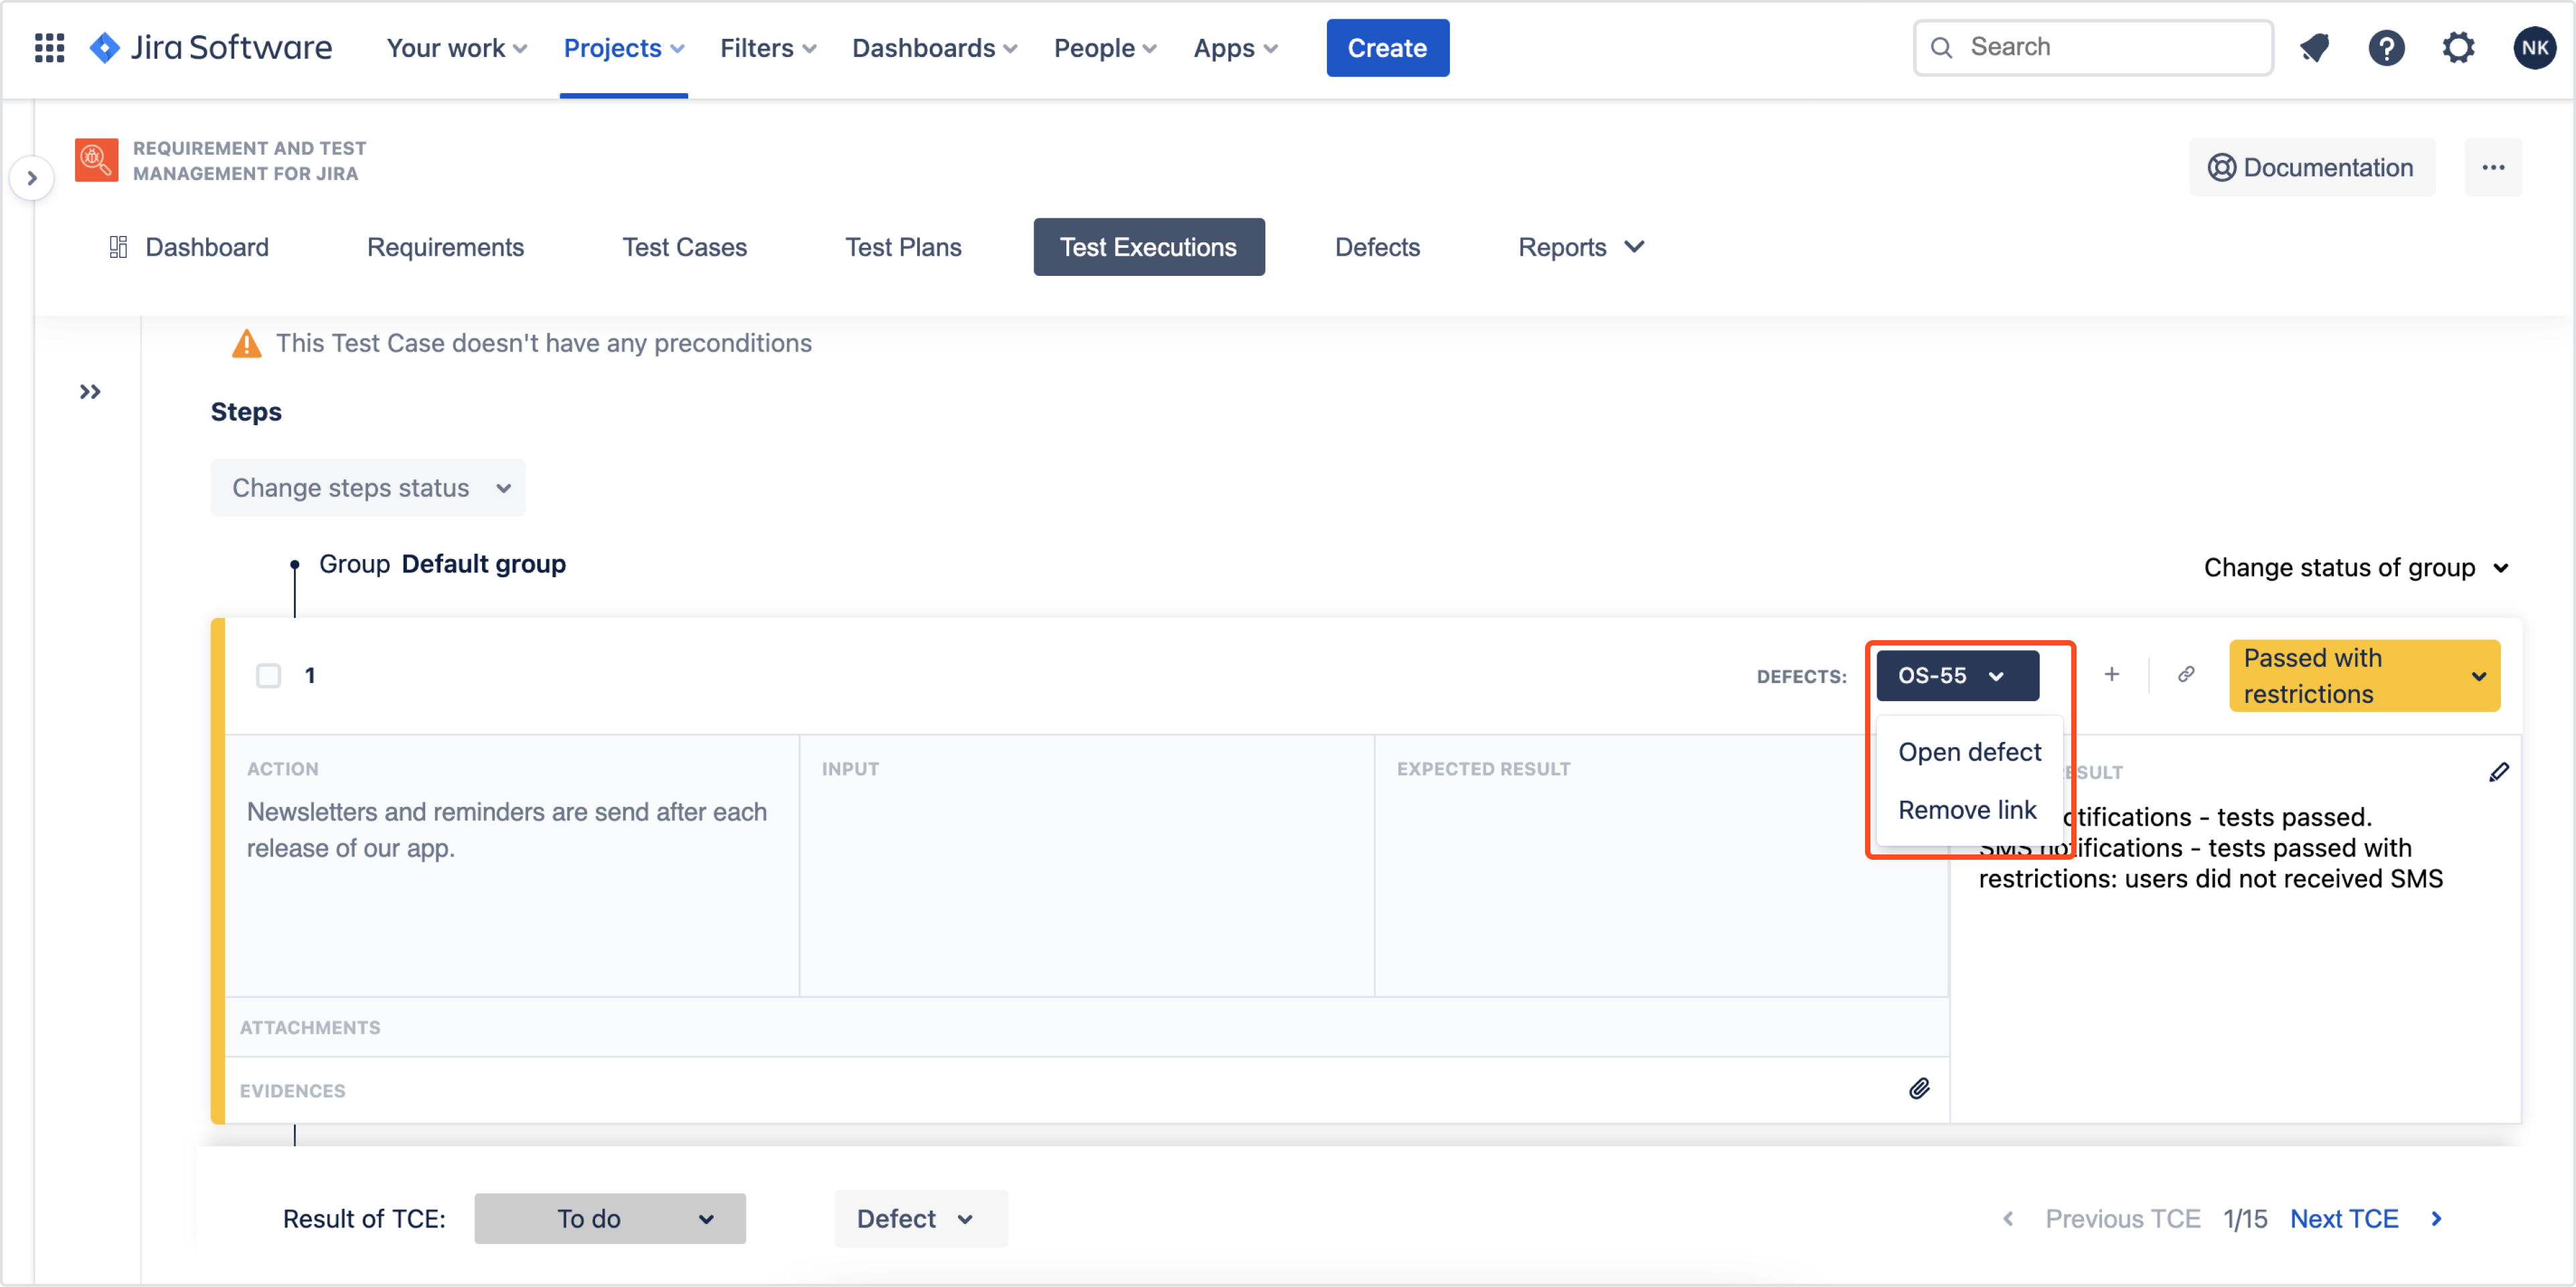
- use already created defect and link it with target TE or TCE
Create a defect in Test Case Execution’s steps
To create a Defect, that appeared in TCE step:
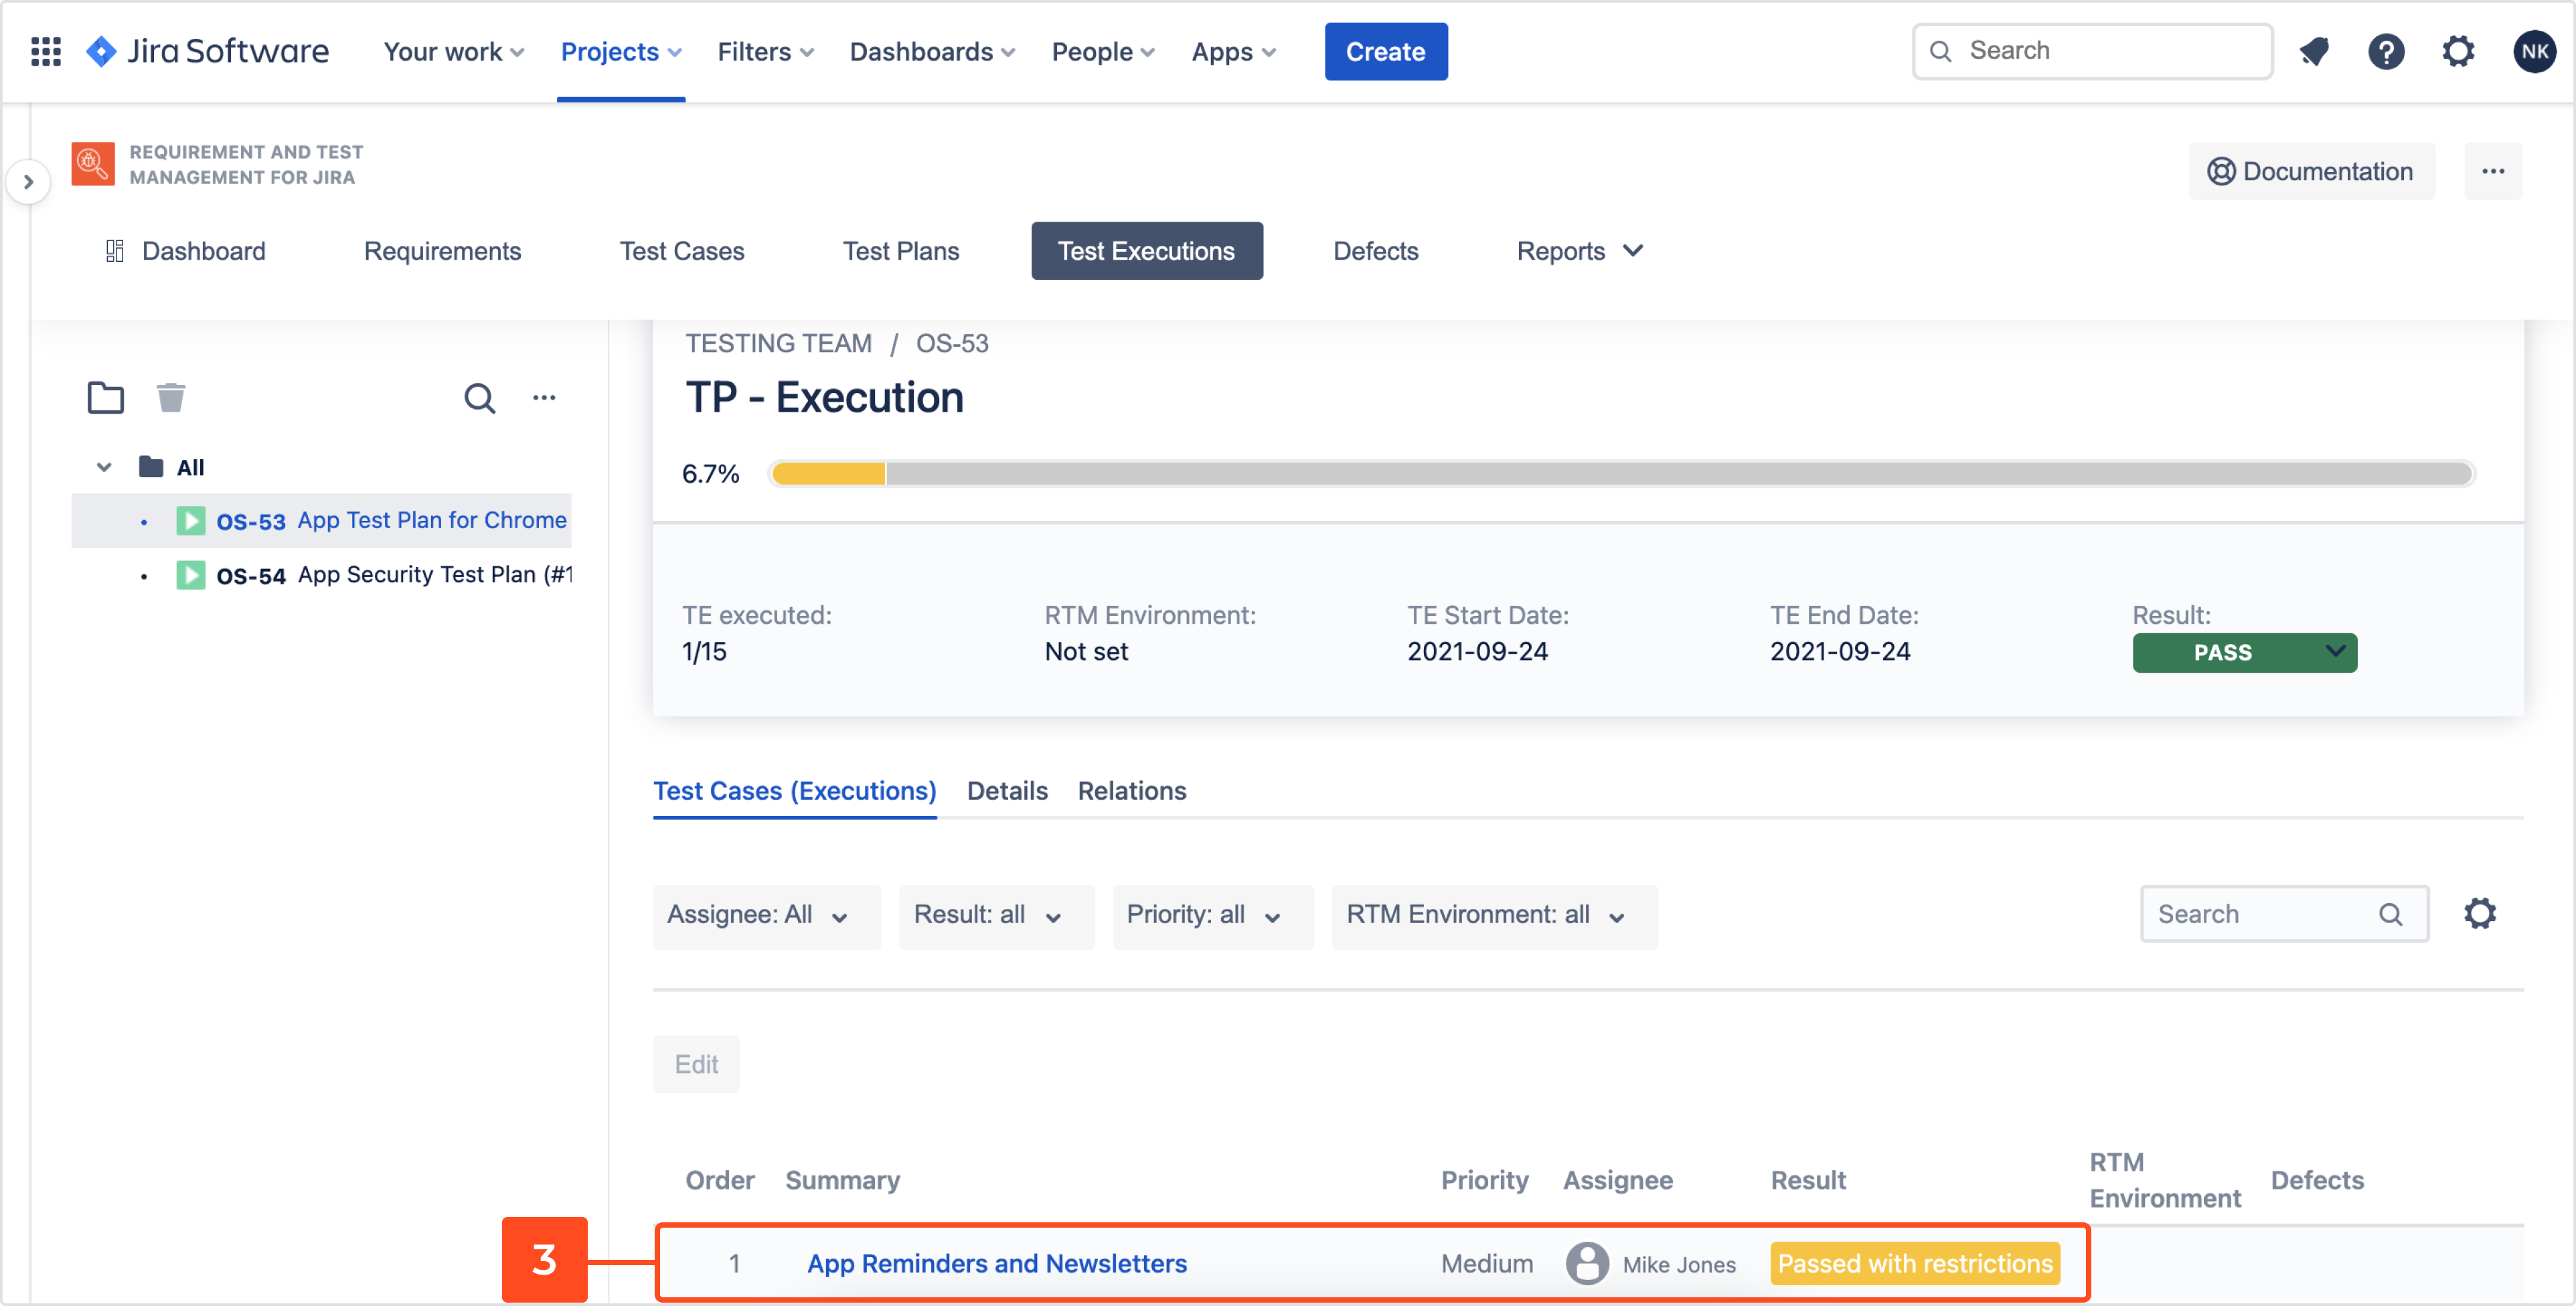
- Navigate to Project > Test Management > Test Executions.
- Choose Test Execution.
- Click on target Test Case Execution.
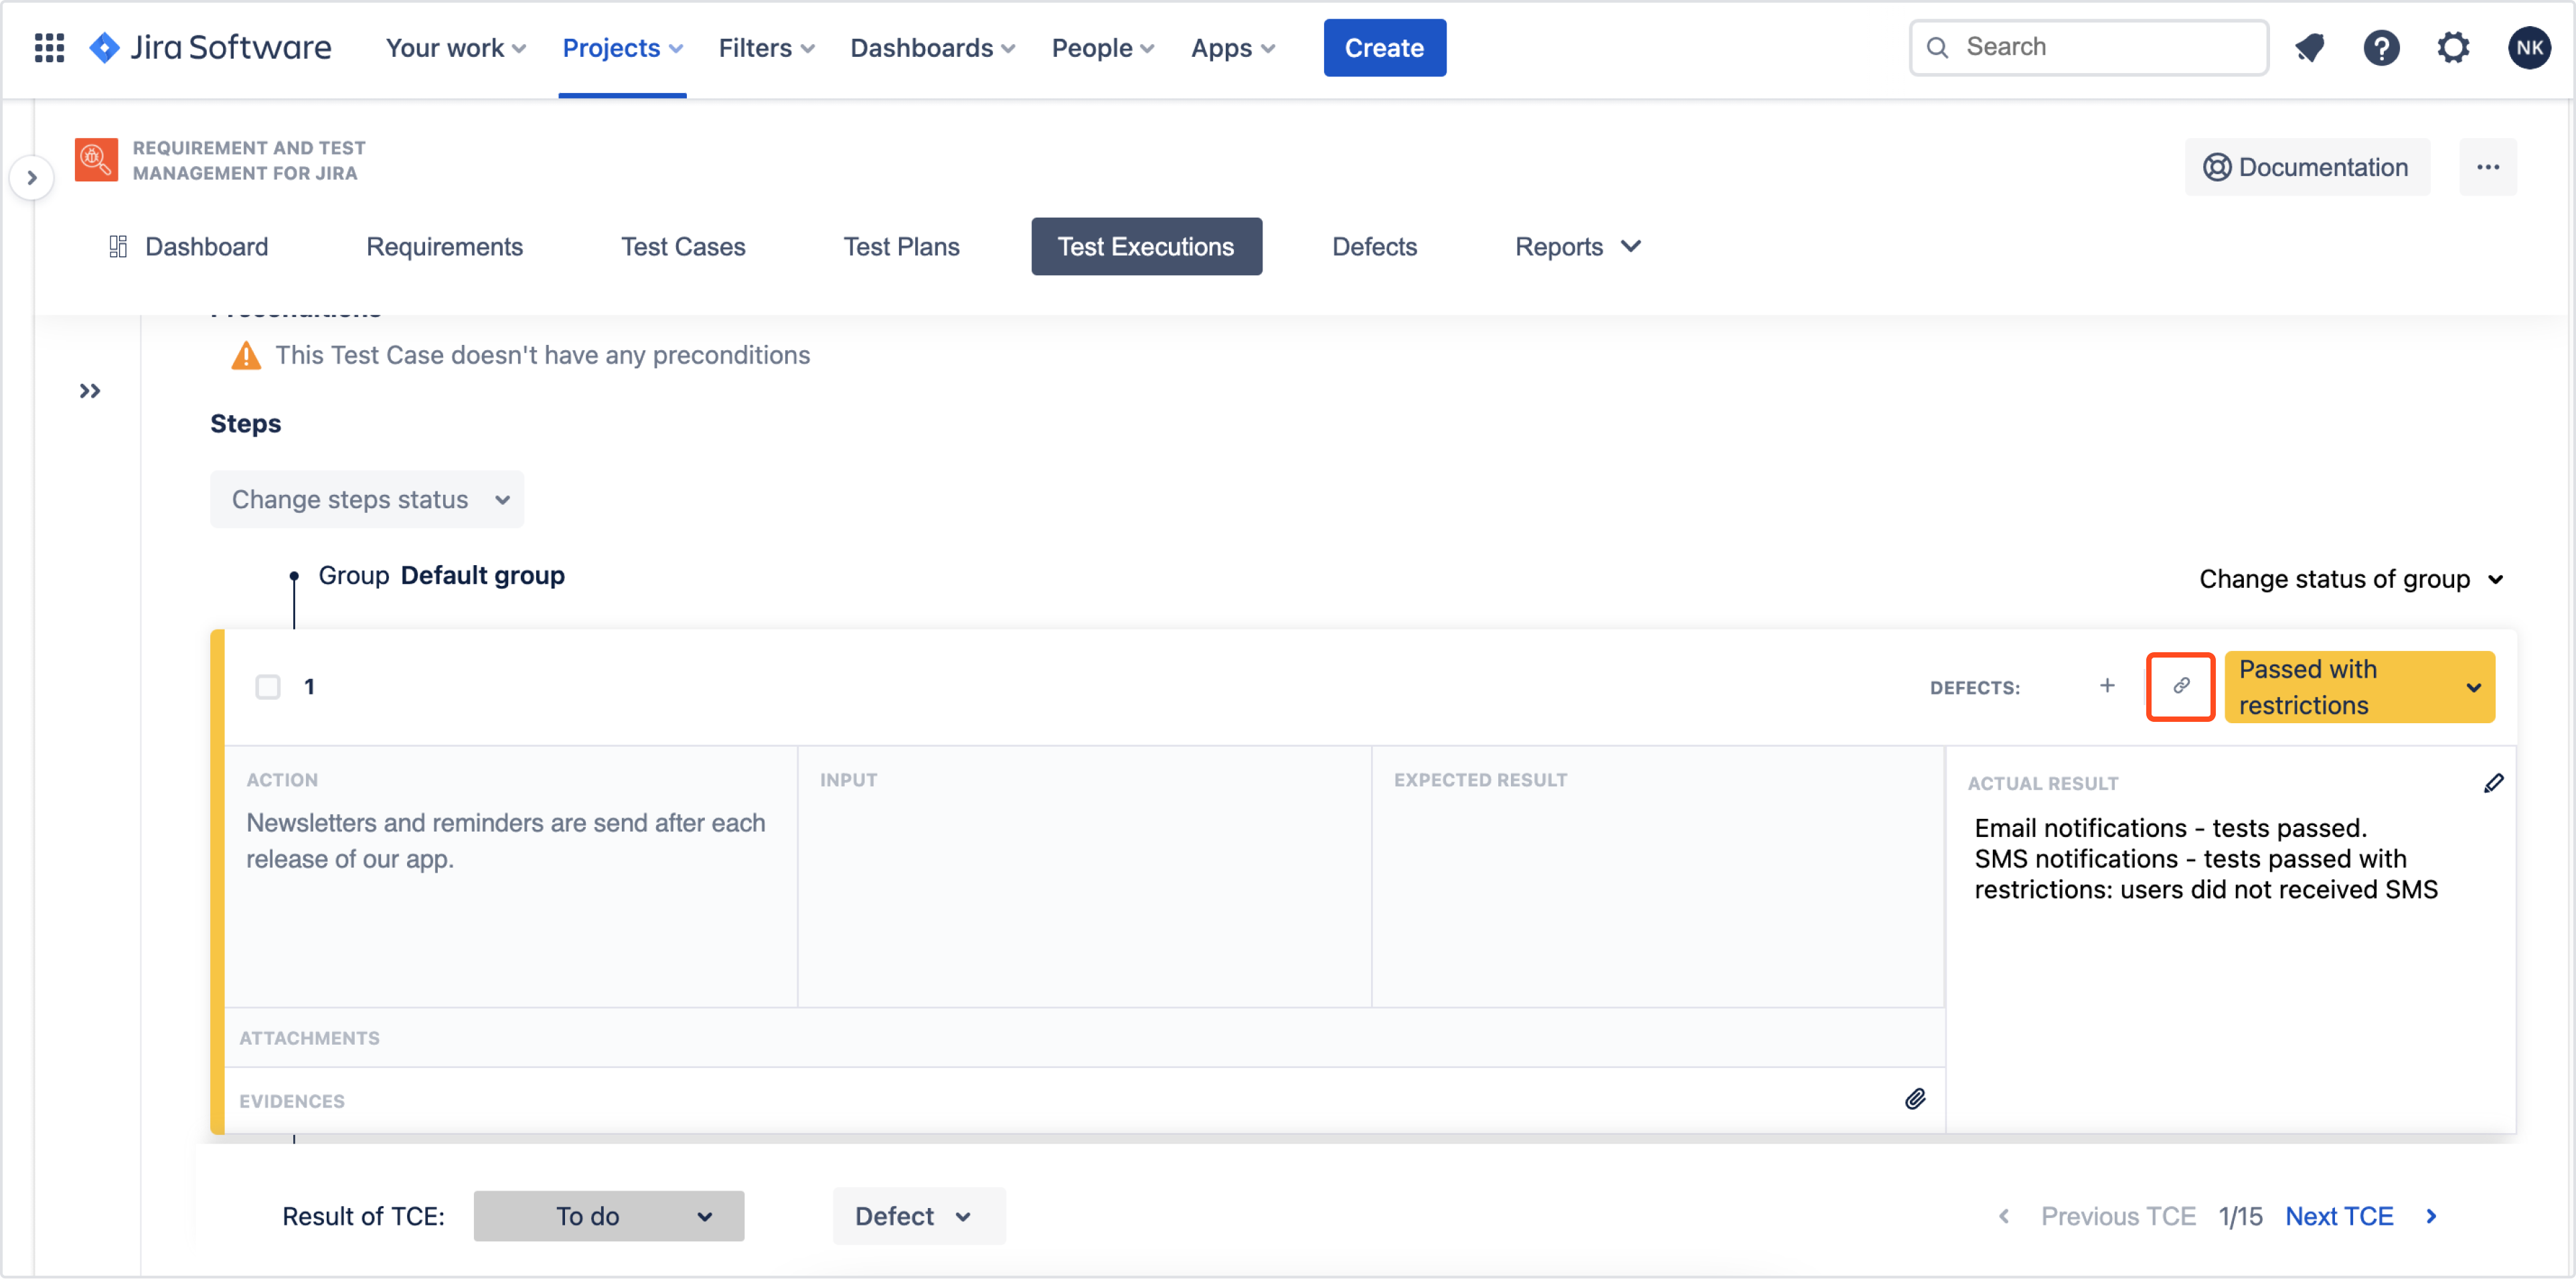
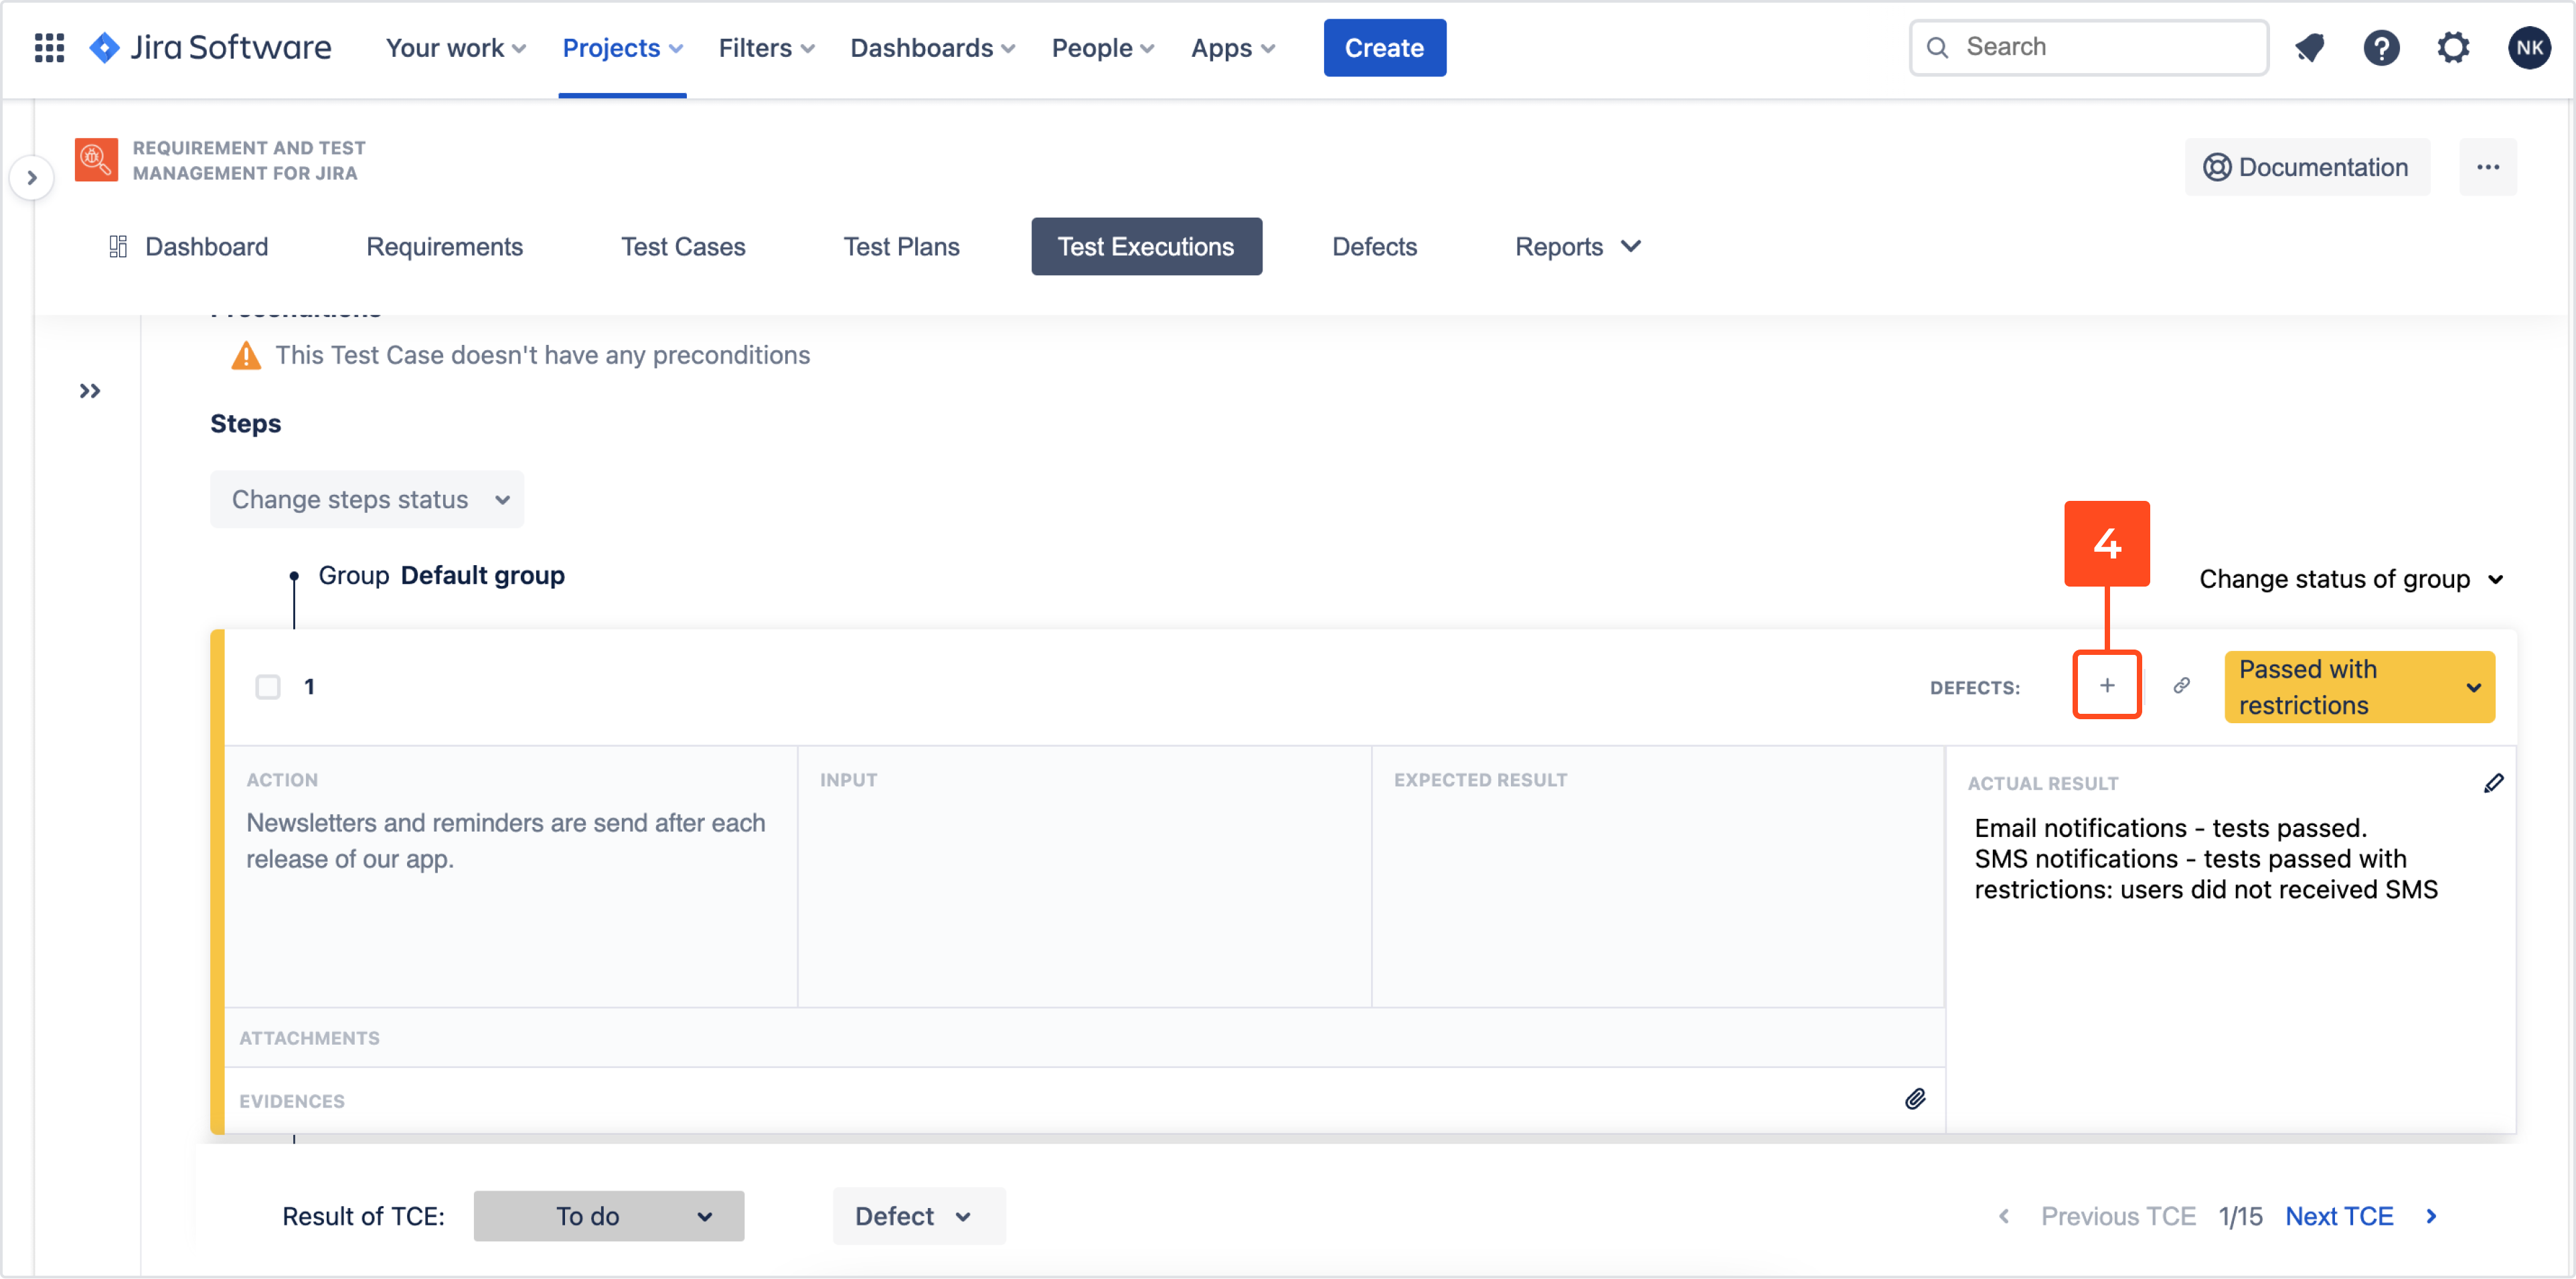
- In the Steps tab, click + on the right side of Defect section. Create defect dialog appears.
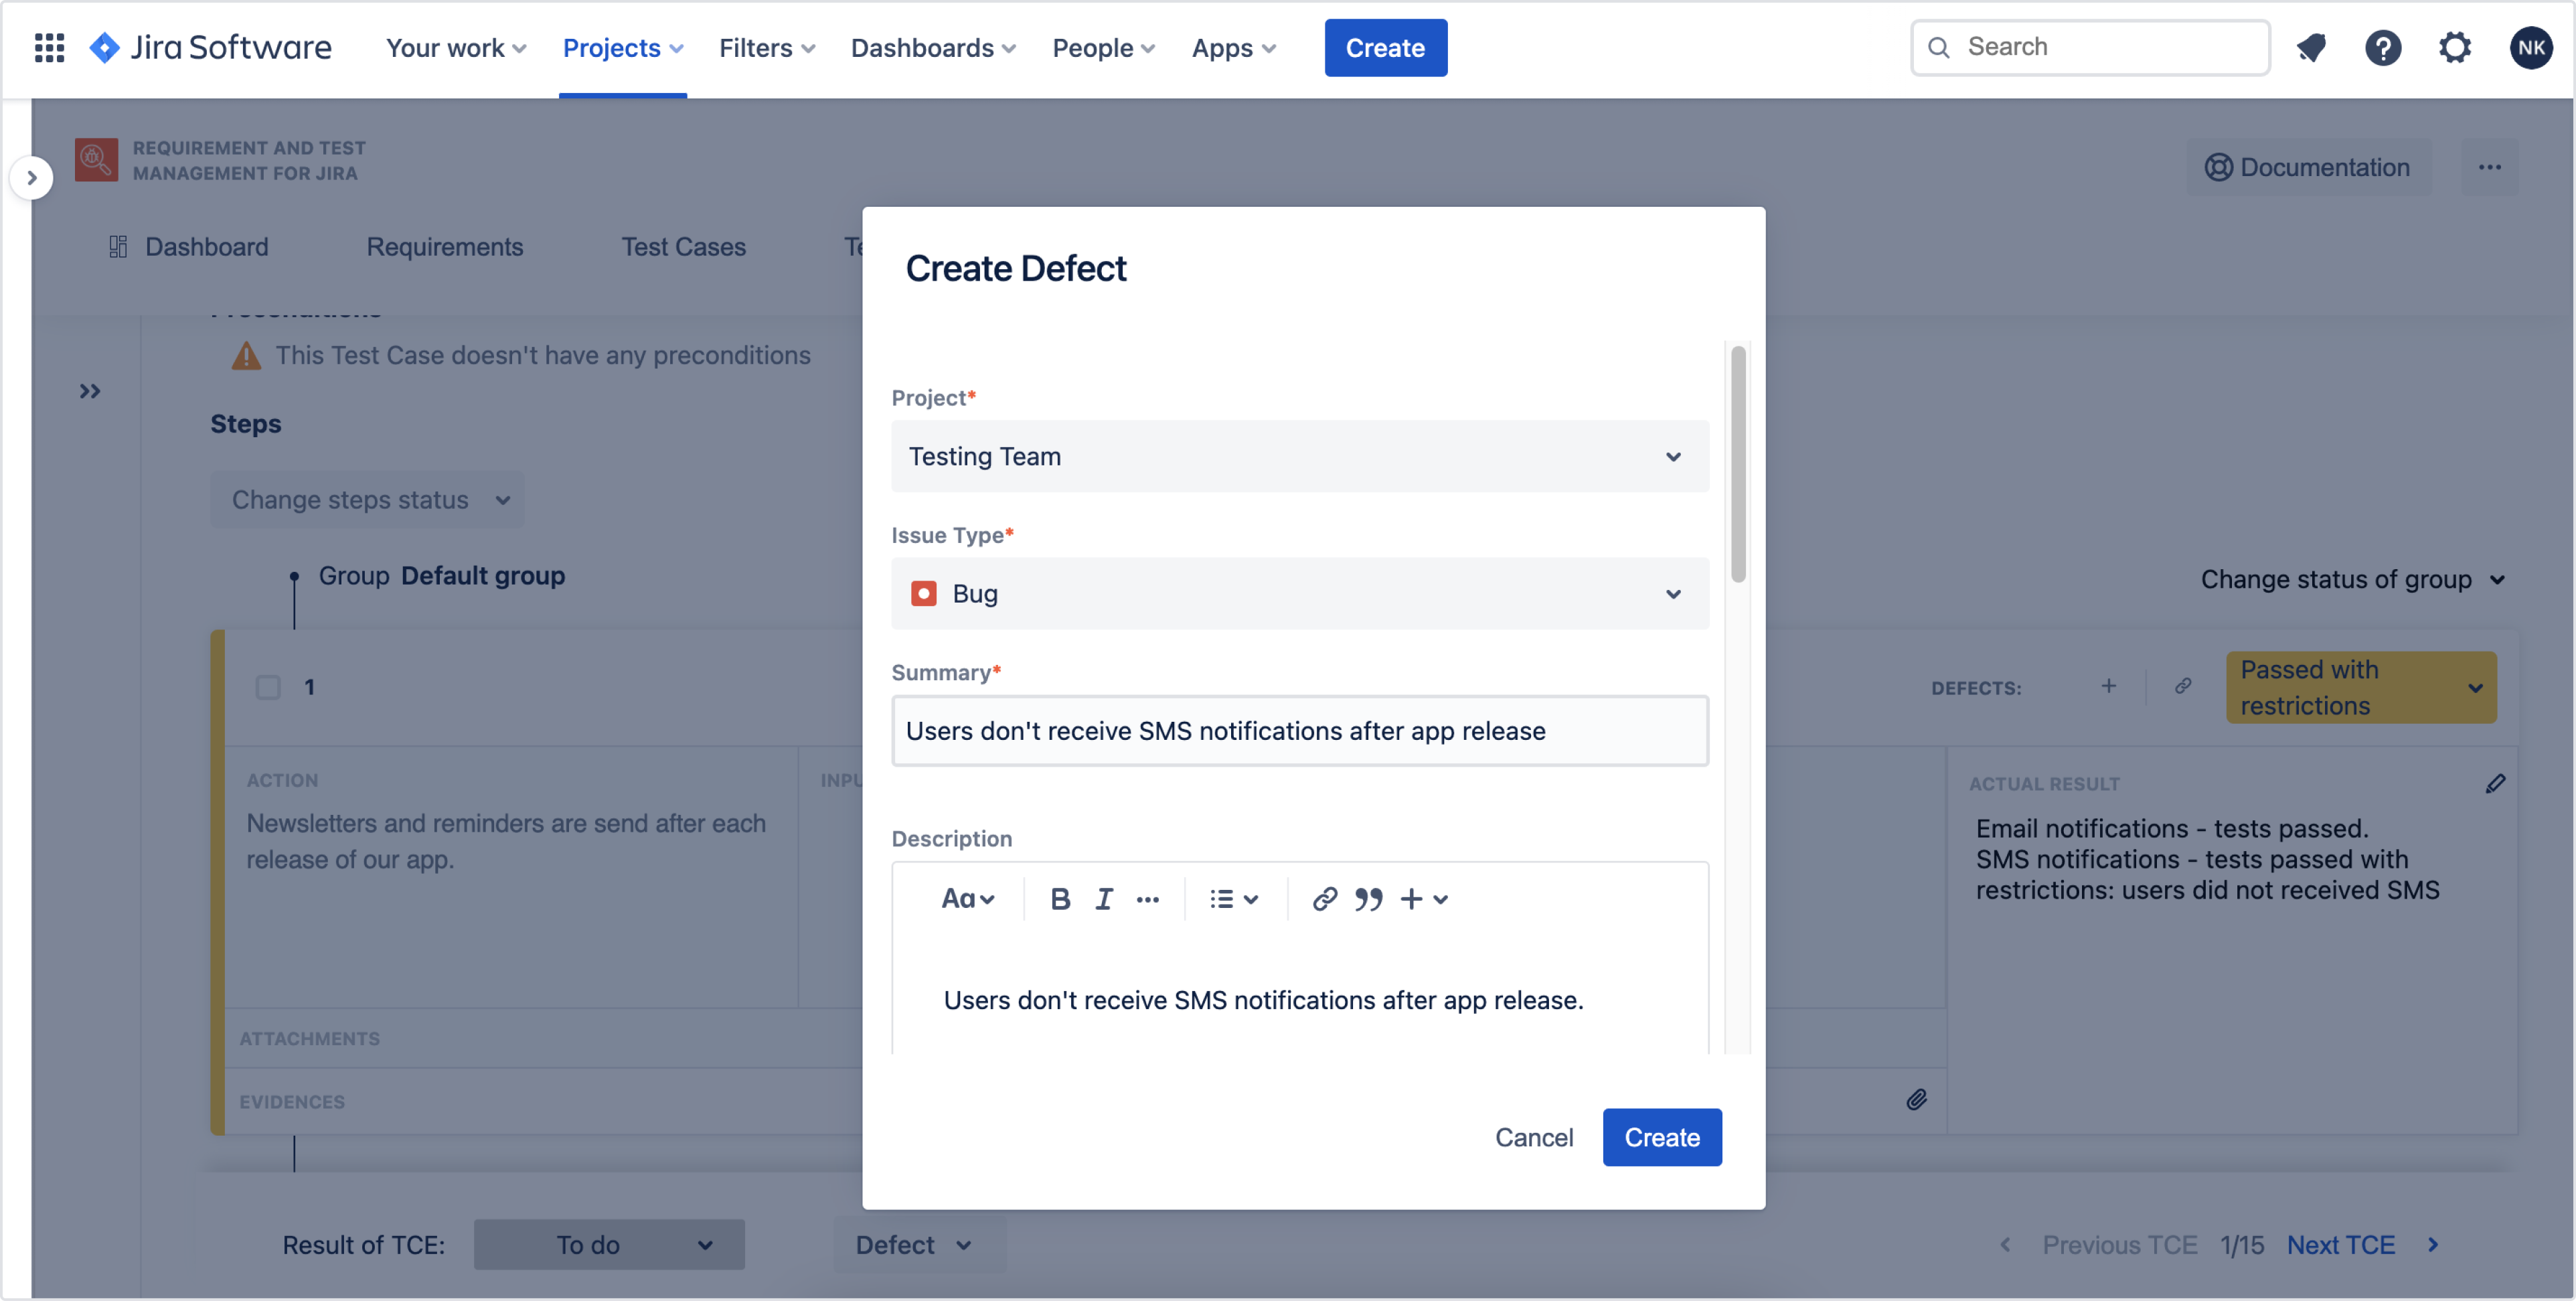
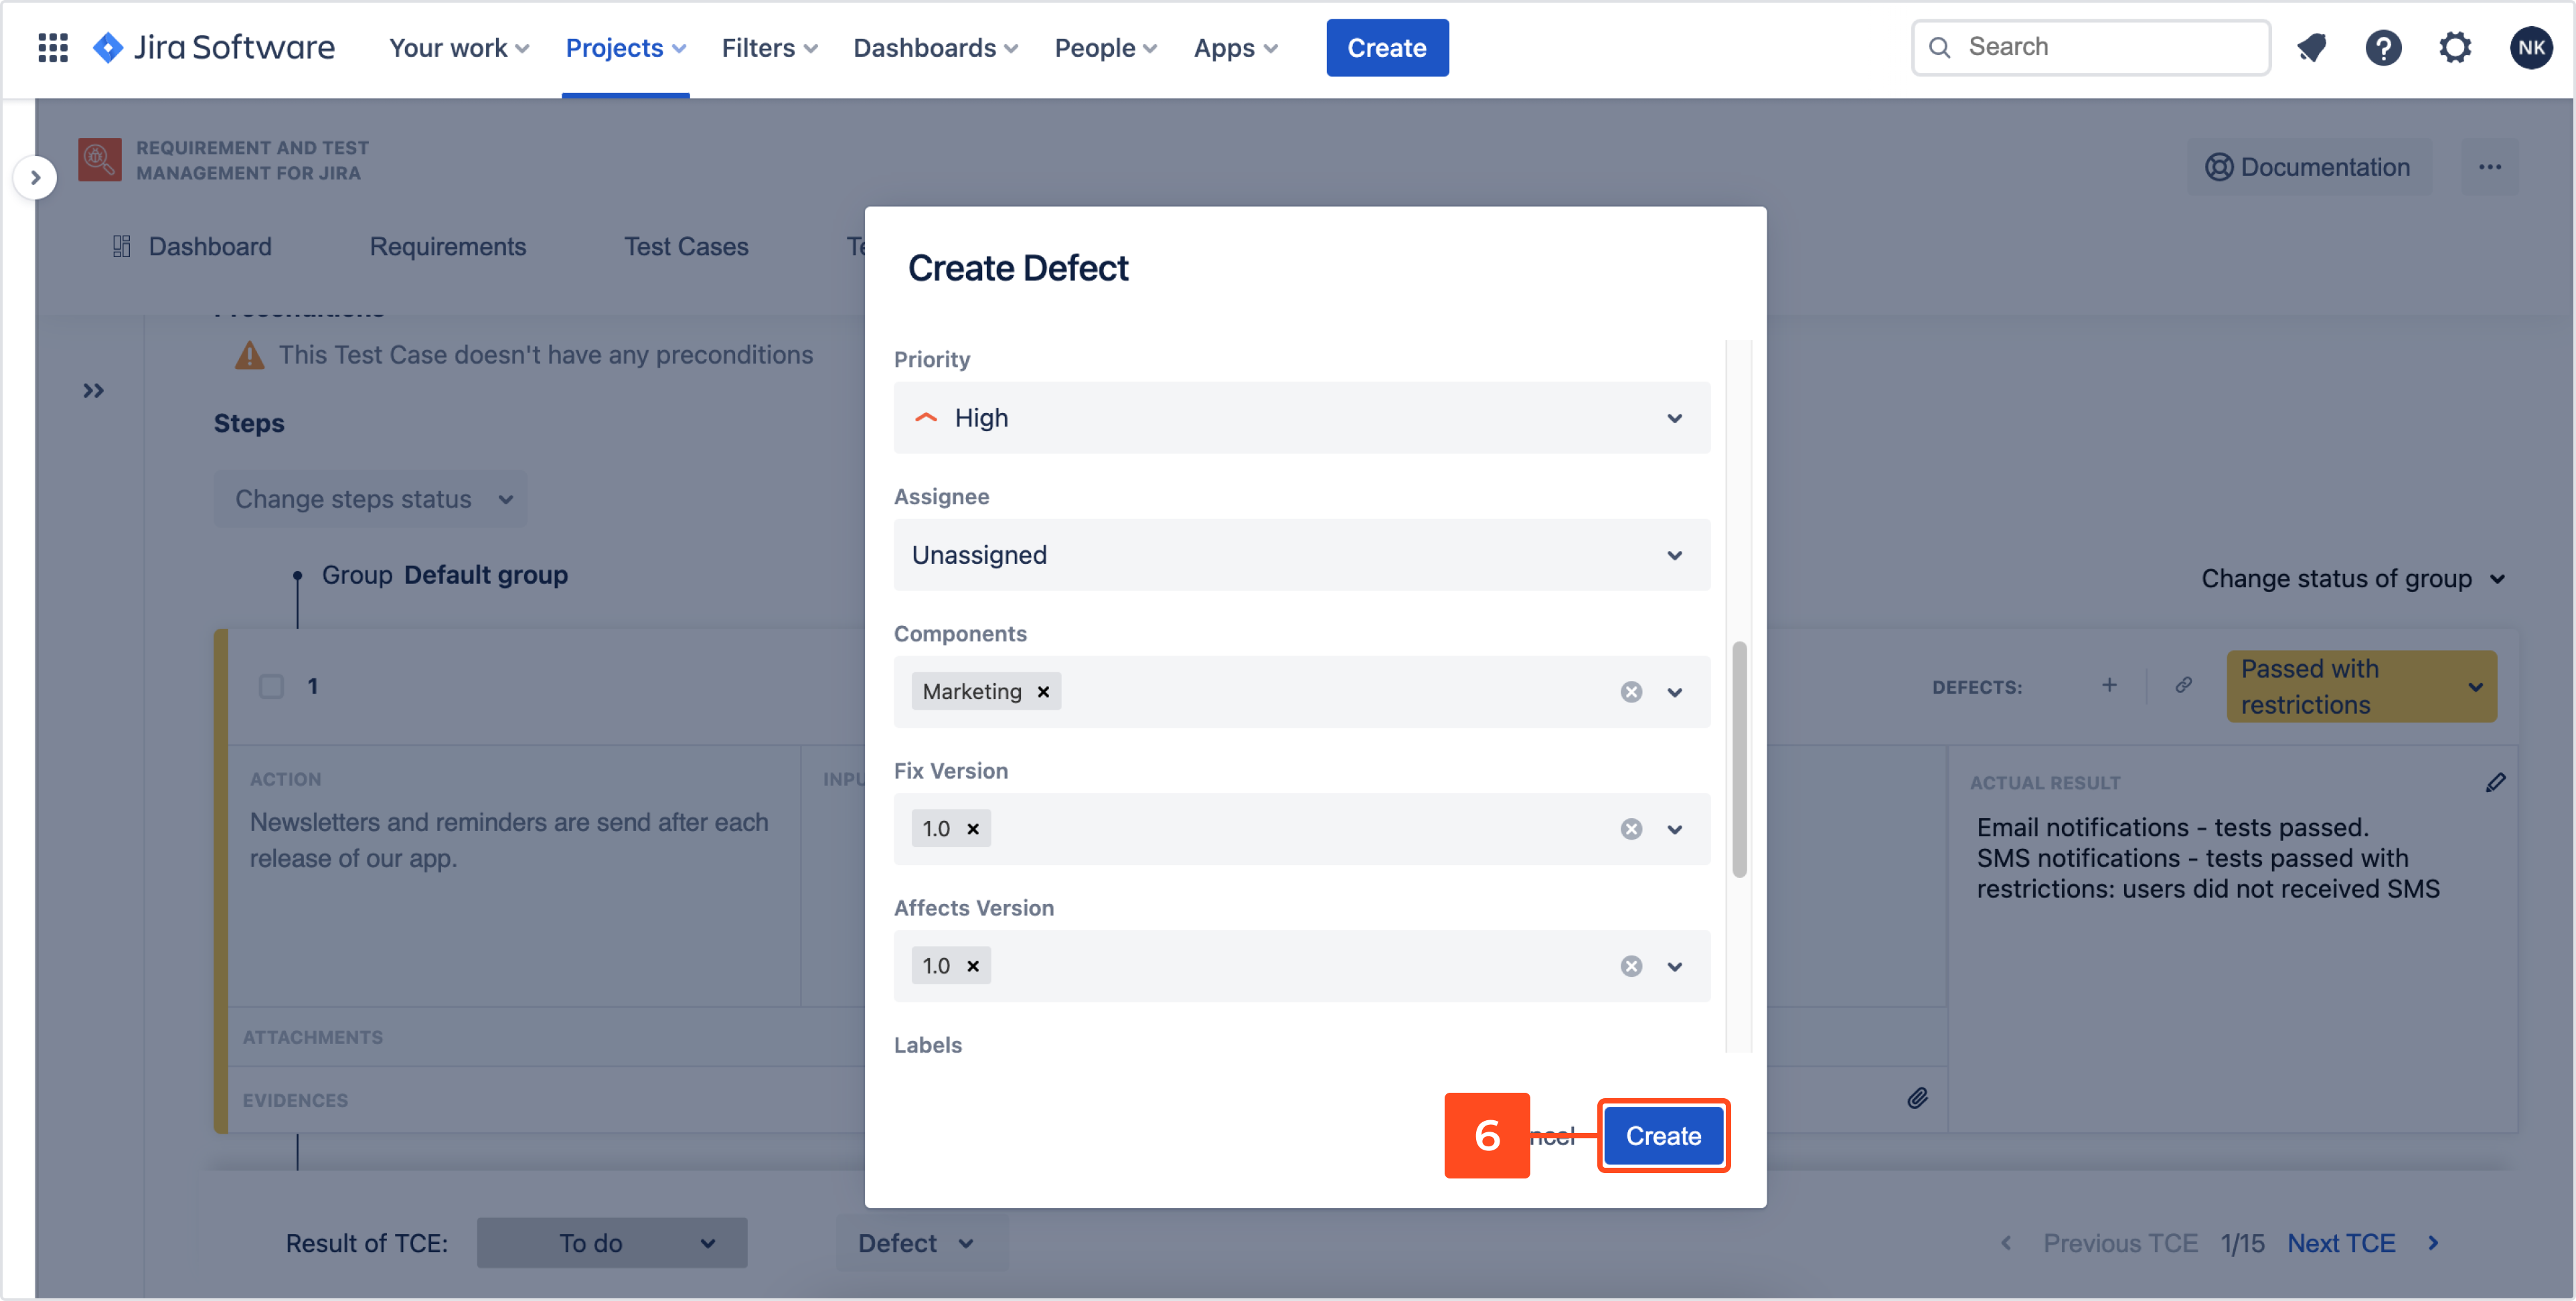
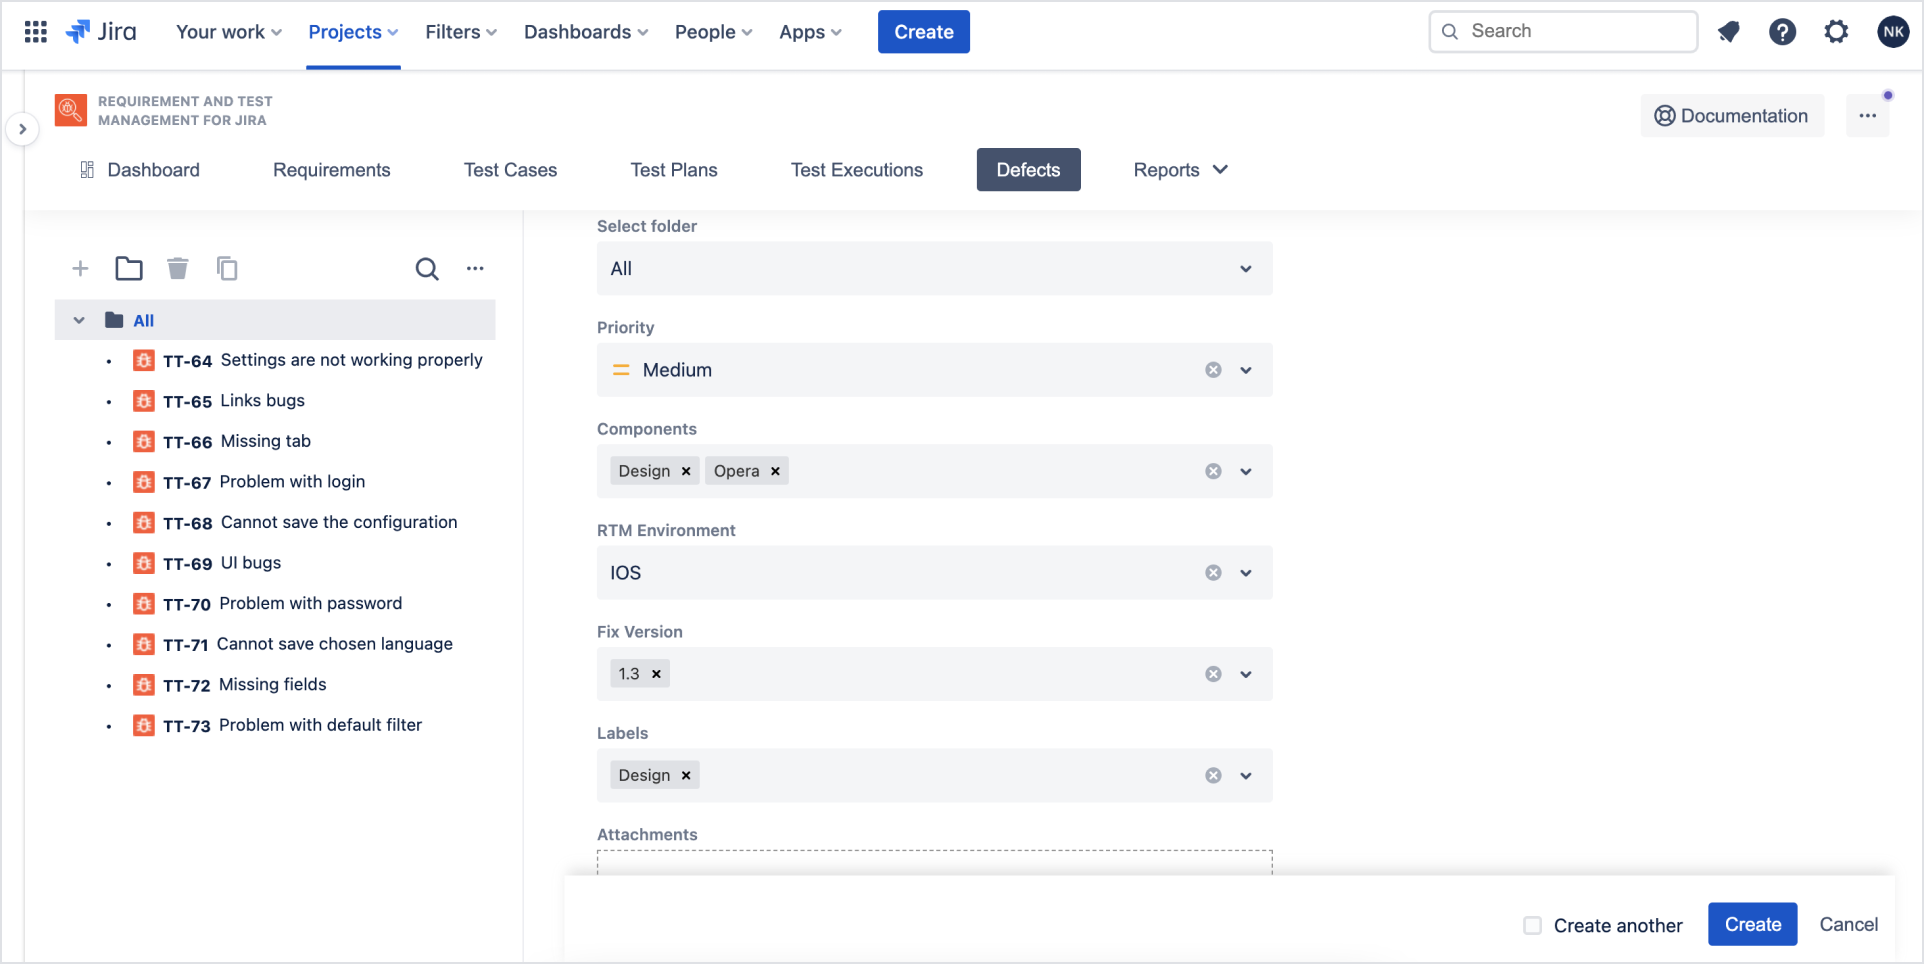
- Complete following fields: Summary, Description, Assignee, Select folder, Priority, Components, RTM Environment, Fix version, Labels, Attachments.
- Click Create.
Result
Defect has been created.
Create a defect in Test Case Execution
To create a defect that appeared in TCE:
- Navigate to Project > Test Management > Test Executions.
- Choose Test Execution.
- Click on target Test Case Execution.
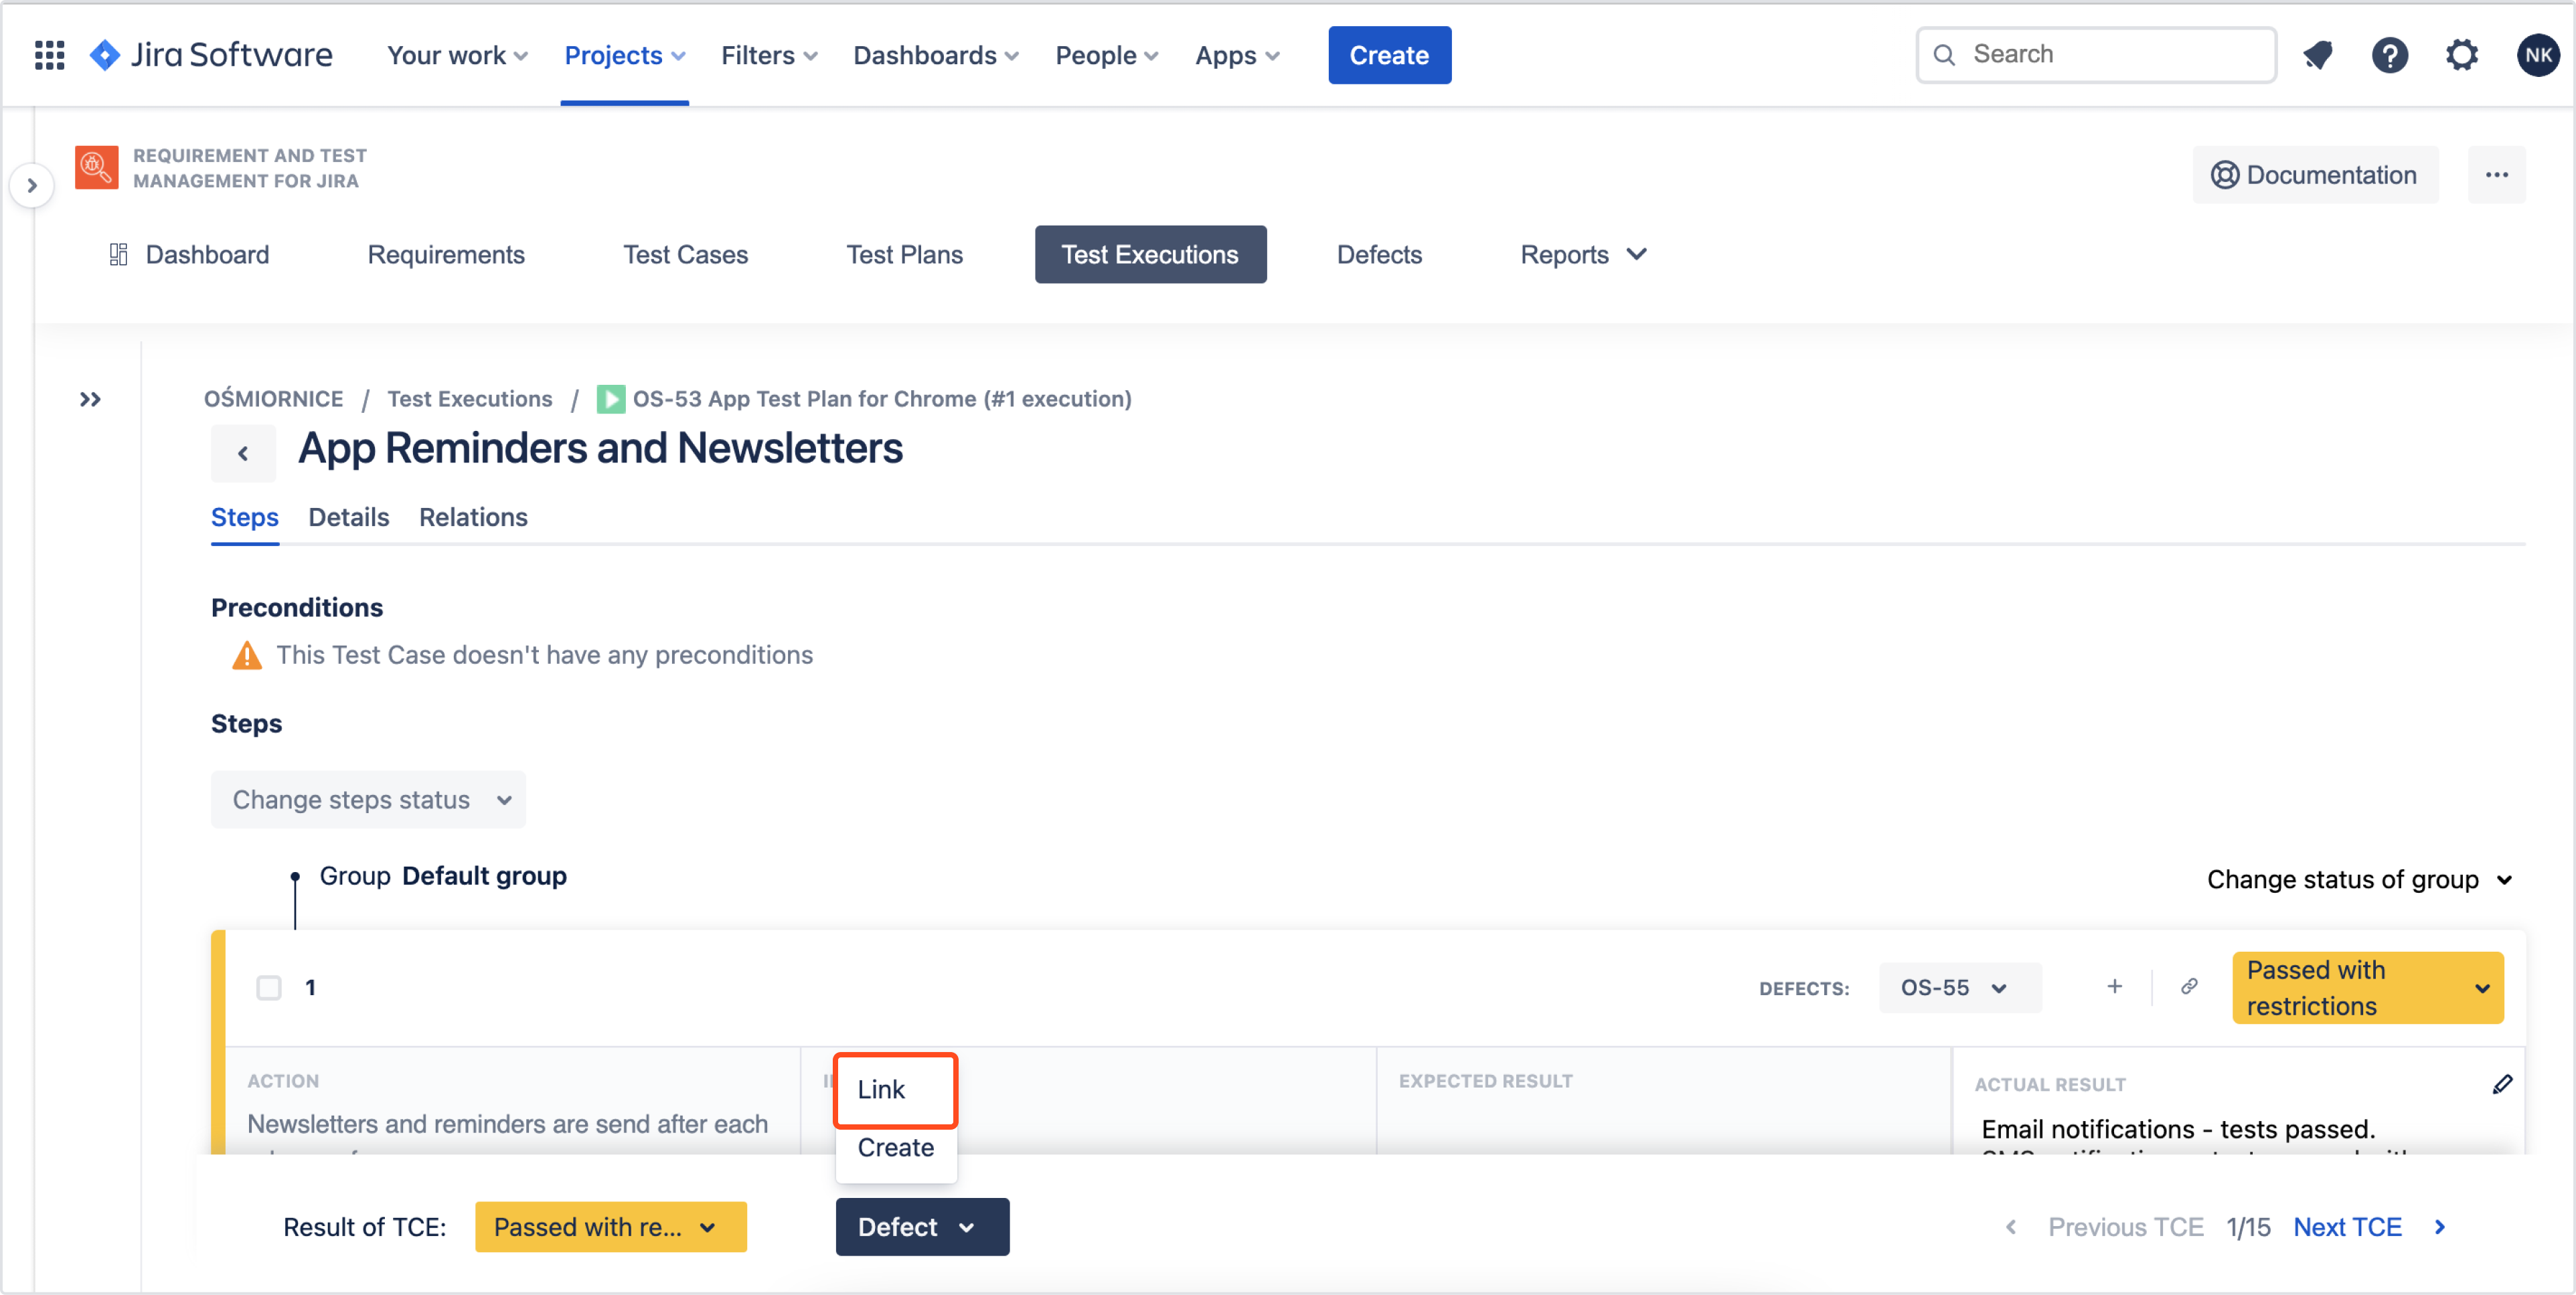
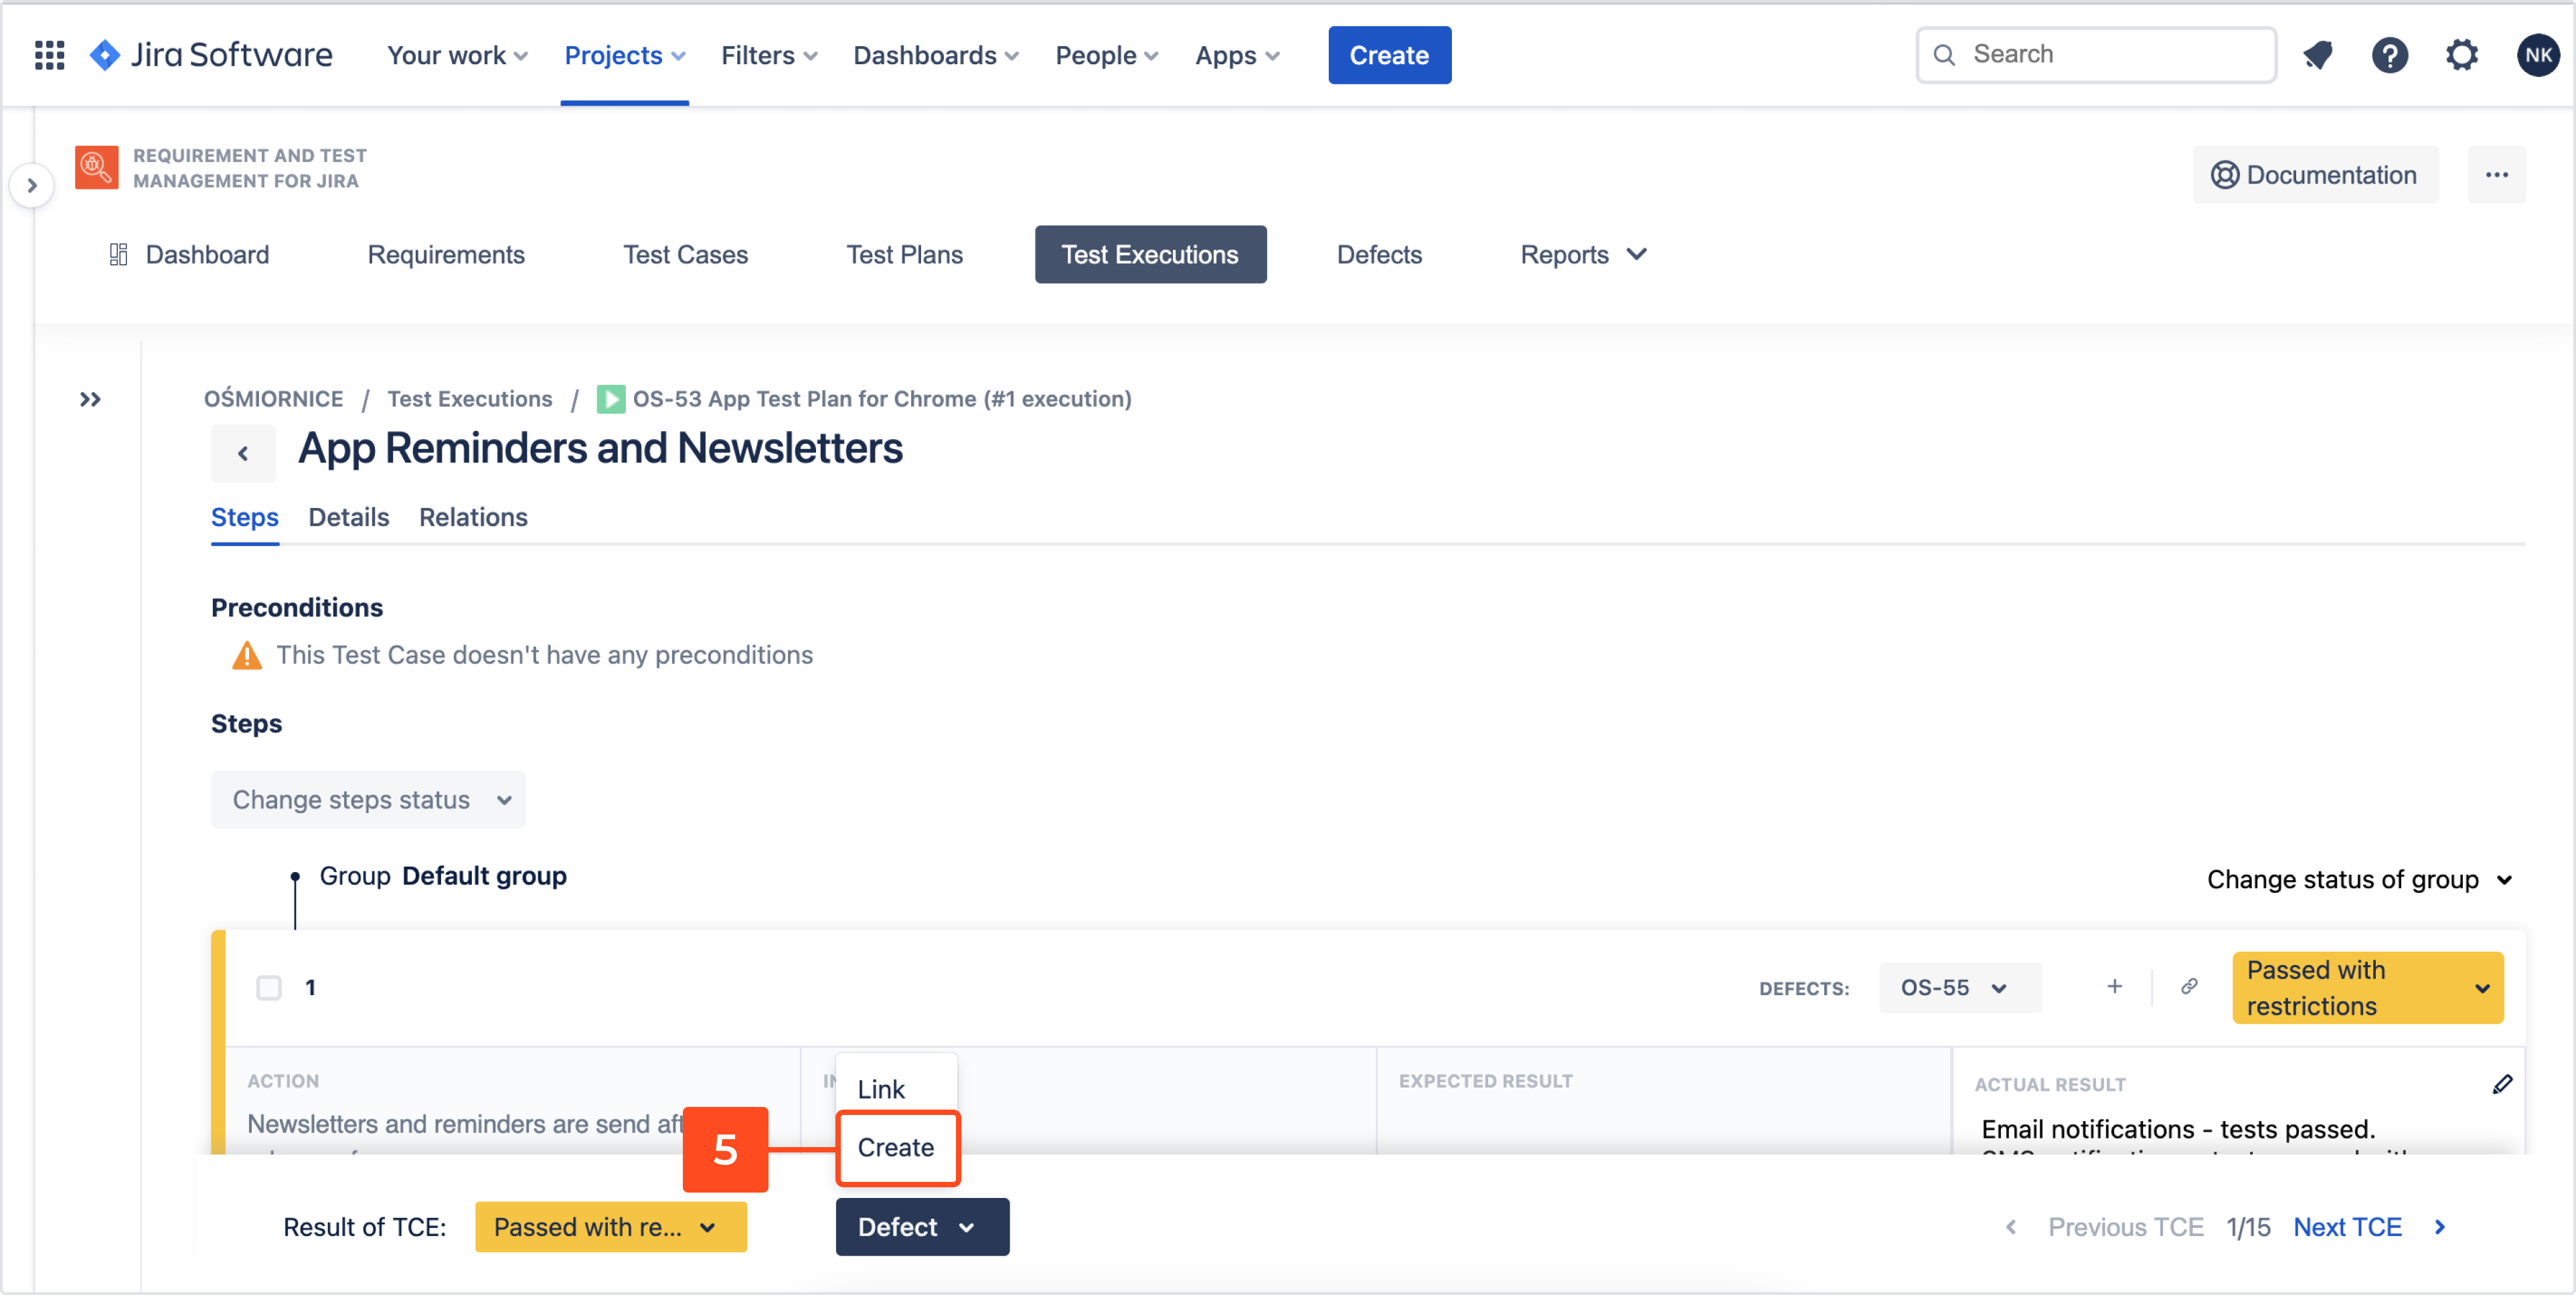
- On a floating bar, expand the Defect list.
- Click Create.
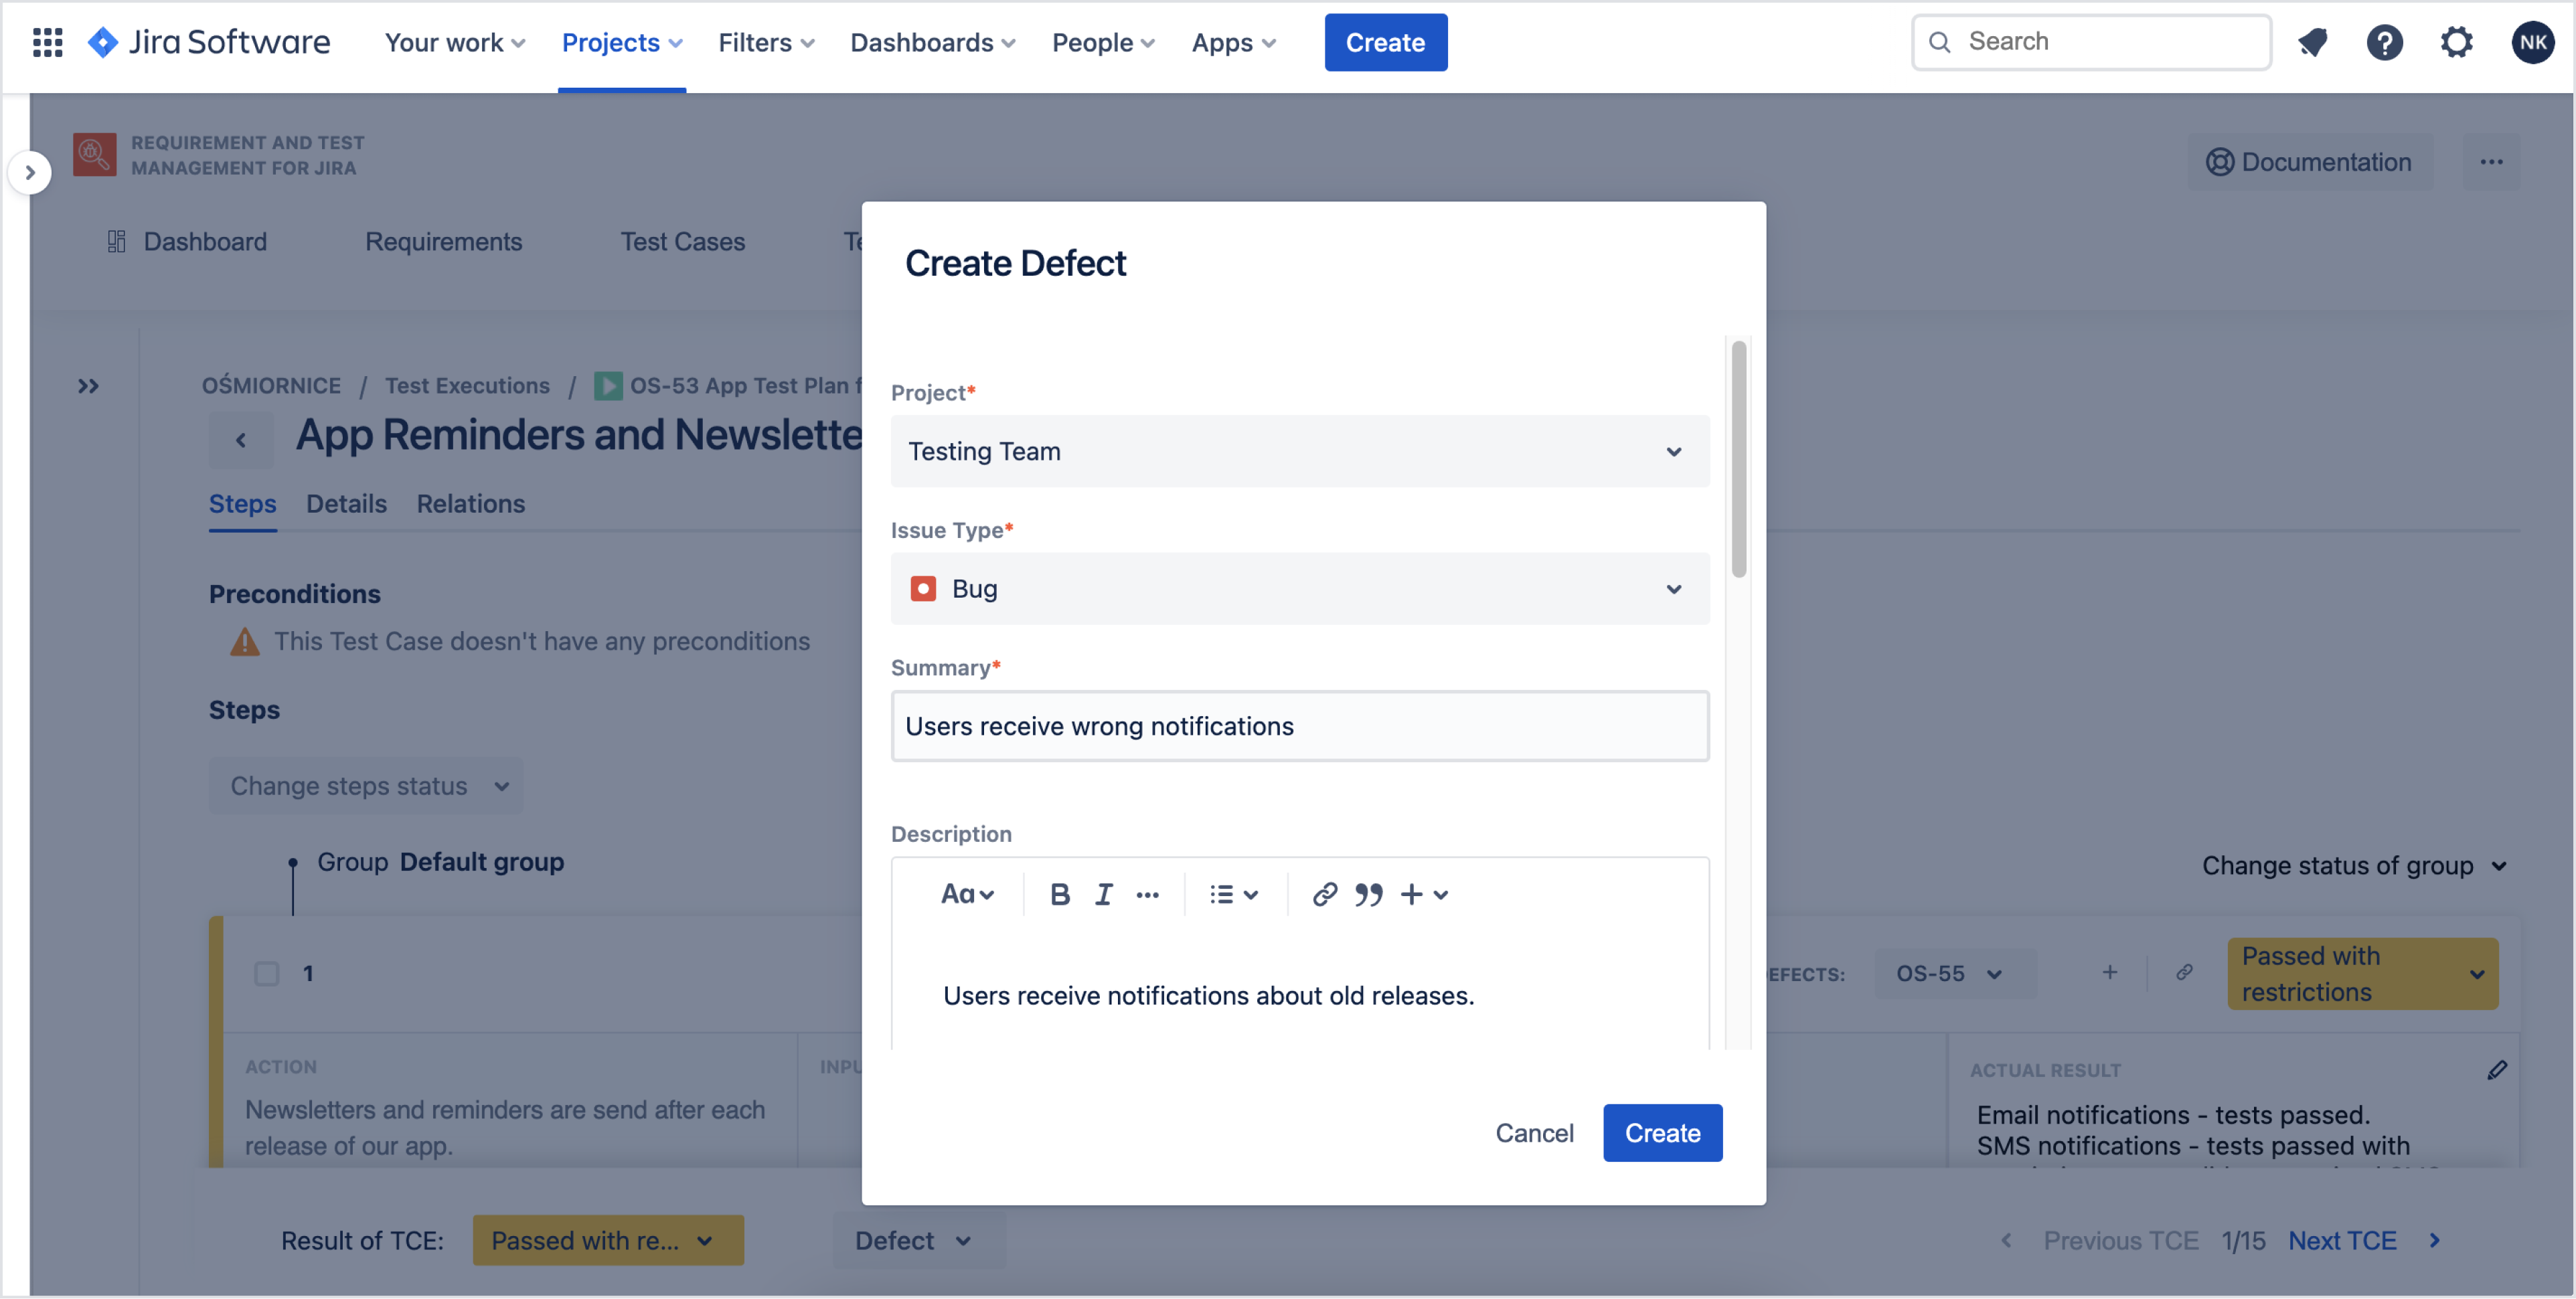
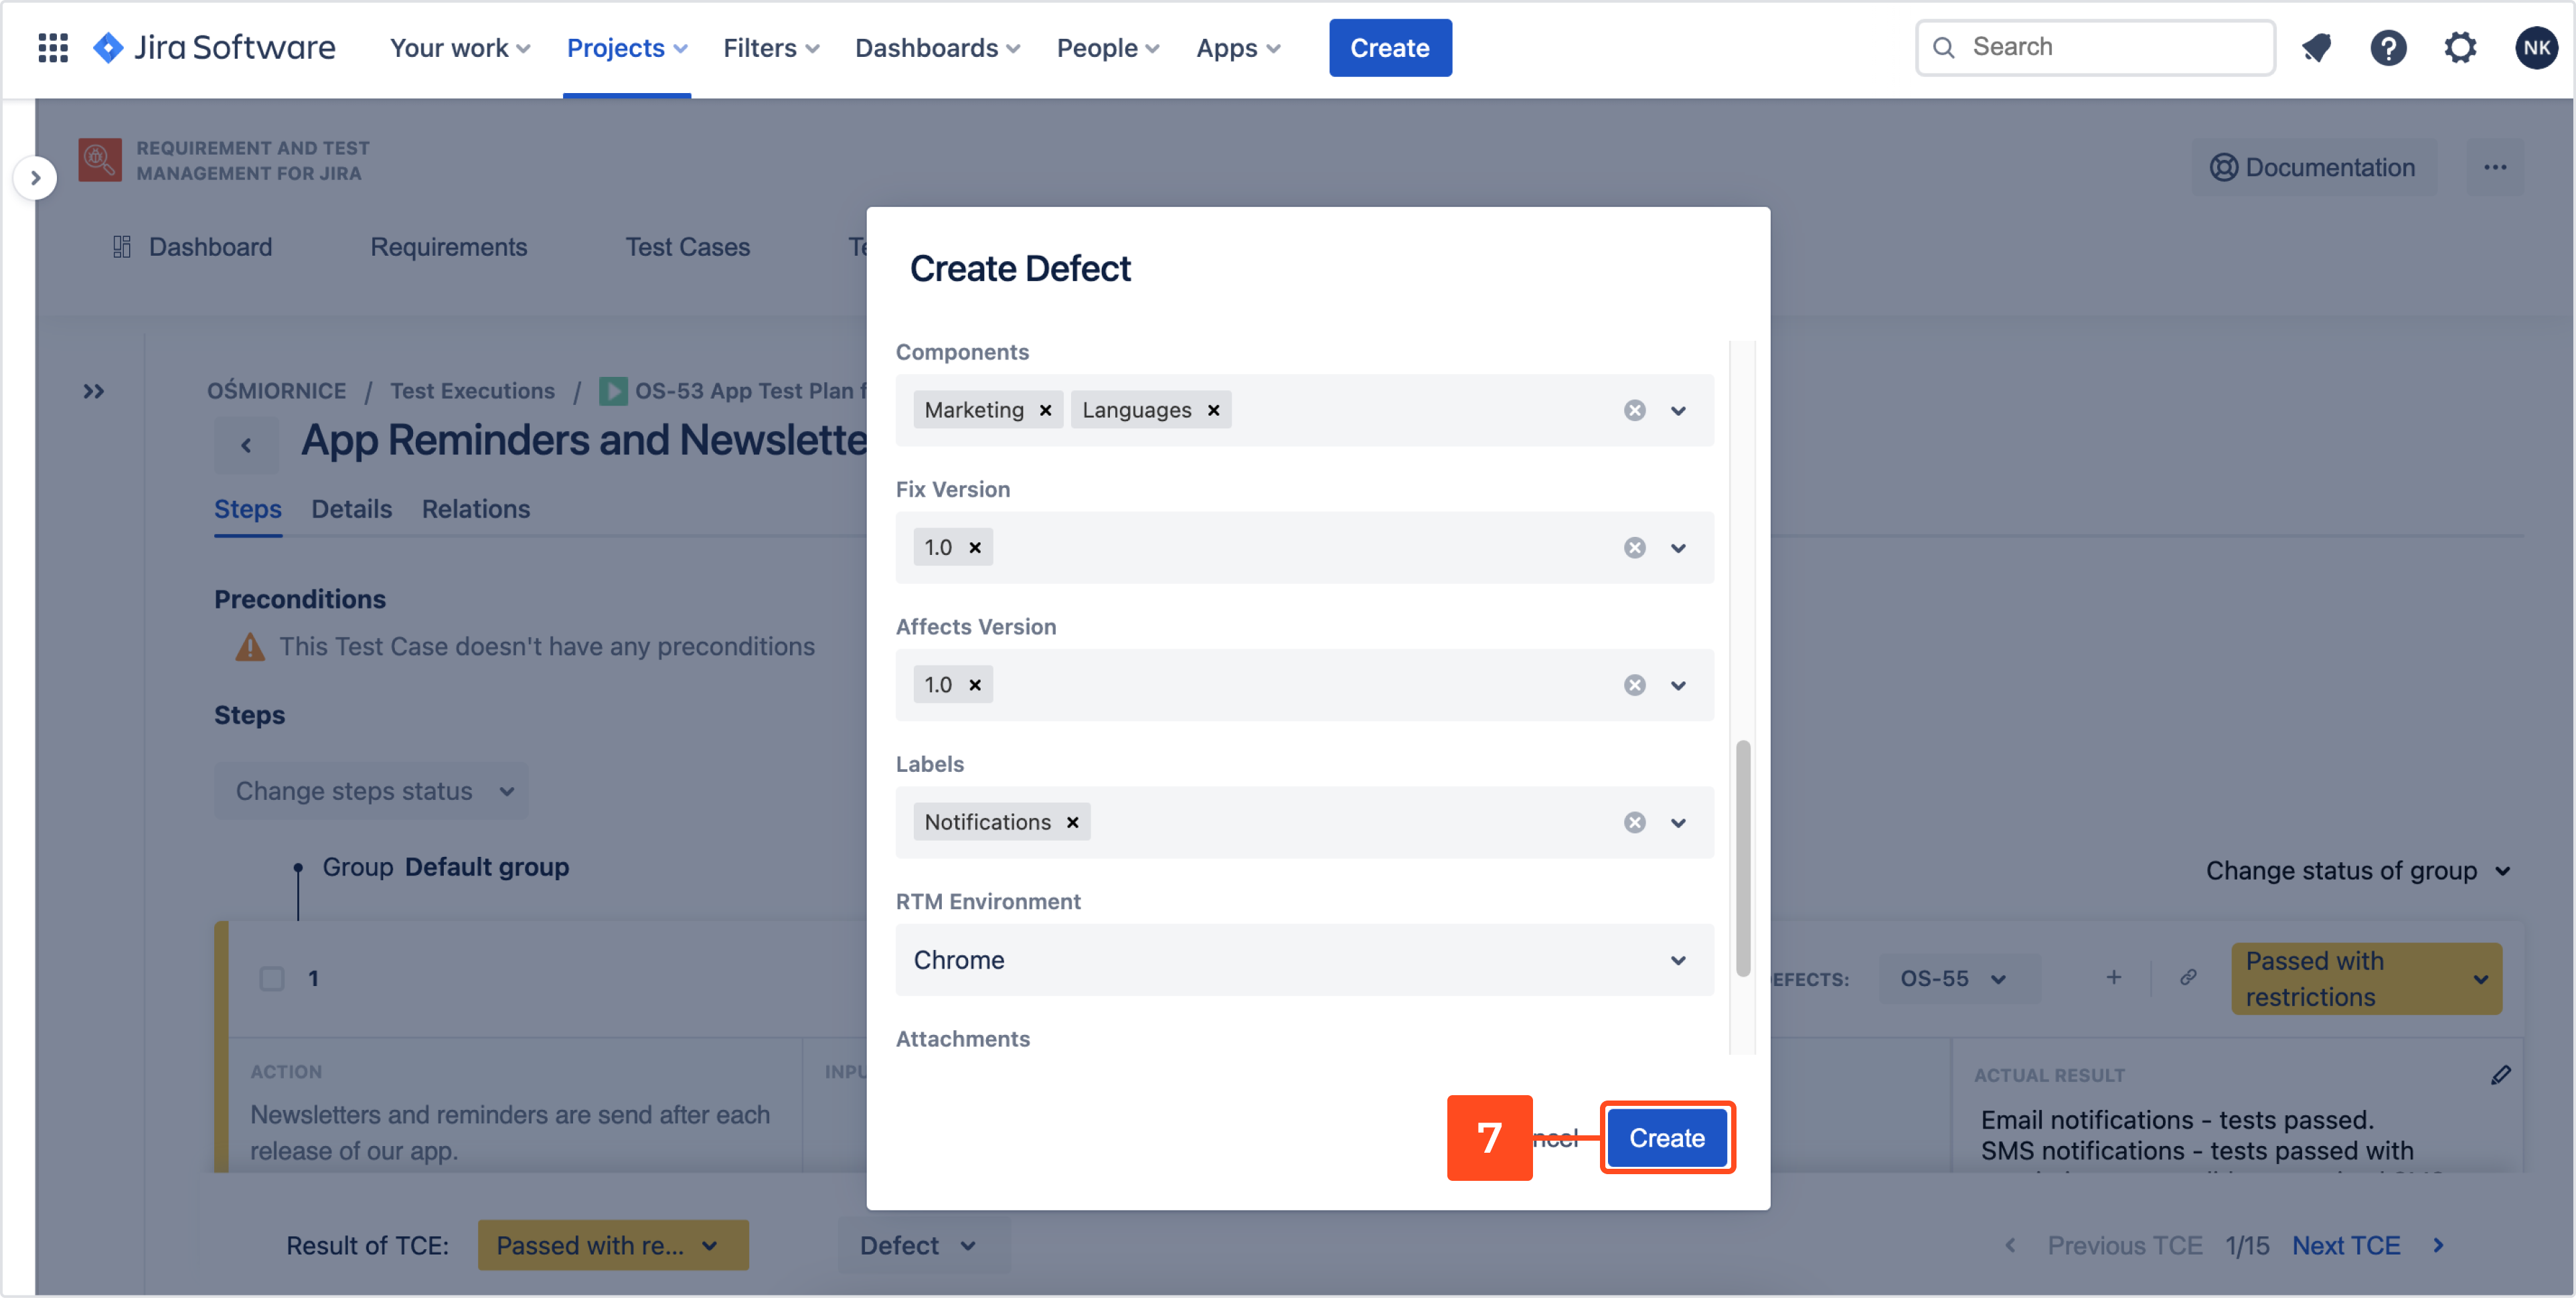
- Complete following fields: Summary, Description, Assignee, Select folder, Priority, Components, RTM Environment, Fix version, Labels, Attachments.
- Click Create.
Result
Defect has been created.
Create a defect, when a bug or error is difficult to classify
To create a Defect, which is difficult to classify:
- Navigate to Project > Test Management > Defects.
- Click +.
a. You can also click Create defect.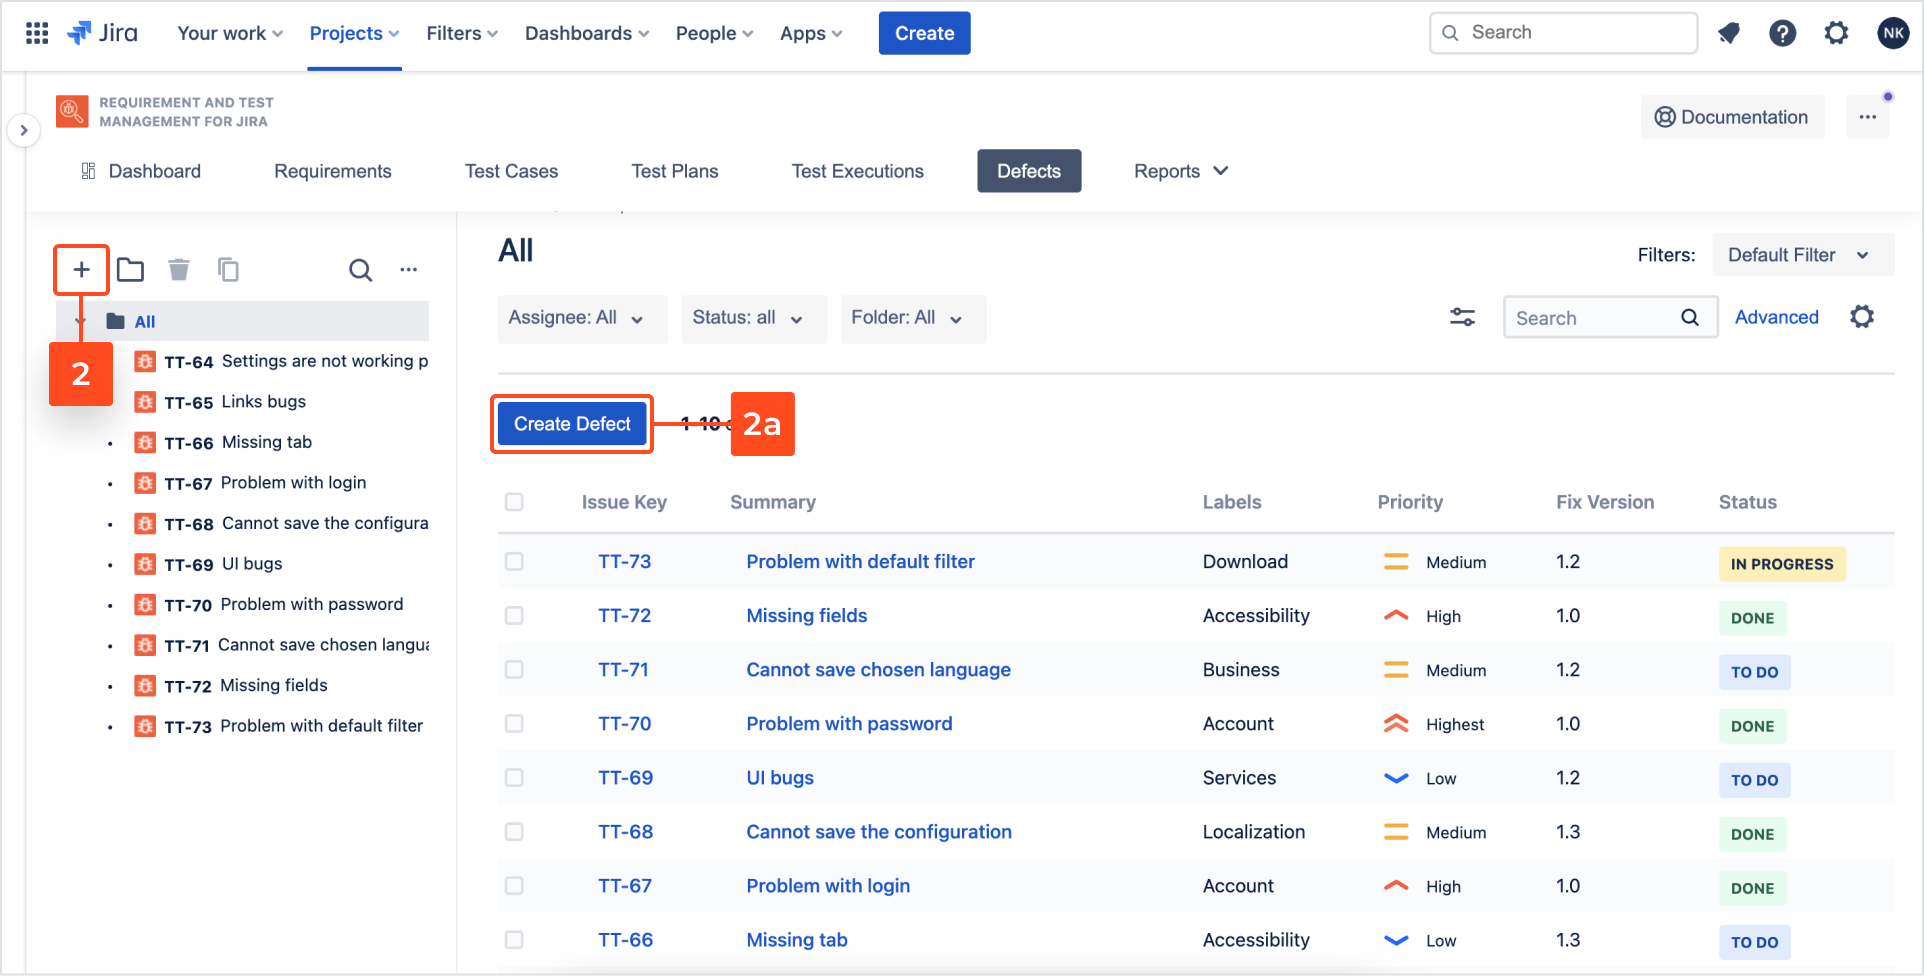
- In the Details section, complete following fields: Summary, Description, Assignee, Select folder, Priority, Components, RTM Environment, Fix version, Labels, Attachments.

- Go to the Test Cases section.
- Add compatible Test Case.
InfoIn case of unclassified Test Cases, it’s not mandatory to set a linking. However, we recommend to link it with TC in which defect was discovered.
- Click Create.

Result
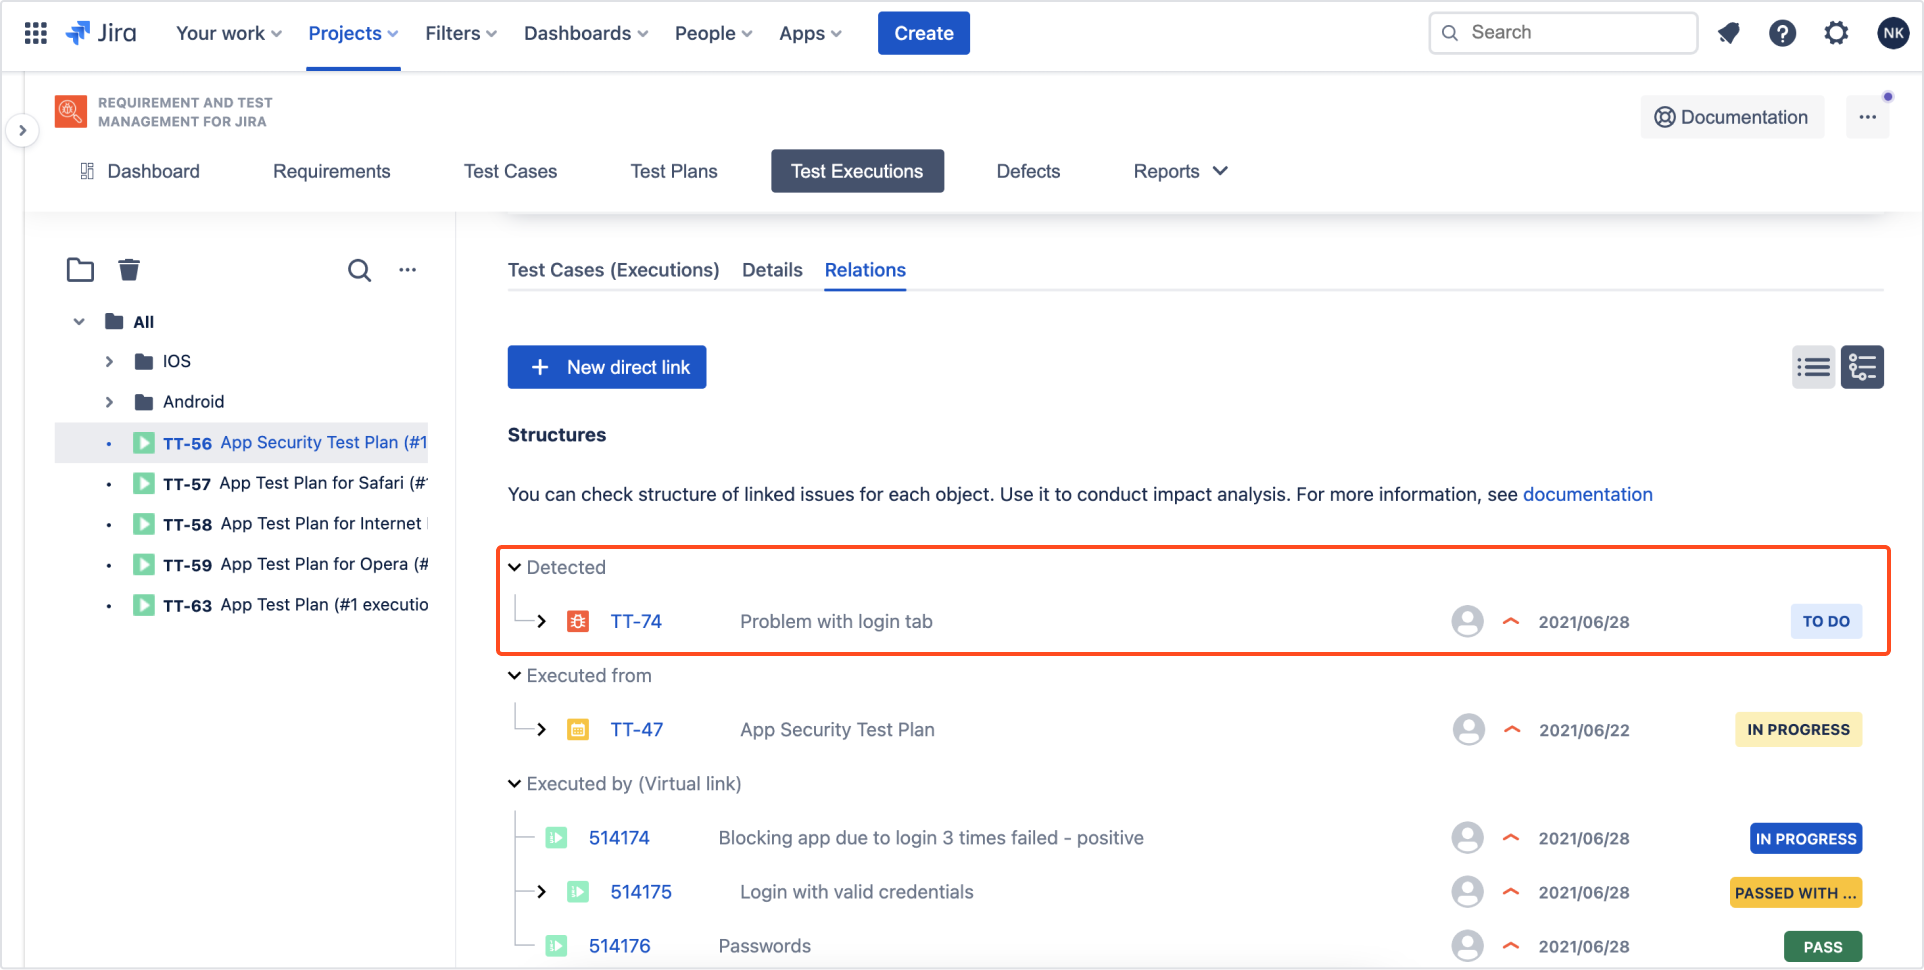
Defect that occurred during testing process has been added to the target Test Case.
Need help?
If you can’t find the answer you need in our documentation, raise a support request*.
*Include as much information as possible to help our support team resolve your issue faster.
