- Get started
- About
- Supported fields
- Migration to Cloud
- User's guide
- Customer's view
- Approvals page
- Configuration
- General Configuration
- Scopes
- Fields configuration
- Filters management
Filters
Learn how to use, save and share filters
Before proceeding make sure that your Request Type’s name doesn’t have whitespaces at the end. Otherwise, your Requests will not be displayed when you filter them.
On the app’s Requests page there are two types of filters:
- Default - these filters appear in the Default section on the Requests page. Default filters are configured by the Jira administrators who can save, remove, and share them, but also can grant permissions to other users to save and share default filters with others. We recommend that this section contains only essential filters, useful for every user, regardless of the function or permission scope.
- User-created - these filters appear in the My filters section on the Requests page and, if they’re not shared they are visible only for the customer who created them. Customers can also share their filters so that others can see and use them, but only the original creator can remove or modify them. Once the filter is removed, it also disappears from every customer’s screen that the filter was shared with. By default, all the customers can save and share their filters. However, the Jira administrator can grant or restrict permissions for specific users, groups or organizations.
Default filters
All requests, Open and Closed filters on the left sidebar are default and all customers can see them.

Creating filters
You can create and save your filters to access them faster in the future.
Steps
- On the left sidebar, select a filter from the Default section.
- Select the columns you want to see in your filter.
- Filter requests using selected criteria.
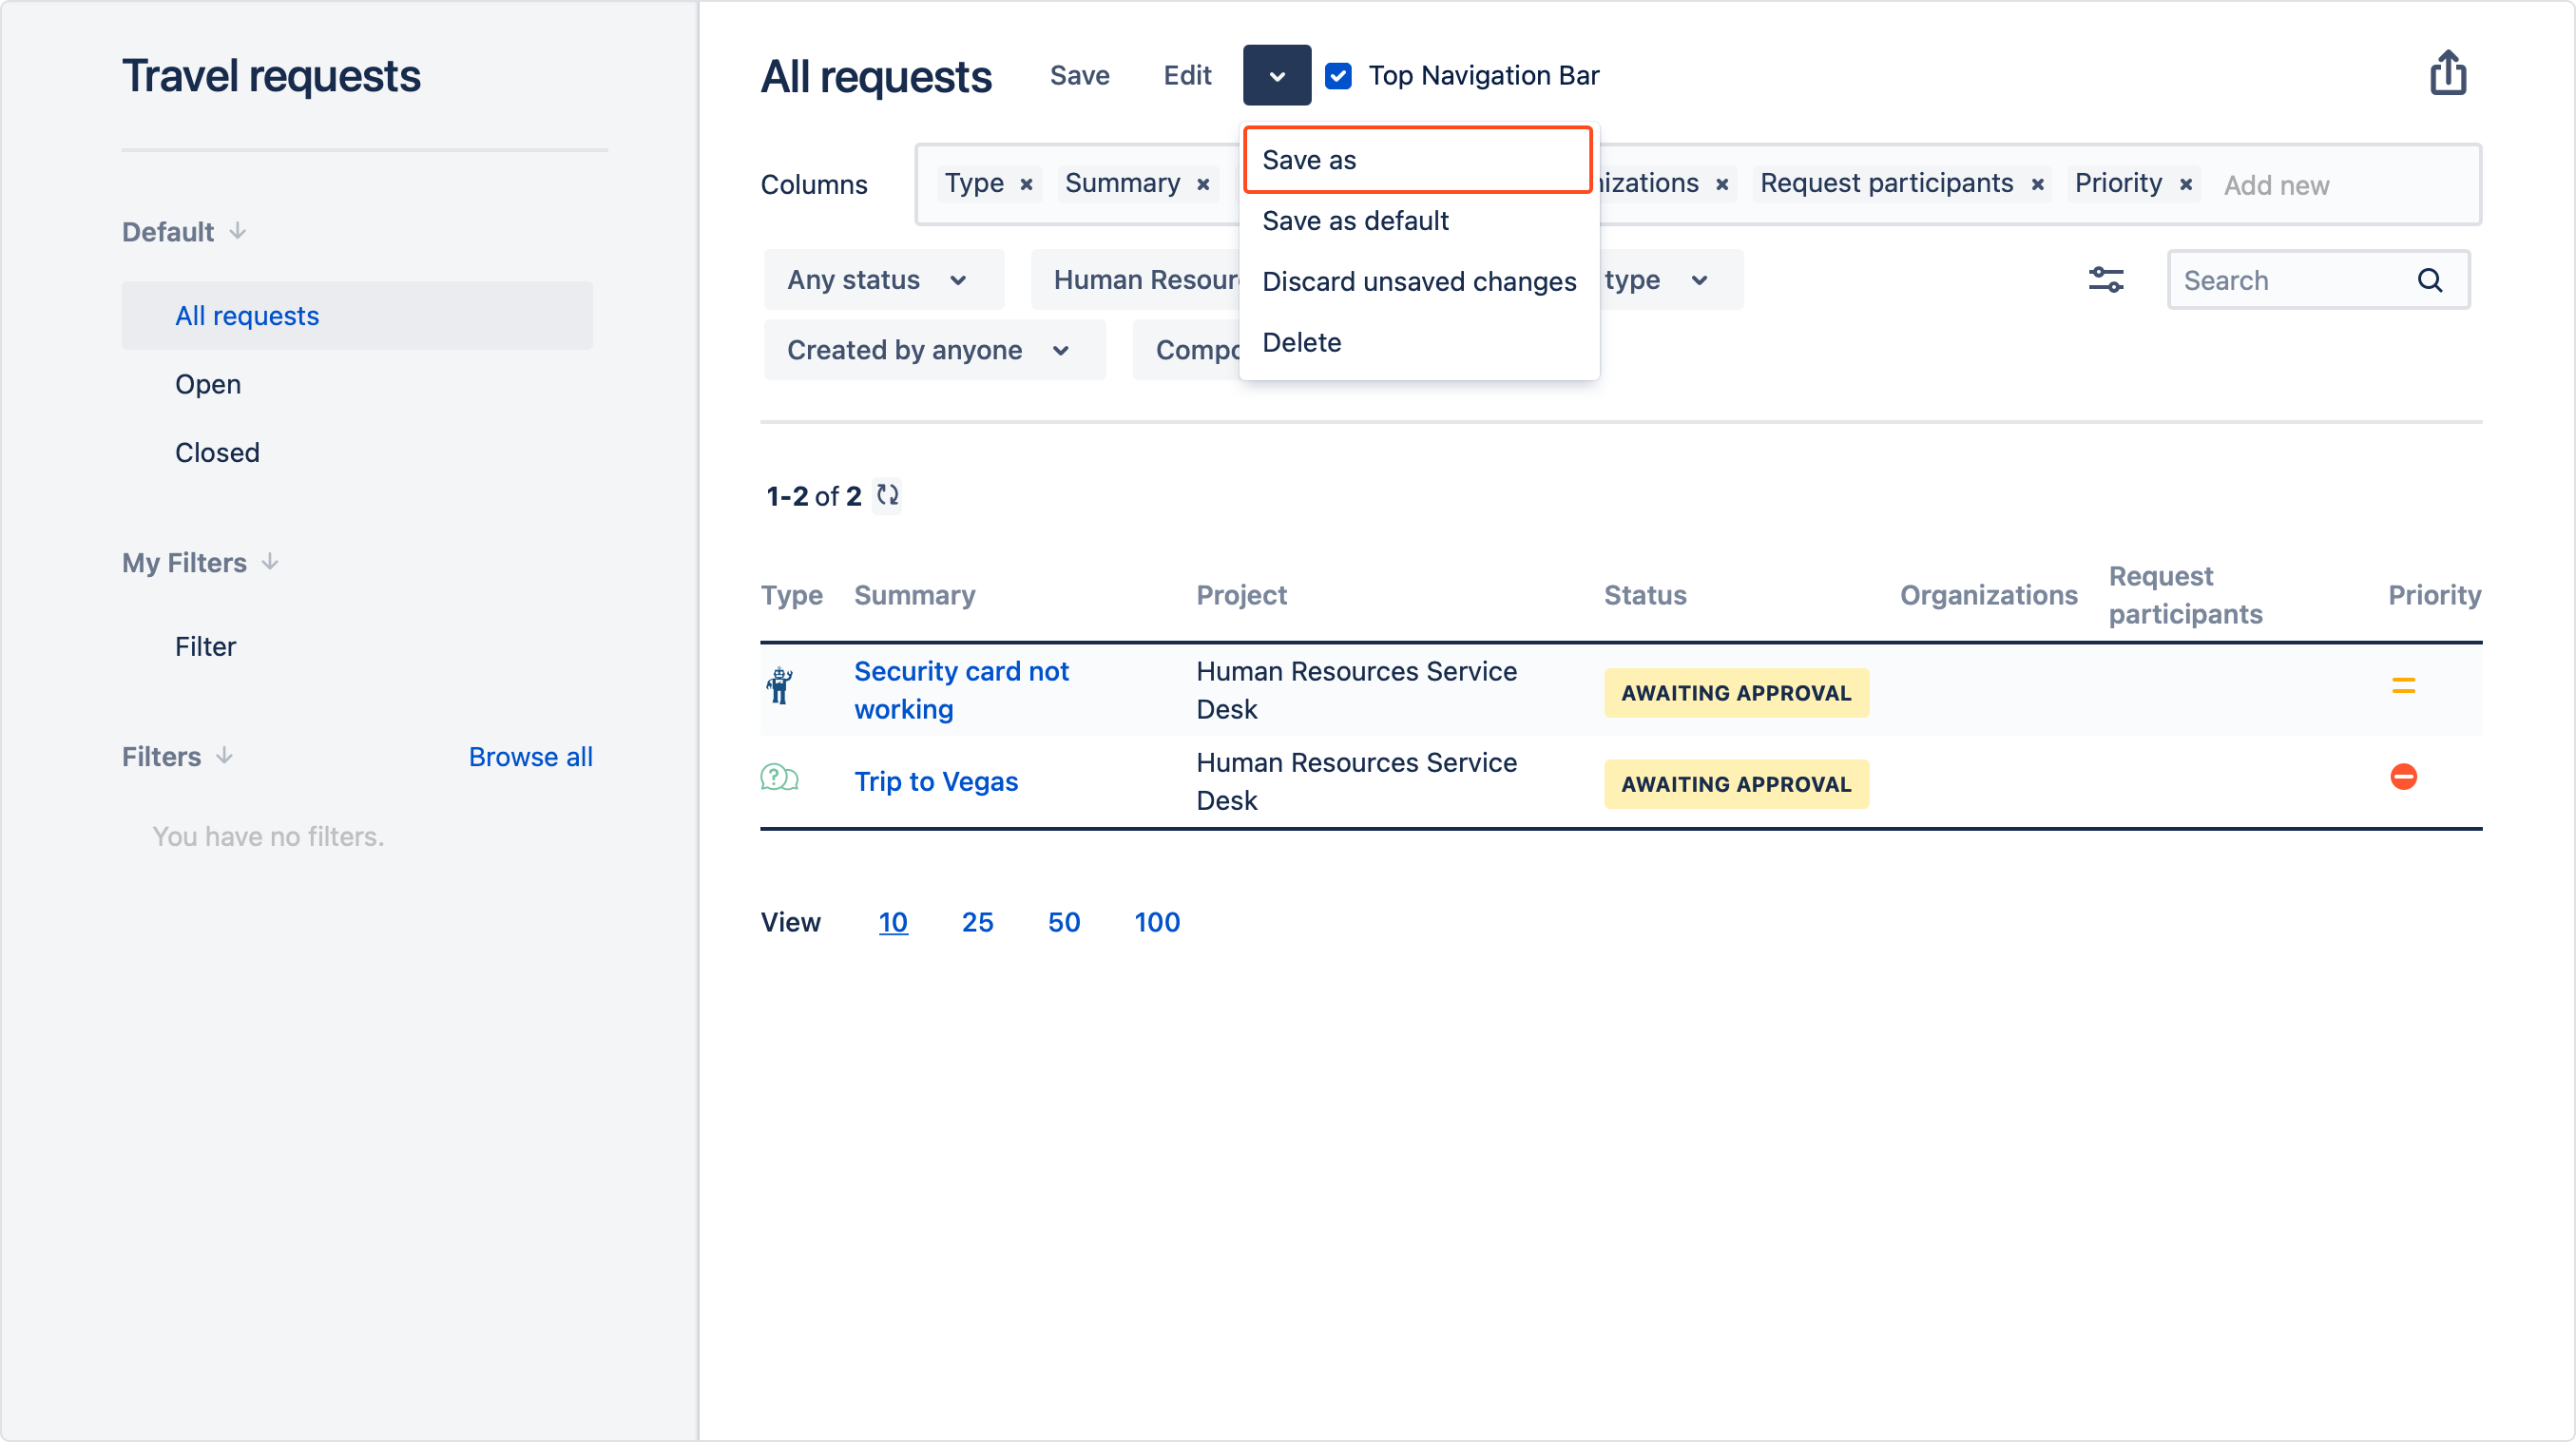
- Expand a drop-down list in the top part of the screen and select Save as.
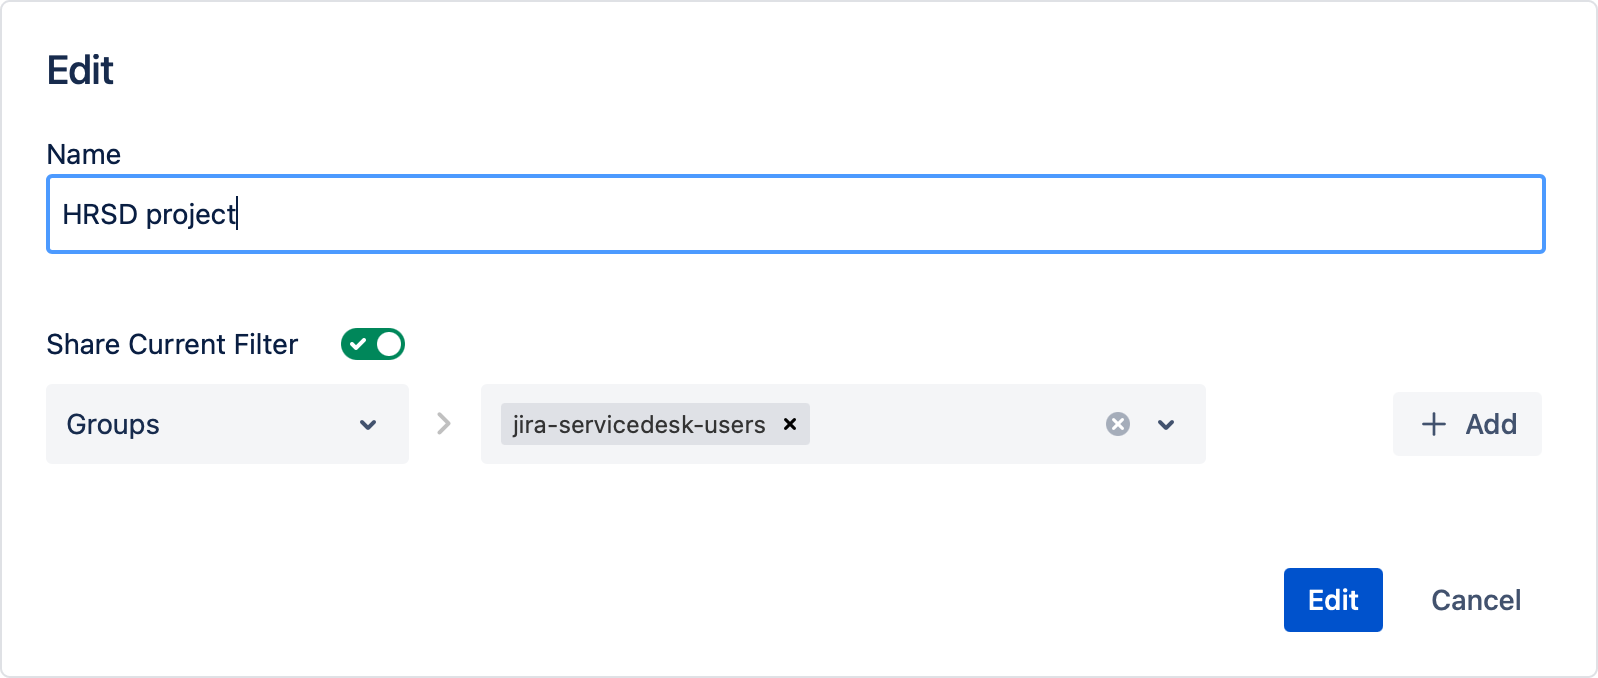
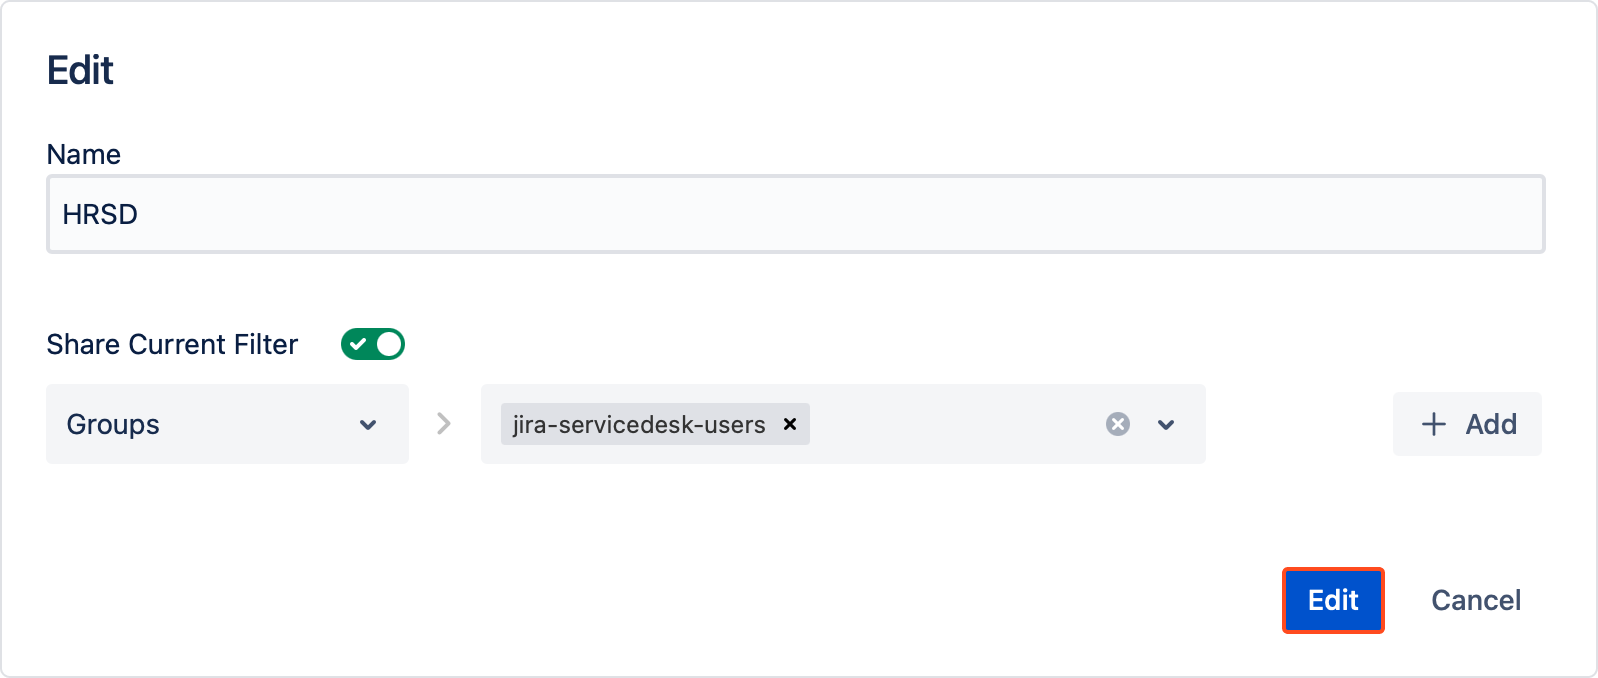
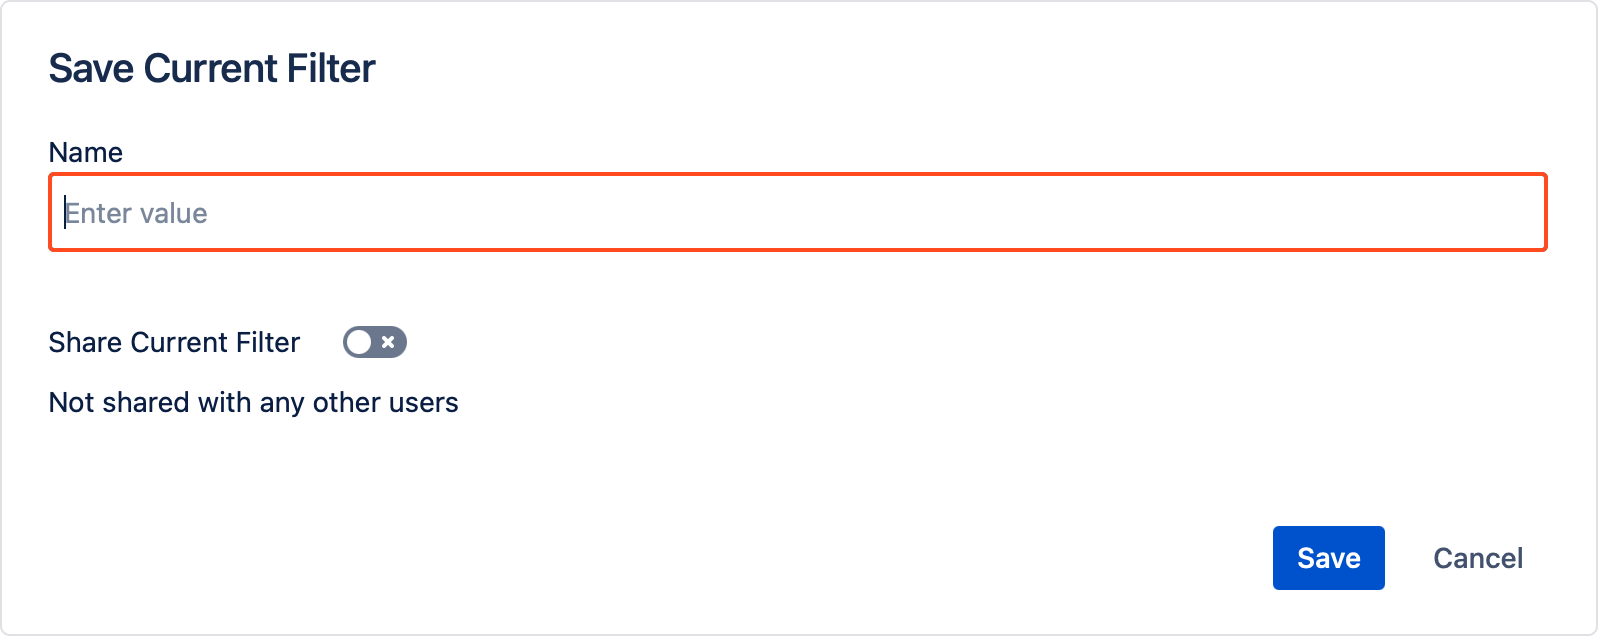
- Type a name of your filter. The maximum length is 45 characters.
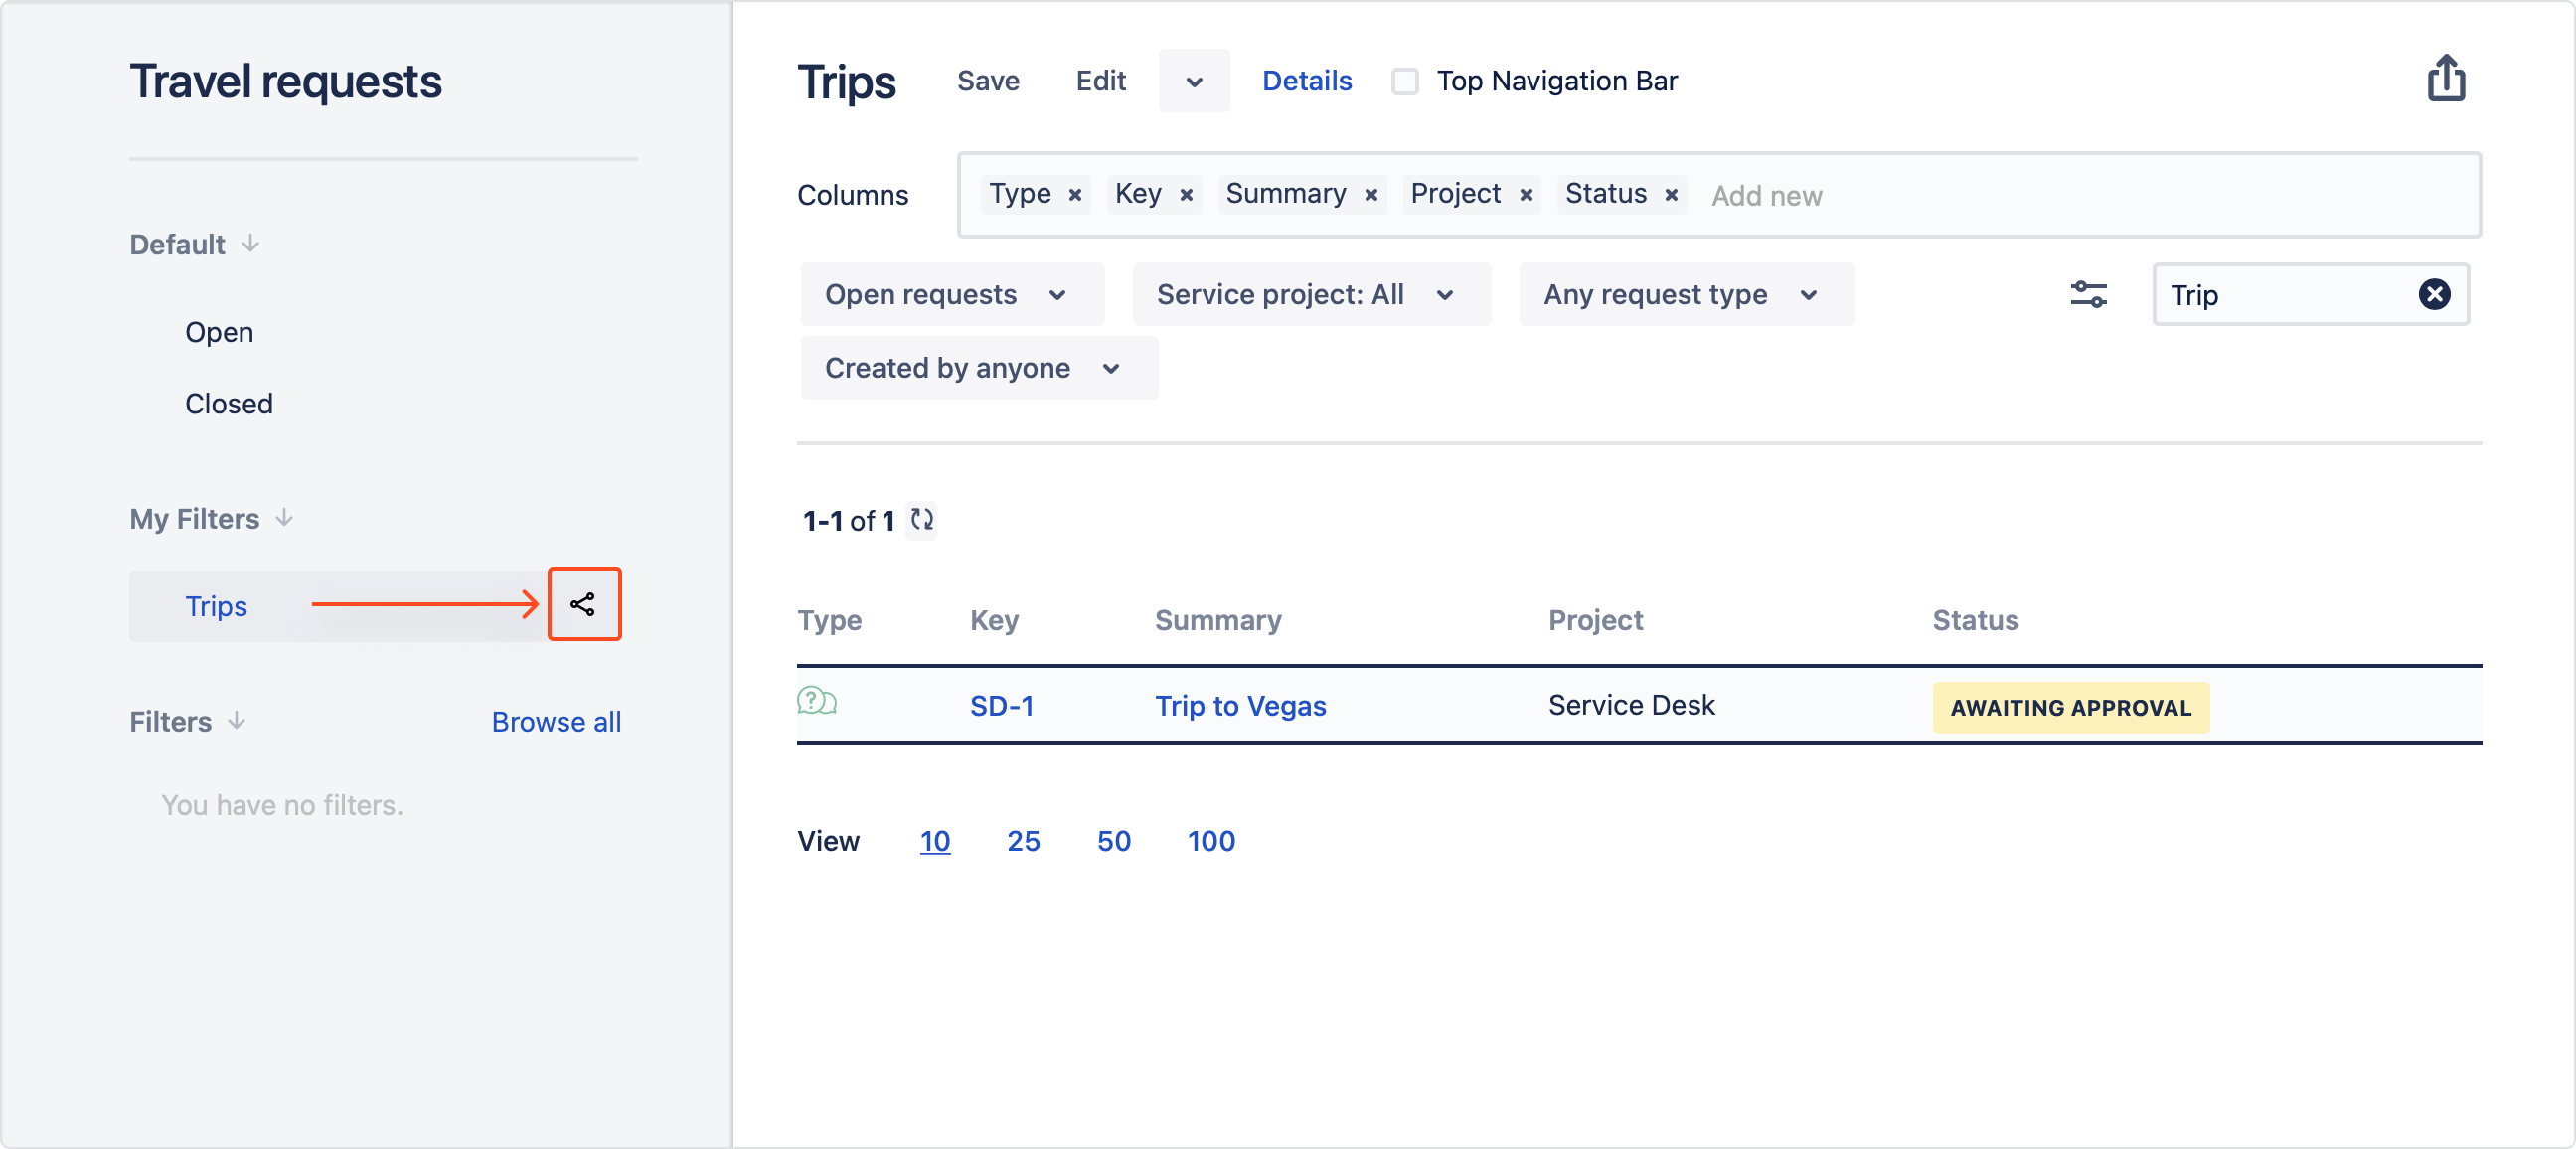
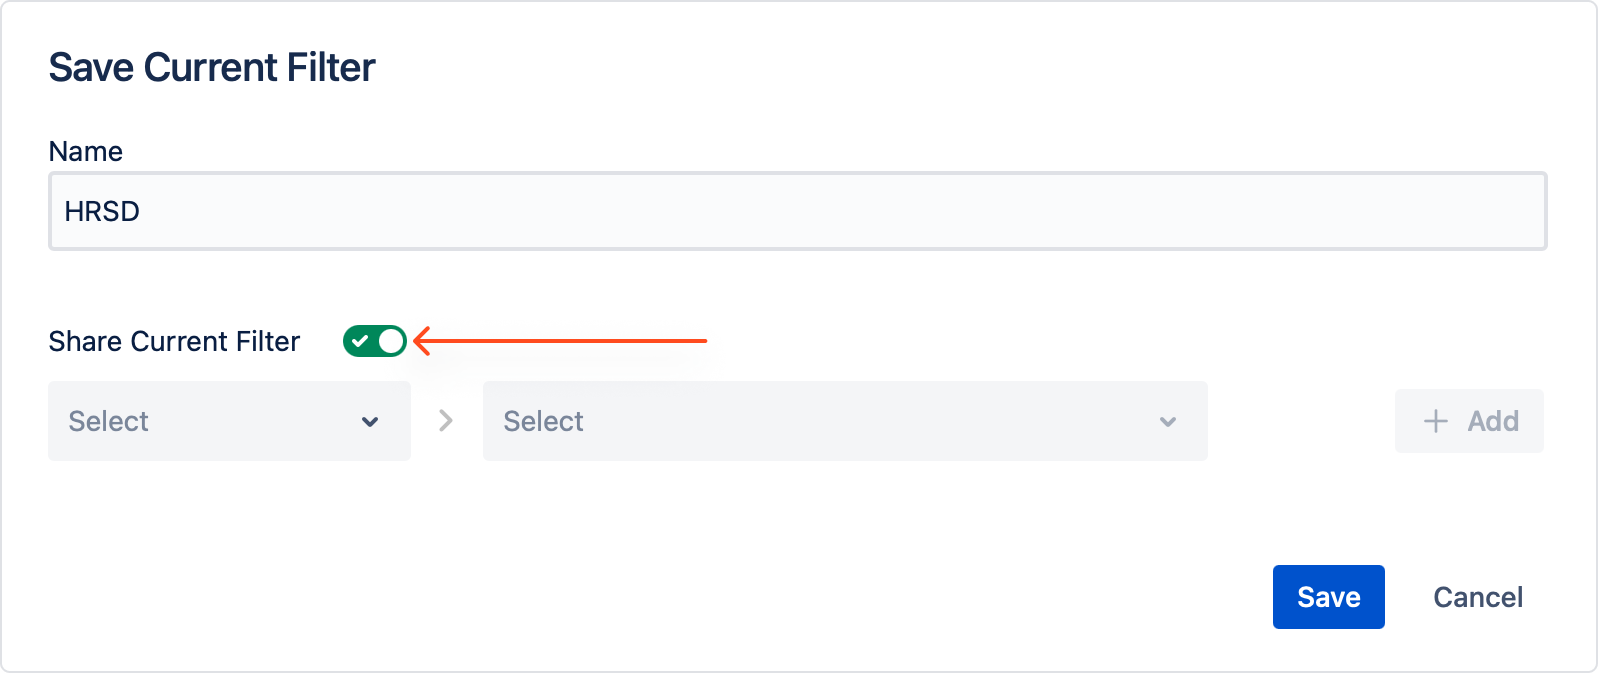
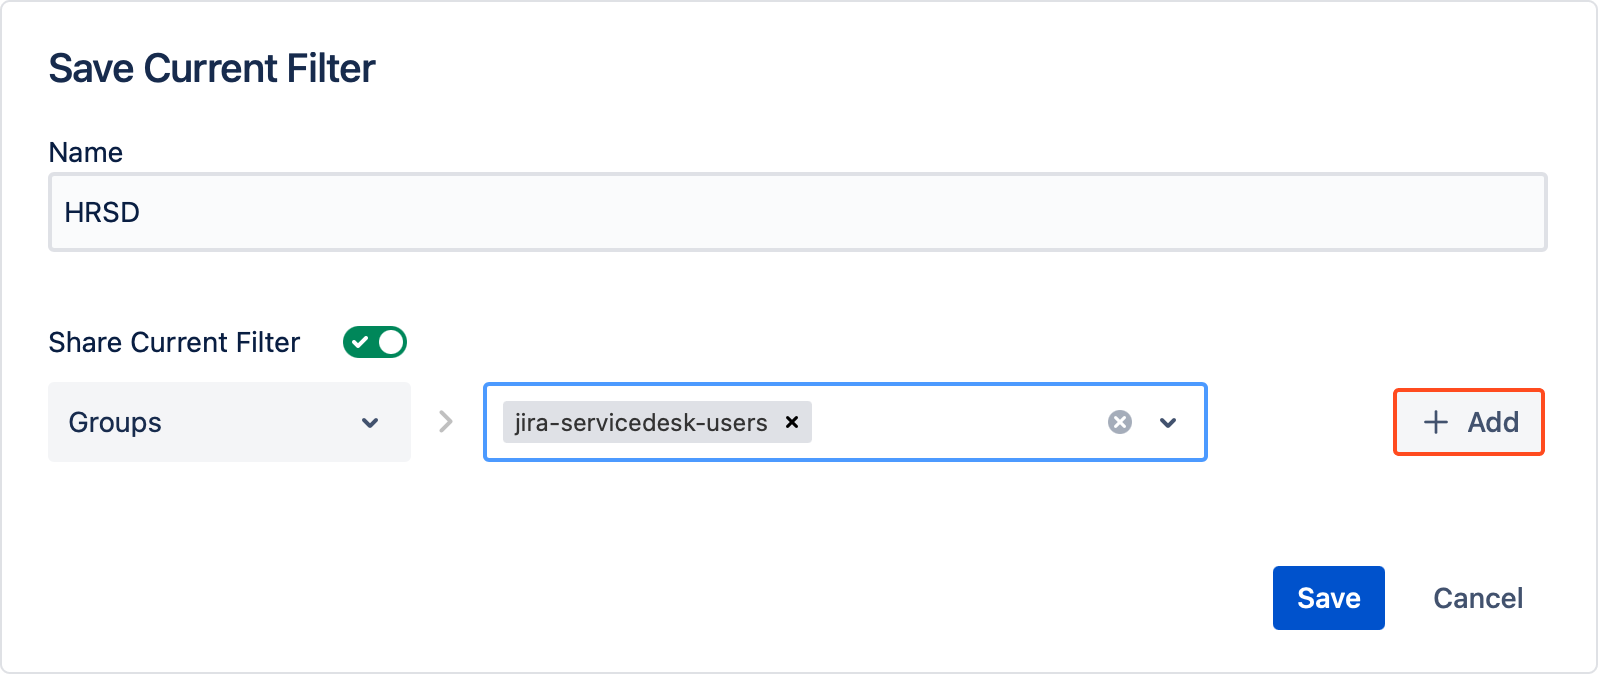
- [Optional] Share your filter by turning on the toggle below.
- [Optional] Select groups, organizations or users from the select field.
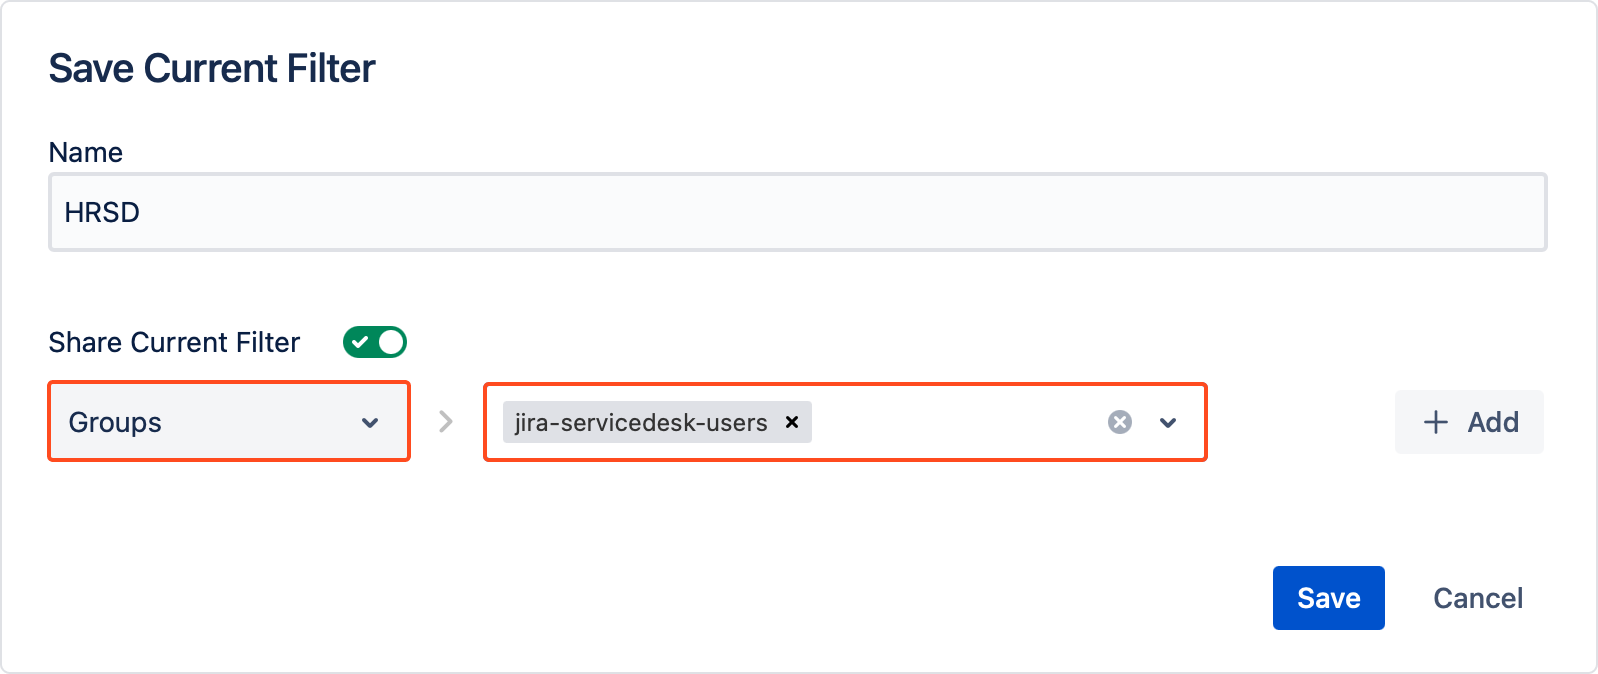
- Click Add.
- Click Save.
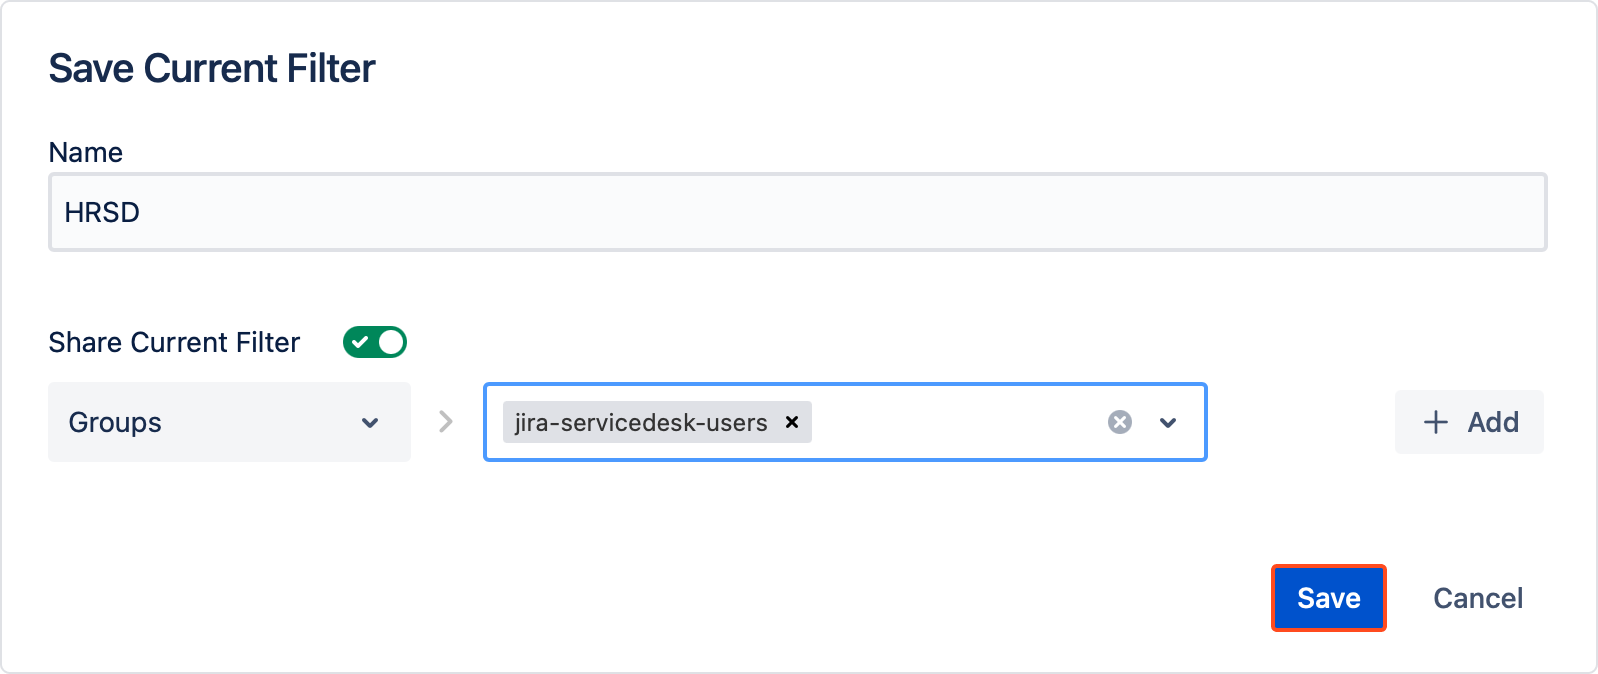
Result
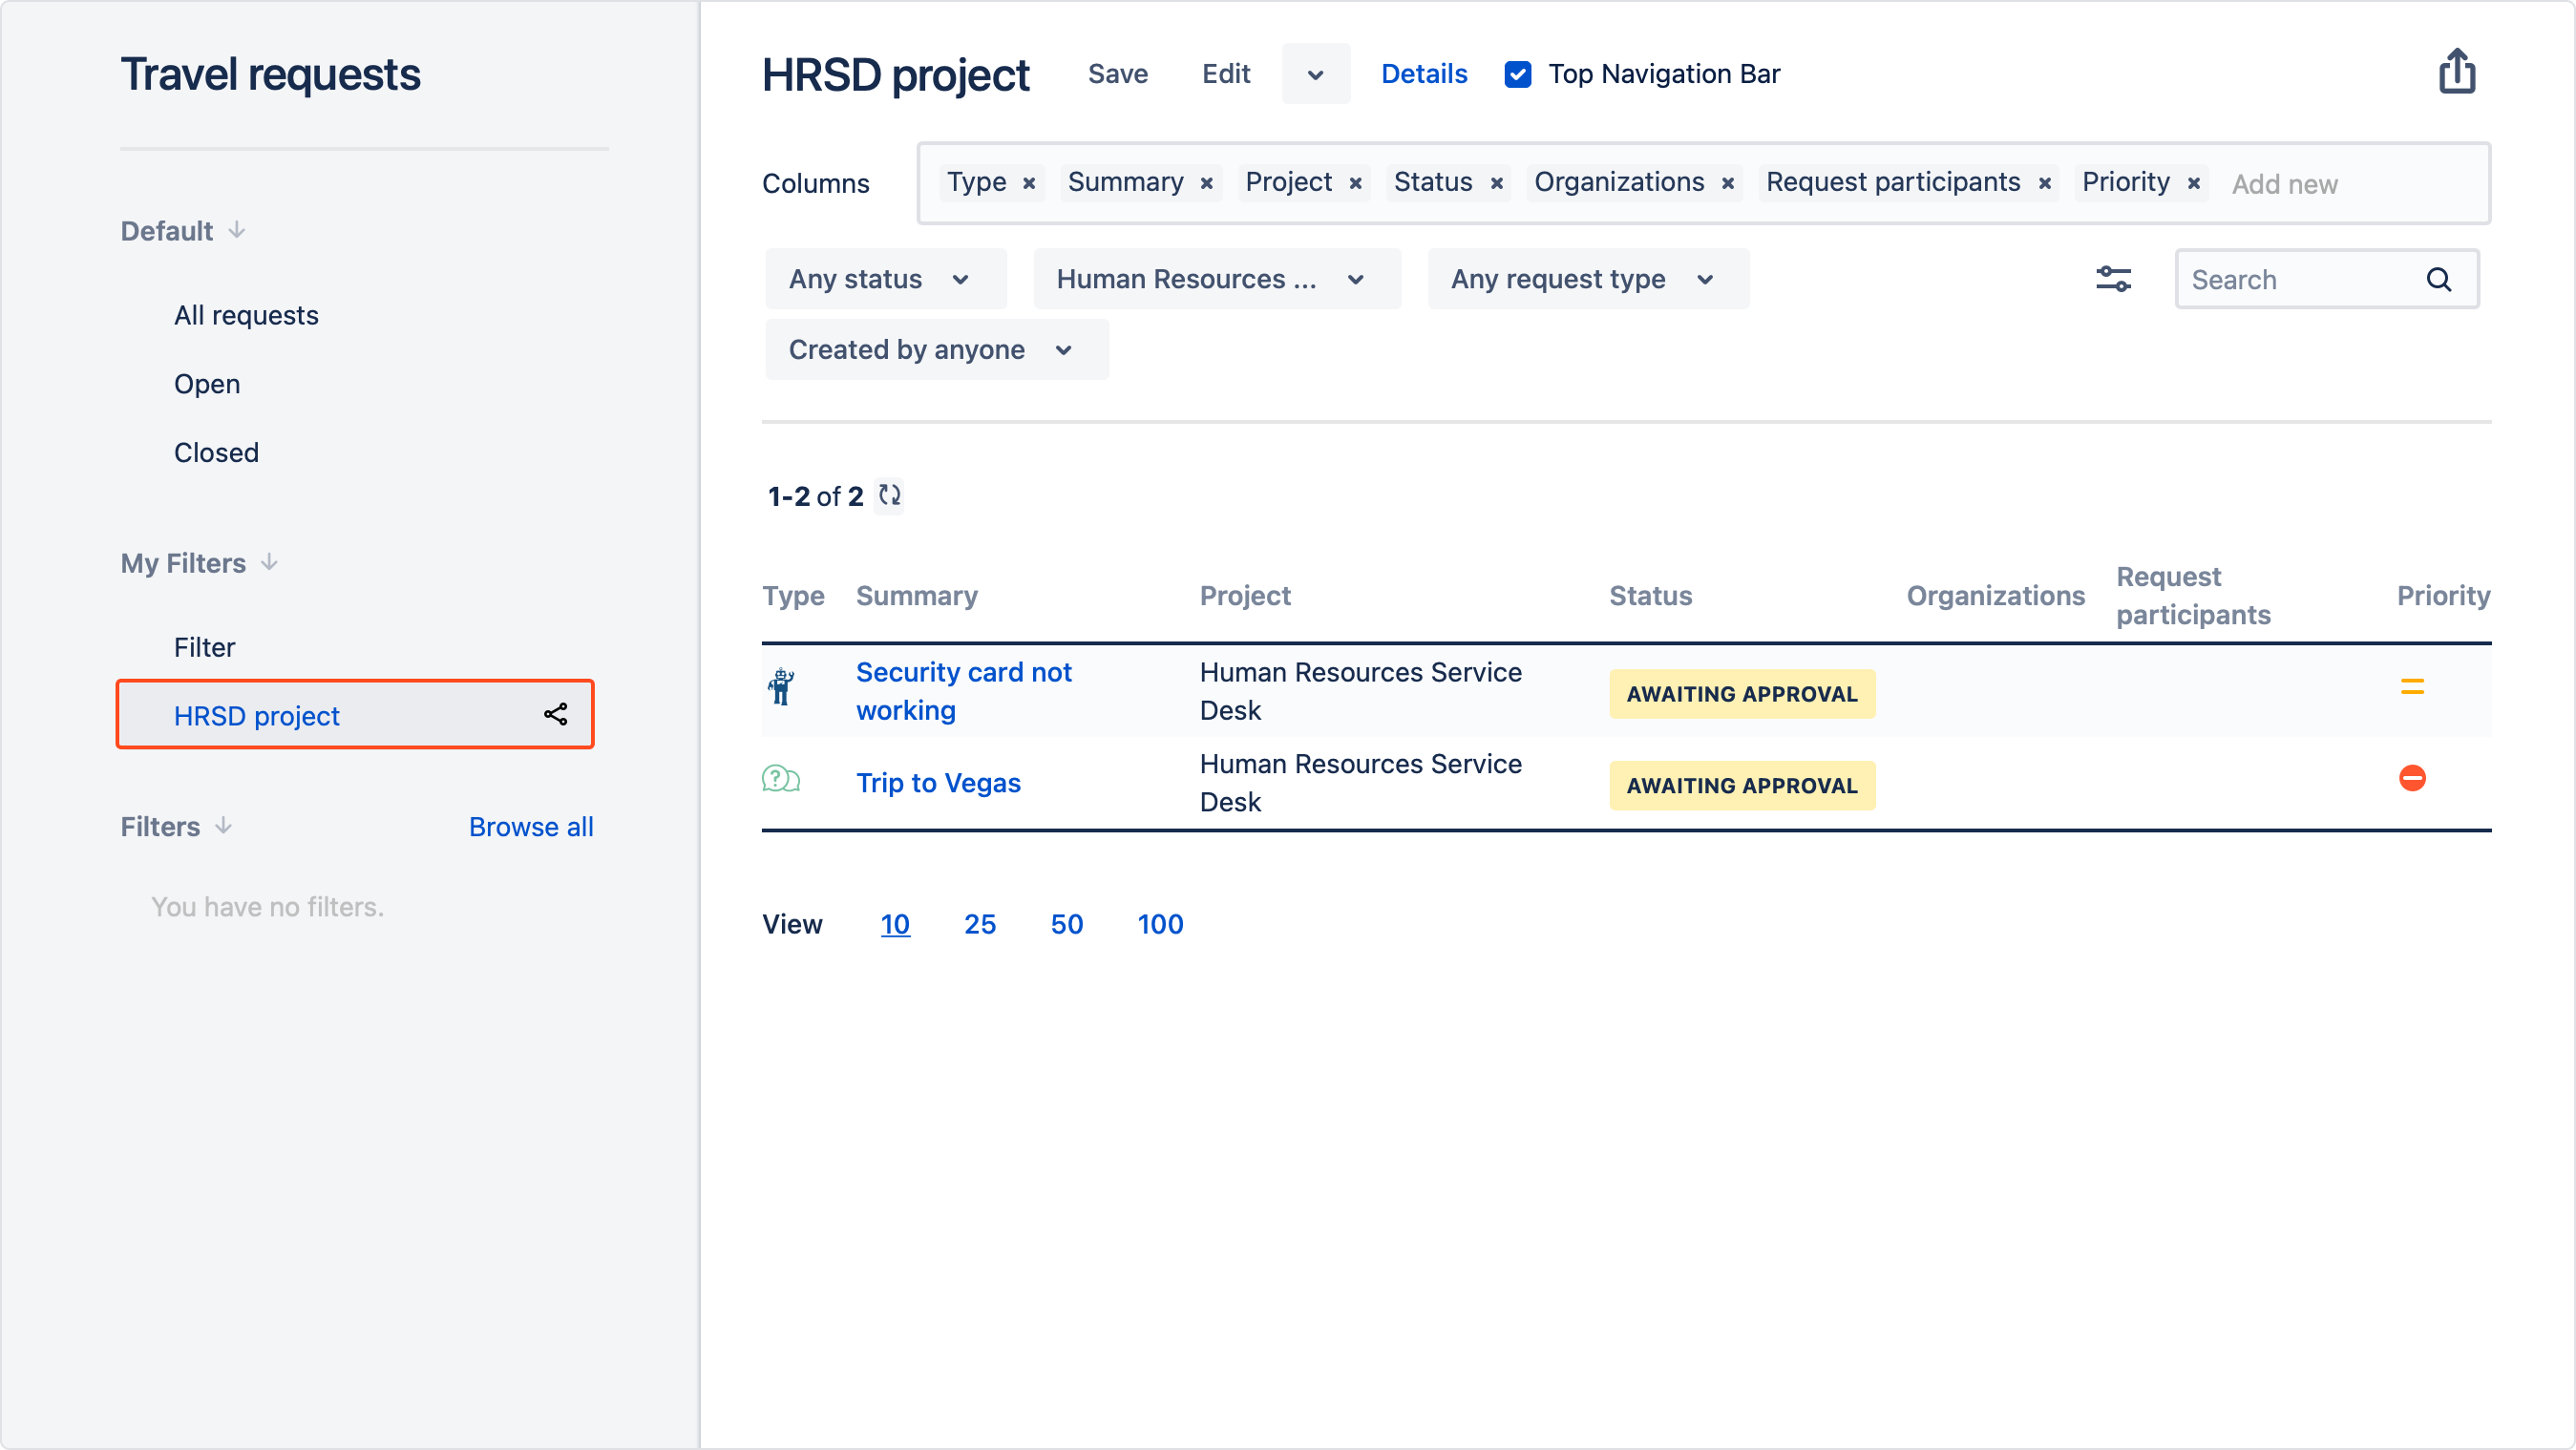
Filter appears in the user-created section.

Editing filters
You can edit, override and delete an already saved filter.
Steps
Result
To edit general filter settings, for example: columns order or displayed criteria, enter changes on the filter and click Save.

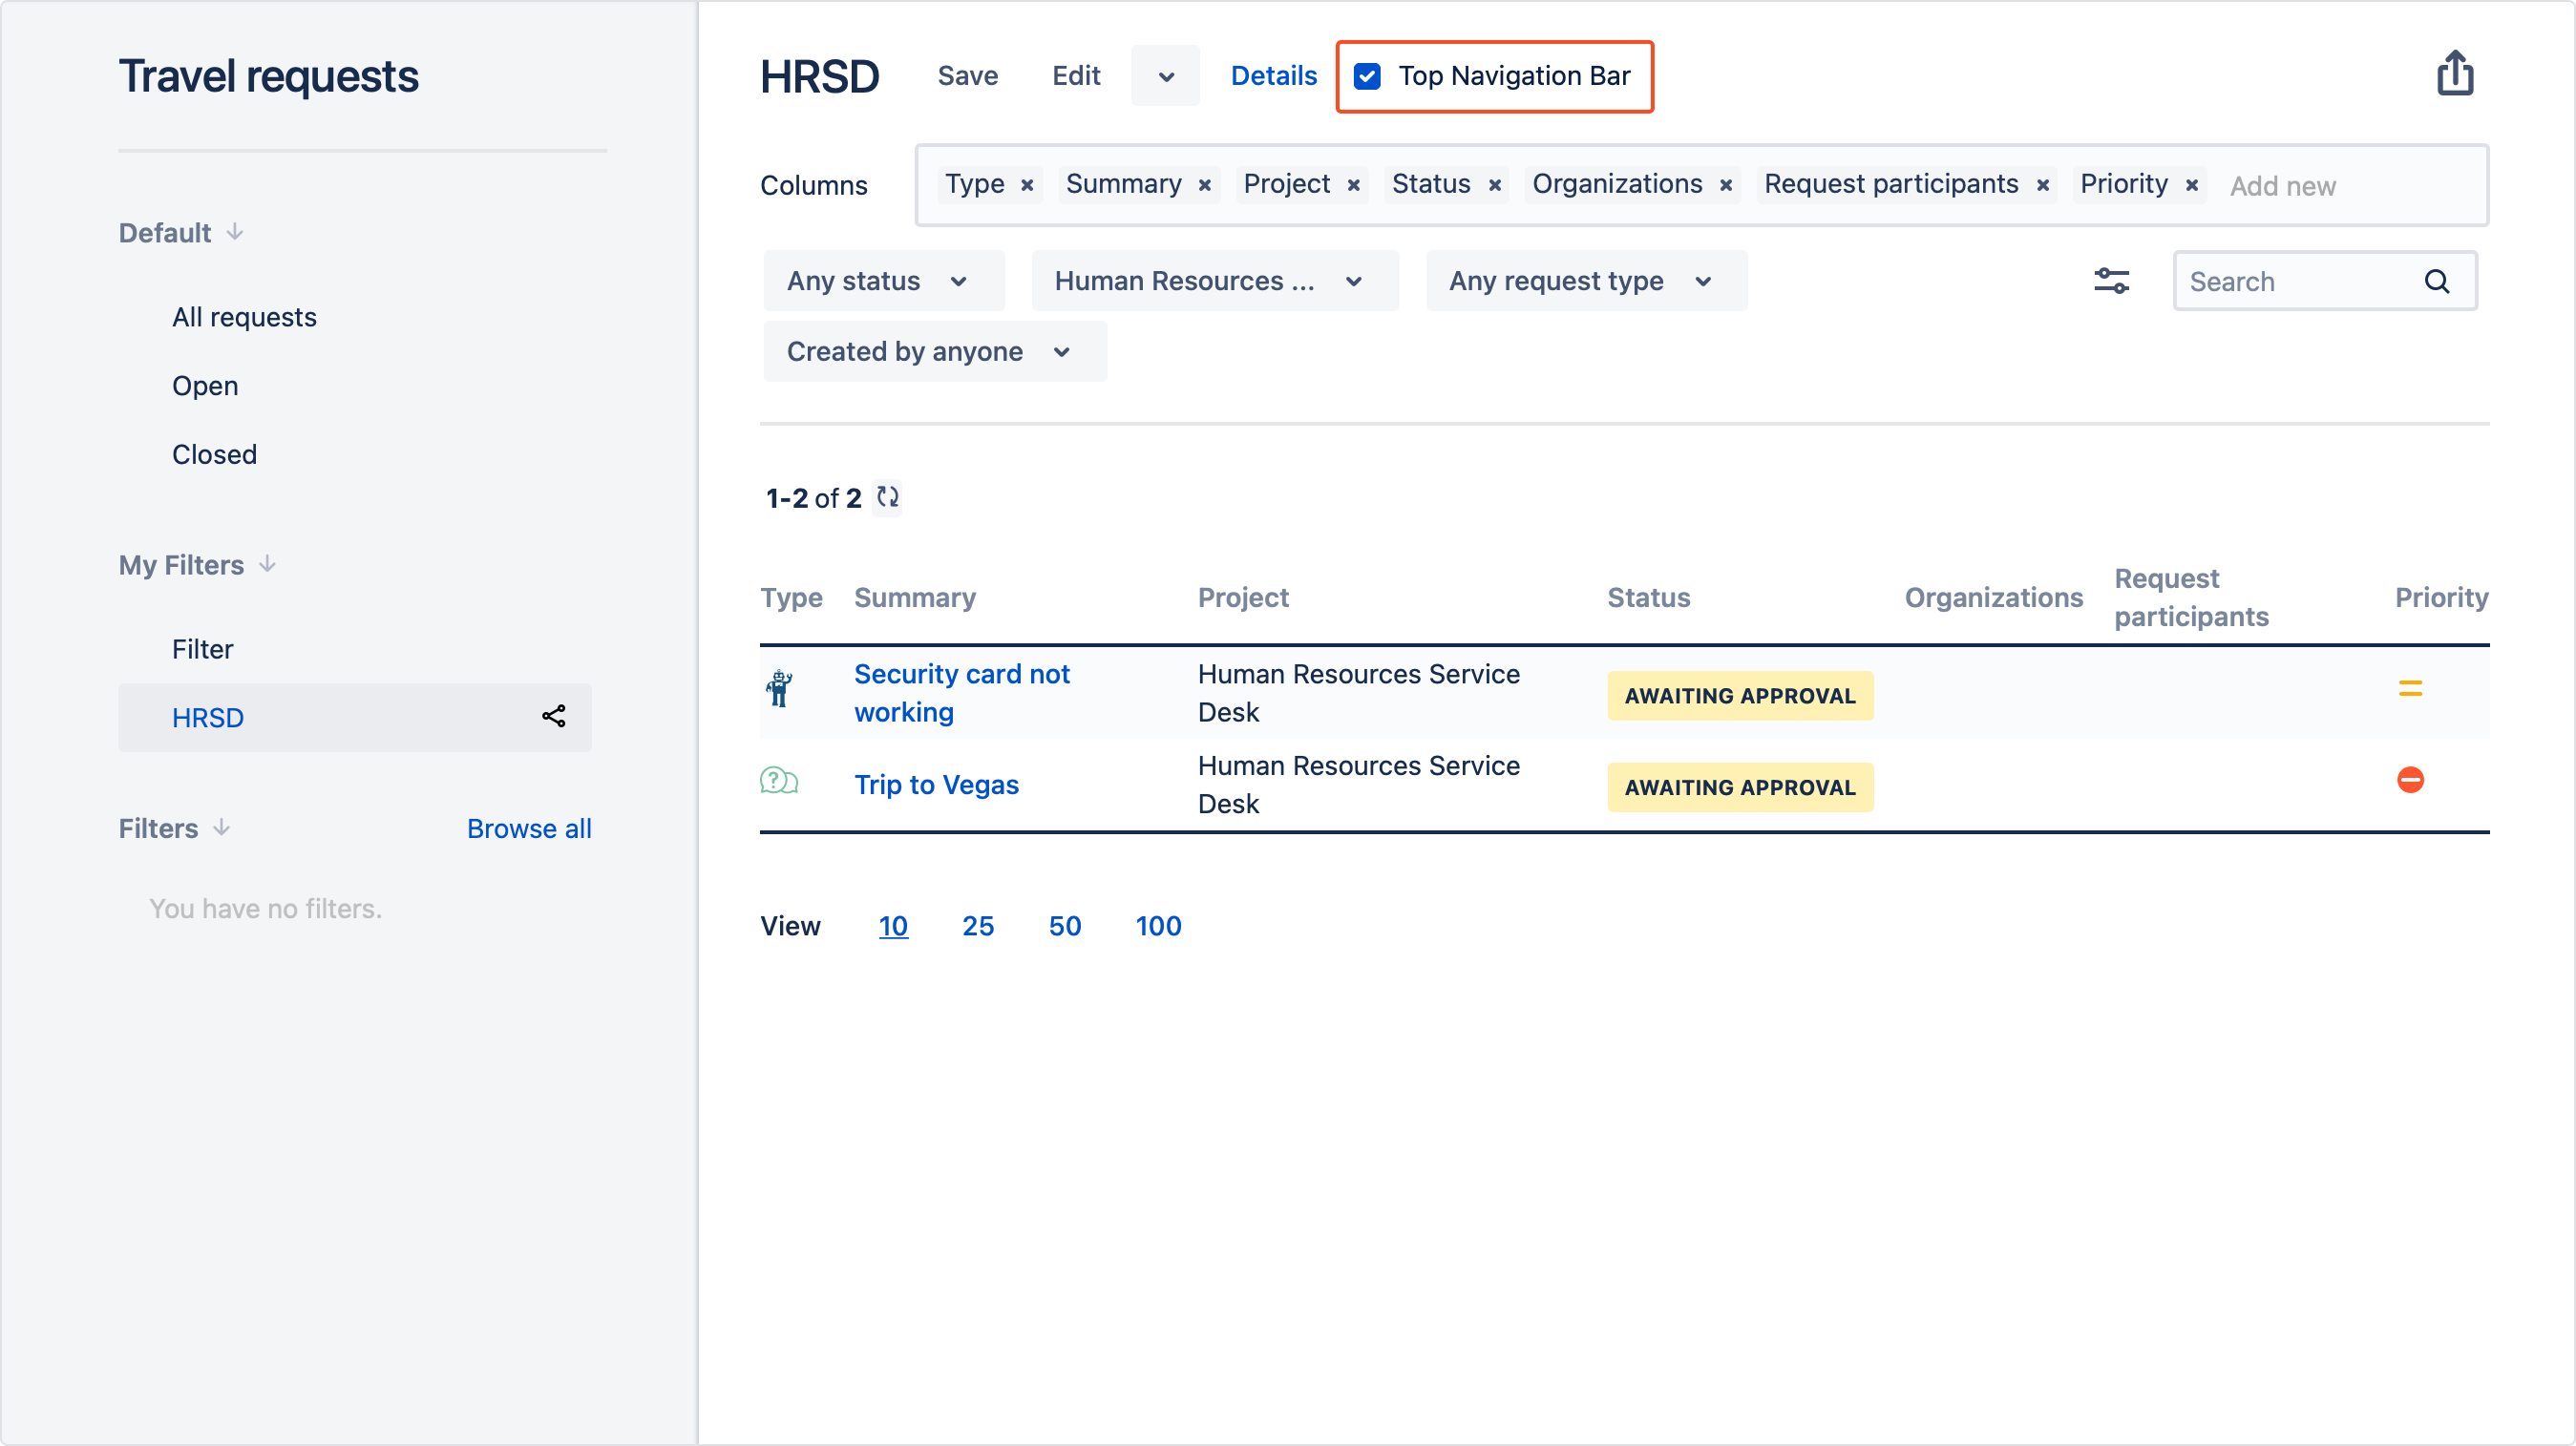
To see filter details, click Details.
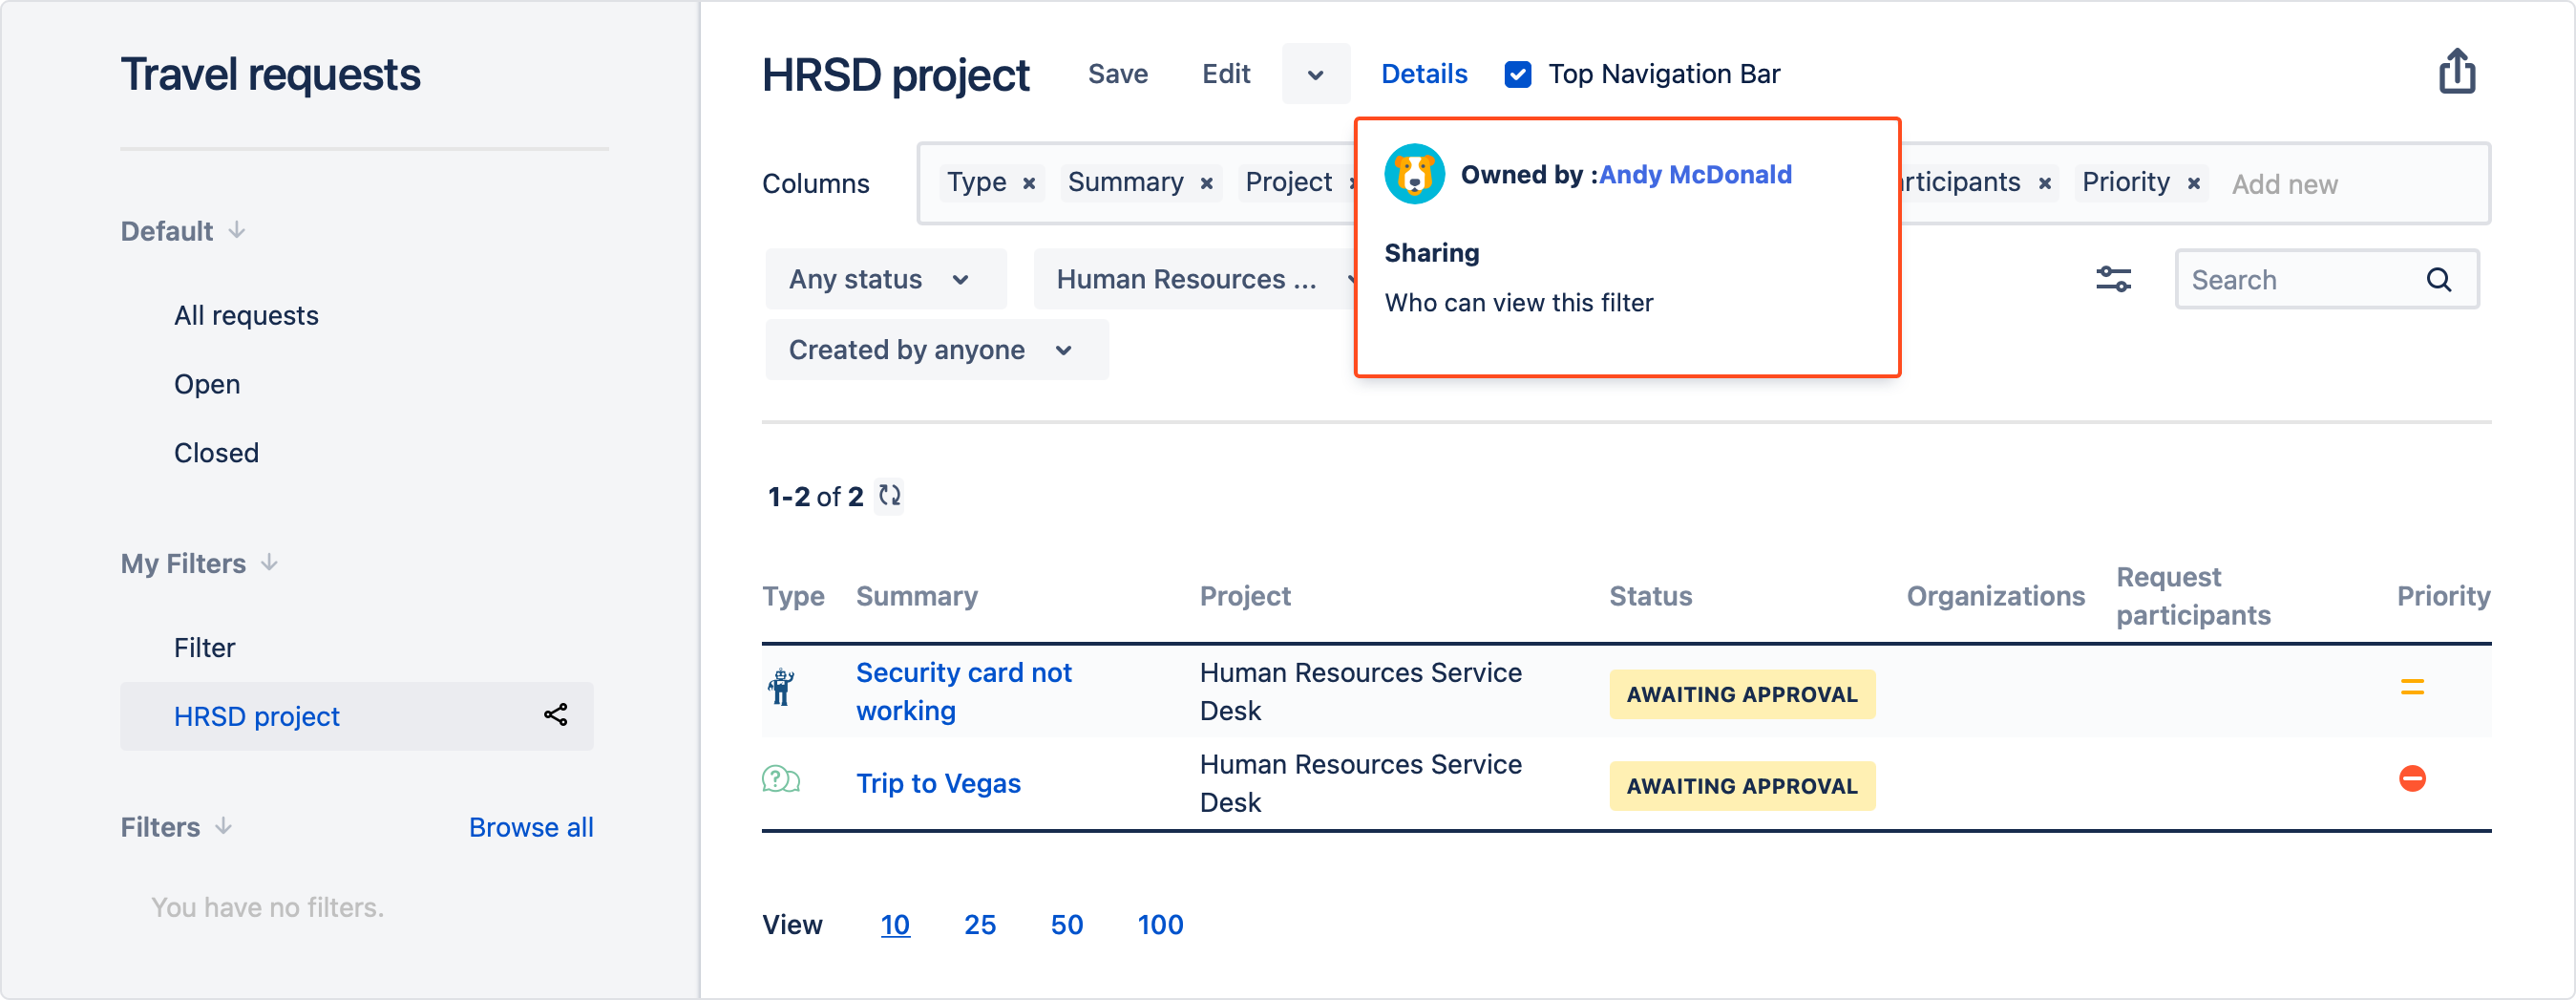
Use an already saved filter to create a new one. Modify fields or criteria and click Save as. Also, you can choose Discard unsaved changes or click Delete to remove filter permanently.
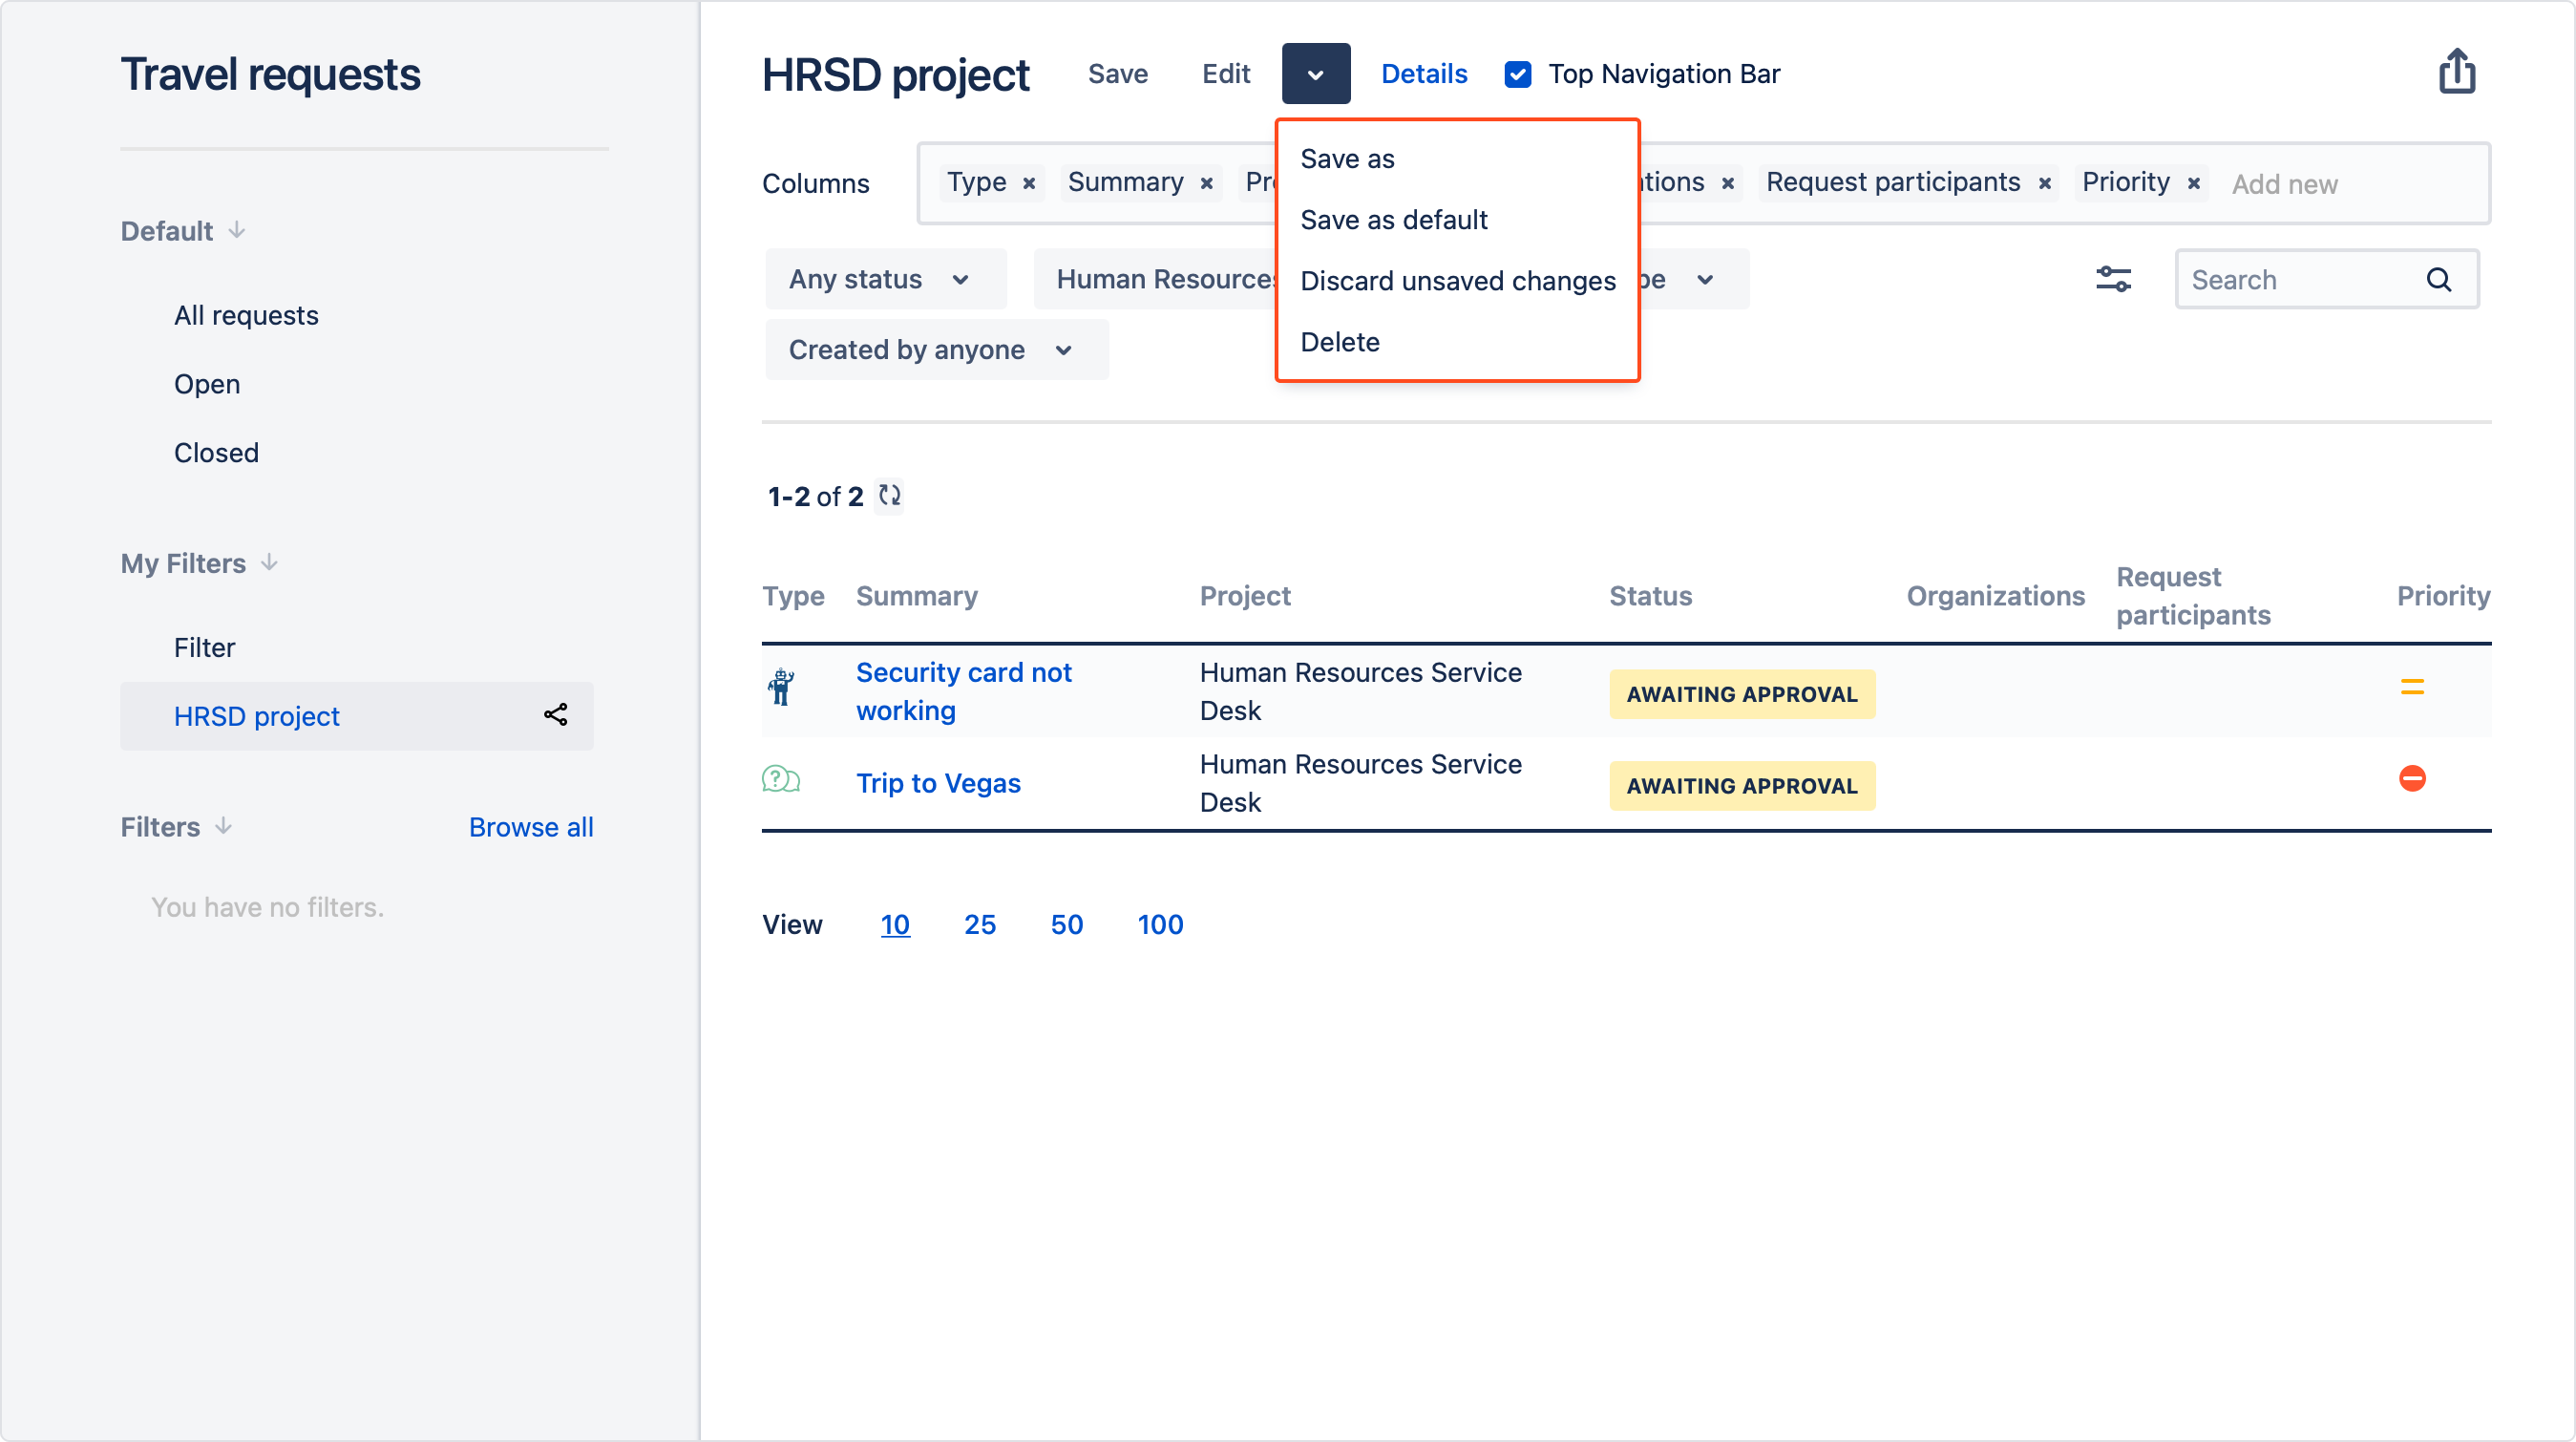
To save filter as default, select Save as default from the context menu.
Shared filters
You can use filters which are shared by other users/groups/organizations with you.
Steps
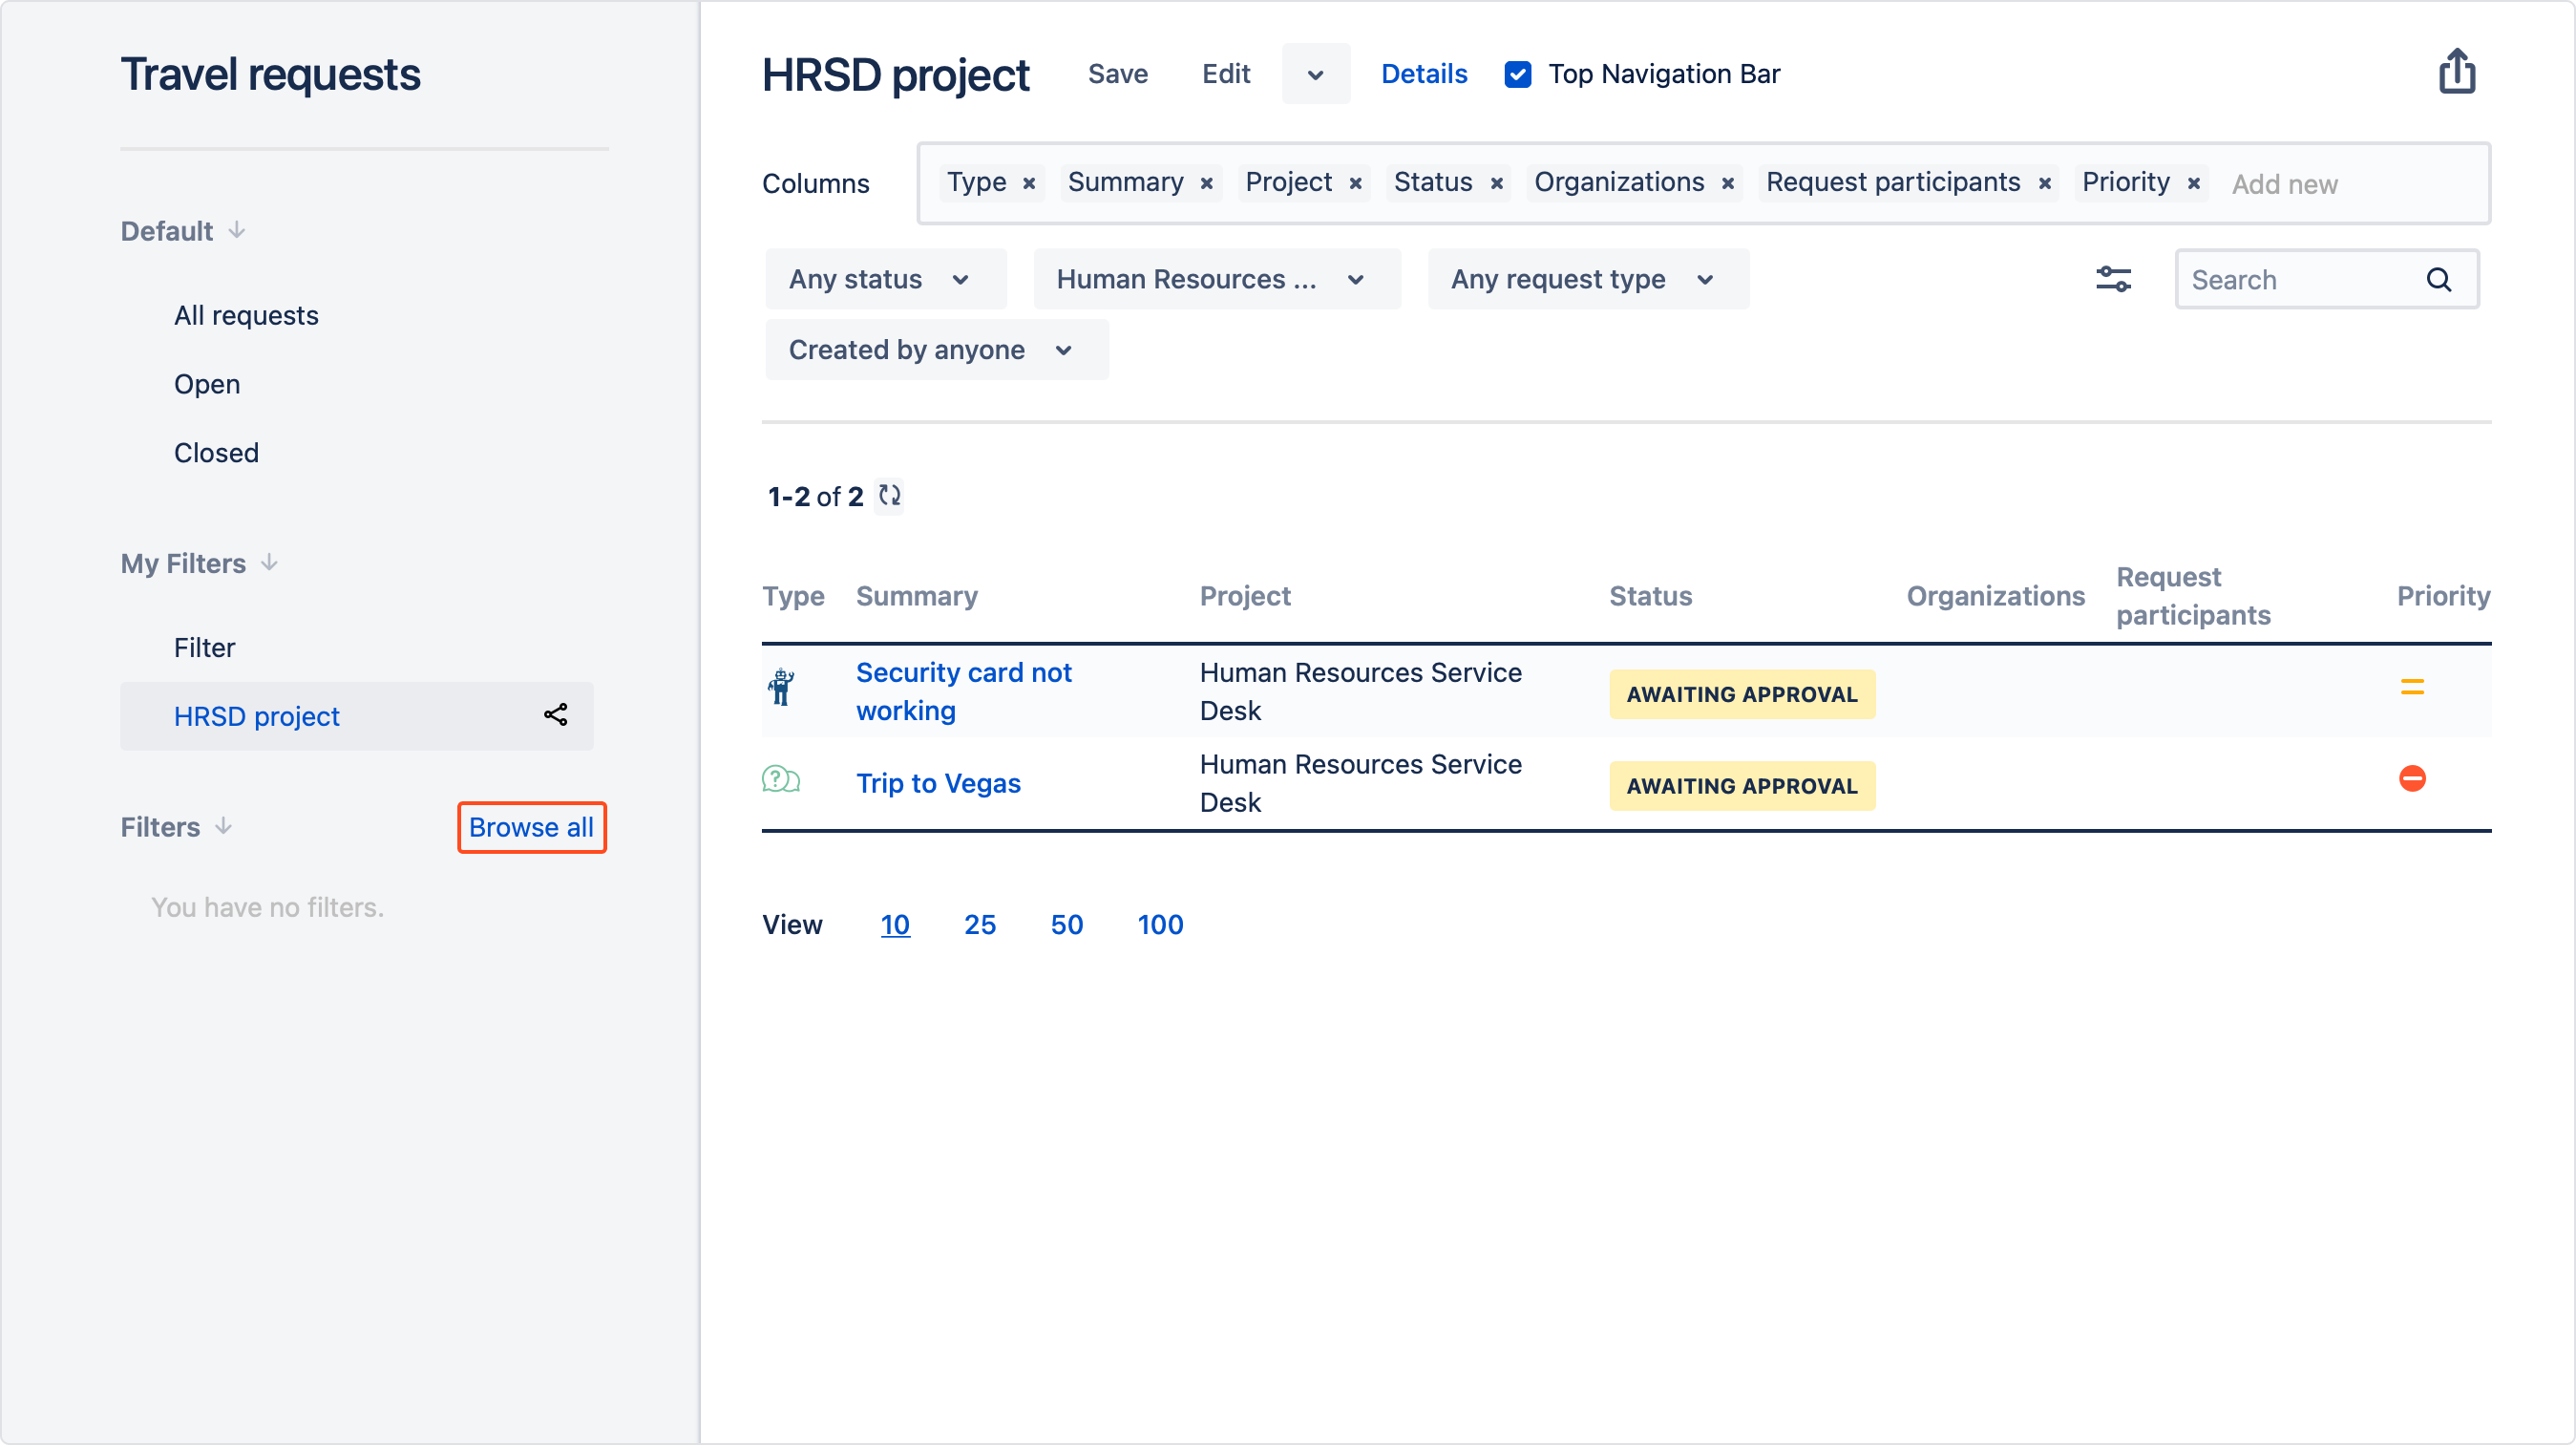
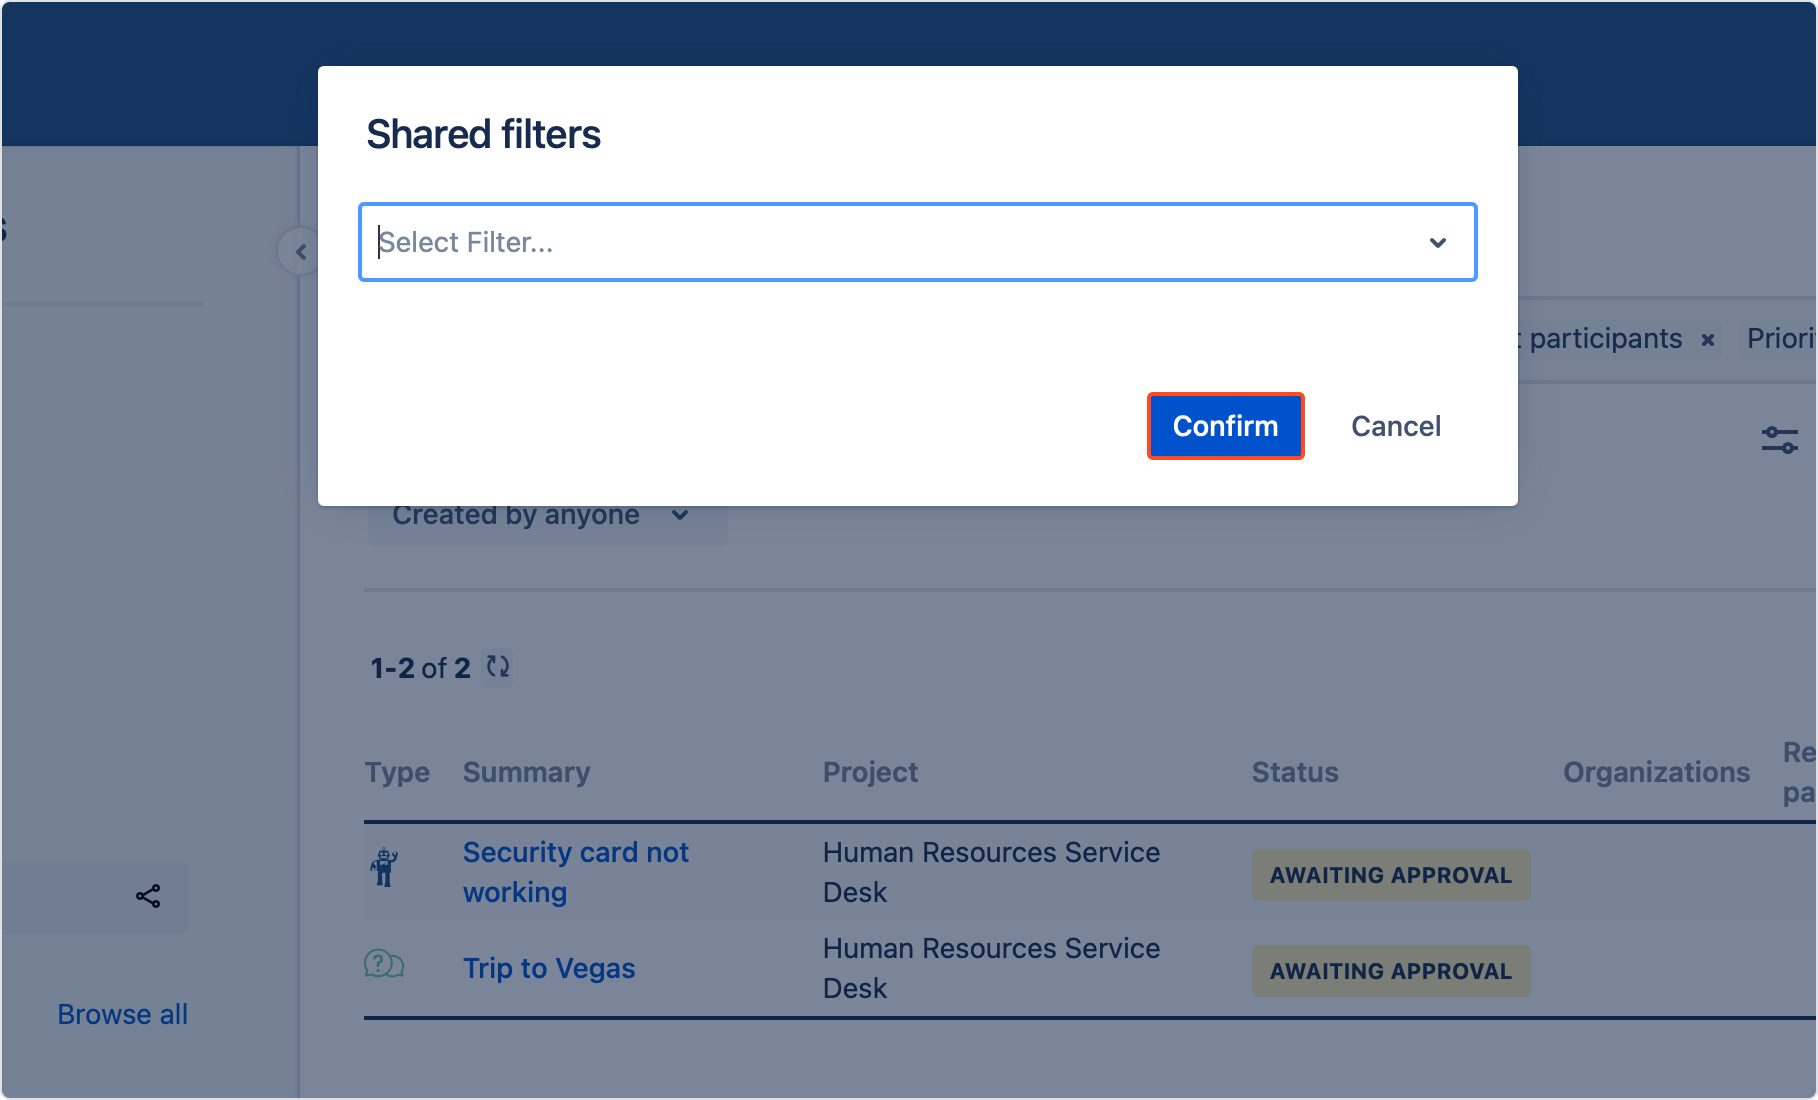
To show these filters on Shared filters list:
Result
A shared filter is added to the list.
If you delete a shared filter that you’re the owner of, it will also disappear from every customer’s screen that the filter was shared with.
If you can’t find the answer you need in our documentation, raise a support request.
