Introduction
This chapter helps you to learn your way around Actions for JSM after installation.
Actions for Jira Service Management app allows you to create multiple customized Edit forms, thanks to which customers can effortlessly edit requests on the Customer Portal.
Creating multiple Edit forms guarantees full customization of request editing, and editing them increases interactions on the Customer Portal. Additionally, Workflow actions enable customers to update their requests on the relevant workflow transitions.
First steps
Before you start, log in as a user with Jira Administrators project permissions. For more information, see Atlassian documentation.
Accessing Get started
Steps
- Navigate to Apps > Manage apps.
- Click Actions for Jira Service Management.
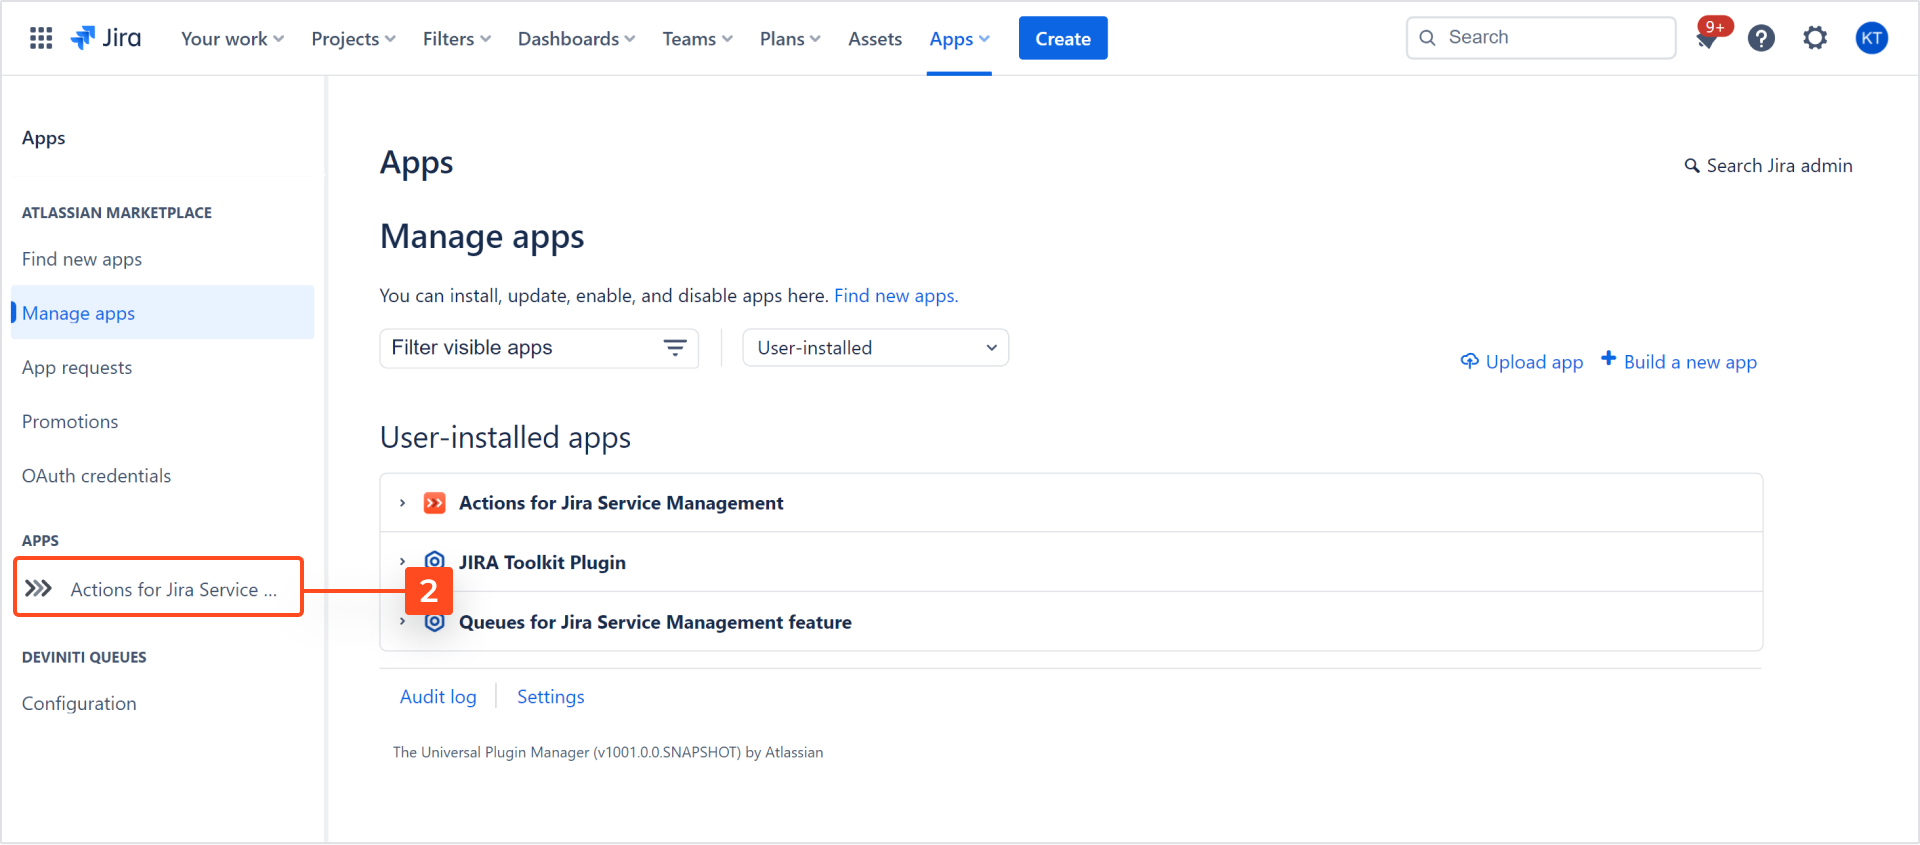
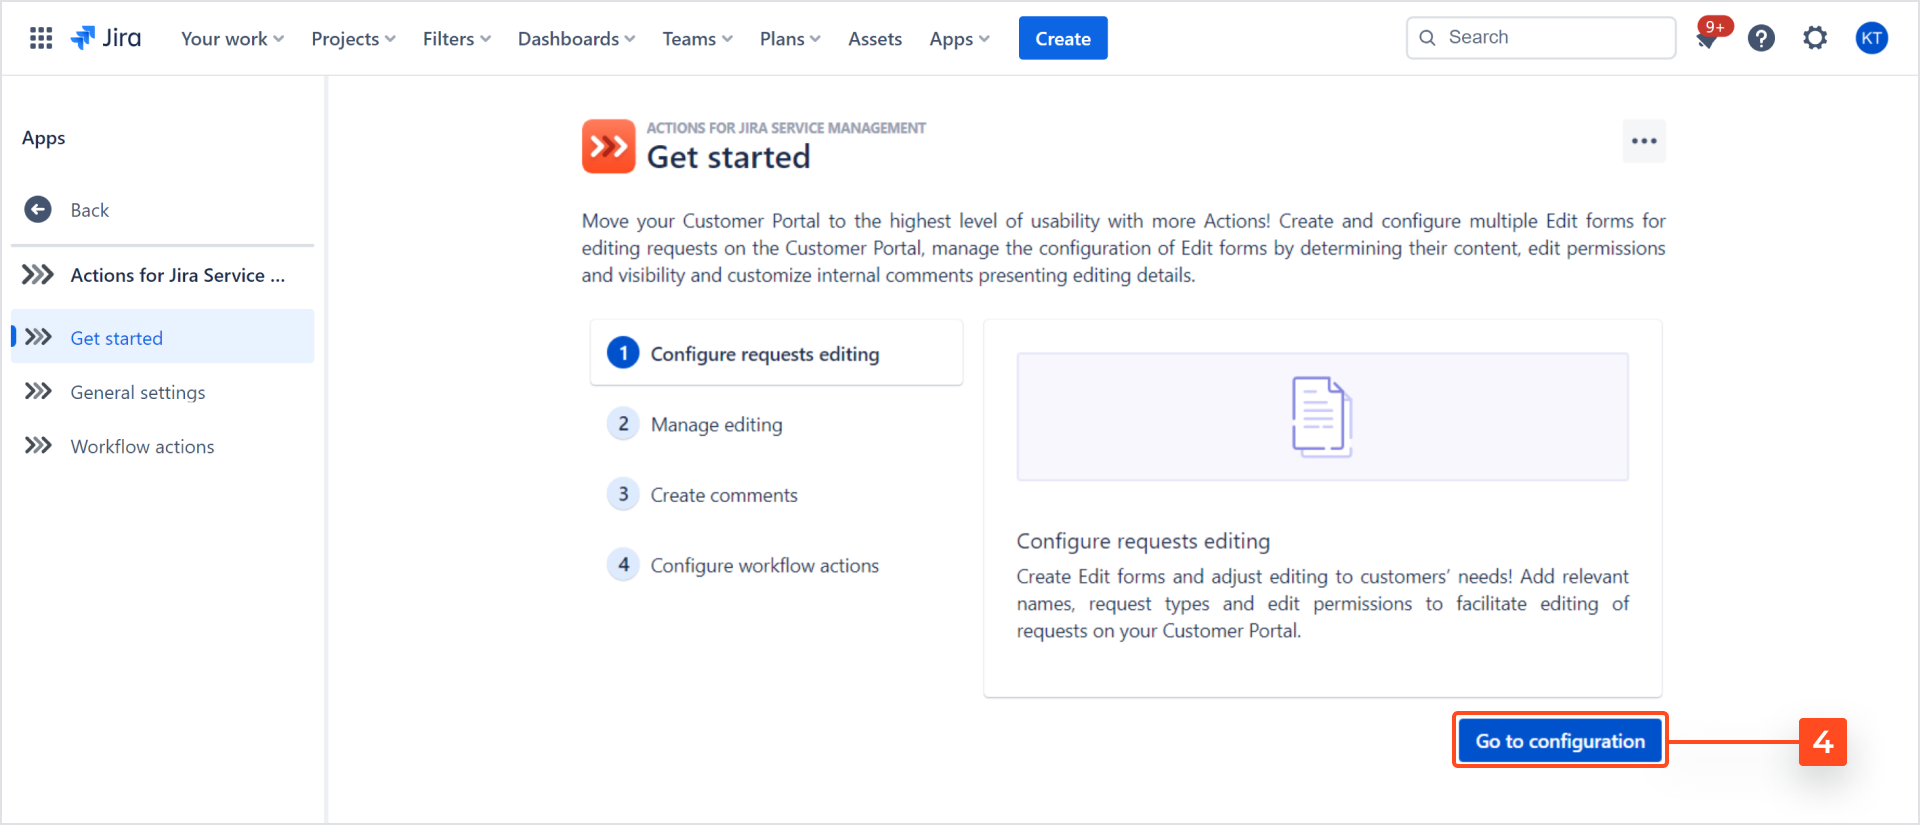
- Select the Get started section.

- You will be redirected to the Get started section, where you can click Go to configuration.
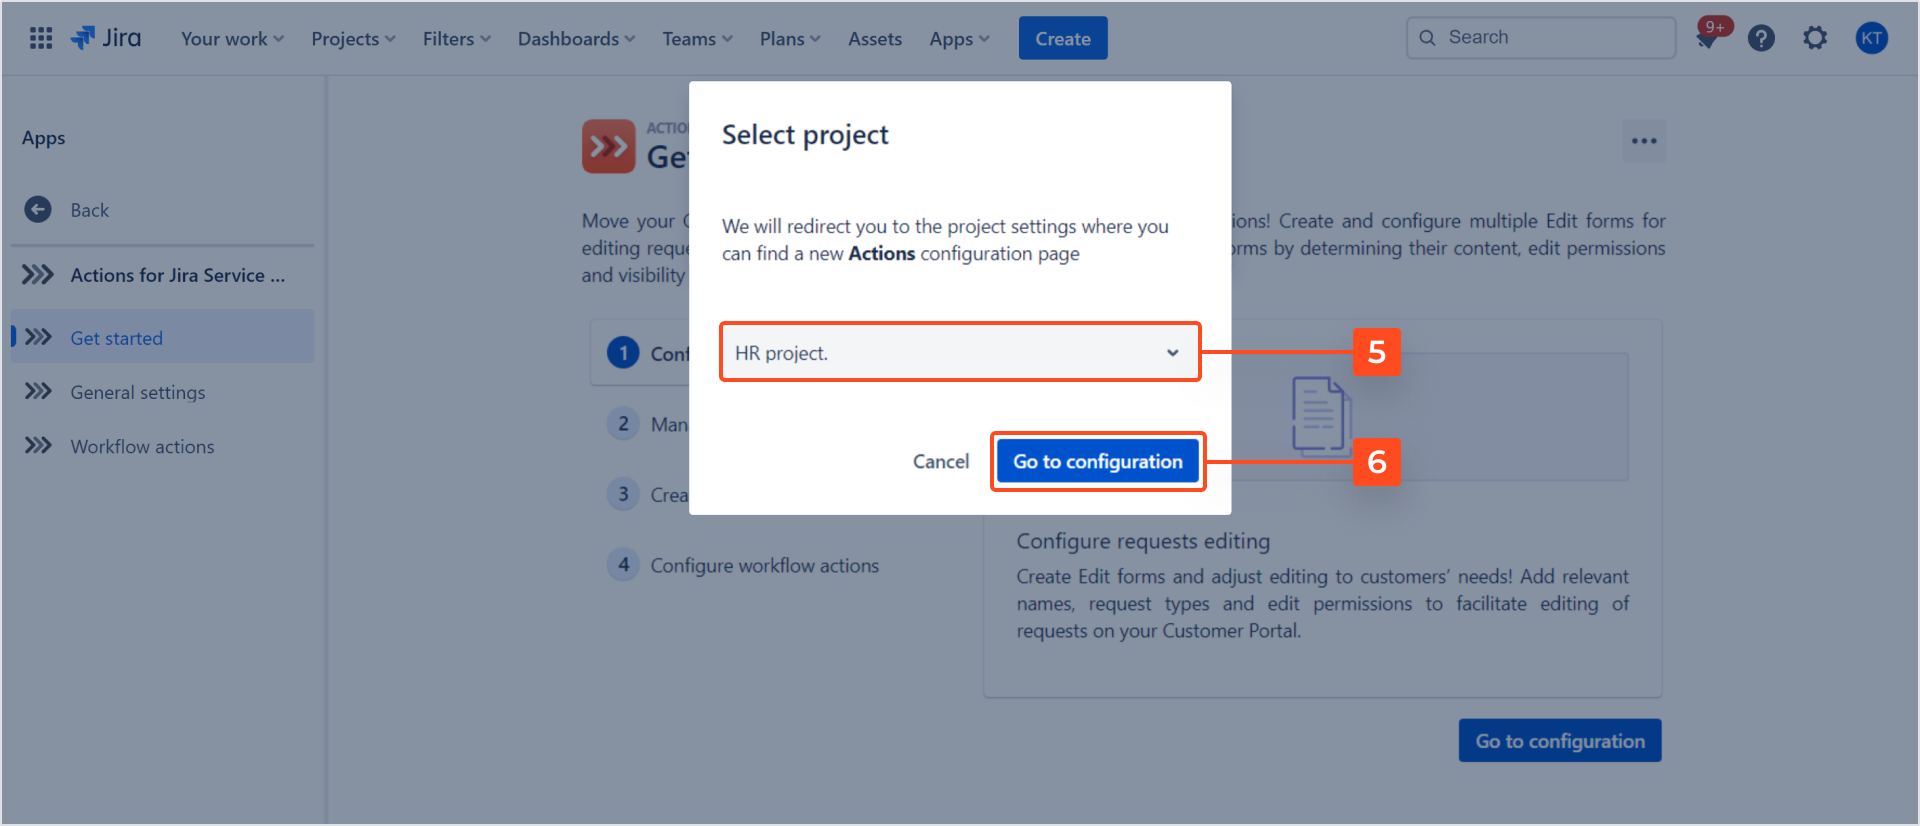
- You will see the Select project dialog. Choose projects you want to use for the Actions for JSM configuration.
- To start configuring, click Go to configuration.
Result
You are redirected to the selected project settings. Now you can start the Request actions configuration by adding your first Edit form.
Accessing General settings
Steps
- Navigate to Apps > Manage apps.
- Click Actions for Jira Service Management.
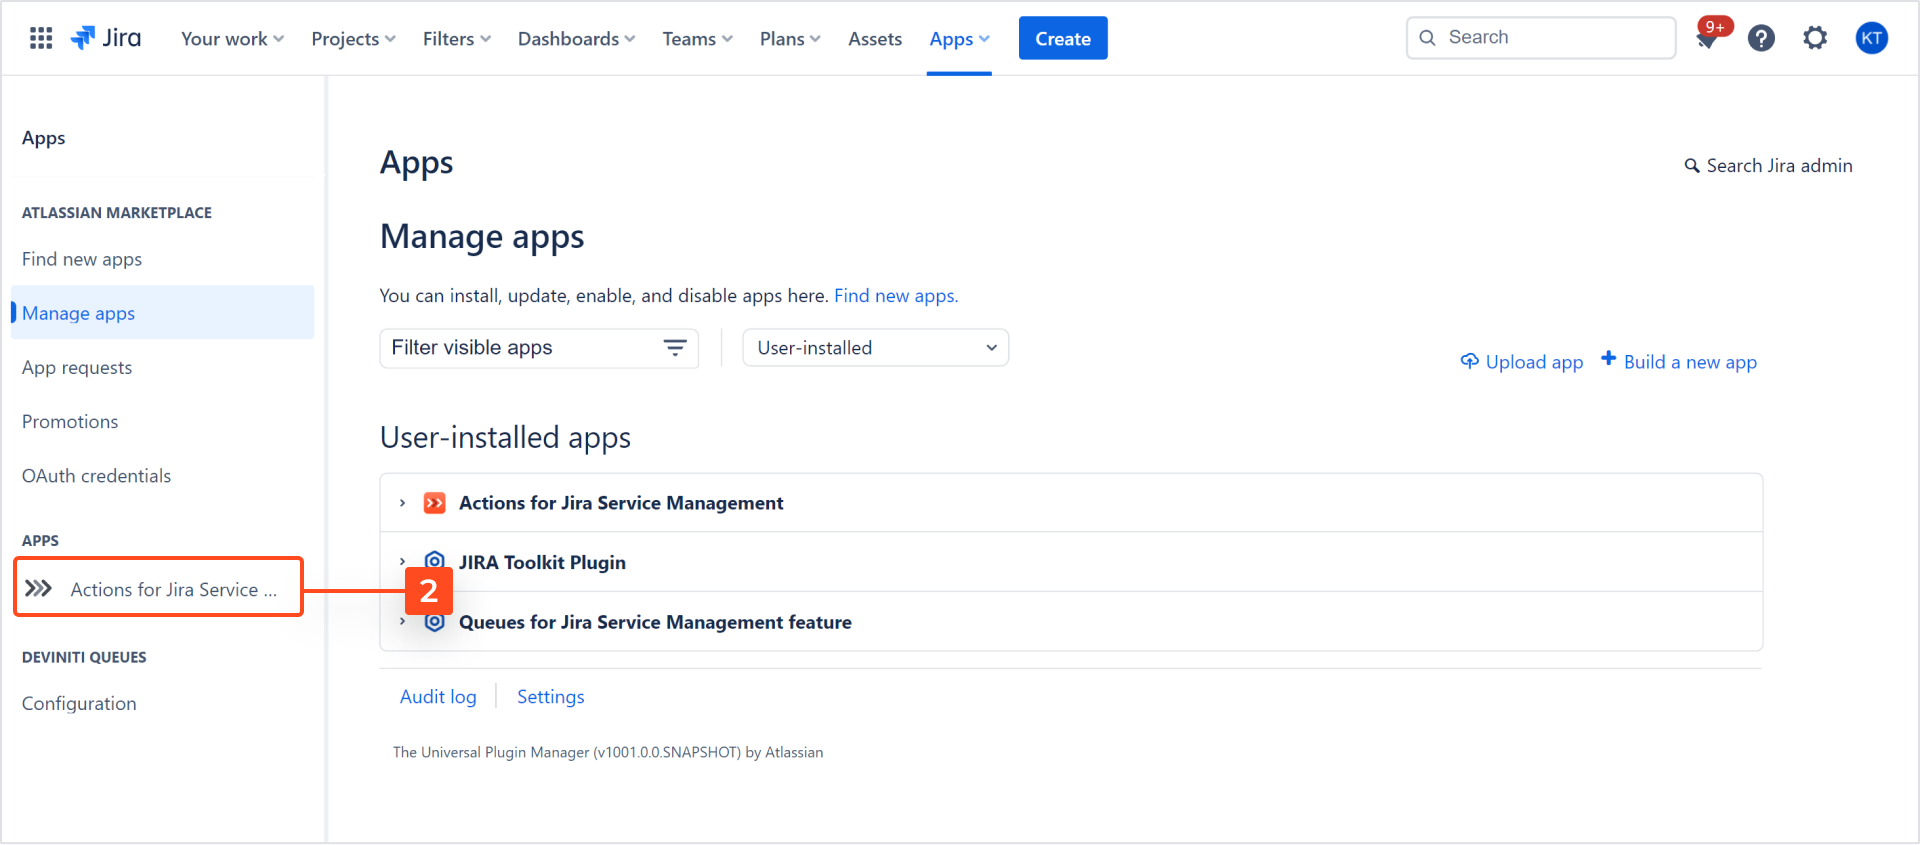
- Select the General settings section.
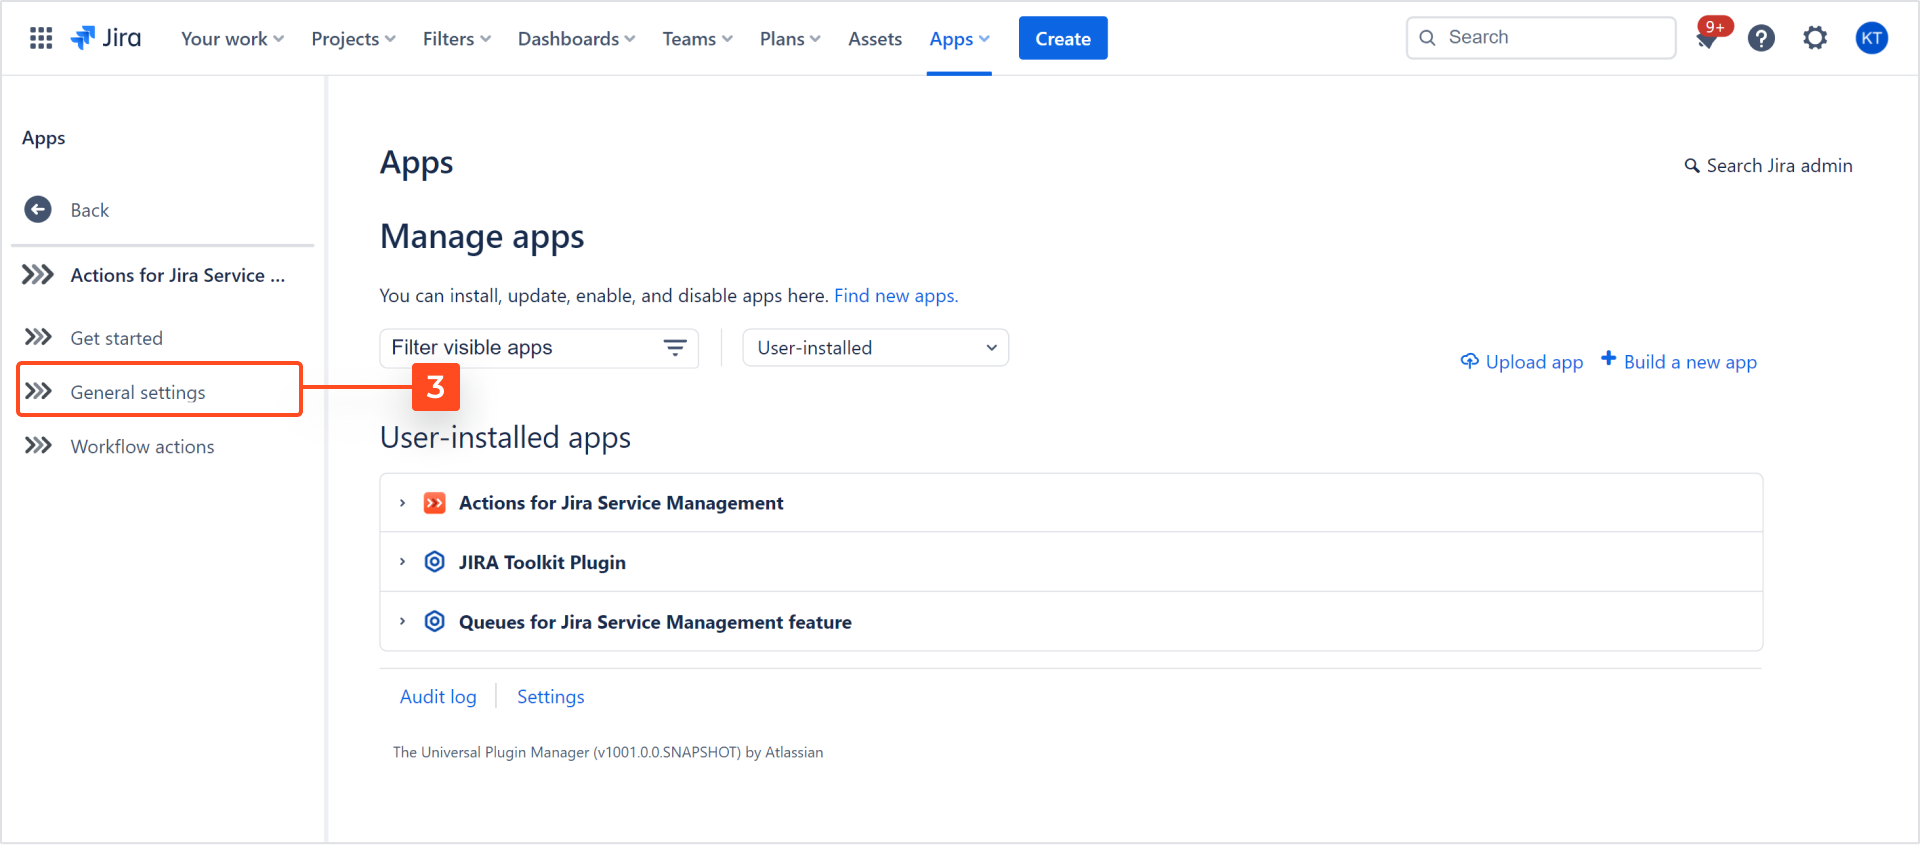
Result
You are redirected to the Global Settings, including two sections:
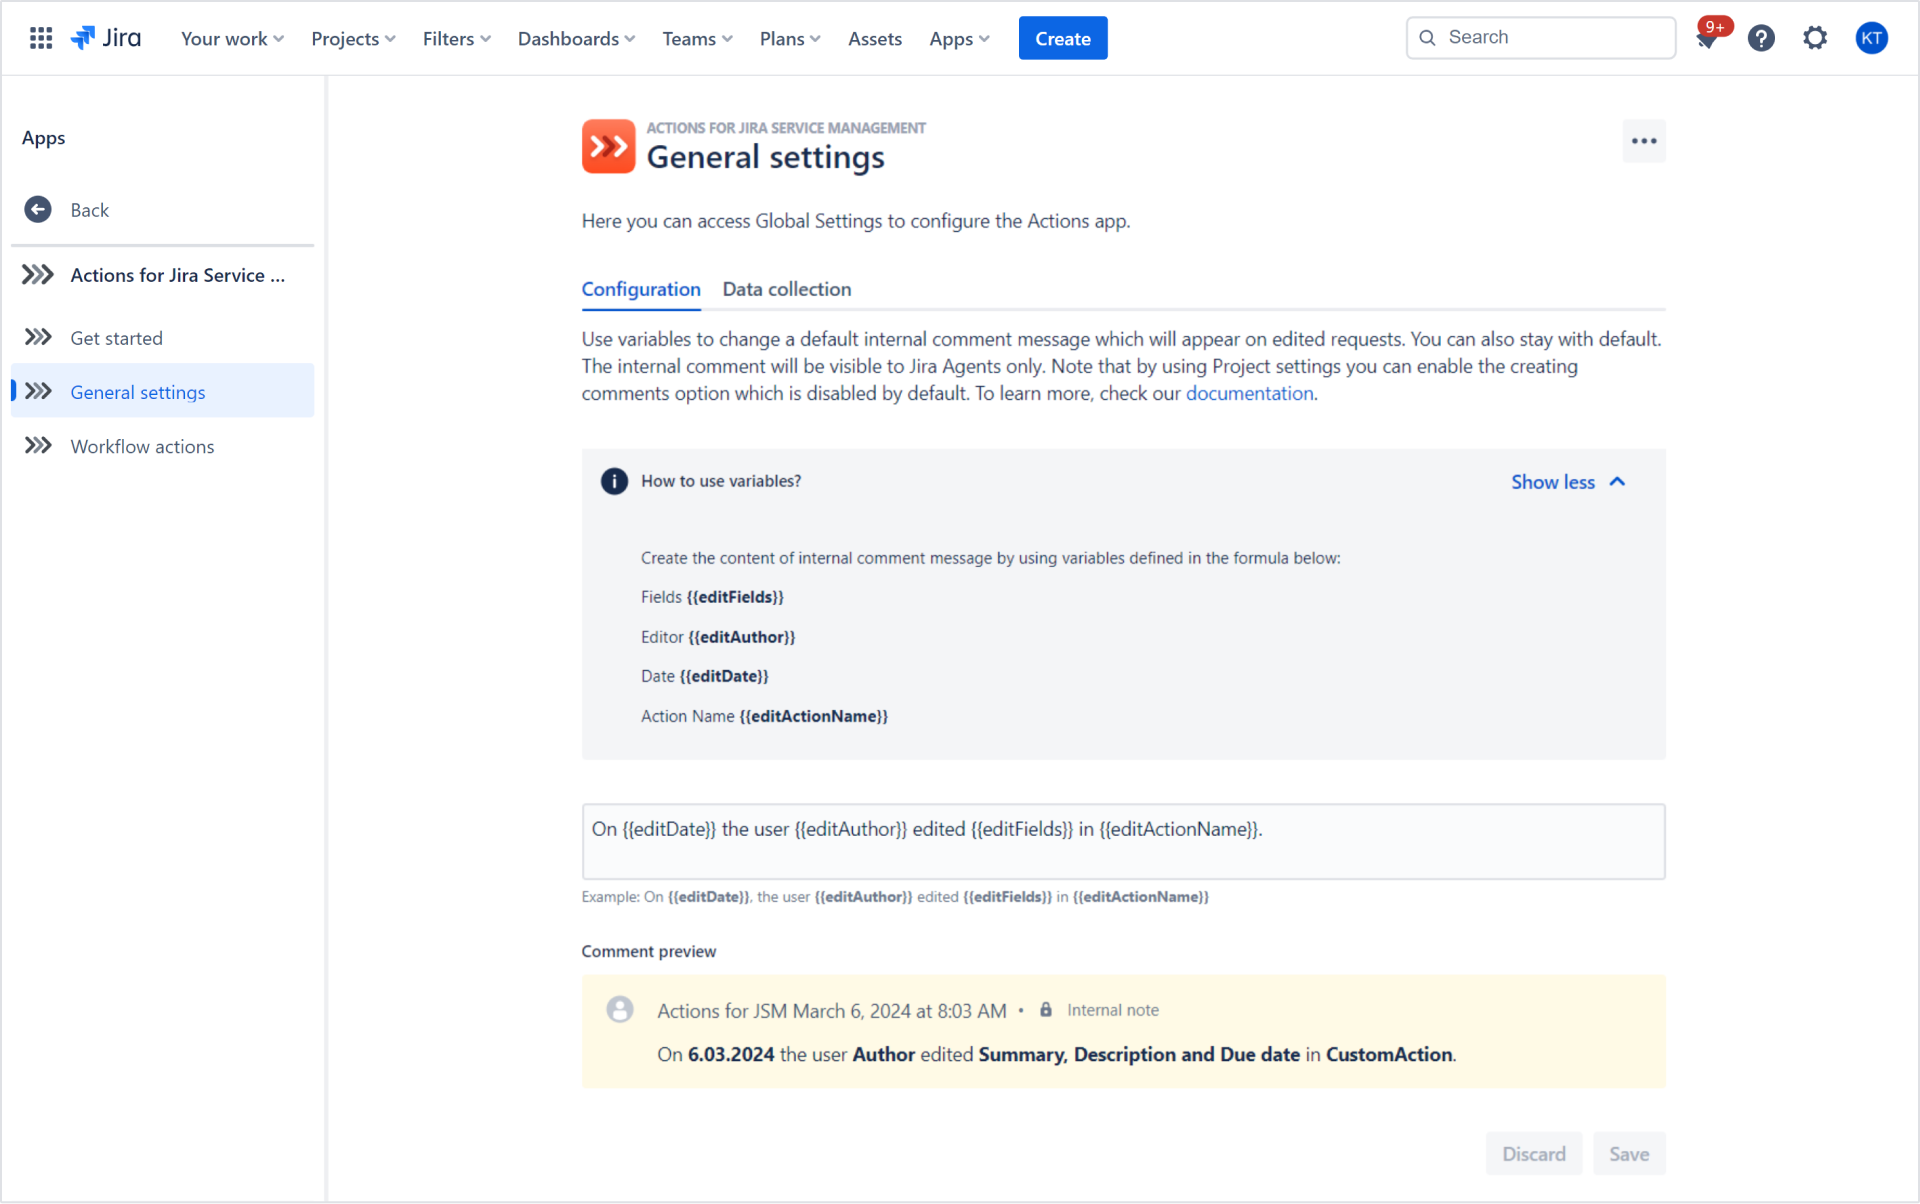
- Configuration
Use variables to change a default internal comment message appearing on edited requests. You can also stay with the default one. The internal comment will be visible only to Jira Agents. Note that by using Project settings, you can enable the creating comments option that is disabled by default. To learn more, refer to this chapter.
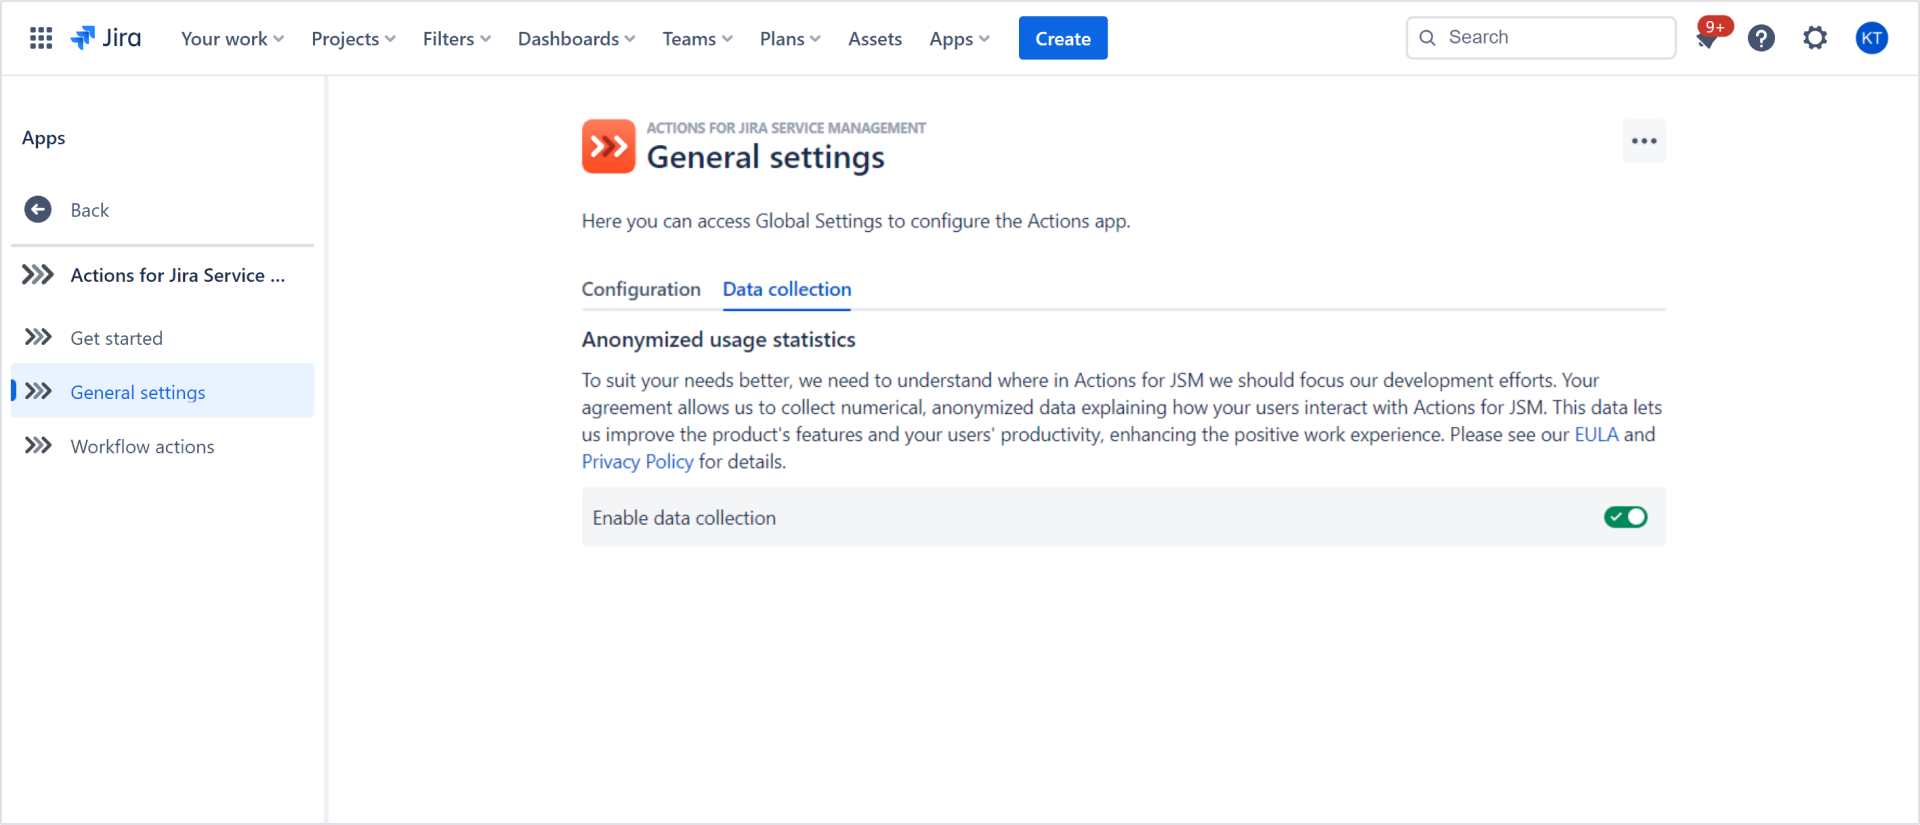
- Data collection
Enable data collection to suit our development efforts in Actions for JSM to meet your needs better. Your agreement allows us to collect numerical, anonymized data explaining how your users interact with Actions for JSM. This data lets us improve the product’s features and your users’ productivity, enhancing the positive work experience.
Accessing Workflow actions
Steps
- Navigate to Apps > Manage apps.
- Click Actions for Jira Service Management.
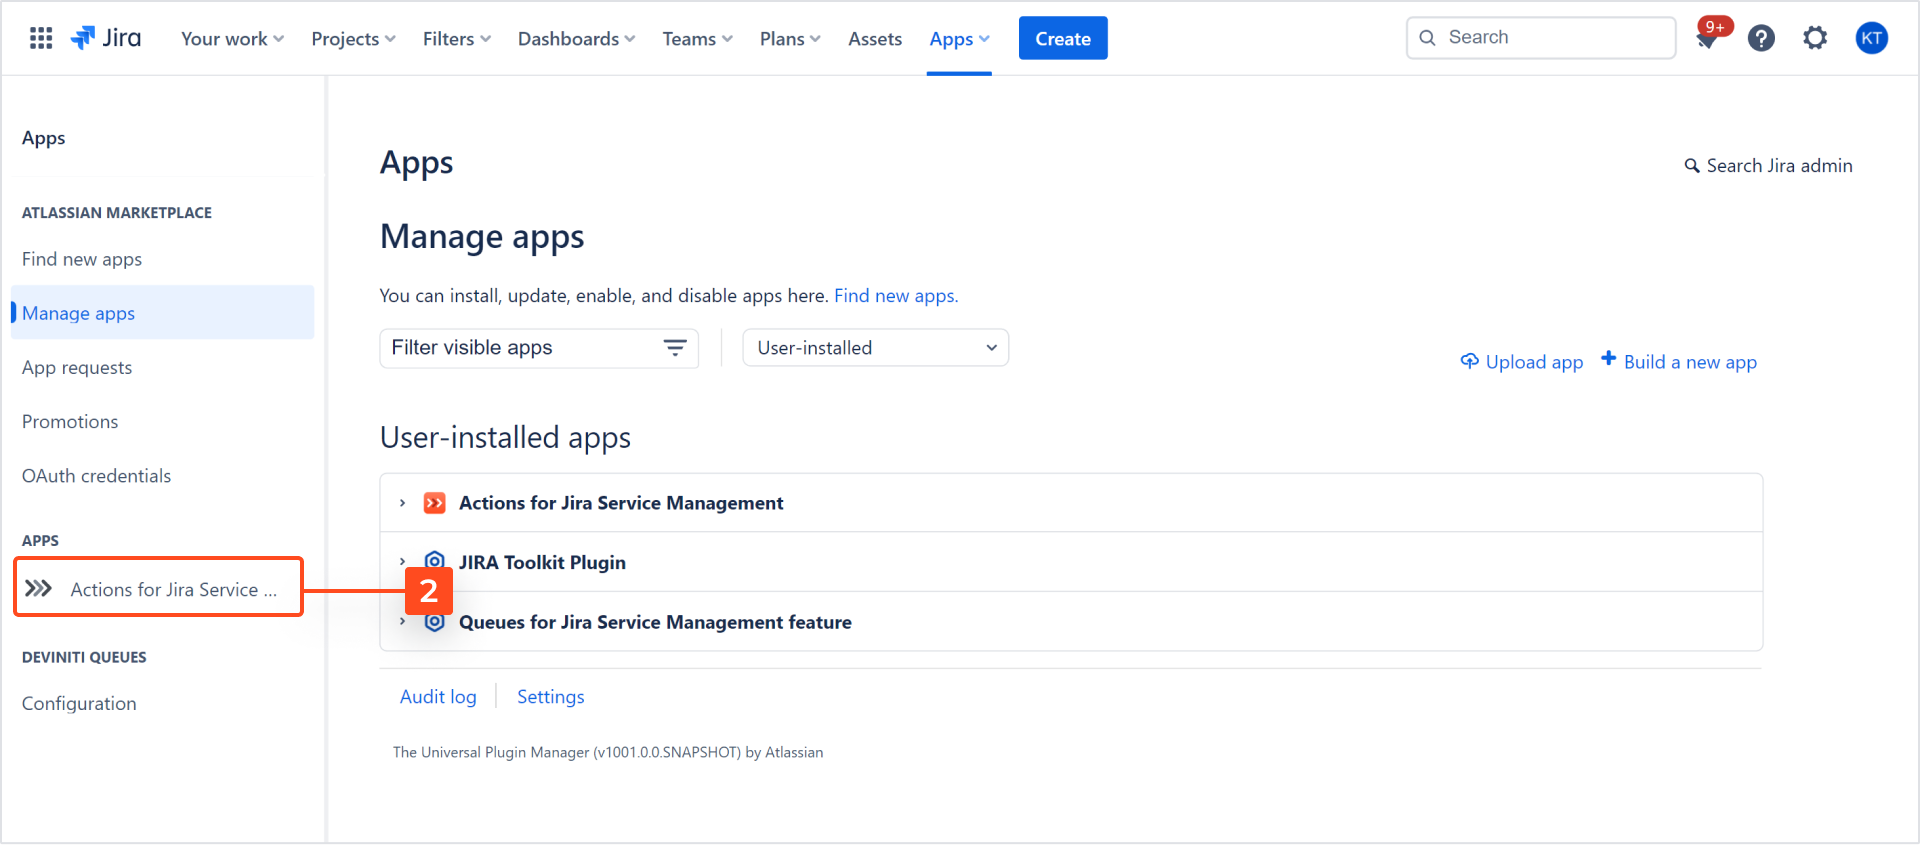
- Select the Workflow actions section.
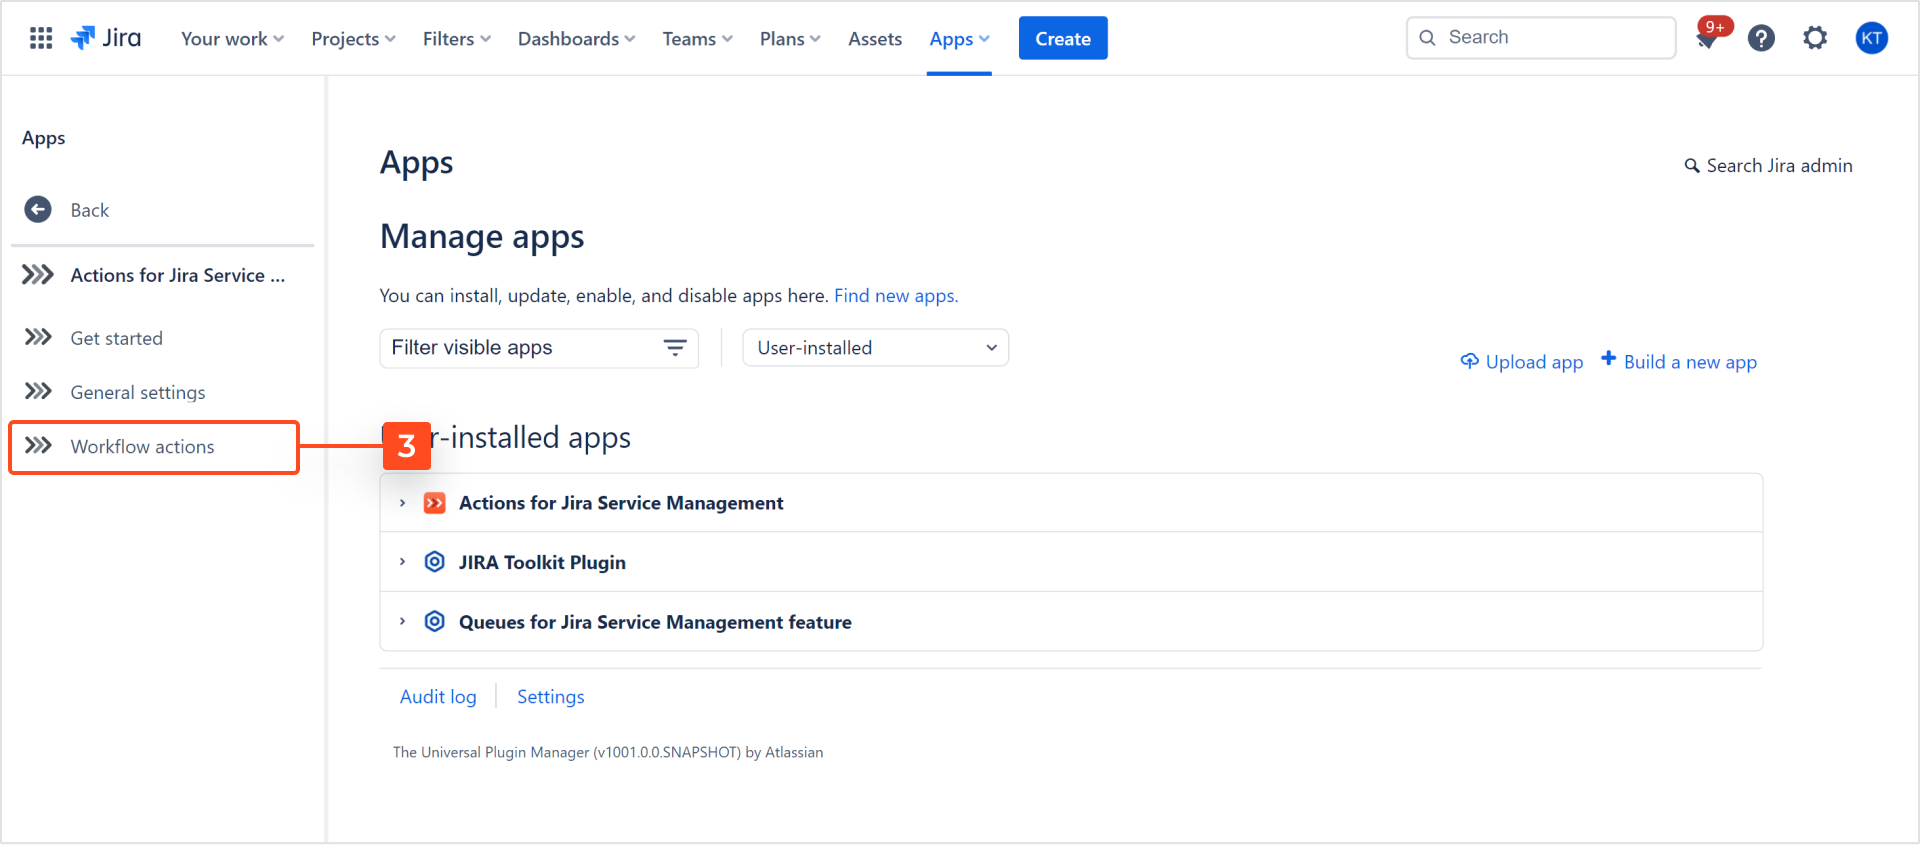
Result
You are redirected to the Workflow actions view. Now you can add and configure your Workflow actions to provide customers with the possibility to edit their requests on the relevant workflow transitions.
If you can’t find the answer you need in our documentation, raise
a support request.
Include as much information as possible to help our support team resolve your issue faster.