- Introduction
- About
- Onboarding
- Getting Started
- Demo backup
- User's guide
- Projects' organization
- Test design
- Organizing tests
- Test planning
- Test execution
- Requirements
- Operations
- Reporting and tracking
- Import/Export TCT
- Export test issues
- Issue search dialog
- TestFLO menu
- Admin's guide
- Project configuration
- Test Automation configuration
- TestFLO settings
- TestFLO Permissions
- Custom fields
- Advanced workflow configuration
- Panel Filter Result
- Upgrade reports
- Upgrade guide
- Integrations
- Confluence
- REST API
- Configuration Manager for Jira
Getting Started
This section provides information on how to start with TestFLO.
Only users with Jira System Administrators and Jira Administrators Permissions have access to Getting Started page.
On Getting Started page you can find three ways to explore TestFLO:
- Create Sample Project with TestFLO sample data
- Create New Project with TestFLO default configuration
- Start with existing project and turn on the TestFLO app
You can also directly run TestFLO or use customize path in the project. To learn more see project configuration.
Steps
To get to the Getting Started page:
- Go to the Jira Administration > Add-ons.
- Click the Getting Started page in TestFLO section.
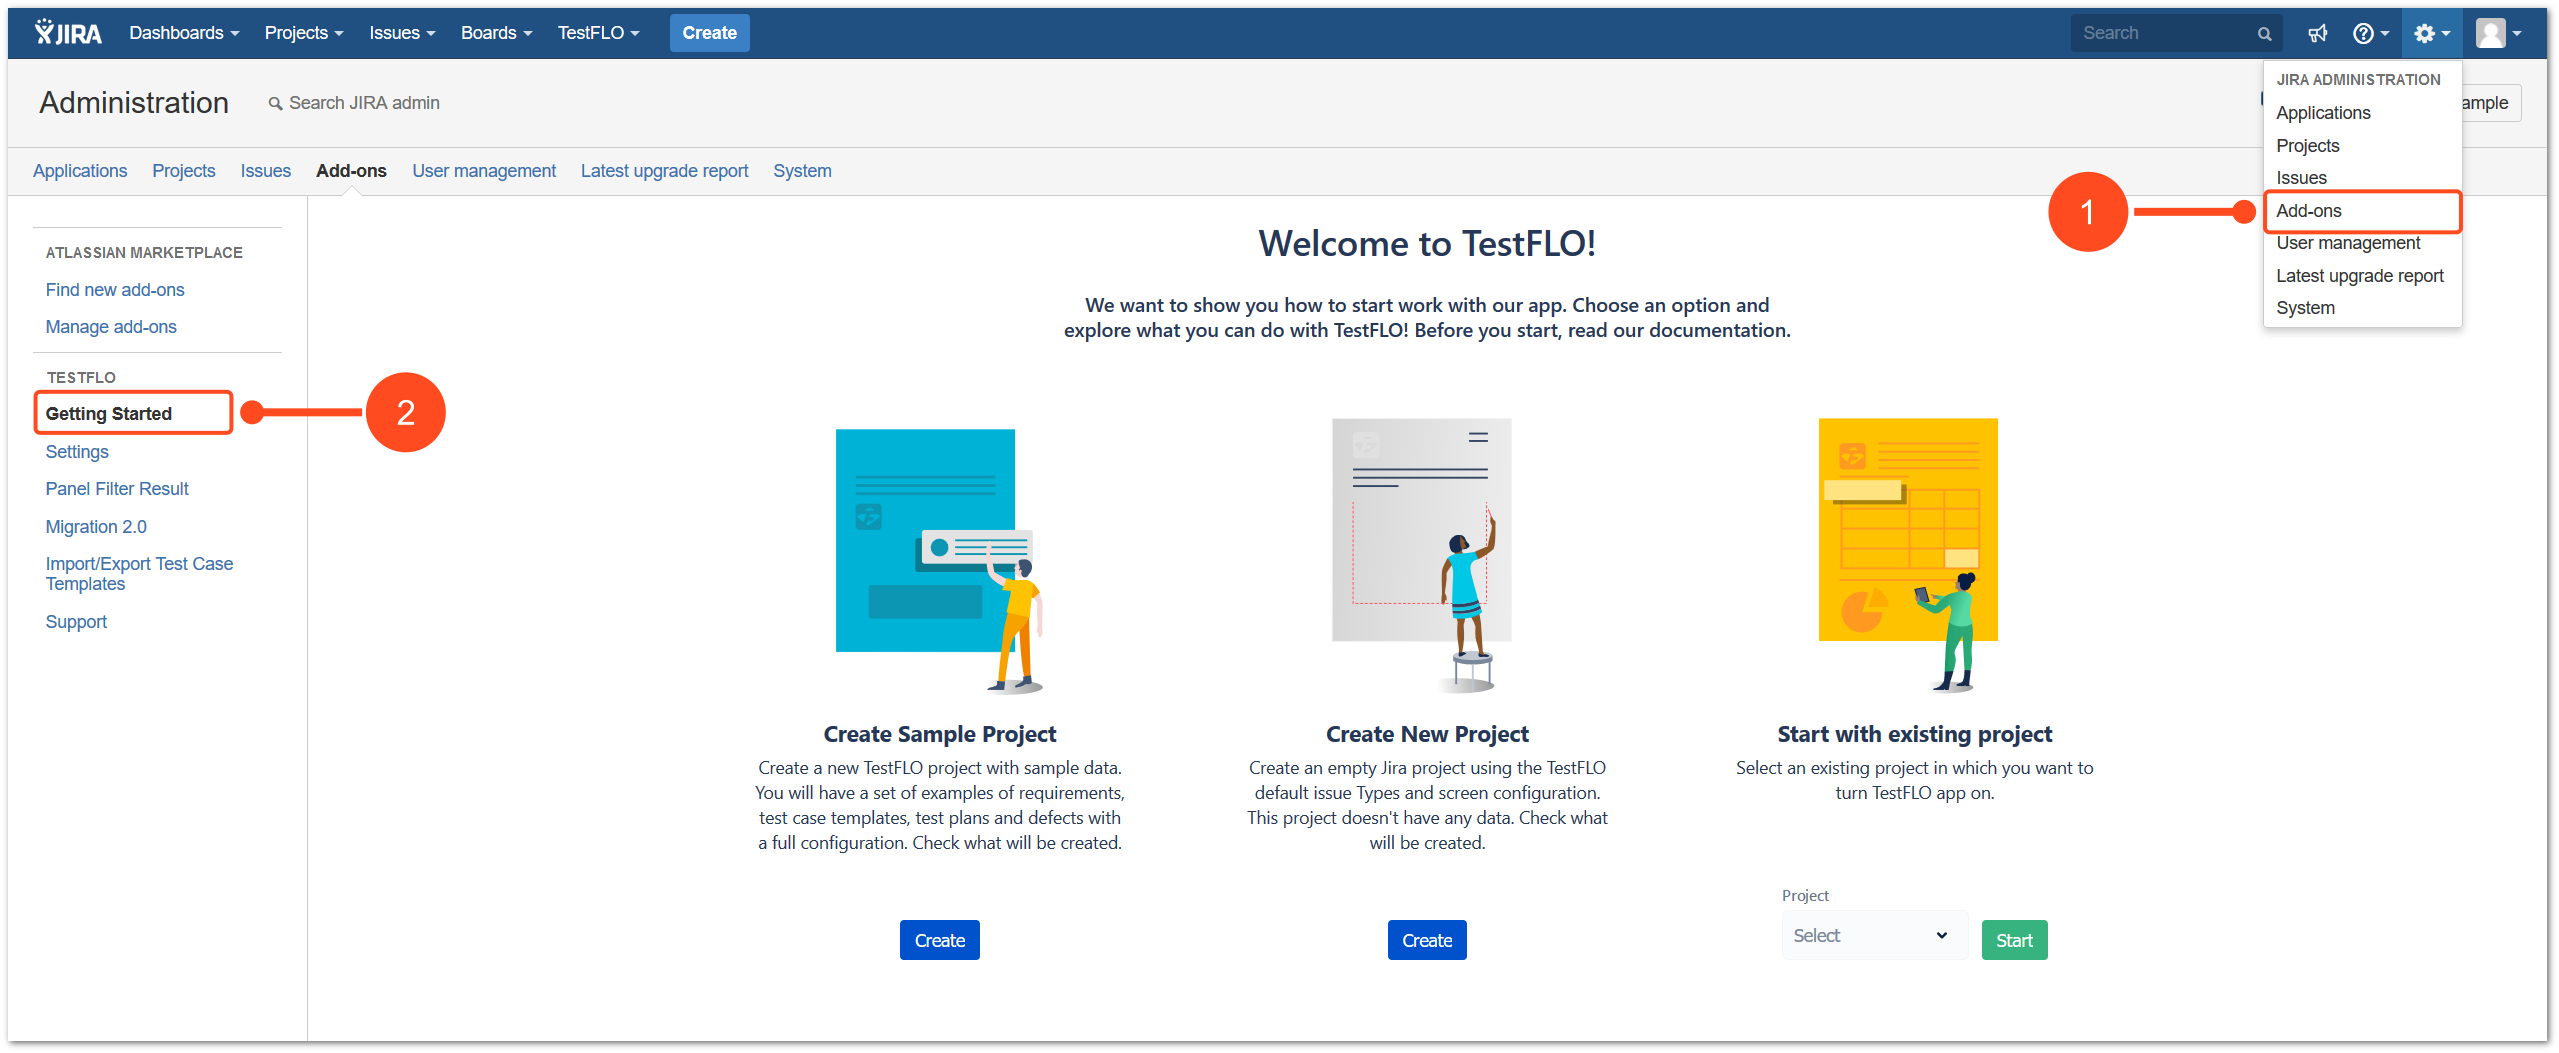
or
- Click TestFLO in Jira top bar.
- Select Get Started page.

Result
View of Getting Started page.
Create Sample Project
The created project is a Business Project Type.
The Create Sample Project option gives you the opportunity to create a project with sample data. In an easy way a set of examples of:
- requirements,
- Test Case Templates,
- Test Plans,
- Test Cases,
- defects
will be automatically created in project with full TestFLO configuration.
Steps
To Create Sample Project:
- Click Create below Create Sample Project option.
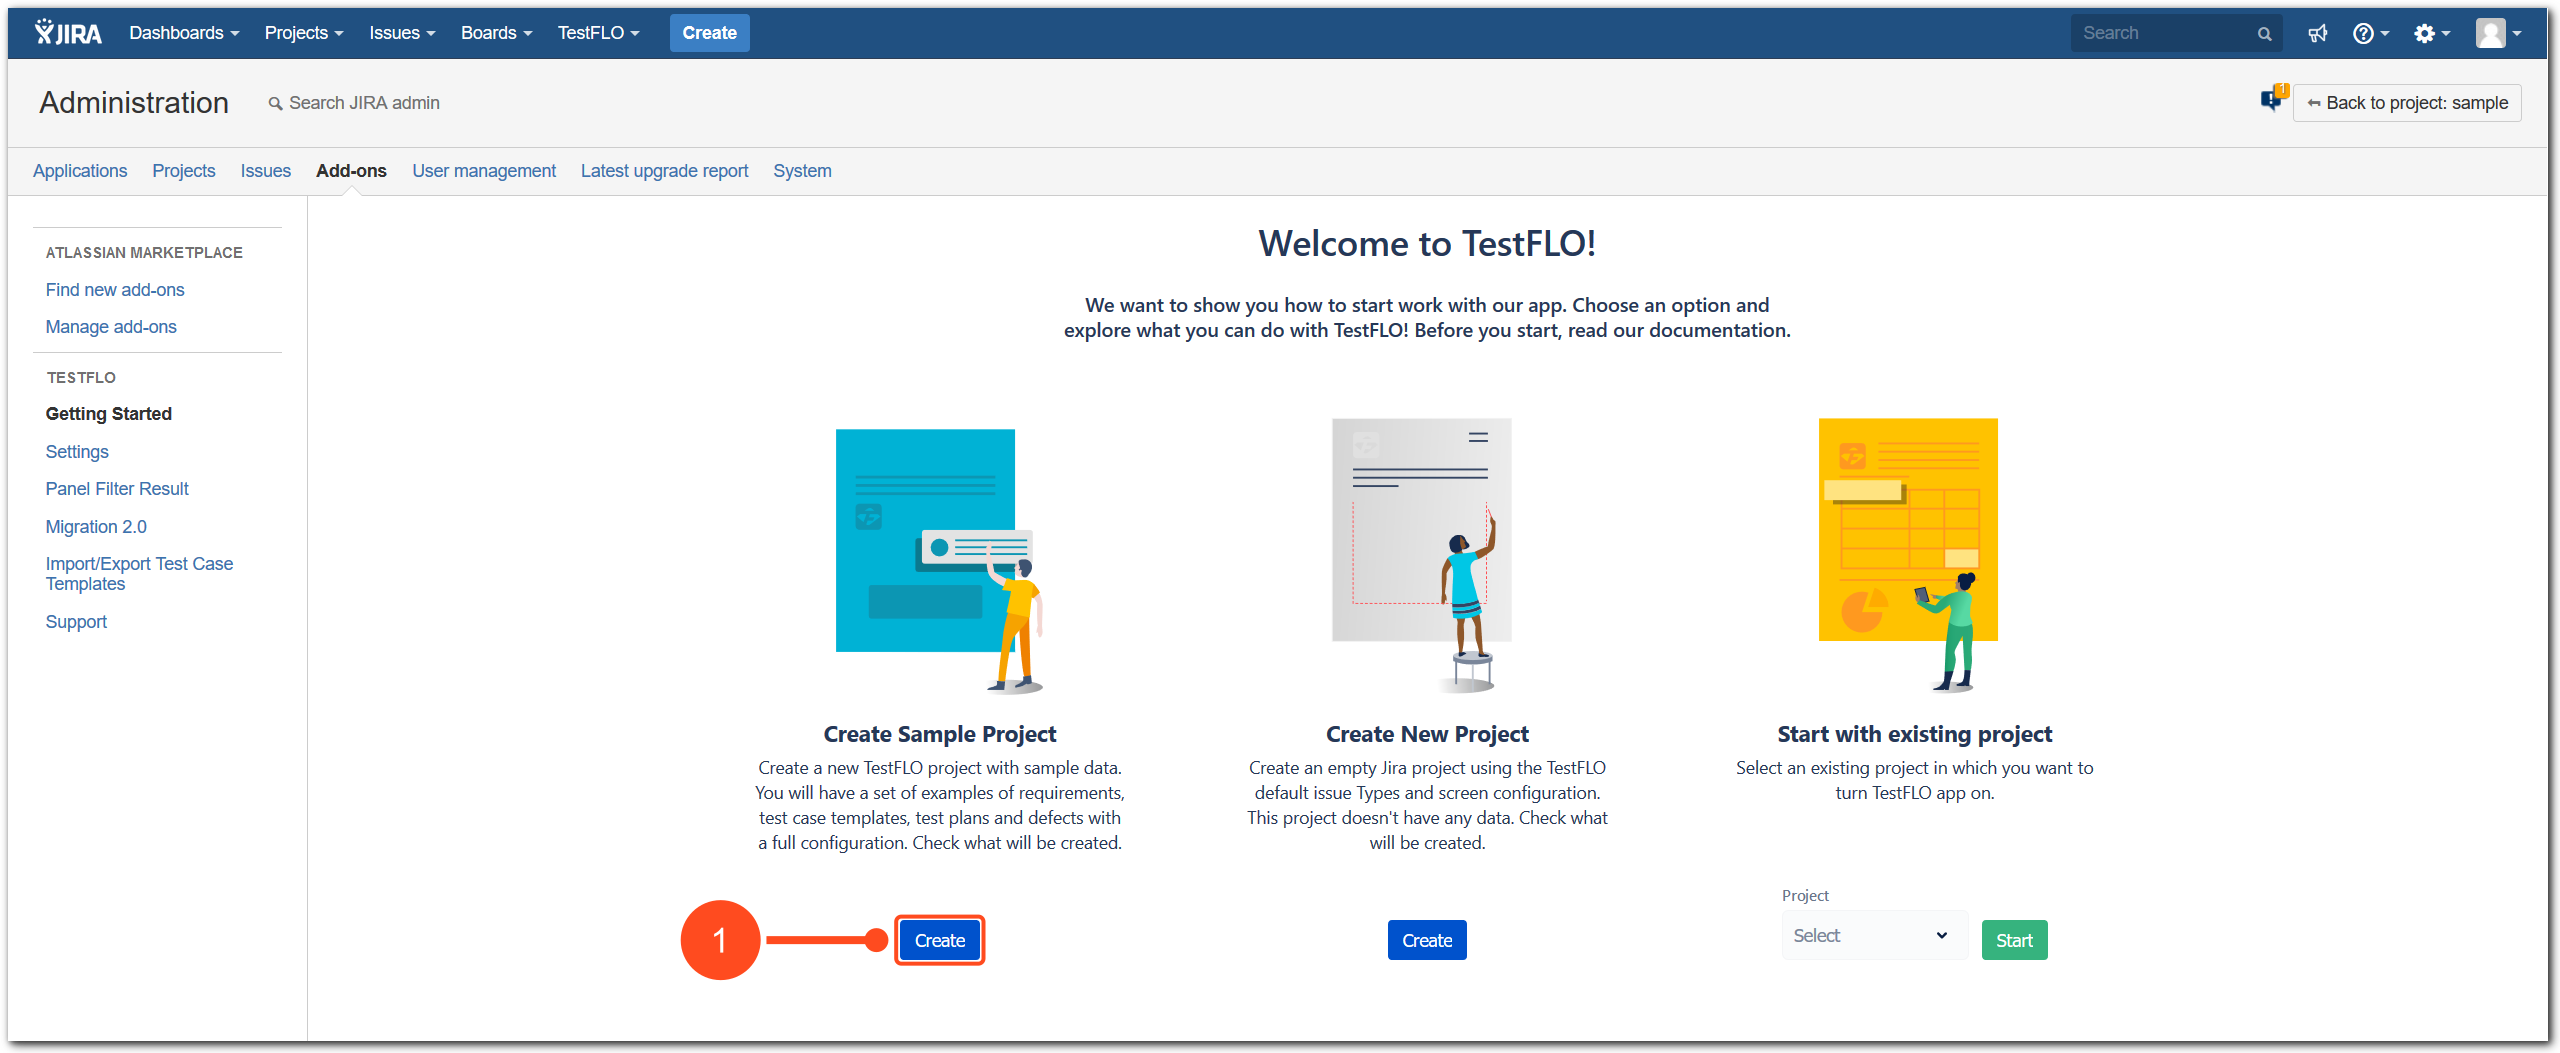
- Fill the project name and project key.

- Click Create.
- Wait until the project is created.
Result
The project with sample data was created.
Create New Project
The created project is a Business Project Type.
The Create New Project option gives you the opportunity to create a new project with default configuration. After create you will be able to use the TestFLO issue types:
- Test Case Template,
- Test Case,
- Test Plan
in the way you wish. This project doesn’t contain sample data.
Steps
To Create New Project:
- Click Create below Create New Project option.
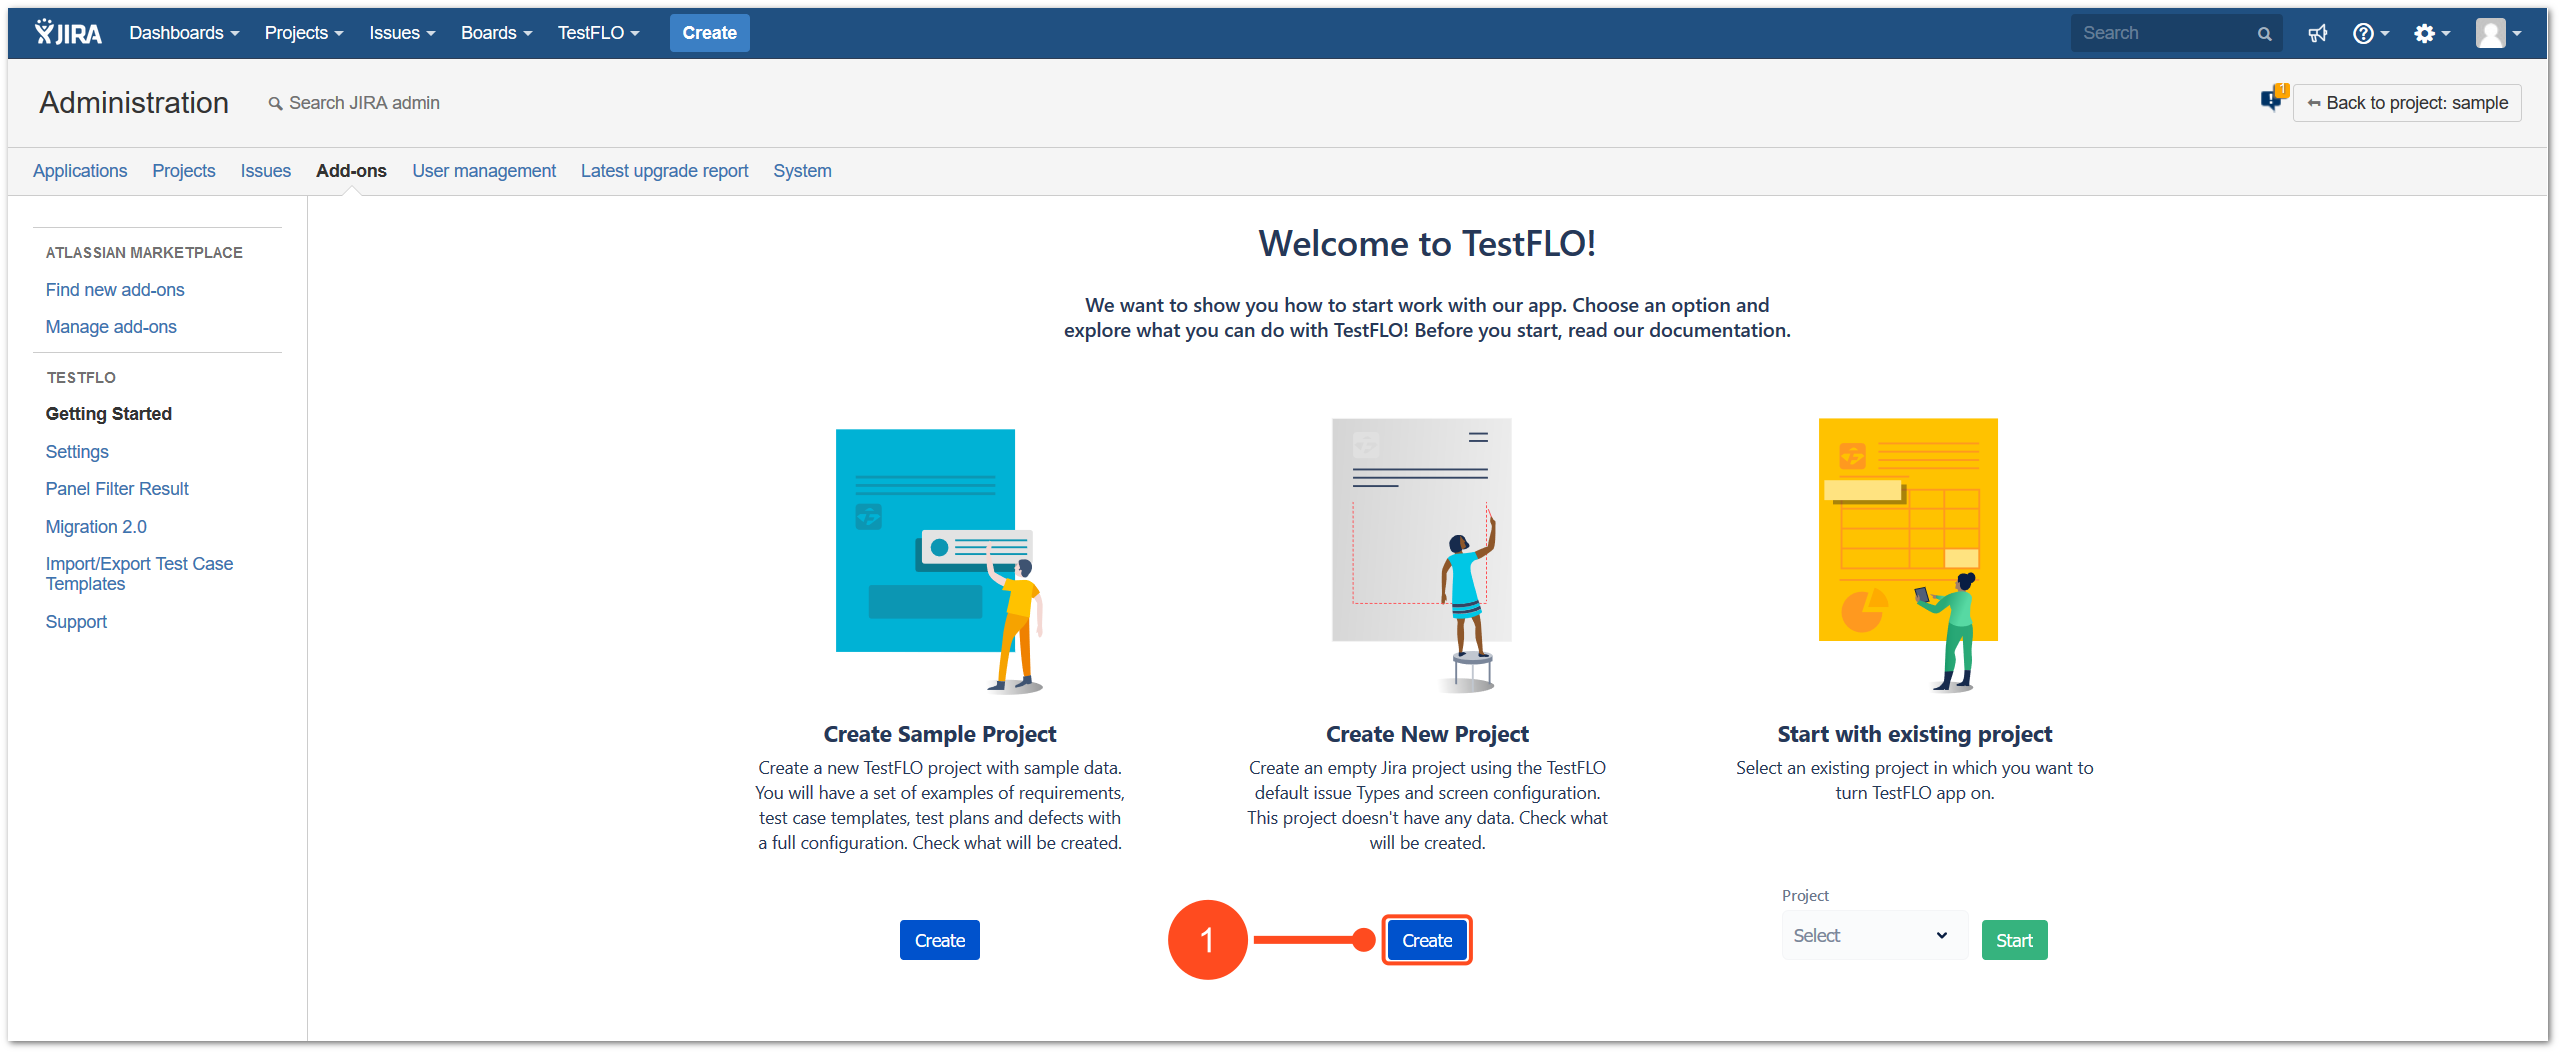
- Fill the project name and project key.
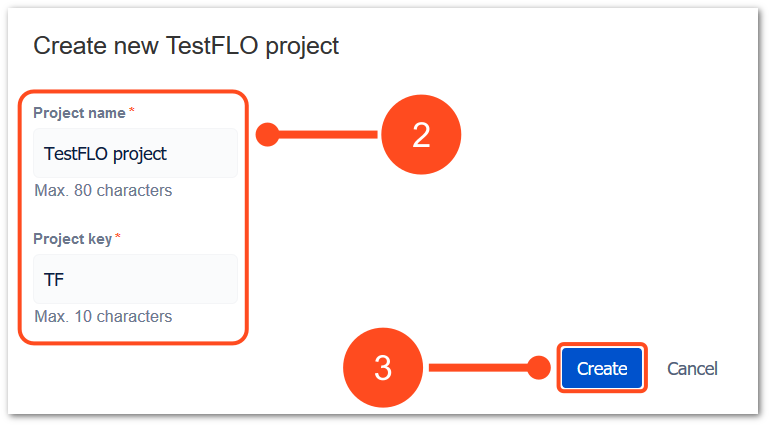
- Click Create.
- Wait until the project is created.
Result
New project with default TestFLO configuration was created.
Start with existing project
Start with existing project option gives you the opportunity to create an default TestFLO configuration in already existing project. After start you will be able to use the TestFLO issue types:
- Test Case Template,
- Test Case,
- Test Plan
in the way you wish. This project doesn’t contain sample data.
Steps
To Start with existing project:
- Select project in which you want to turn TestFLO app on.
Note
Only those projects in which TestFLO app hasn’t been turned on are available in the list.
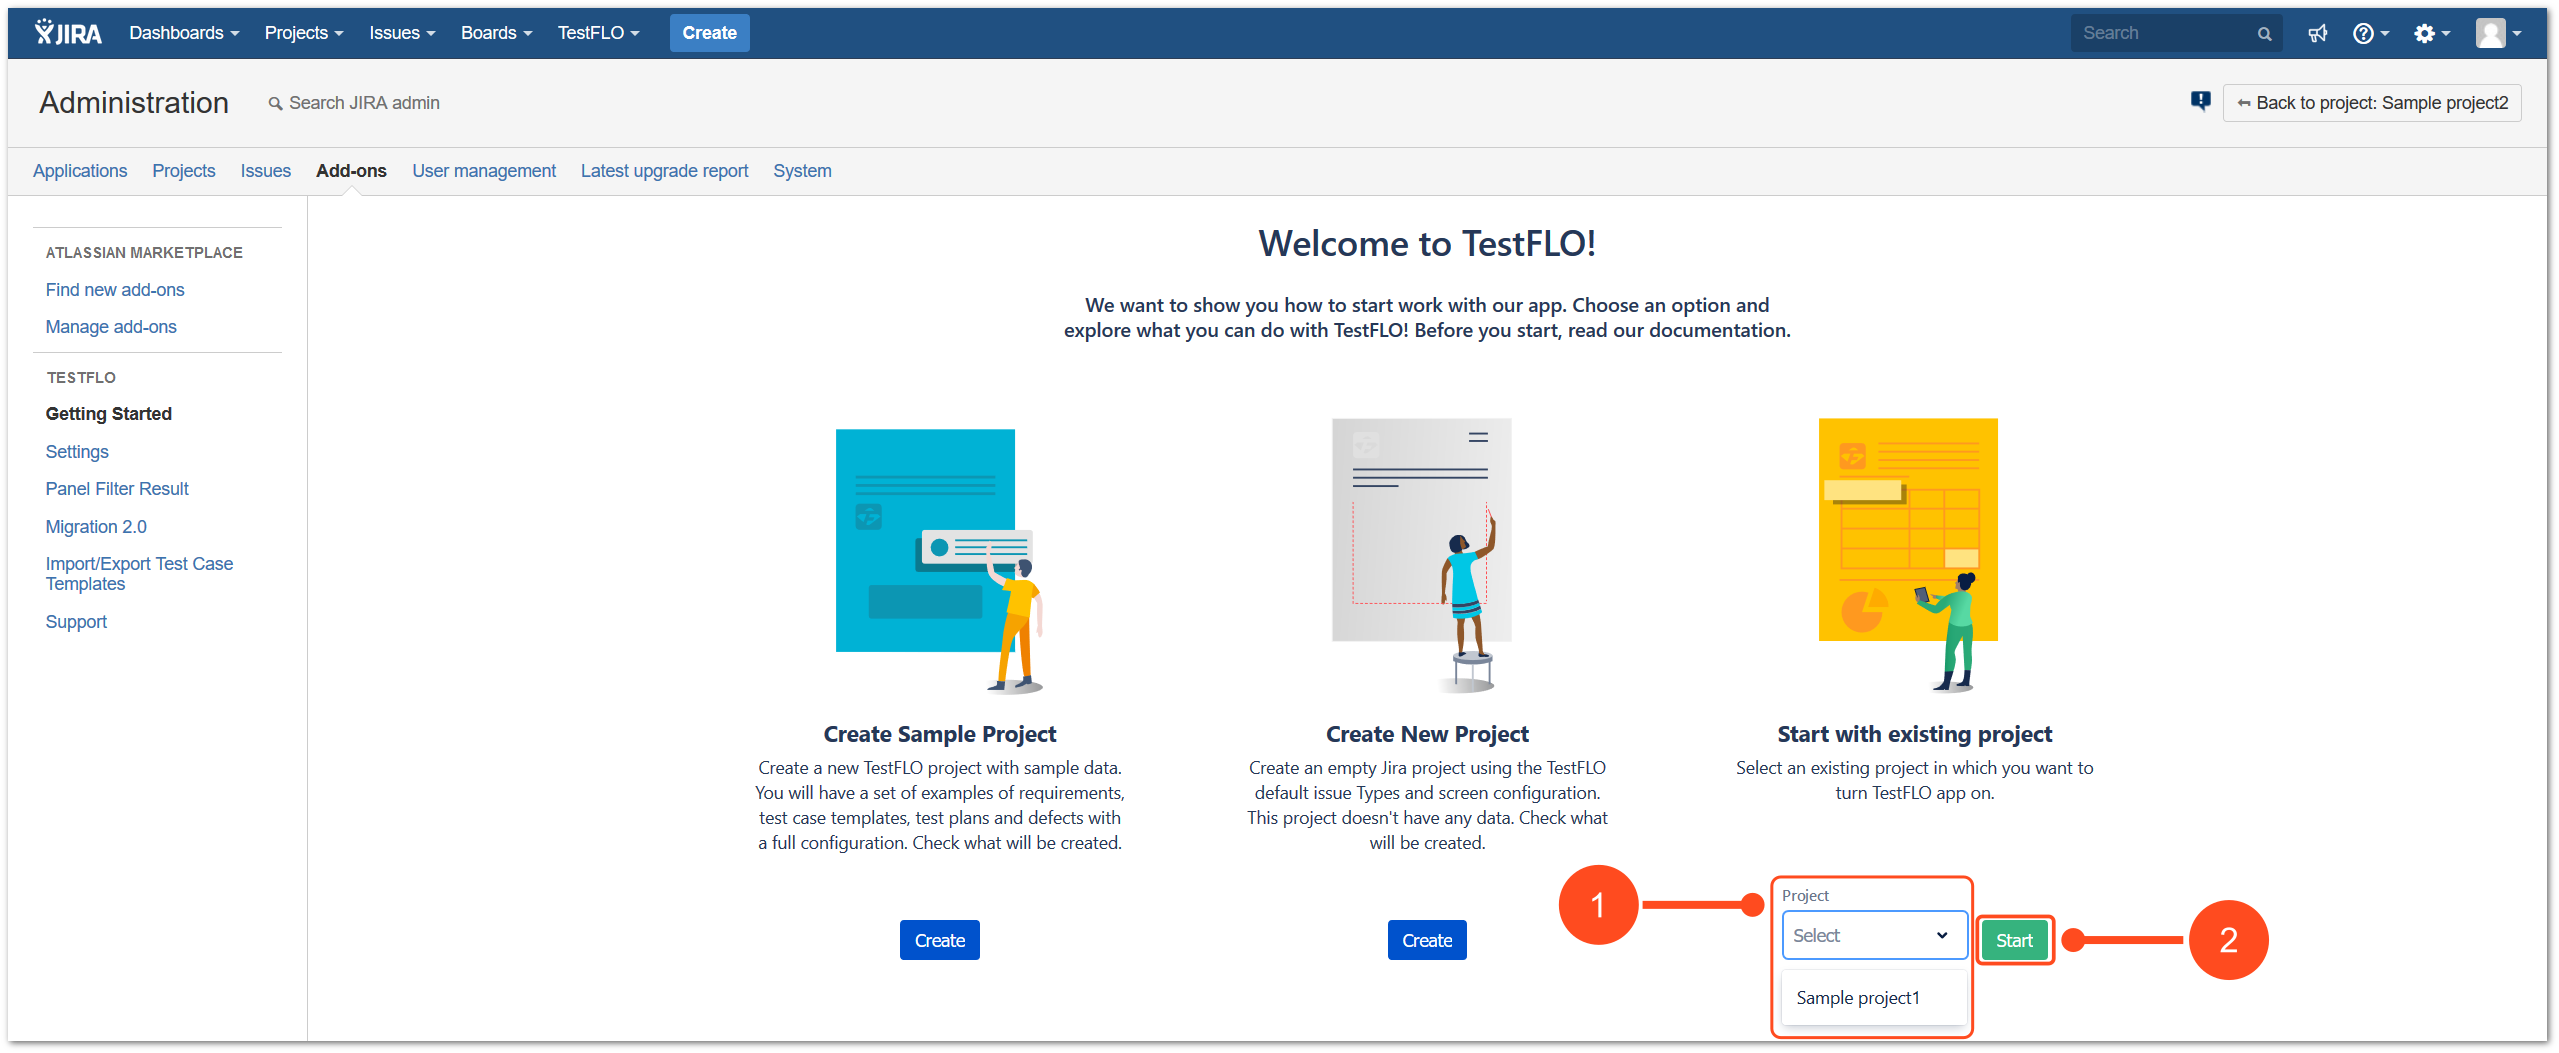
- Click Start below Start with existing project option.
- Wait until the configuration in project is created.
Result
The default TestFLO configuration was created in selected project.