- User guide
- Customer's view
- Search
- Filters
- Administrator guide
- Settings
- View as
- User scopes
- Fields configuration
- Filters management
User scopes
Manage access to Requests faster and more efficiently
Before you start, log in as a user with the Jira Administrators global permission.
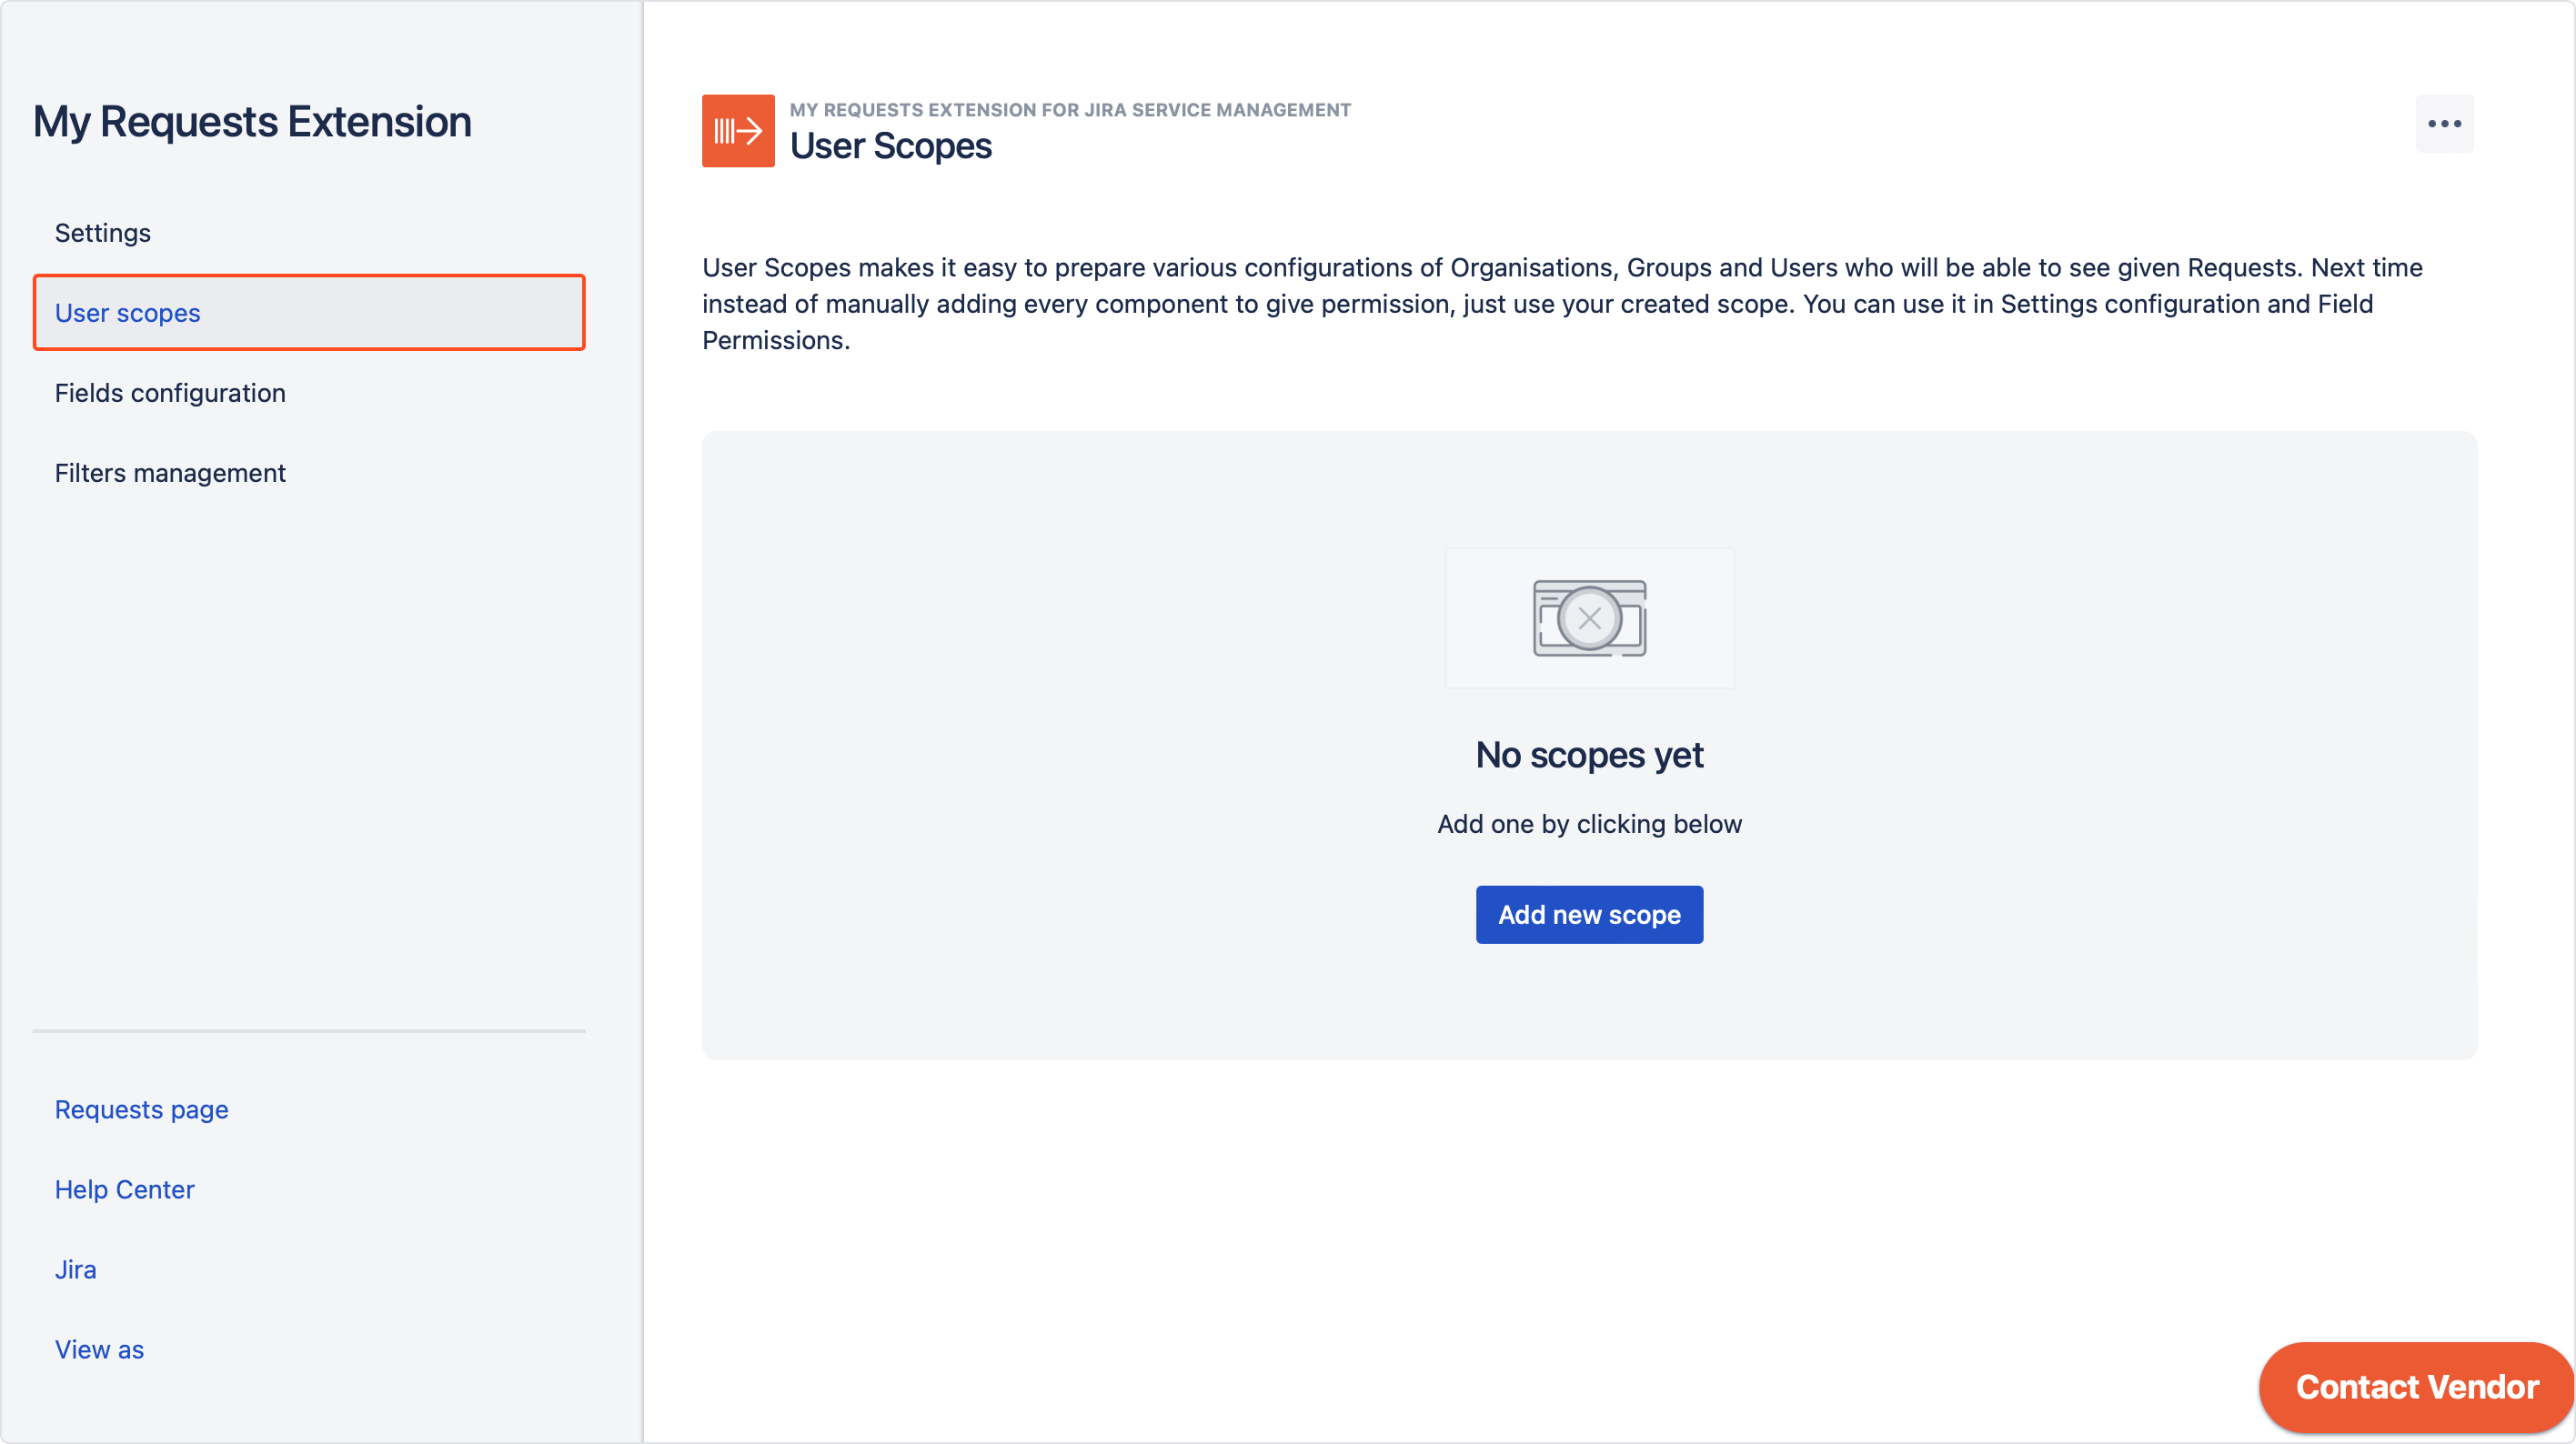
With User scopes you can organize users, groups and organizations which match the same preferences into many reusable presets that can be used in permission pools across th entire app. Before proceeding, access My Requests Extension configuration first and select User scopes.
Creating a Scope
Steps
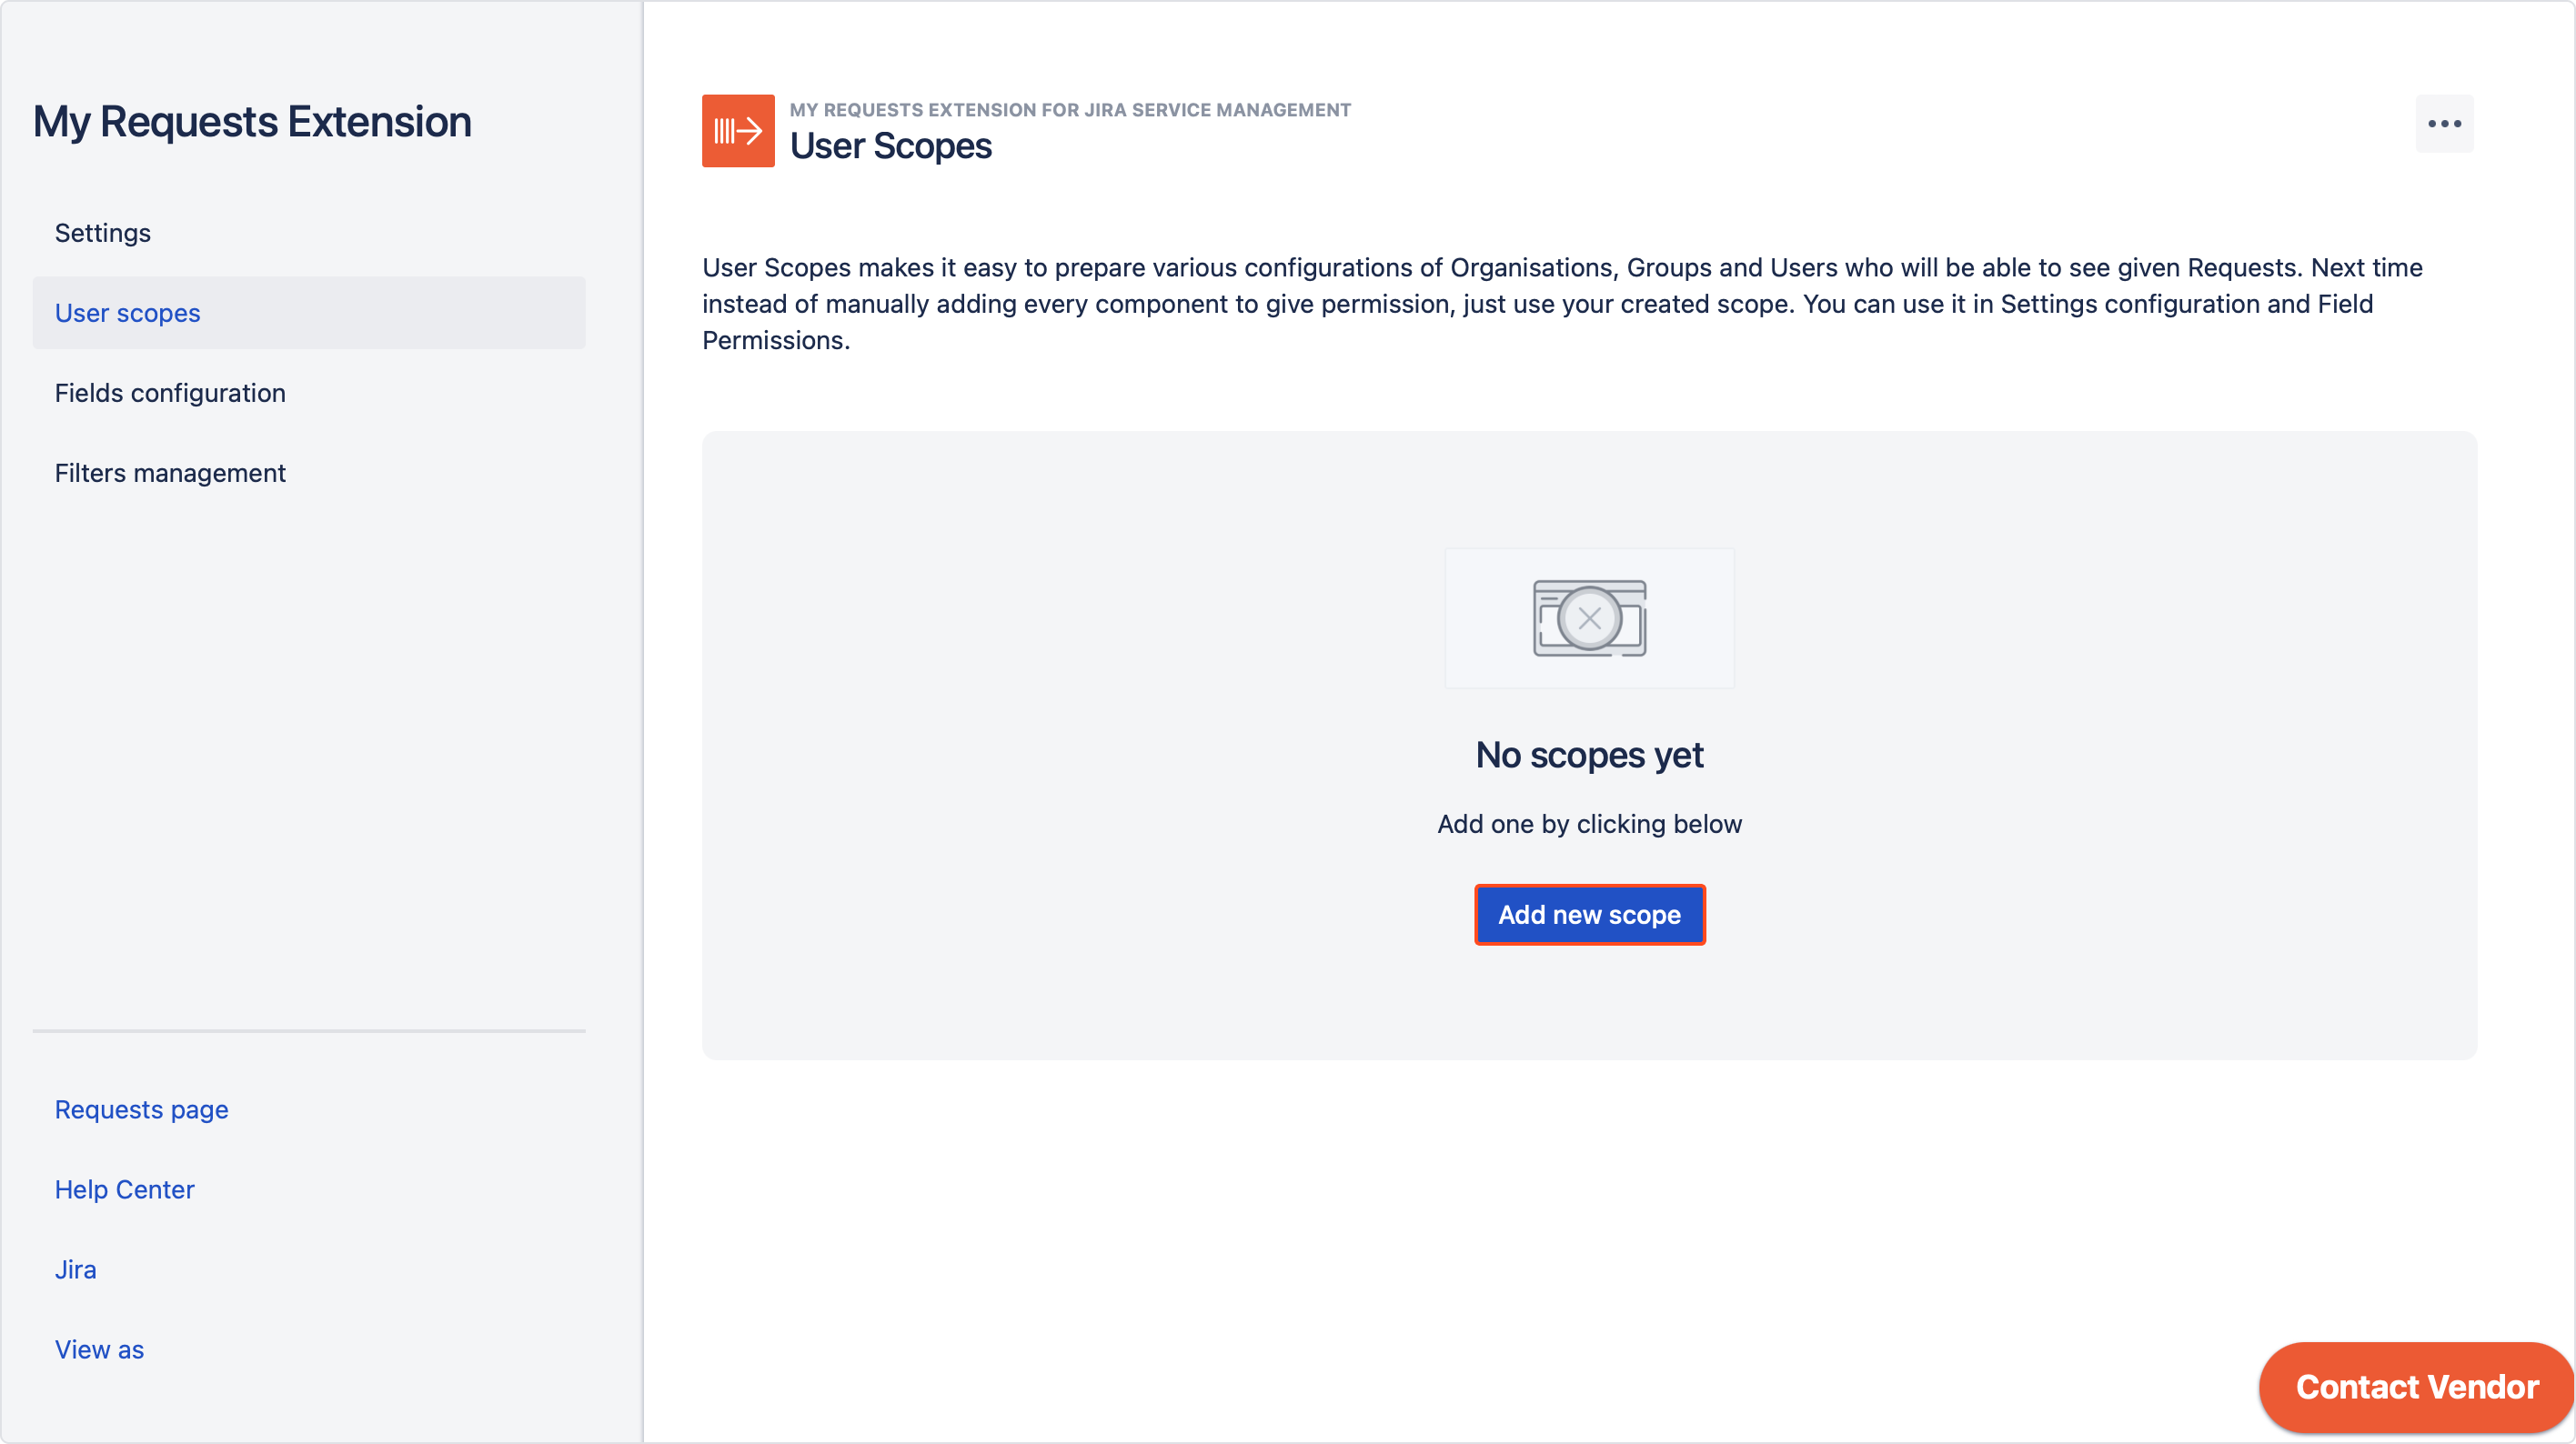
- If it is your first time creating a scope, click Add a scope and a new scope will be created.
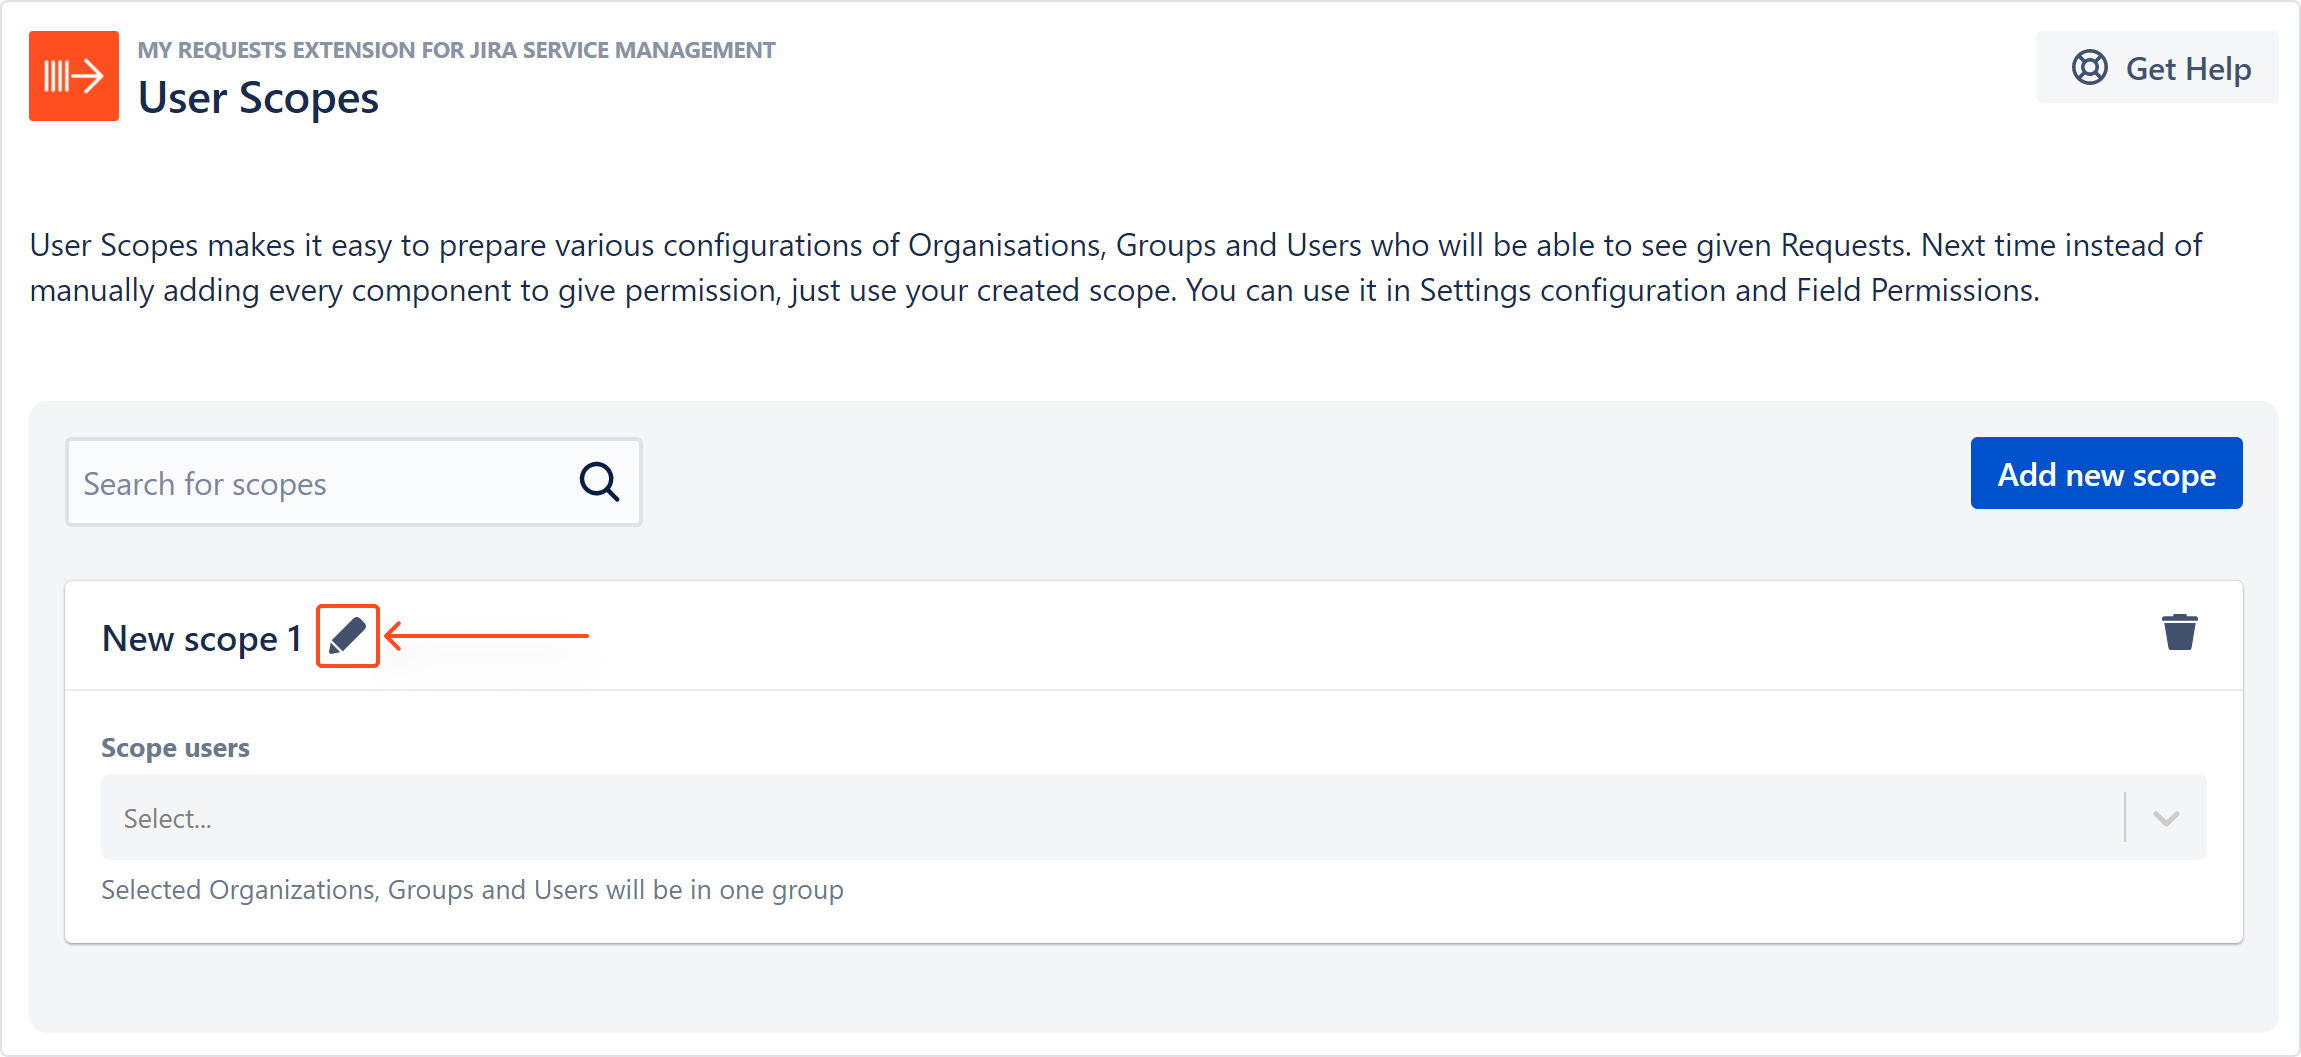
- Change the name of your scope by clicking on a pen icon as shown below. You can rename it at all times.
NoteScope name must be unique and cannot be longer than 60 characters.
- Add users, groups and organizations by expanding a list.
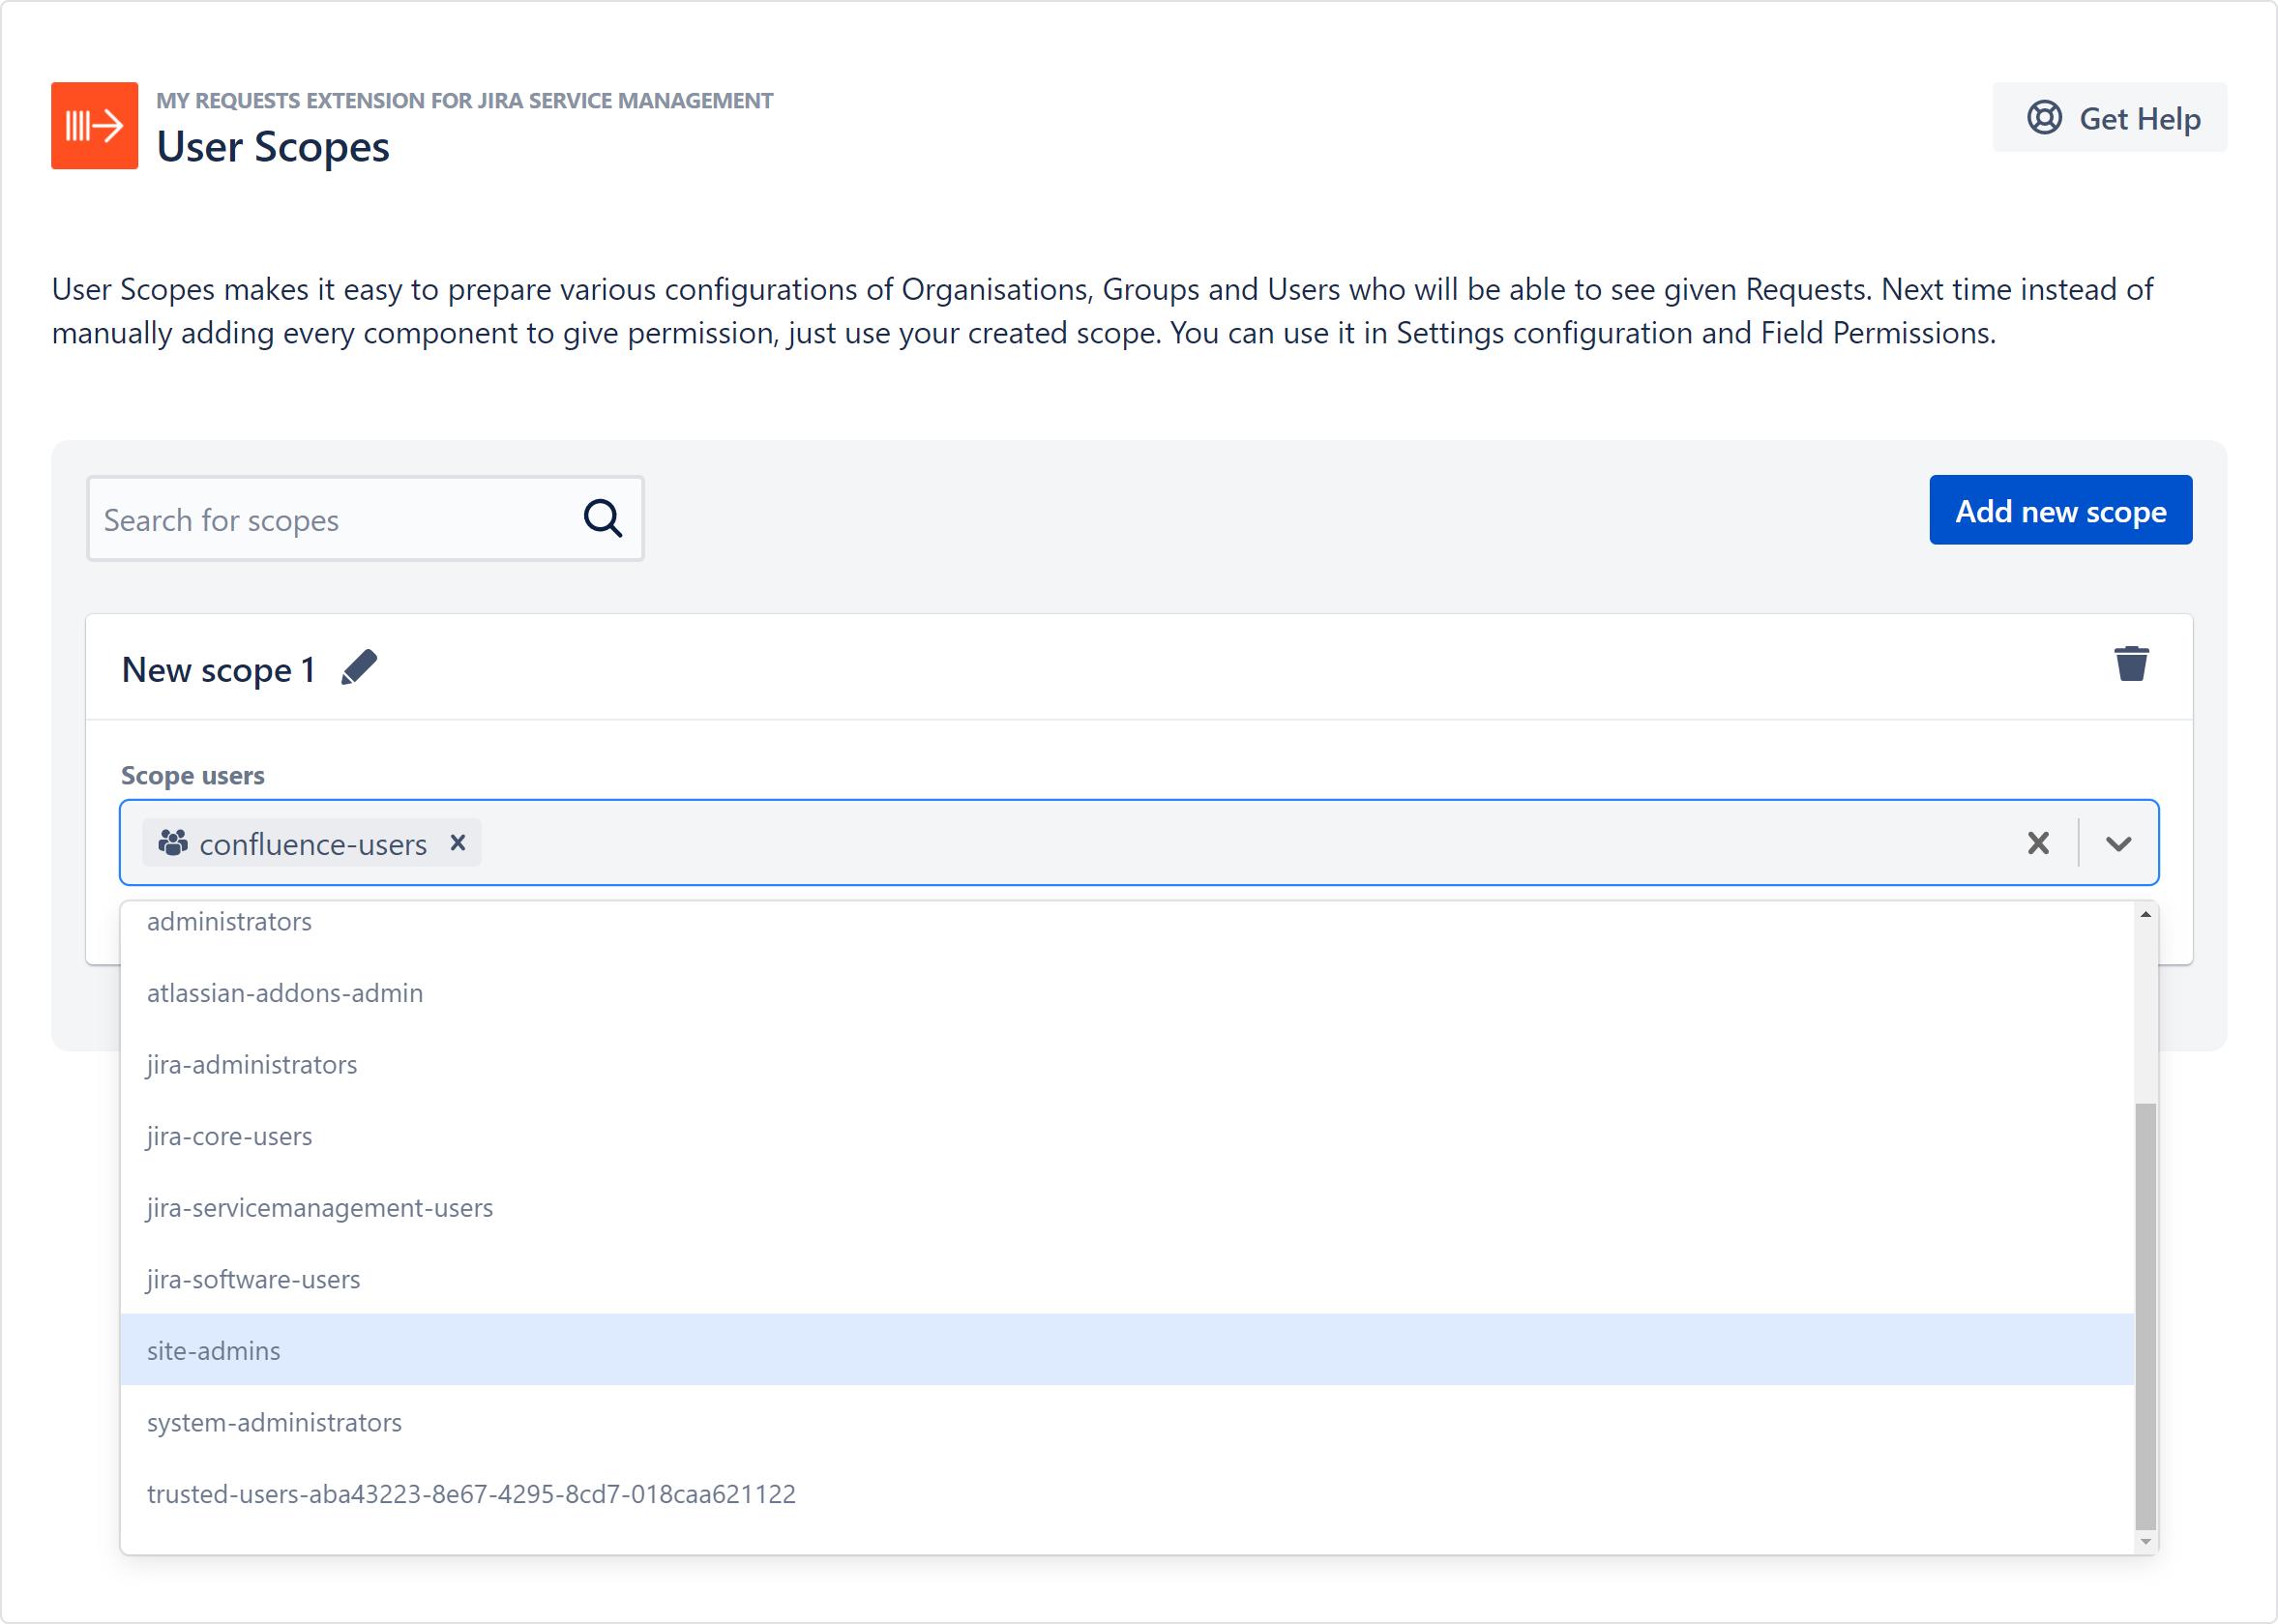
Result
Your scope has been added and is ready to use.

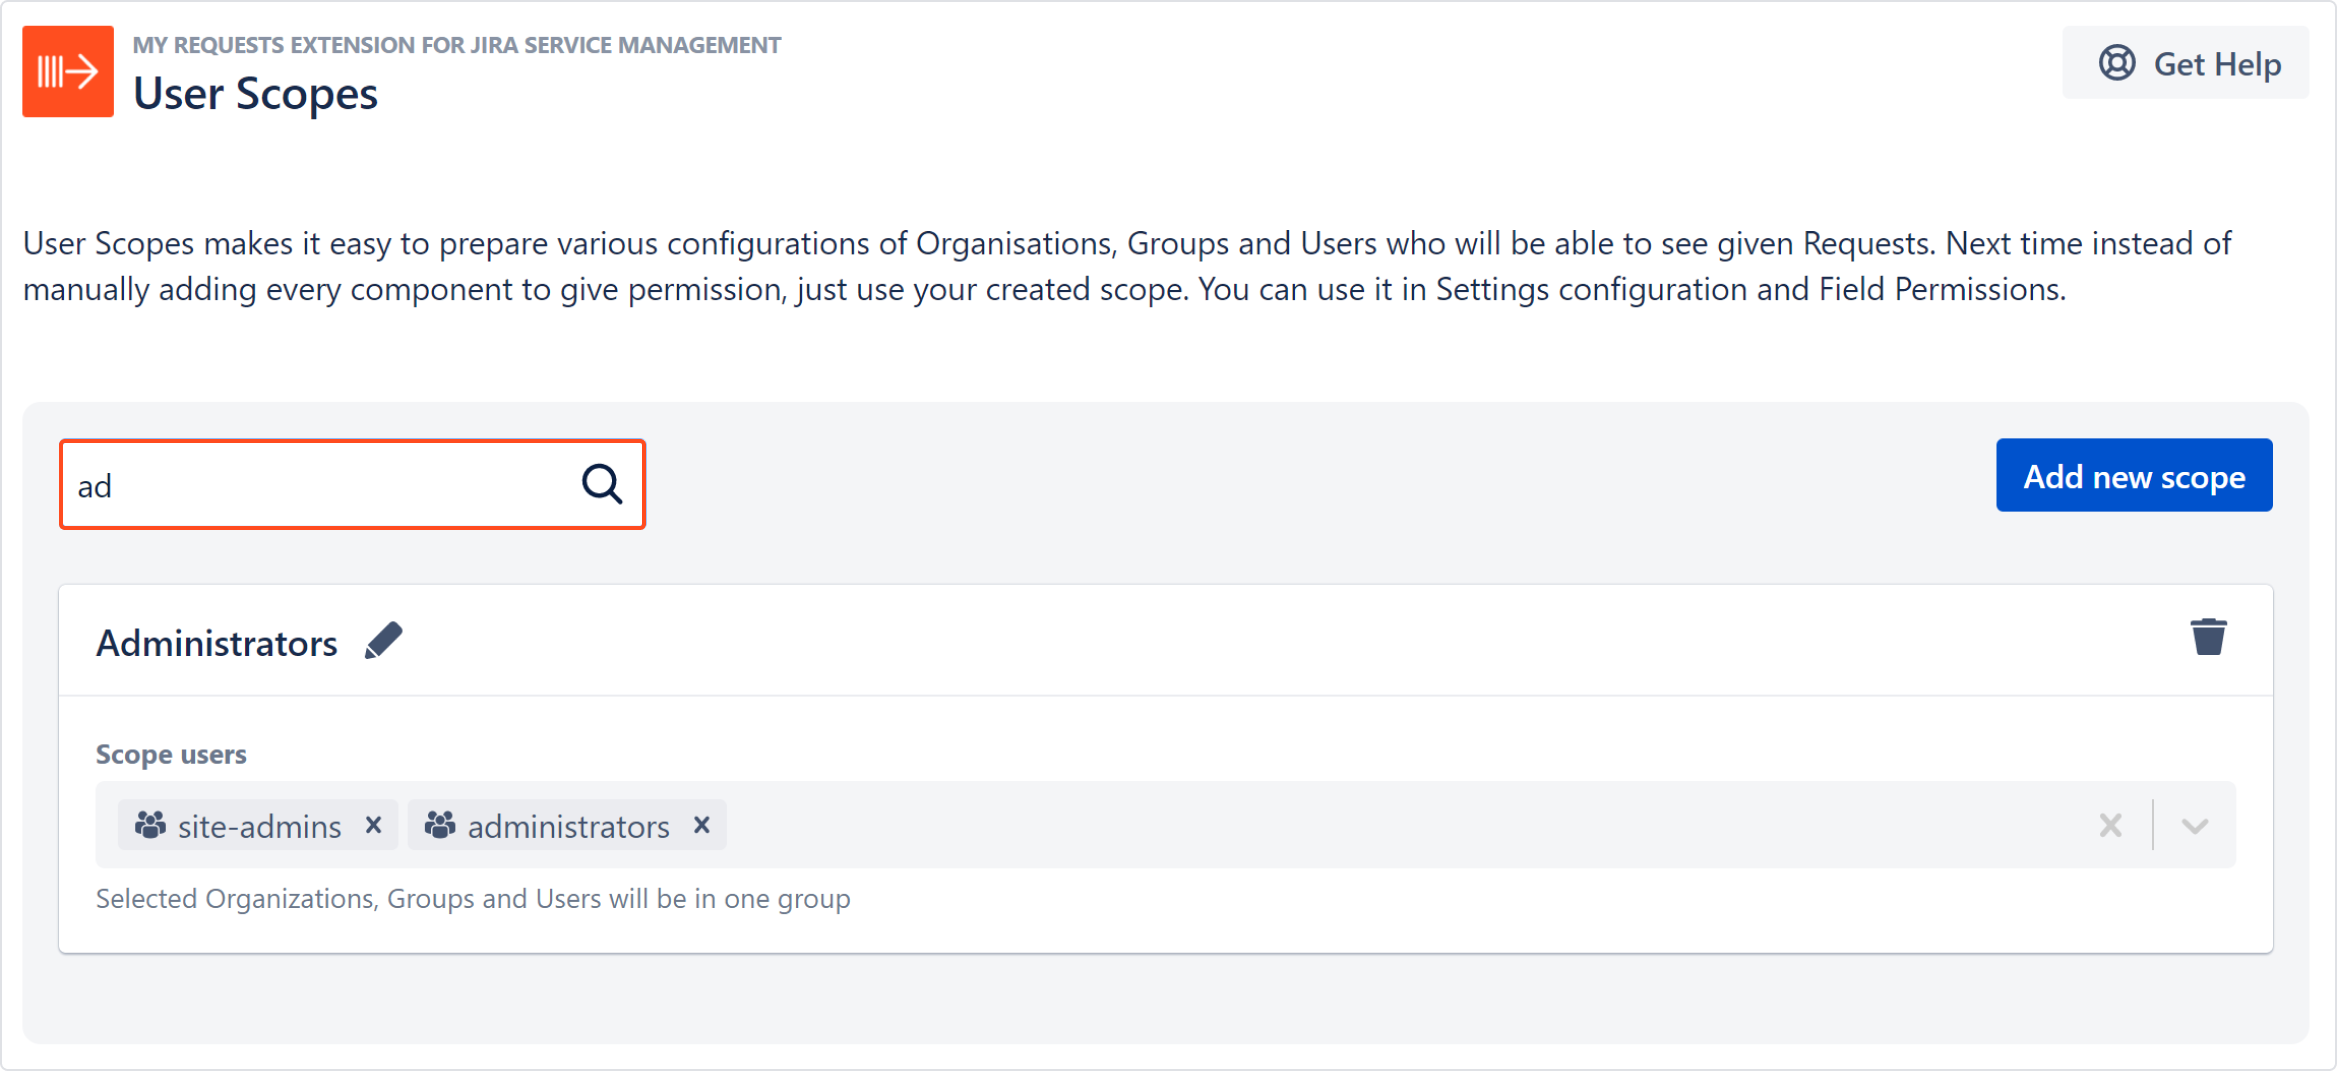
Searching through Scopes
You can easily find your desired scope by simply clicking on a search bar in the top left corner on the scope view.
Deleting a Scope
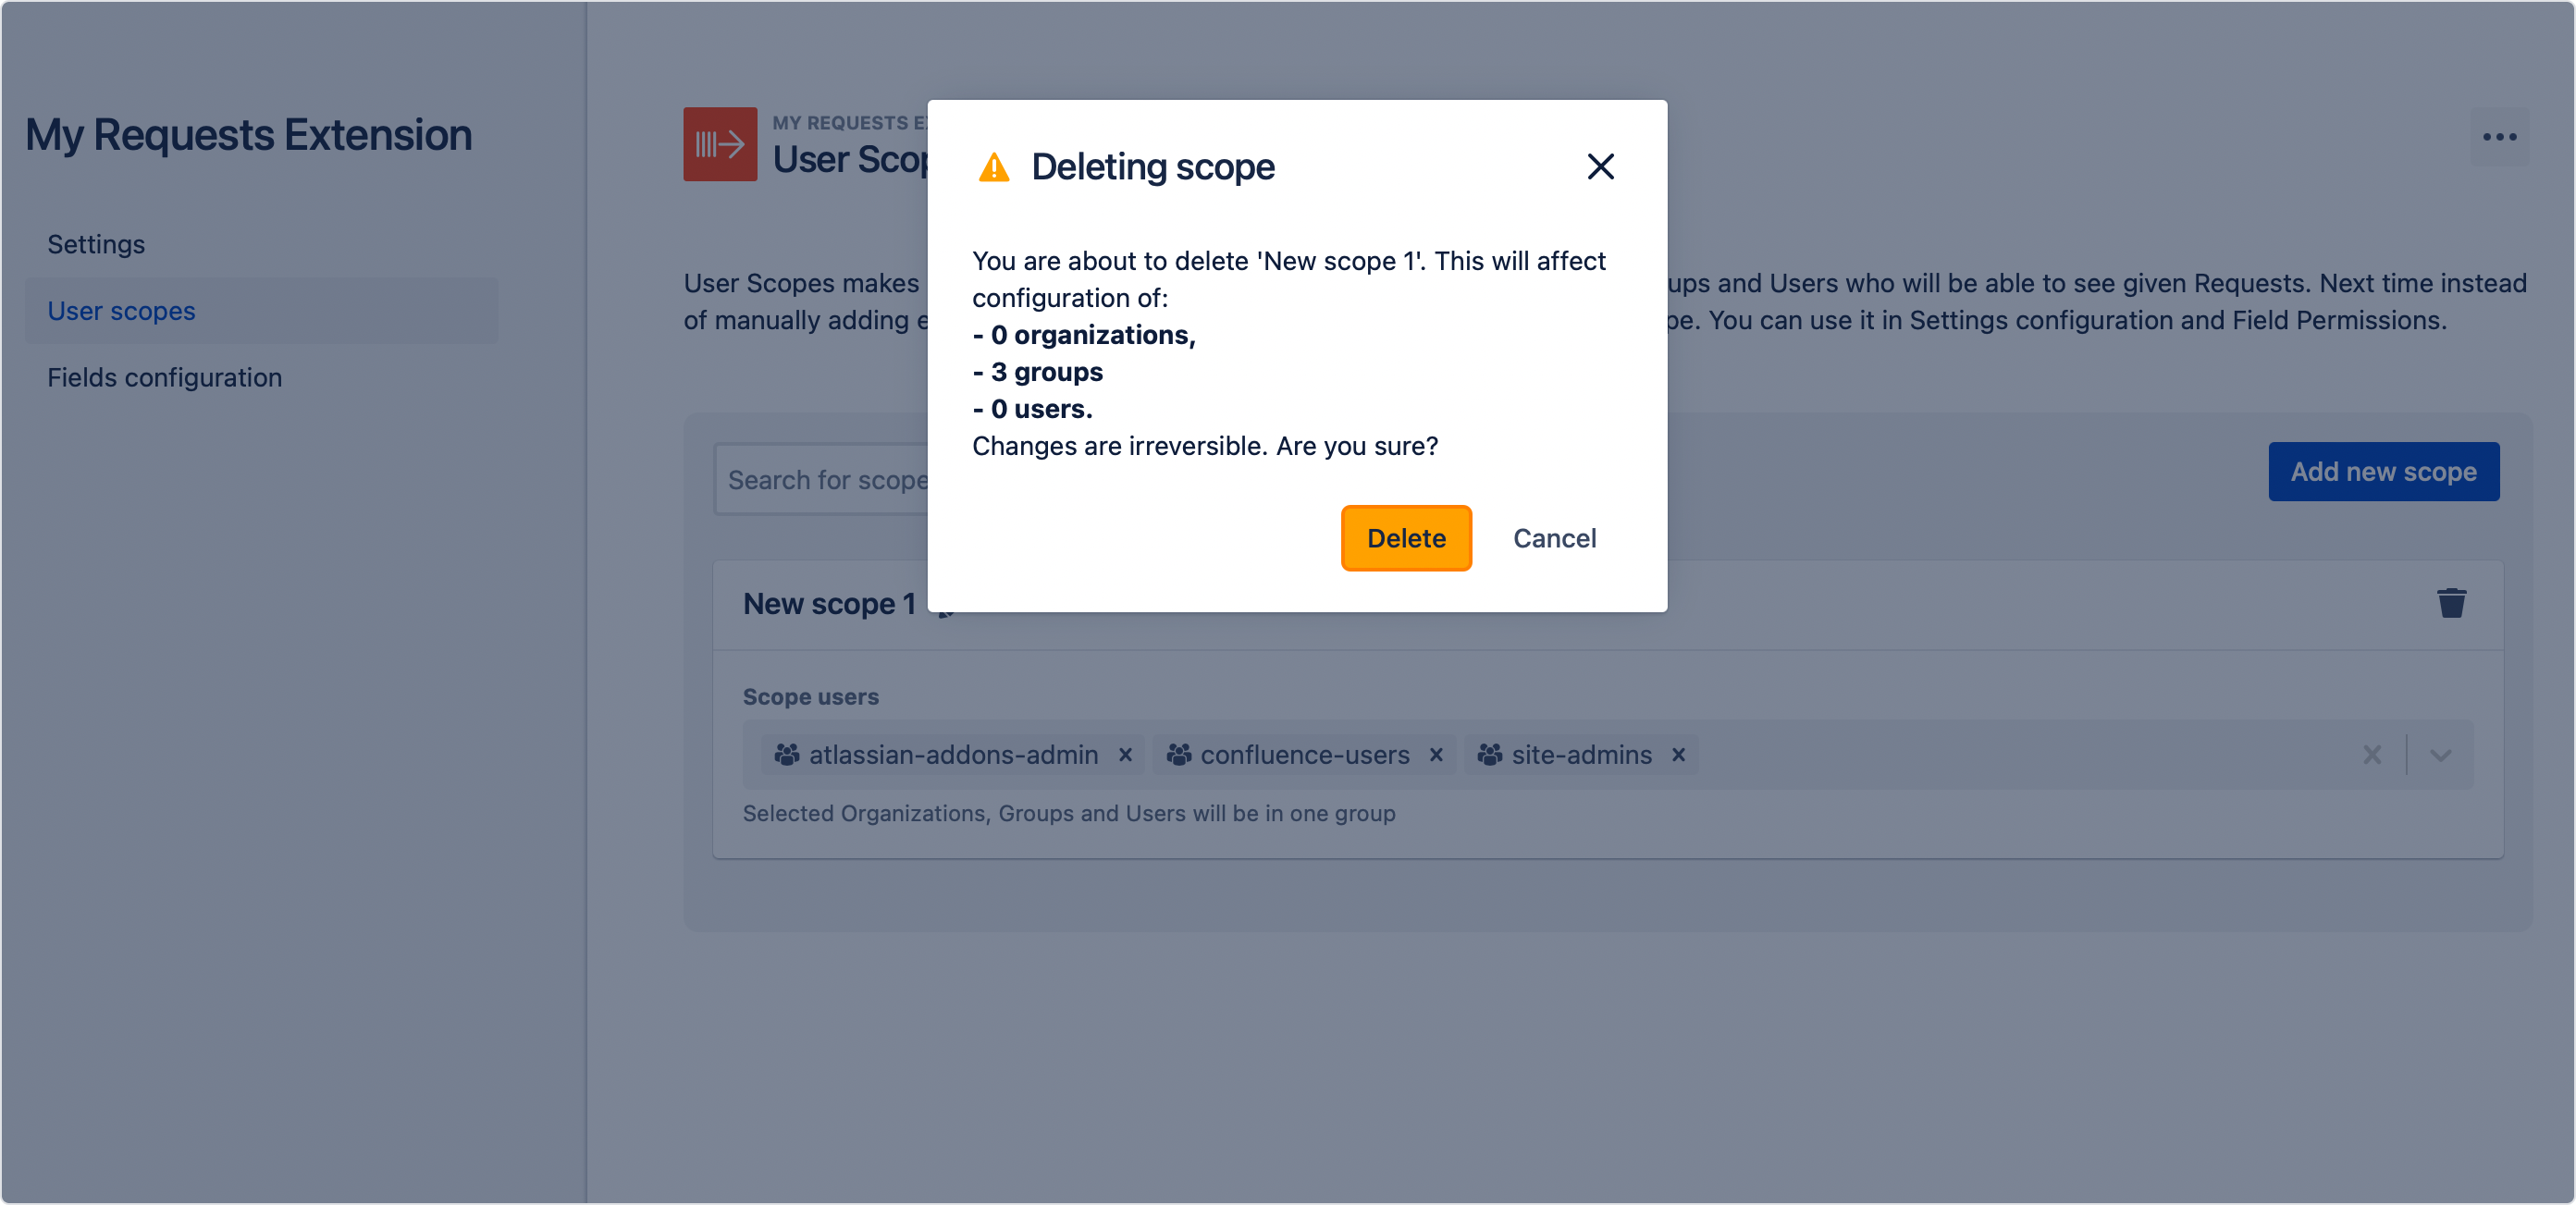
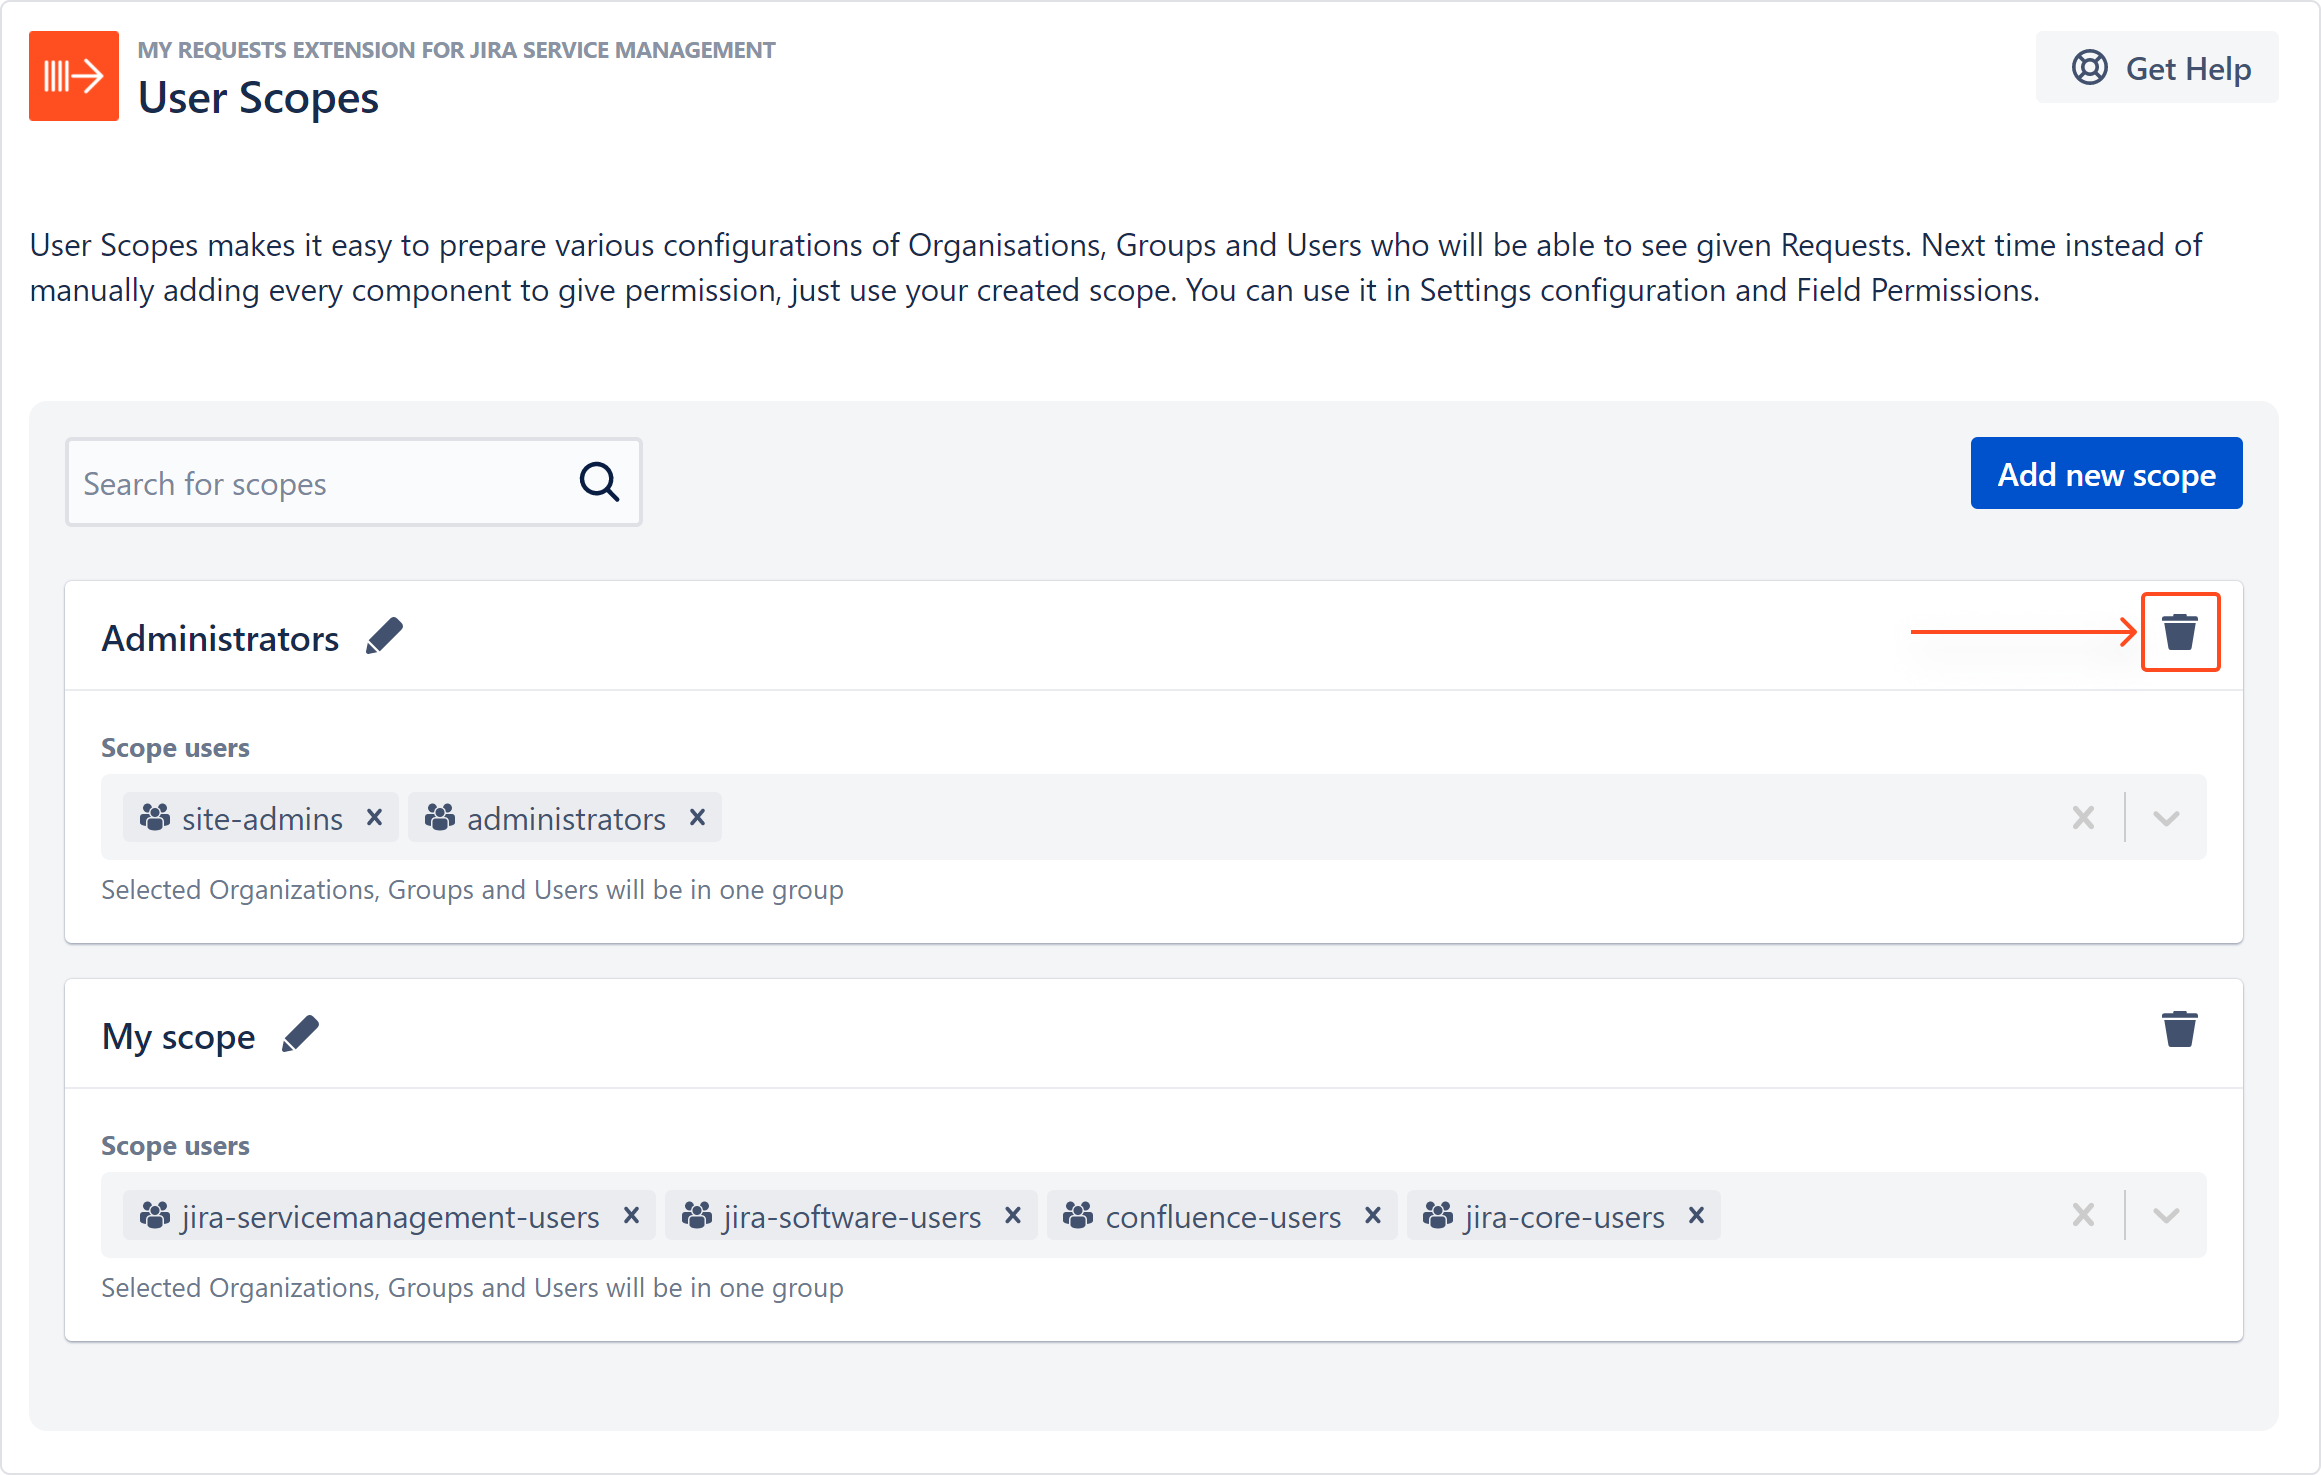
In order to delete a scope, click on the bin icon in the top right corner of the Scope view.
Using Scopes
User Scopes are usable throughout the entire My Request Extension. Wherever there is access to be given, Scopes will save you plenty of time you would normally spend on manually giving permissions to users.
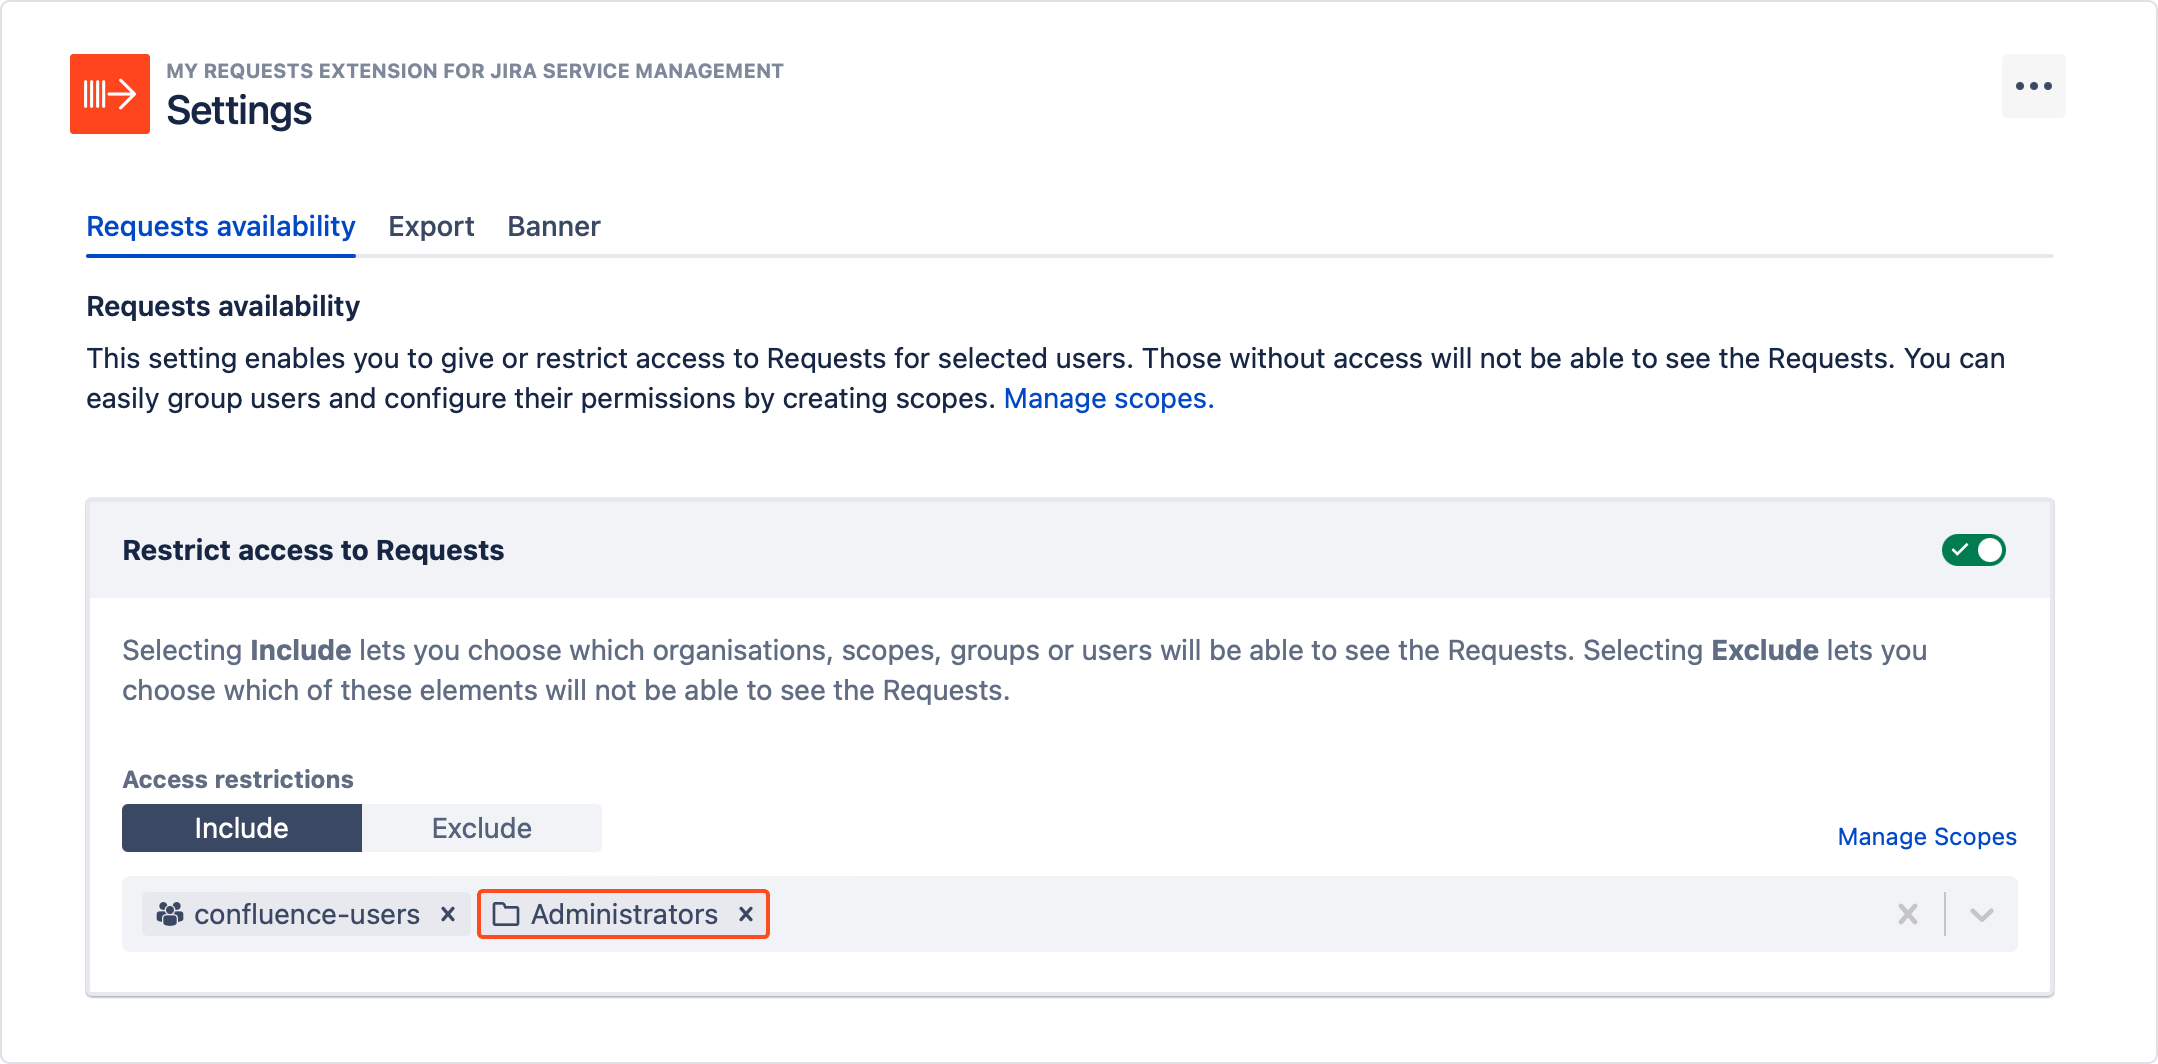
- You can use them in the Settings section to quickly give or restrict access to Requests. Simply select your scope from the list.
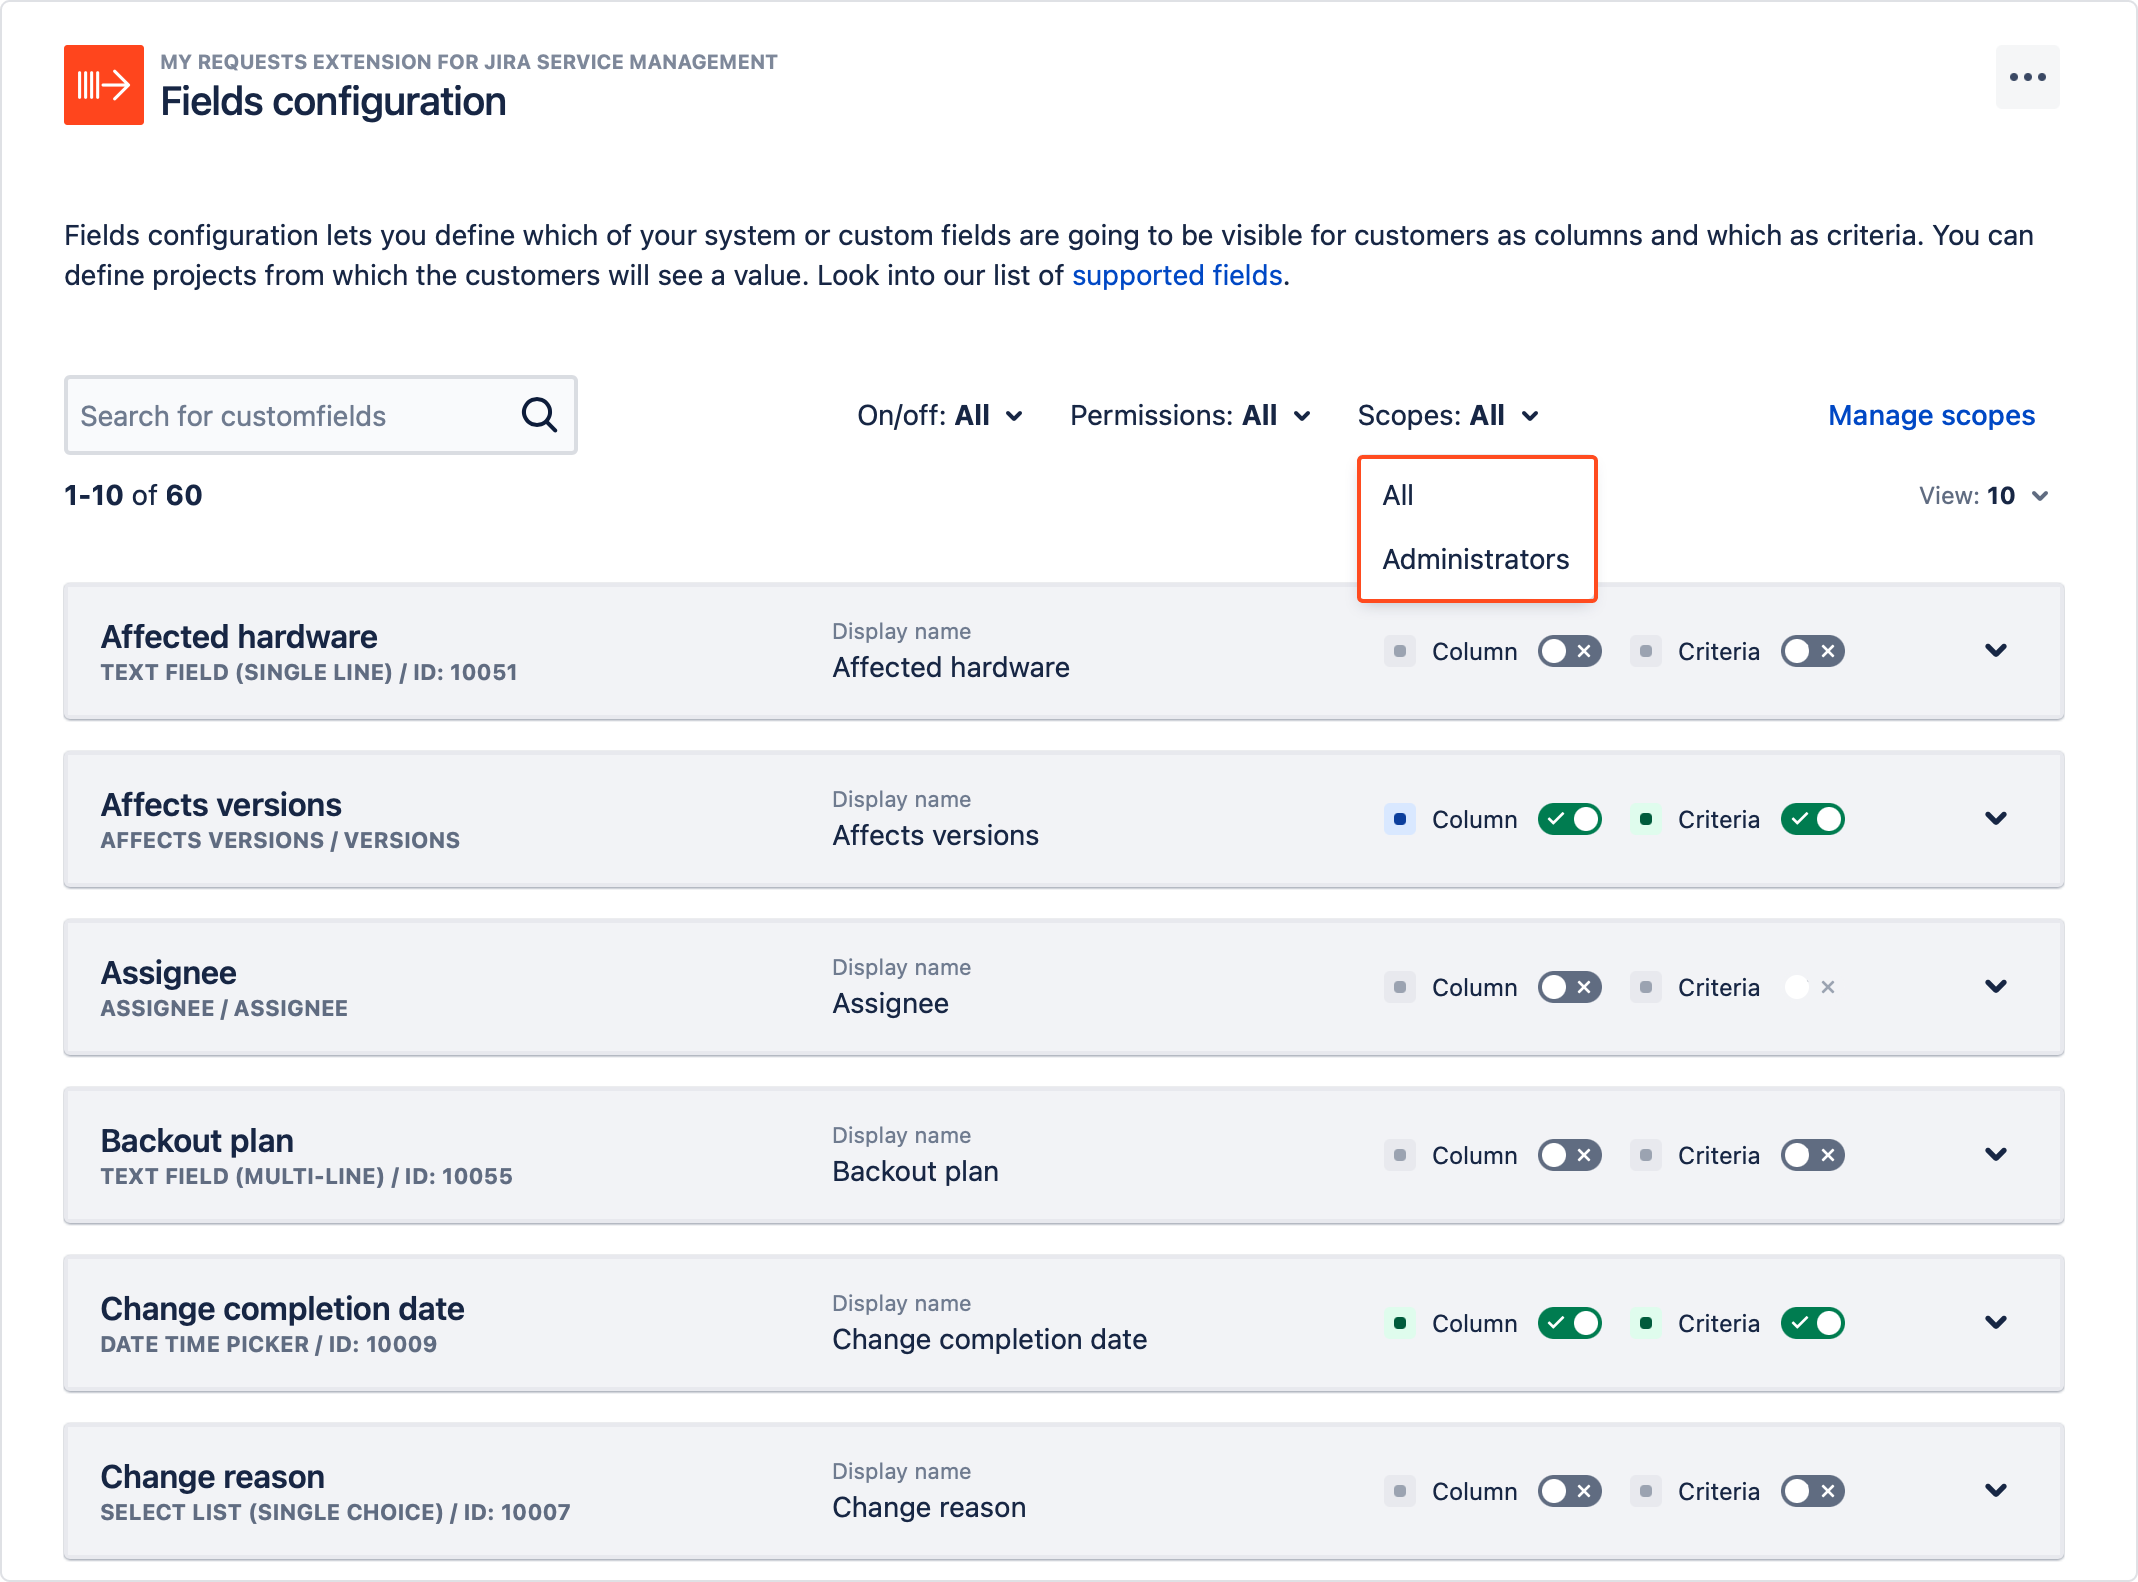
- Scopes can also be used in the Fields configuration section to set the permissions for custom fields. To do so, find Scopes in the filter bar and set it to the one you want. Then easily change permissions for a particular scope.
If you can’t find the answer you need in our documentation, raise a support request. You can also contact us directly from within the app by clicking Contact Vendor in the bottom right corner.
