- Configuration
- First steps
- Project setup
- Sample templates
- Migration to Cloud
- Supported fields
- Permissions
- Jira Service Management
- Template management
- Create a template
- Template configuration
- Variables
- Template Navigator
- Delete a template
- Use as a template
- Set of Fields - advanced features
- Using template
- Autocomplete
- Default Template
- Apply template
- Use Template in Jira Automation
- Automatic create and close
- JQL Searchers
- Direct links
- Create Structure post function
- About Create Structure
- Create Structure configuration
- App integrations
- REST API
- ScriptRunner and Groovy scripts
First steps
Follow this configuration guide and learn more about Issue Templates
Once you’ve installed Issue Templates for Jira from the Atlassian Marketplace, our app onboarding will guide you through the initial configuration.
For Jira Service Management go to a dedicated chapter.
Choose template repository
The first step is to choose a project (repository) that will store your future templates. There’s a default project called Templates, but you can store your templates in any project. However, it is best to have a separate project for templates only.
- All issues created in the chosen project will automatically become templates. This is why we always recommend choosing the Templates project as your repository.
- If you already have a project with the word template or templates included in its name, it might interfere with the creation of the default Templates project.

Learn about advanced features of the template repository project in Template Repository Management.
Get sample templates
On the second onboarding screen you can download a set of ready-to-use sample templates. You will find them later, in the Templates project (or any other project you’ve selected in the previous step). You can as well skip this step and get back to it later if needed.
- You can choose one set of templates at a time. If you’d like to download another one, you can always go through the onboarding one more time and select a different set.
- Learn more in the Sample templates chapter.

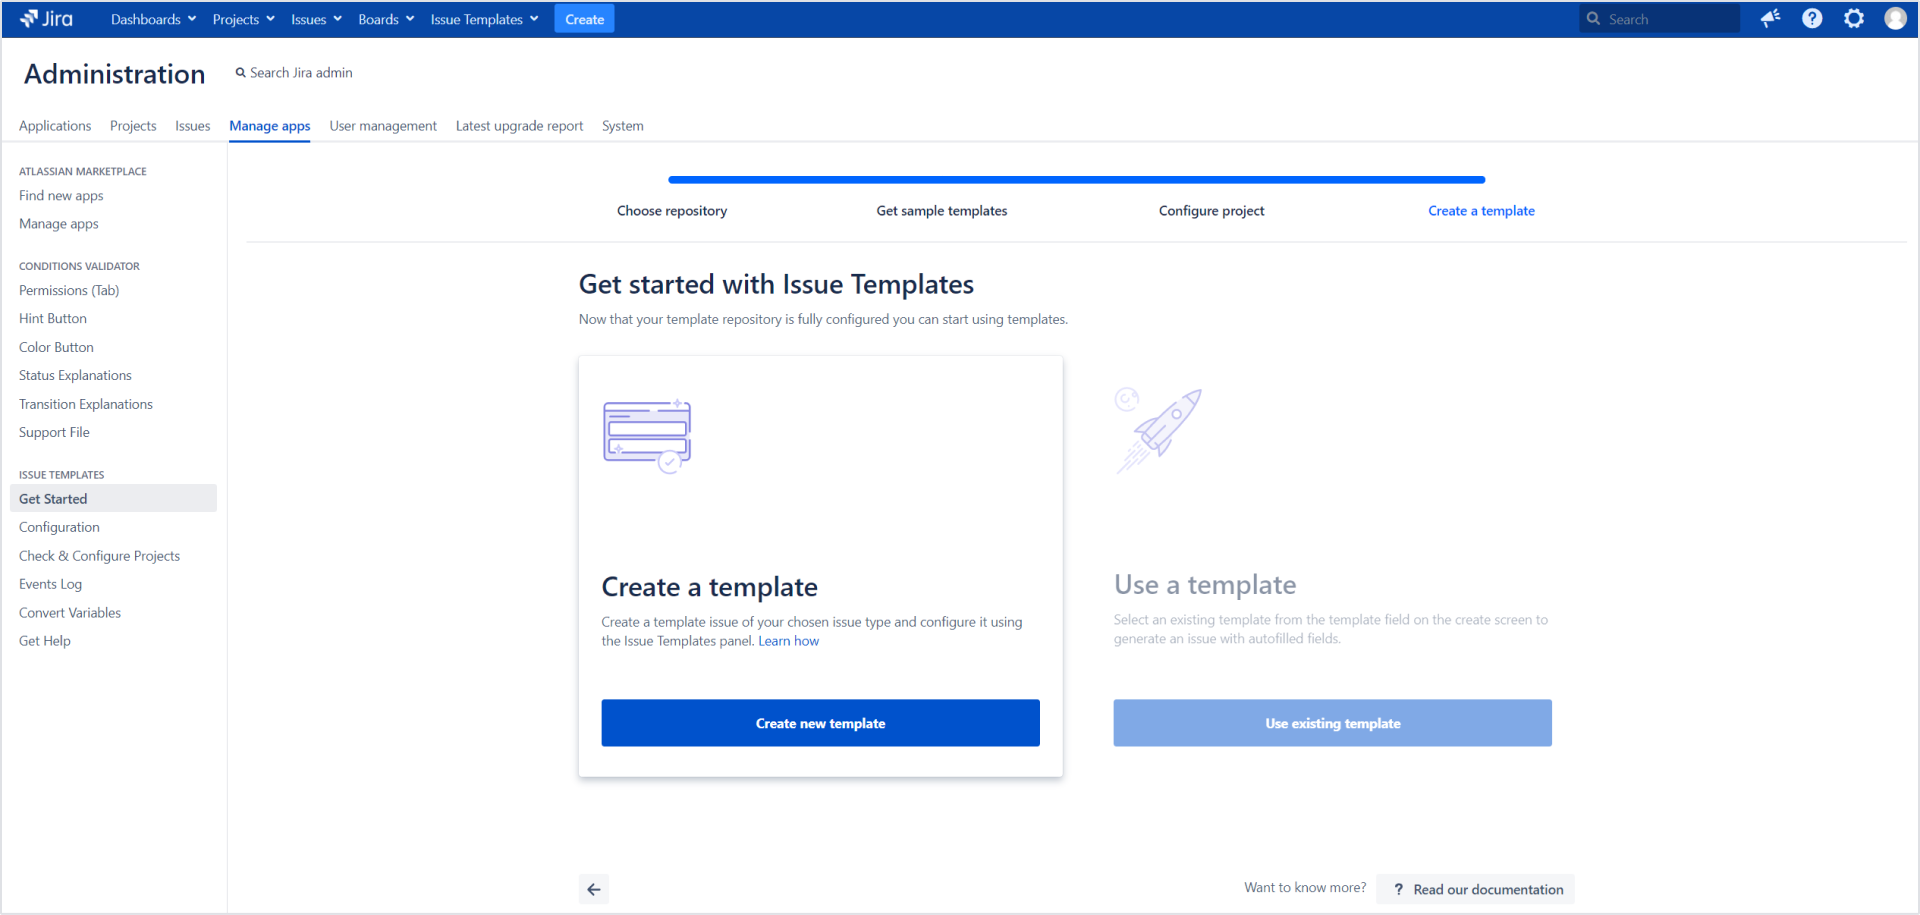
Get started with Issue Templates
Finally, the onboarding brings you to the Create a template screen, where you can start creating your own templates. You will be able to edit and configure them later, in your Templates project.

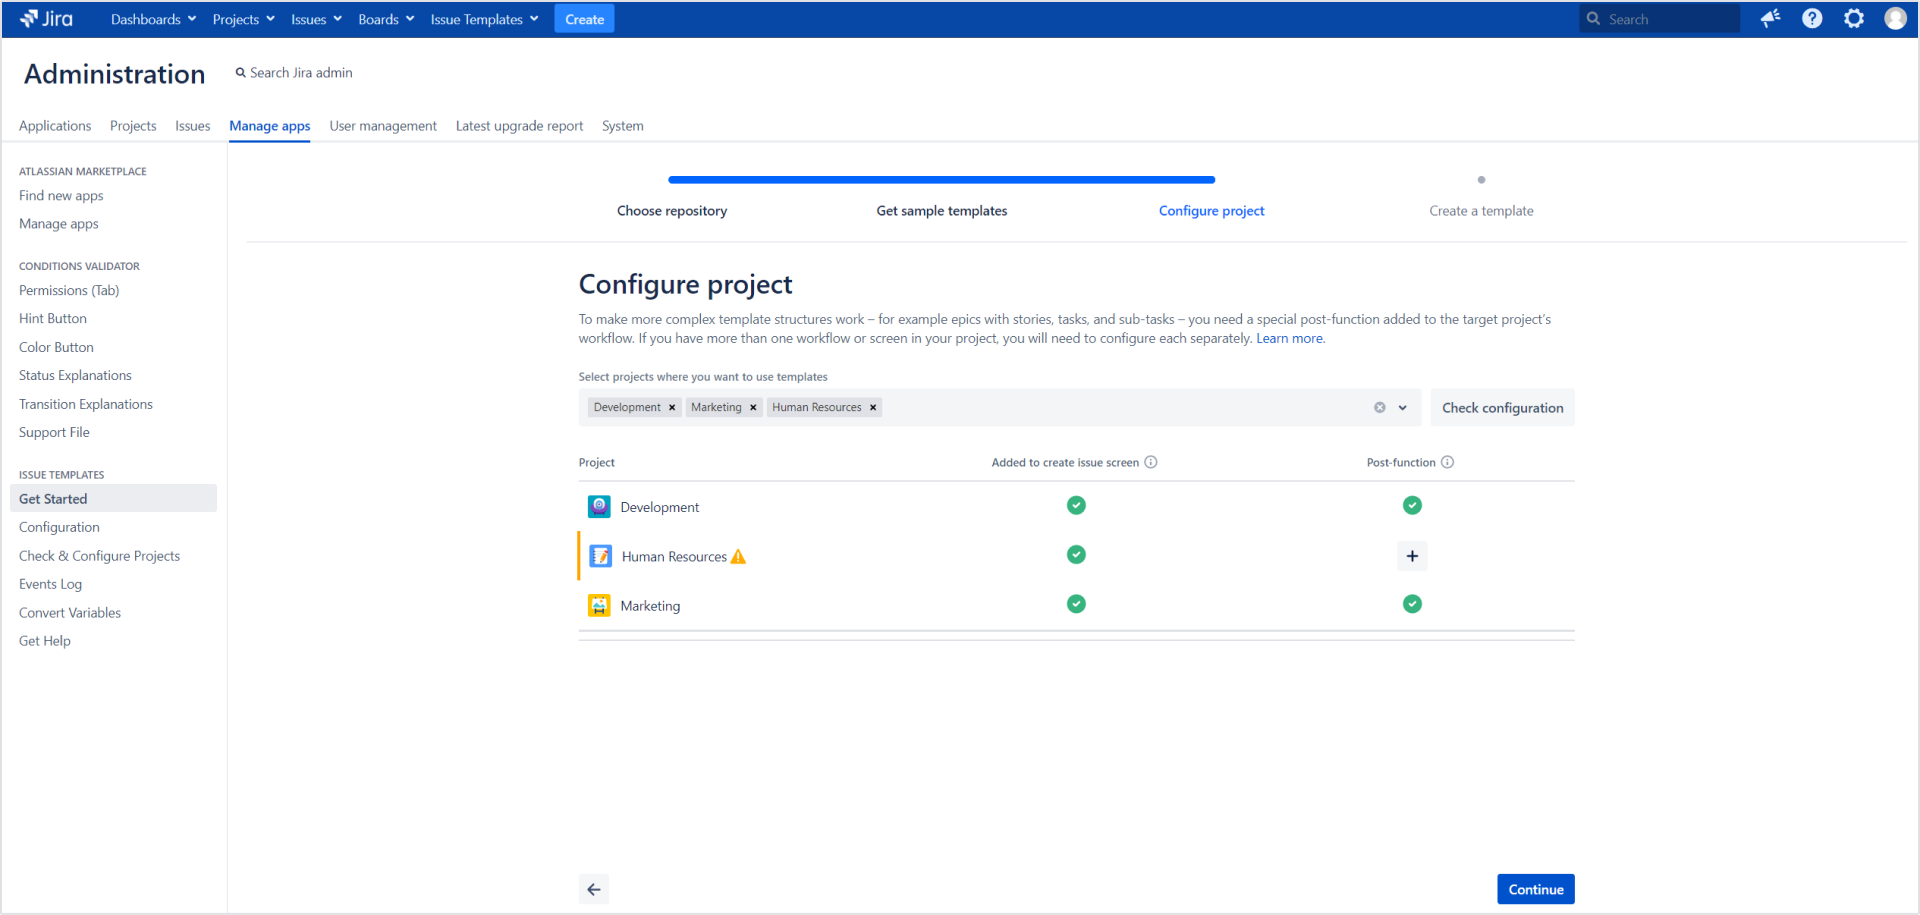
Configure project
There are two basic requirements for a template to work:
- Adding the Template custom field to an issue screen (in most cases it will be the Create issue screen).
- Adding the Create Structure post function to the project’s workflow. The post function is necessary for:
- creating subtasks
- creating epics with stories
- creating complex structures of linked issues
- using the Attachment and Issue Link fields in your templates
If there are no templates available, the template field will not be visible.
We’ve made it easy for you, allowing you to add both in a single step on this onboarding screen.
Keep in mind that adding a post function to an existing workflow might interfere with some more complex configurations. If you are not sure how it would affect a particular project, we advise you to configure it separately later on. You’ll find it all explained in the next sections.

If you can’t find the answer you need in our documentation, raise a support request.