- Configuration
- Introduction
- List theme
- Cards theme
- Request Details View
- Requests View
- Login screens
- Categorization
- Portal descriptions
- Design inspirations
- Cards design inspirations
- List design inspirations
Cards editor
Learn more about the cards theme customization
When adding a theme to one of your sites, you can manually change all the details of the existing templates or create new templates from scratch. With Cards theme, customizable elements include:
- Background style
- Navigation bar
- Searcher and Welcome message
- Default card
- Individual card
- Custom card
- Announcement banner
- Footer
- Home link options
Background style
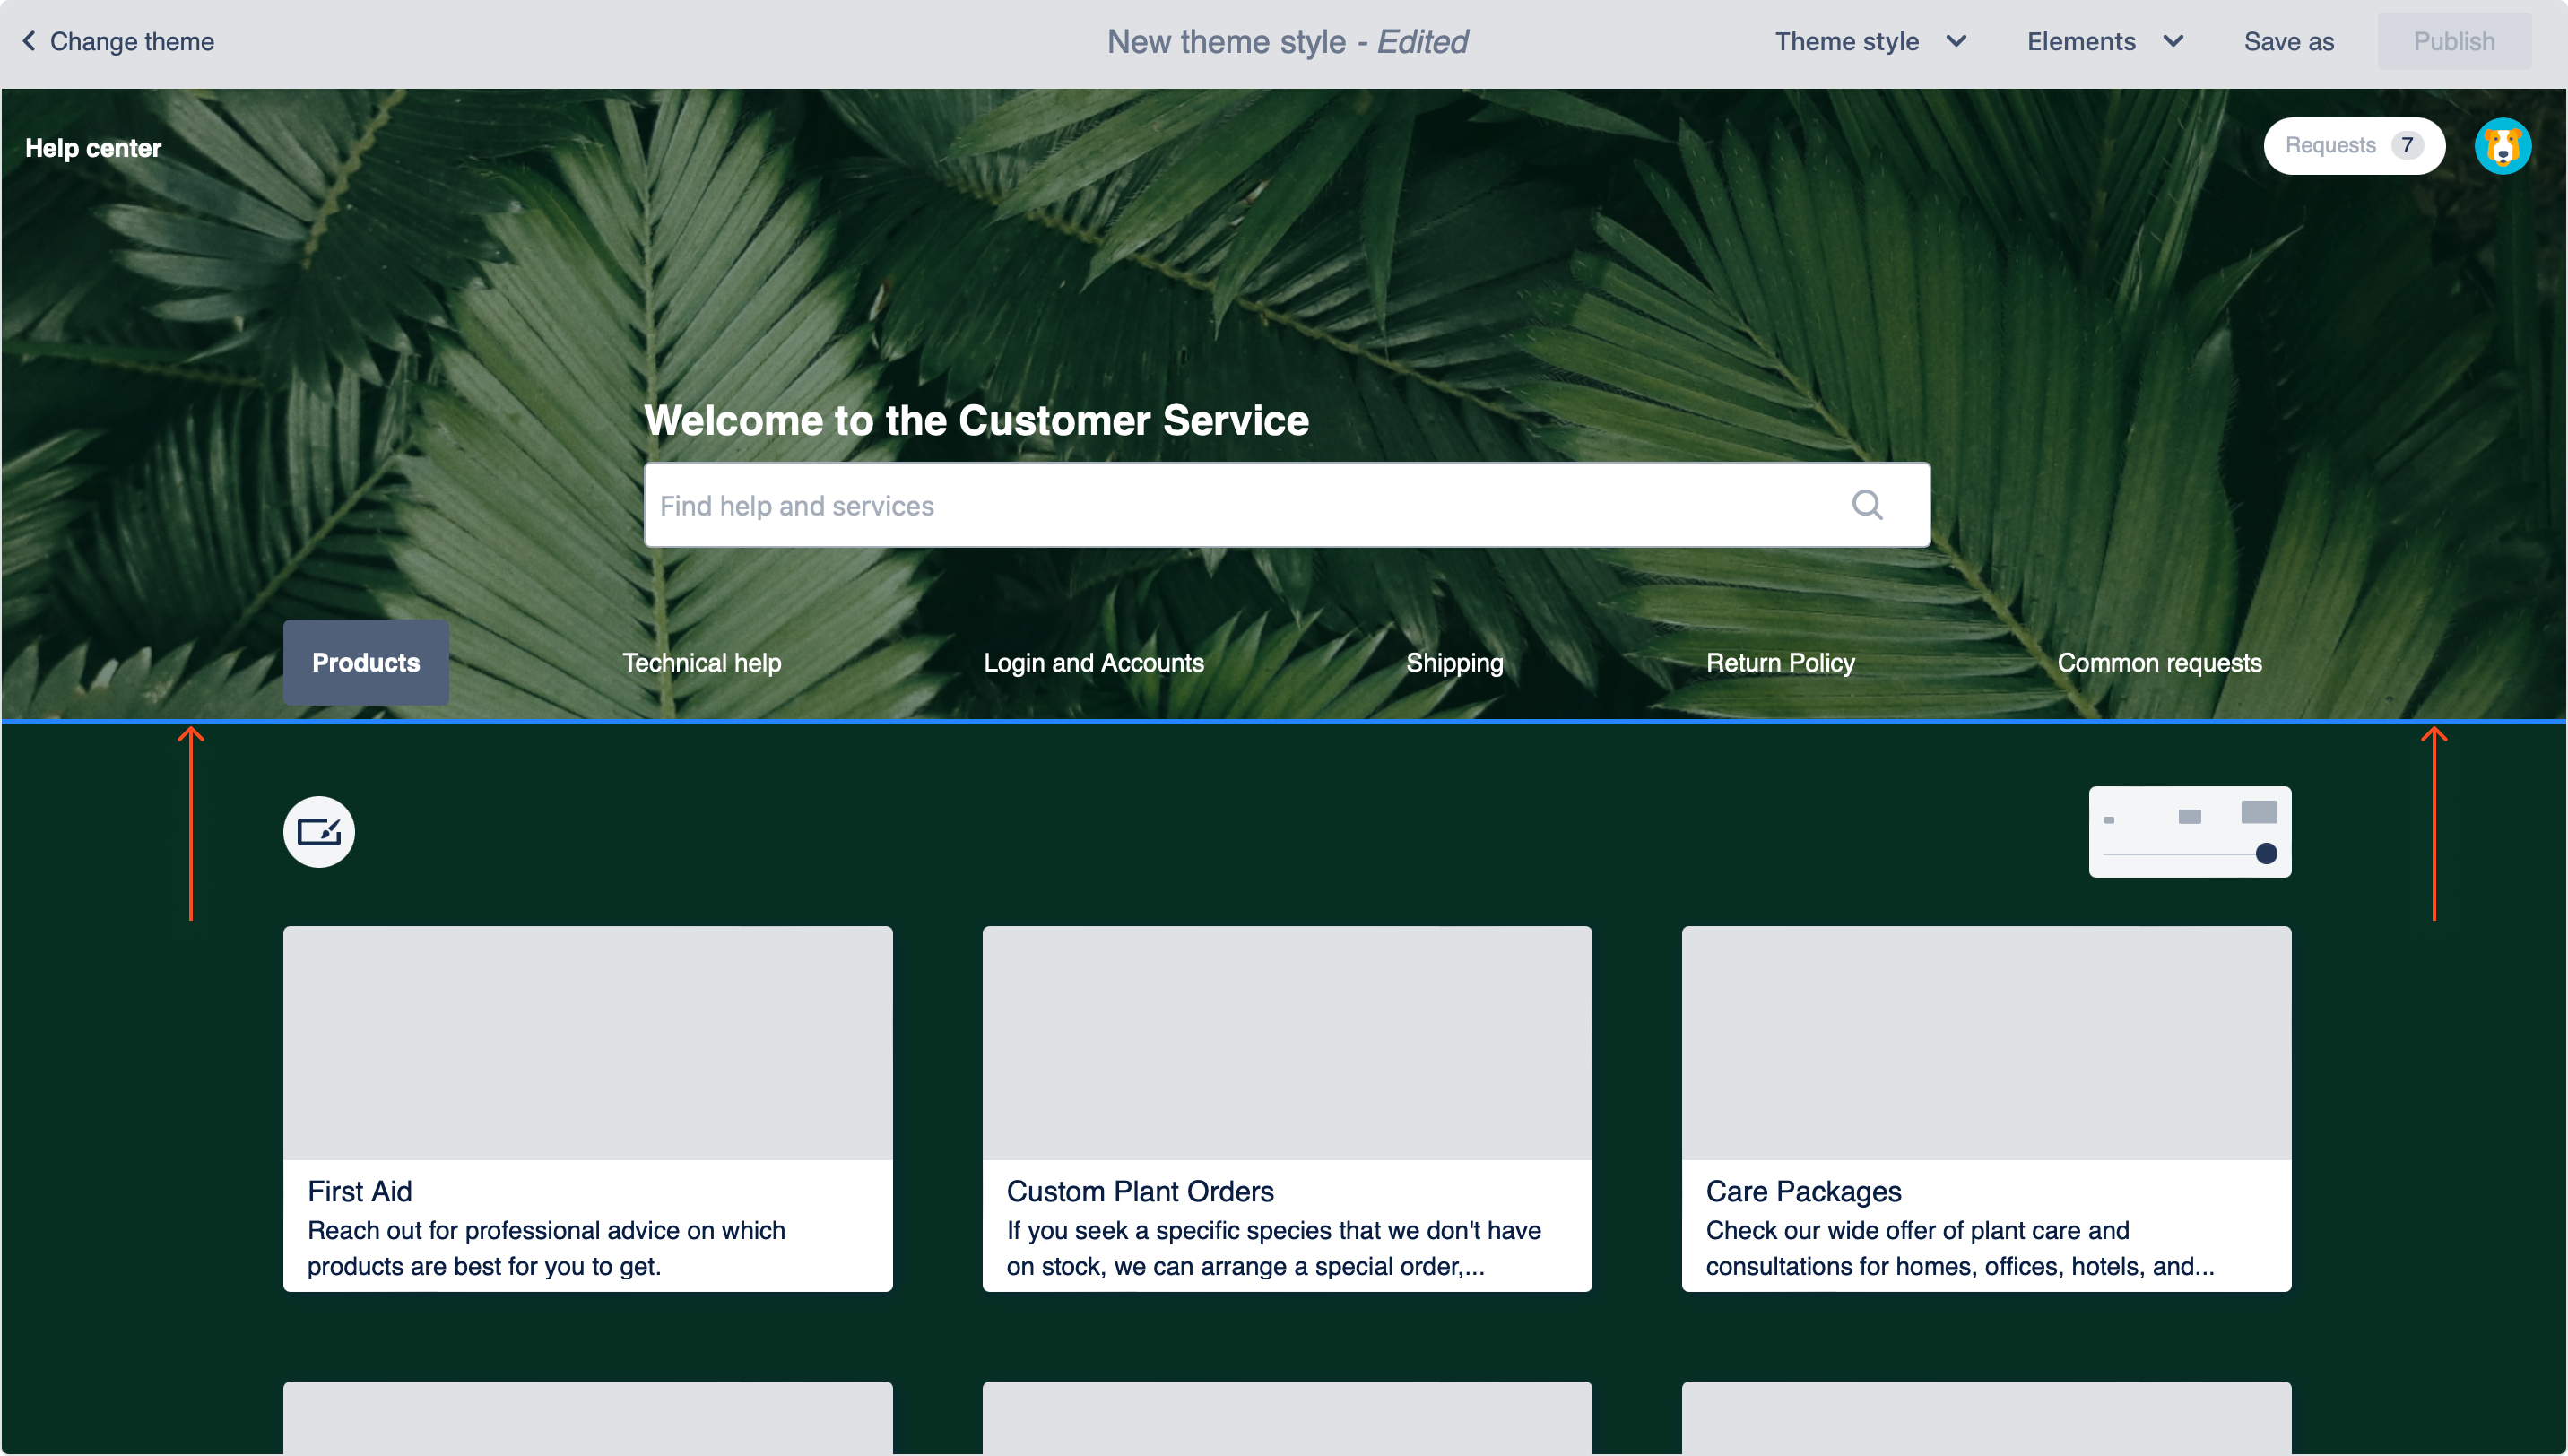
You can separately customize the top and bottom background on the site. Choose from the unlimited combinations of colors to create your own unique pallet which is consistent with your company’s design language.
Steps
- When adding a theme, select one of the available templates or create a new one.
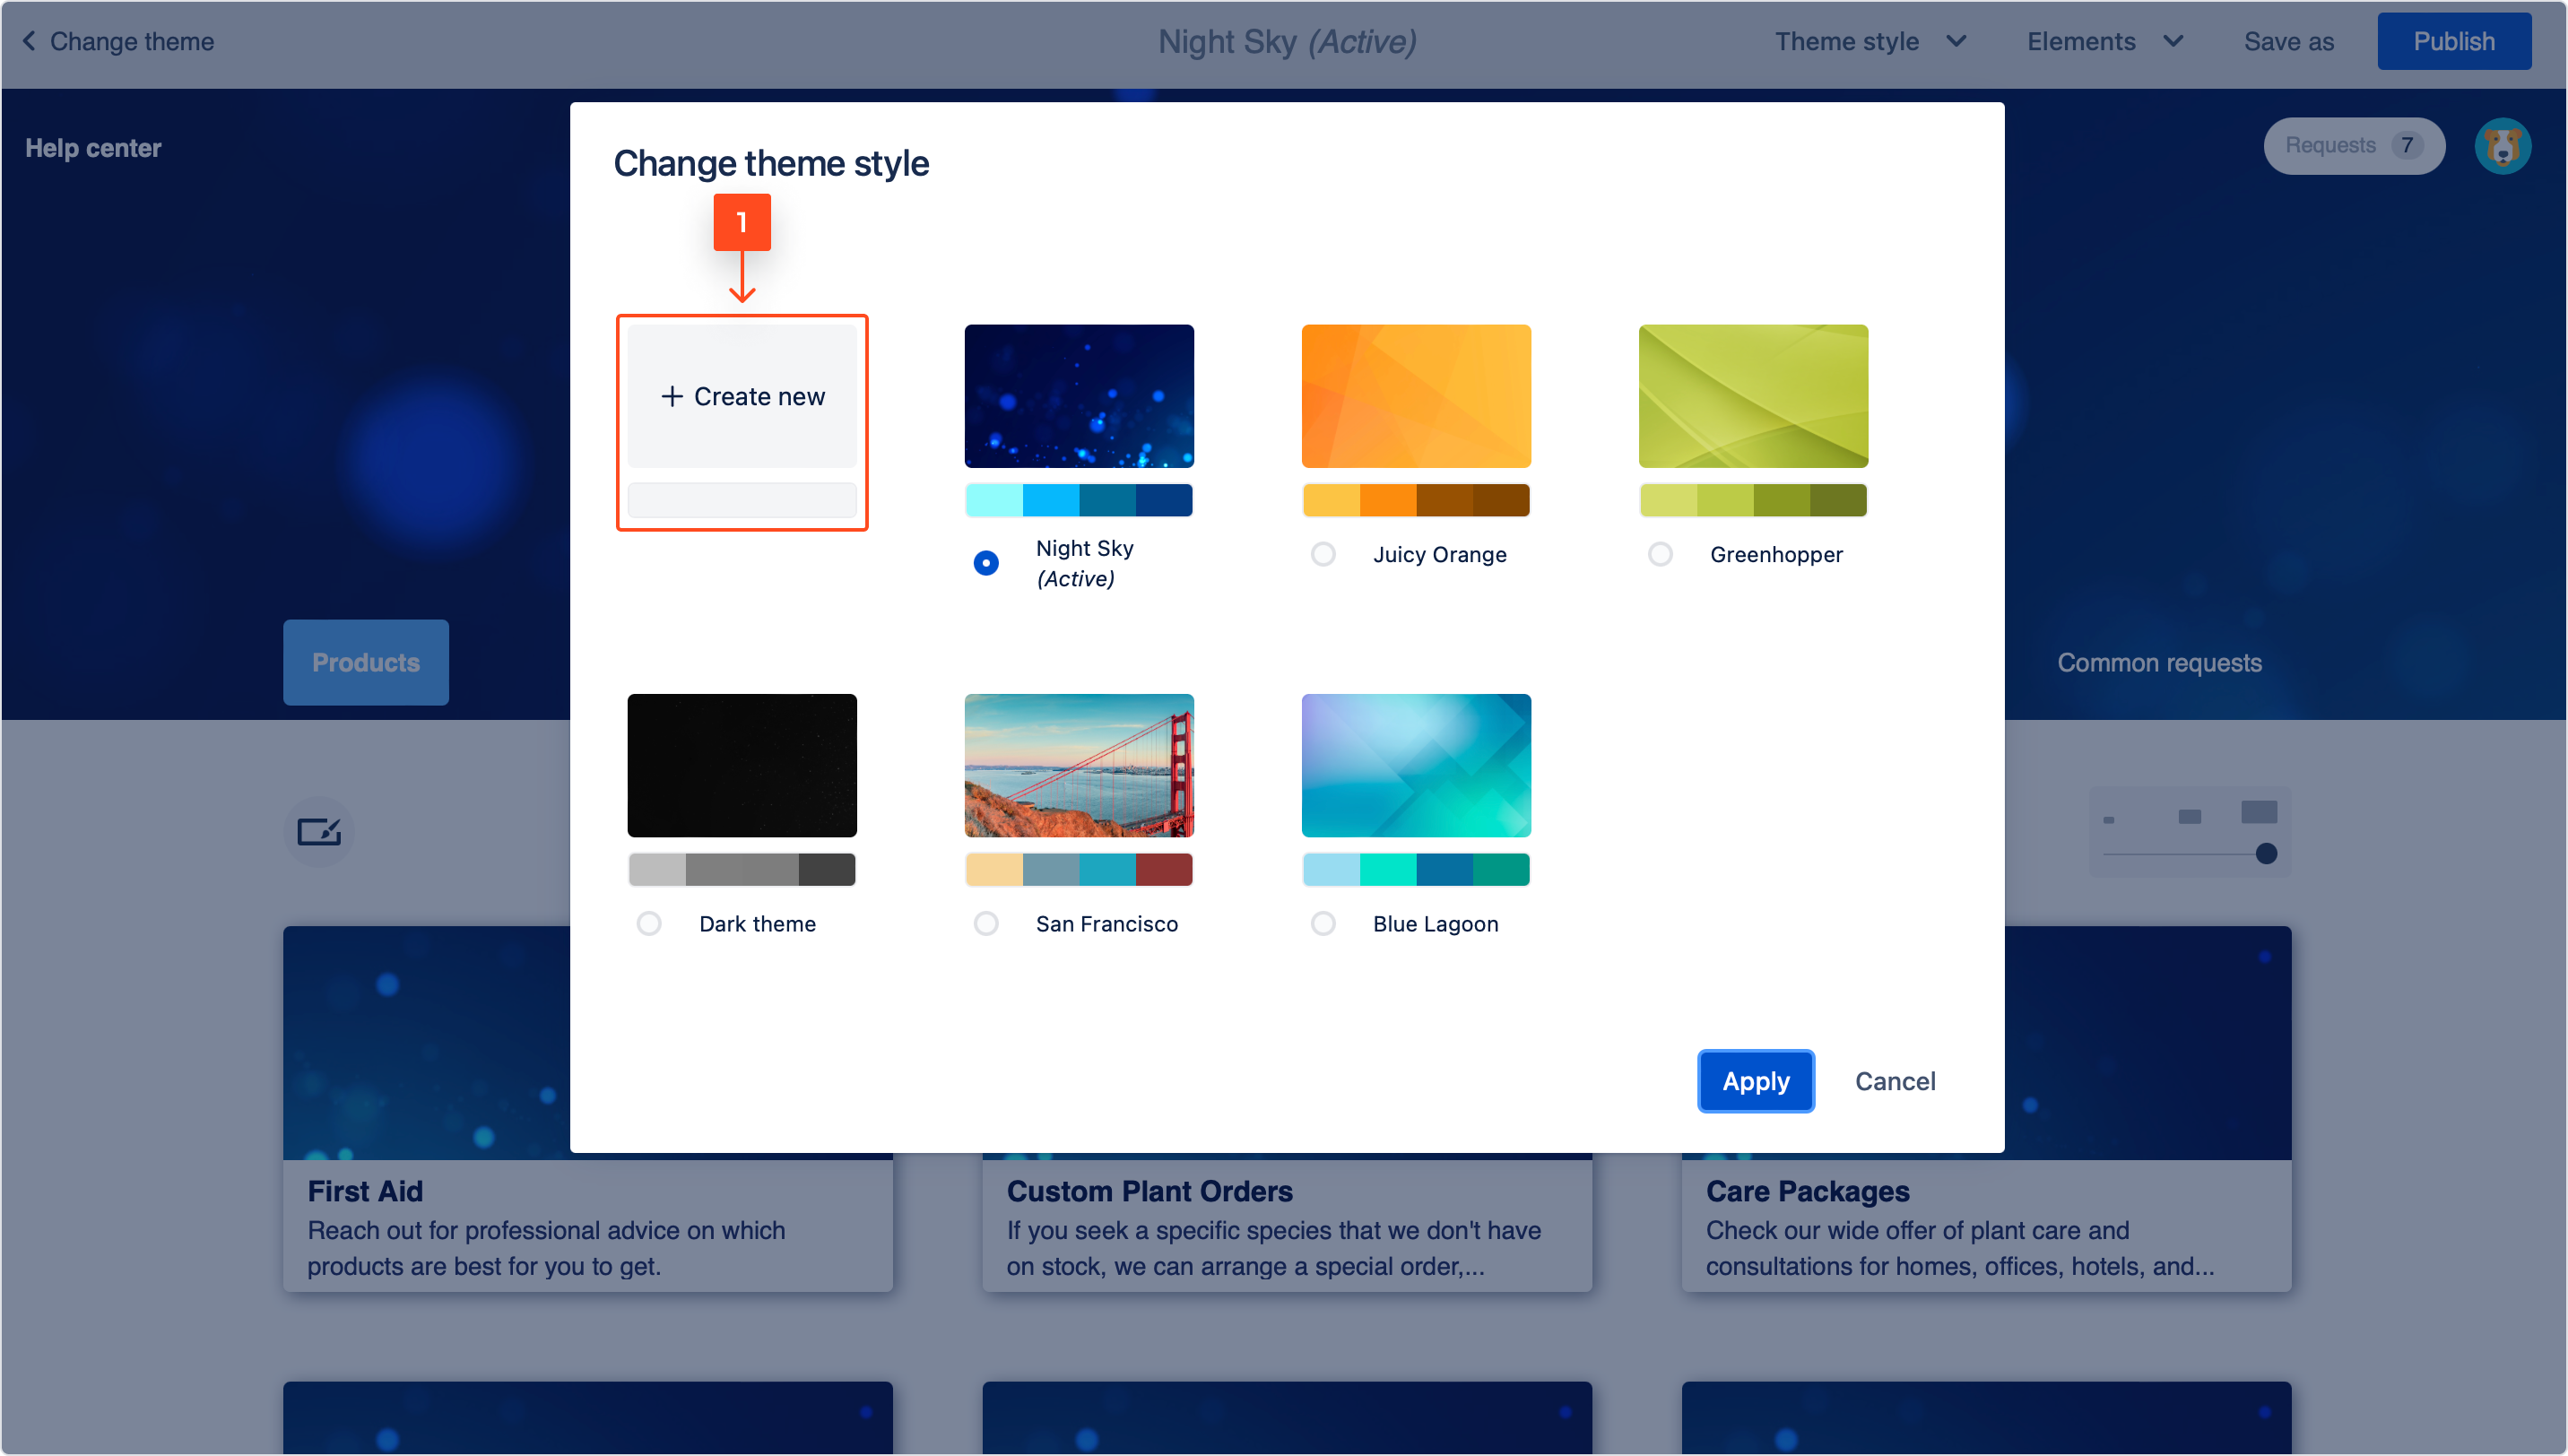
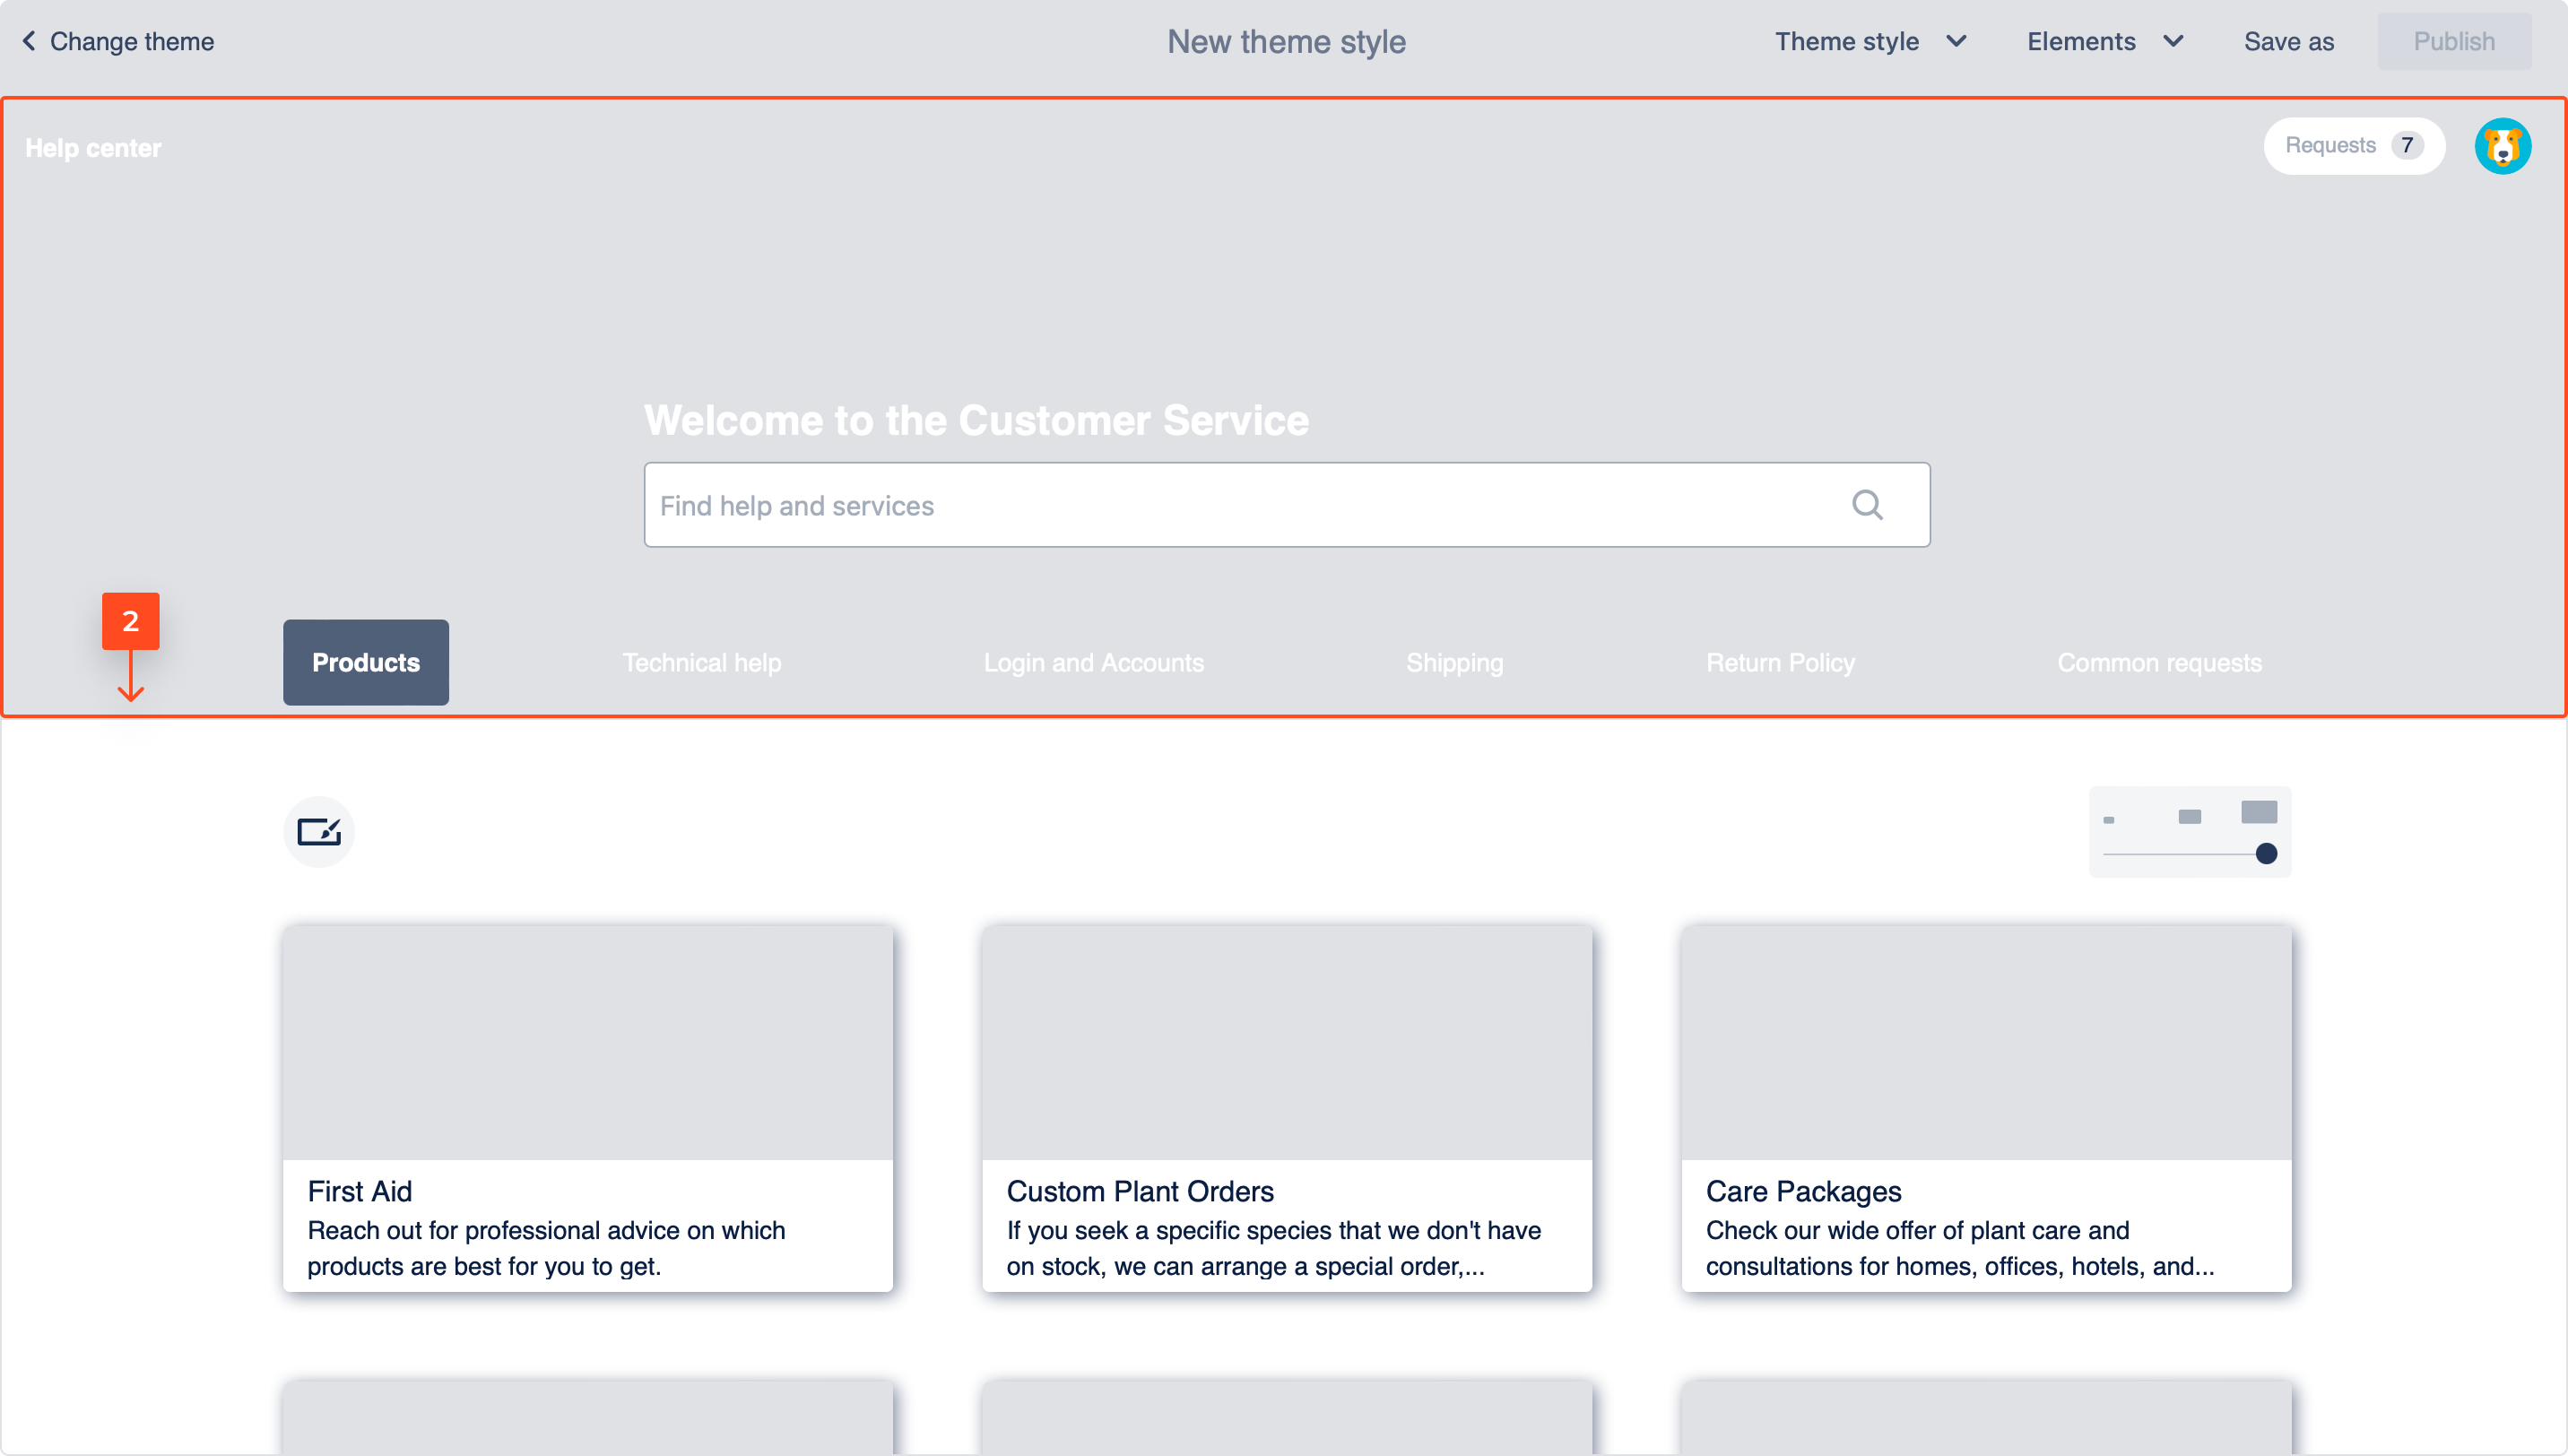
- Click on either top or the bottom background.
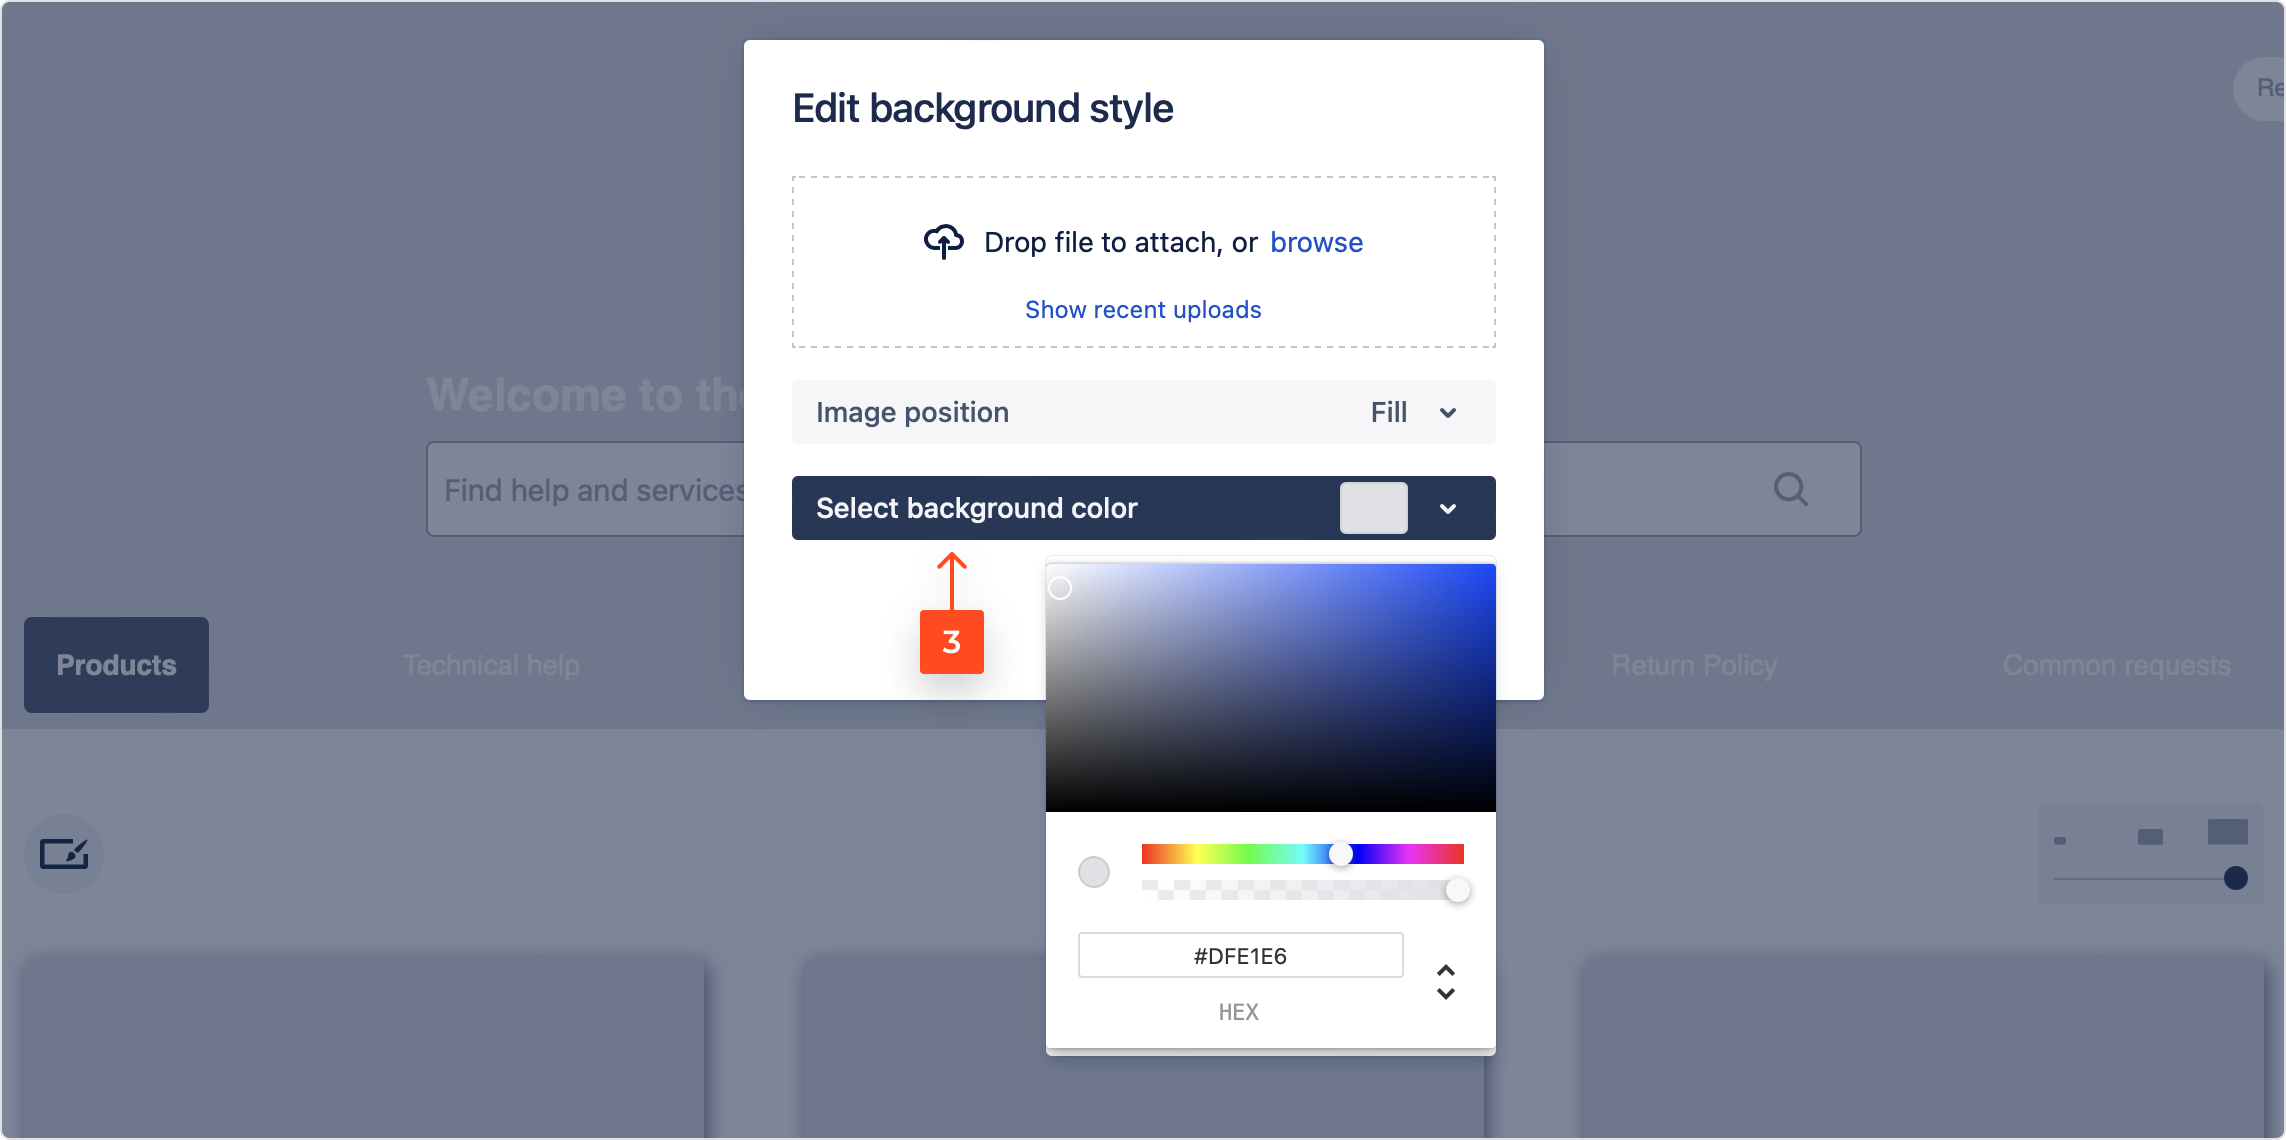
- Upload an image or choose the color using the palette, or the hex code.
 Note
NoteYou can upload images in .jpg, .png and .gif formats.
- Click Apply.
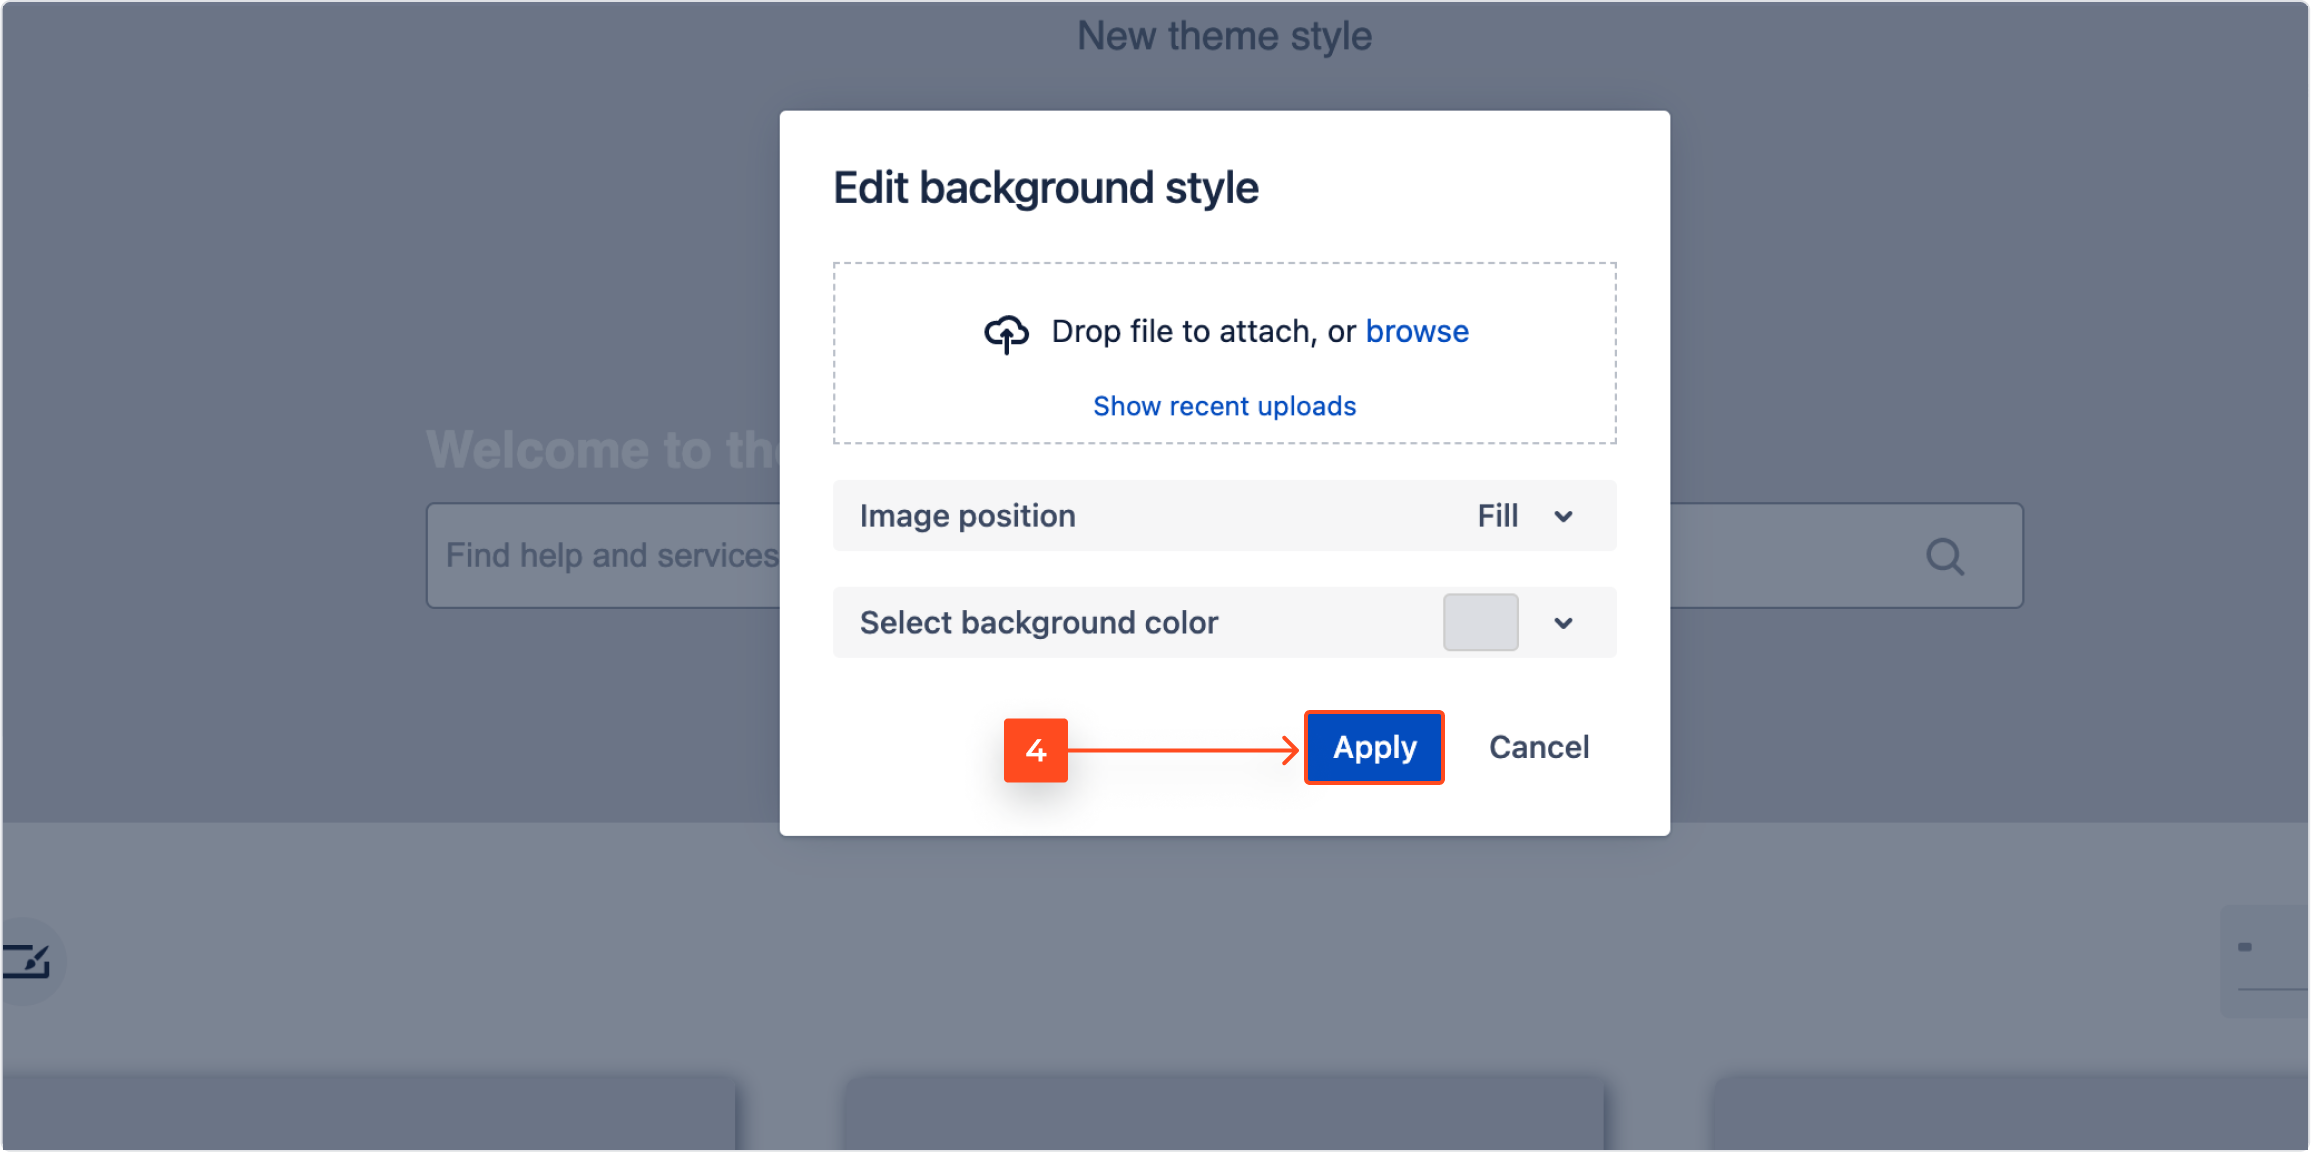
- Repeat the instructions for the other background.
Result
The background styles are added to your theme.
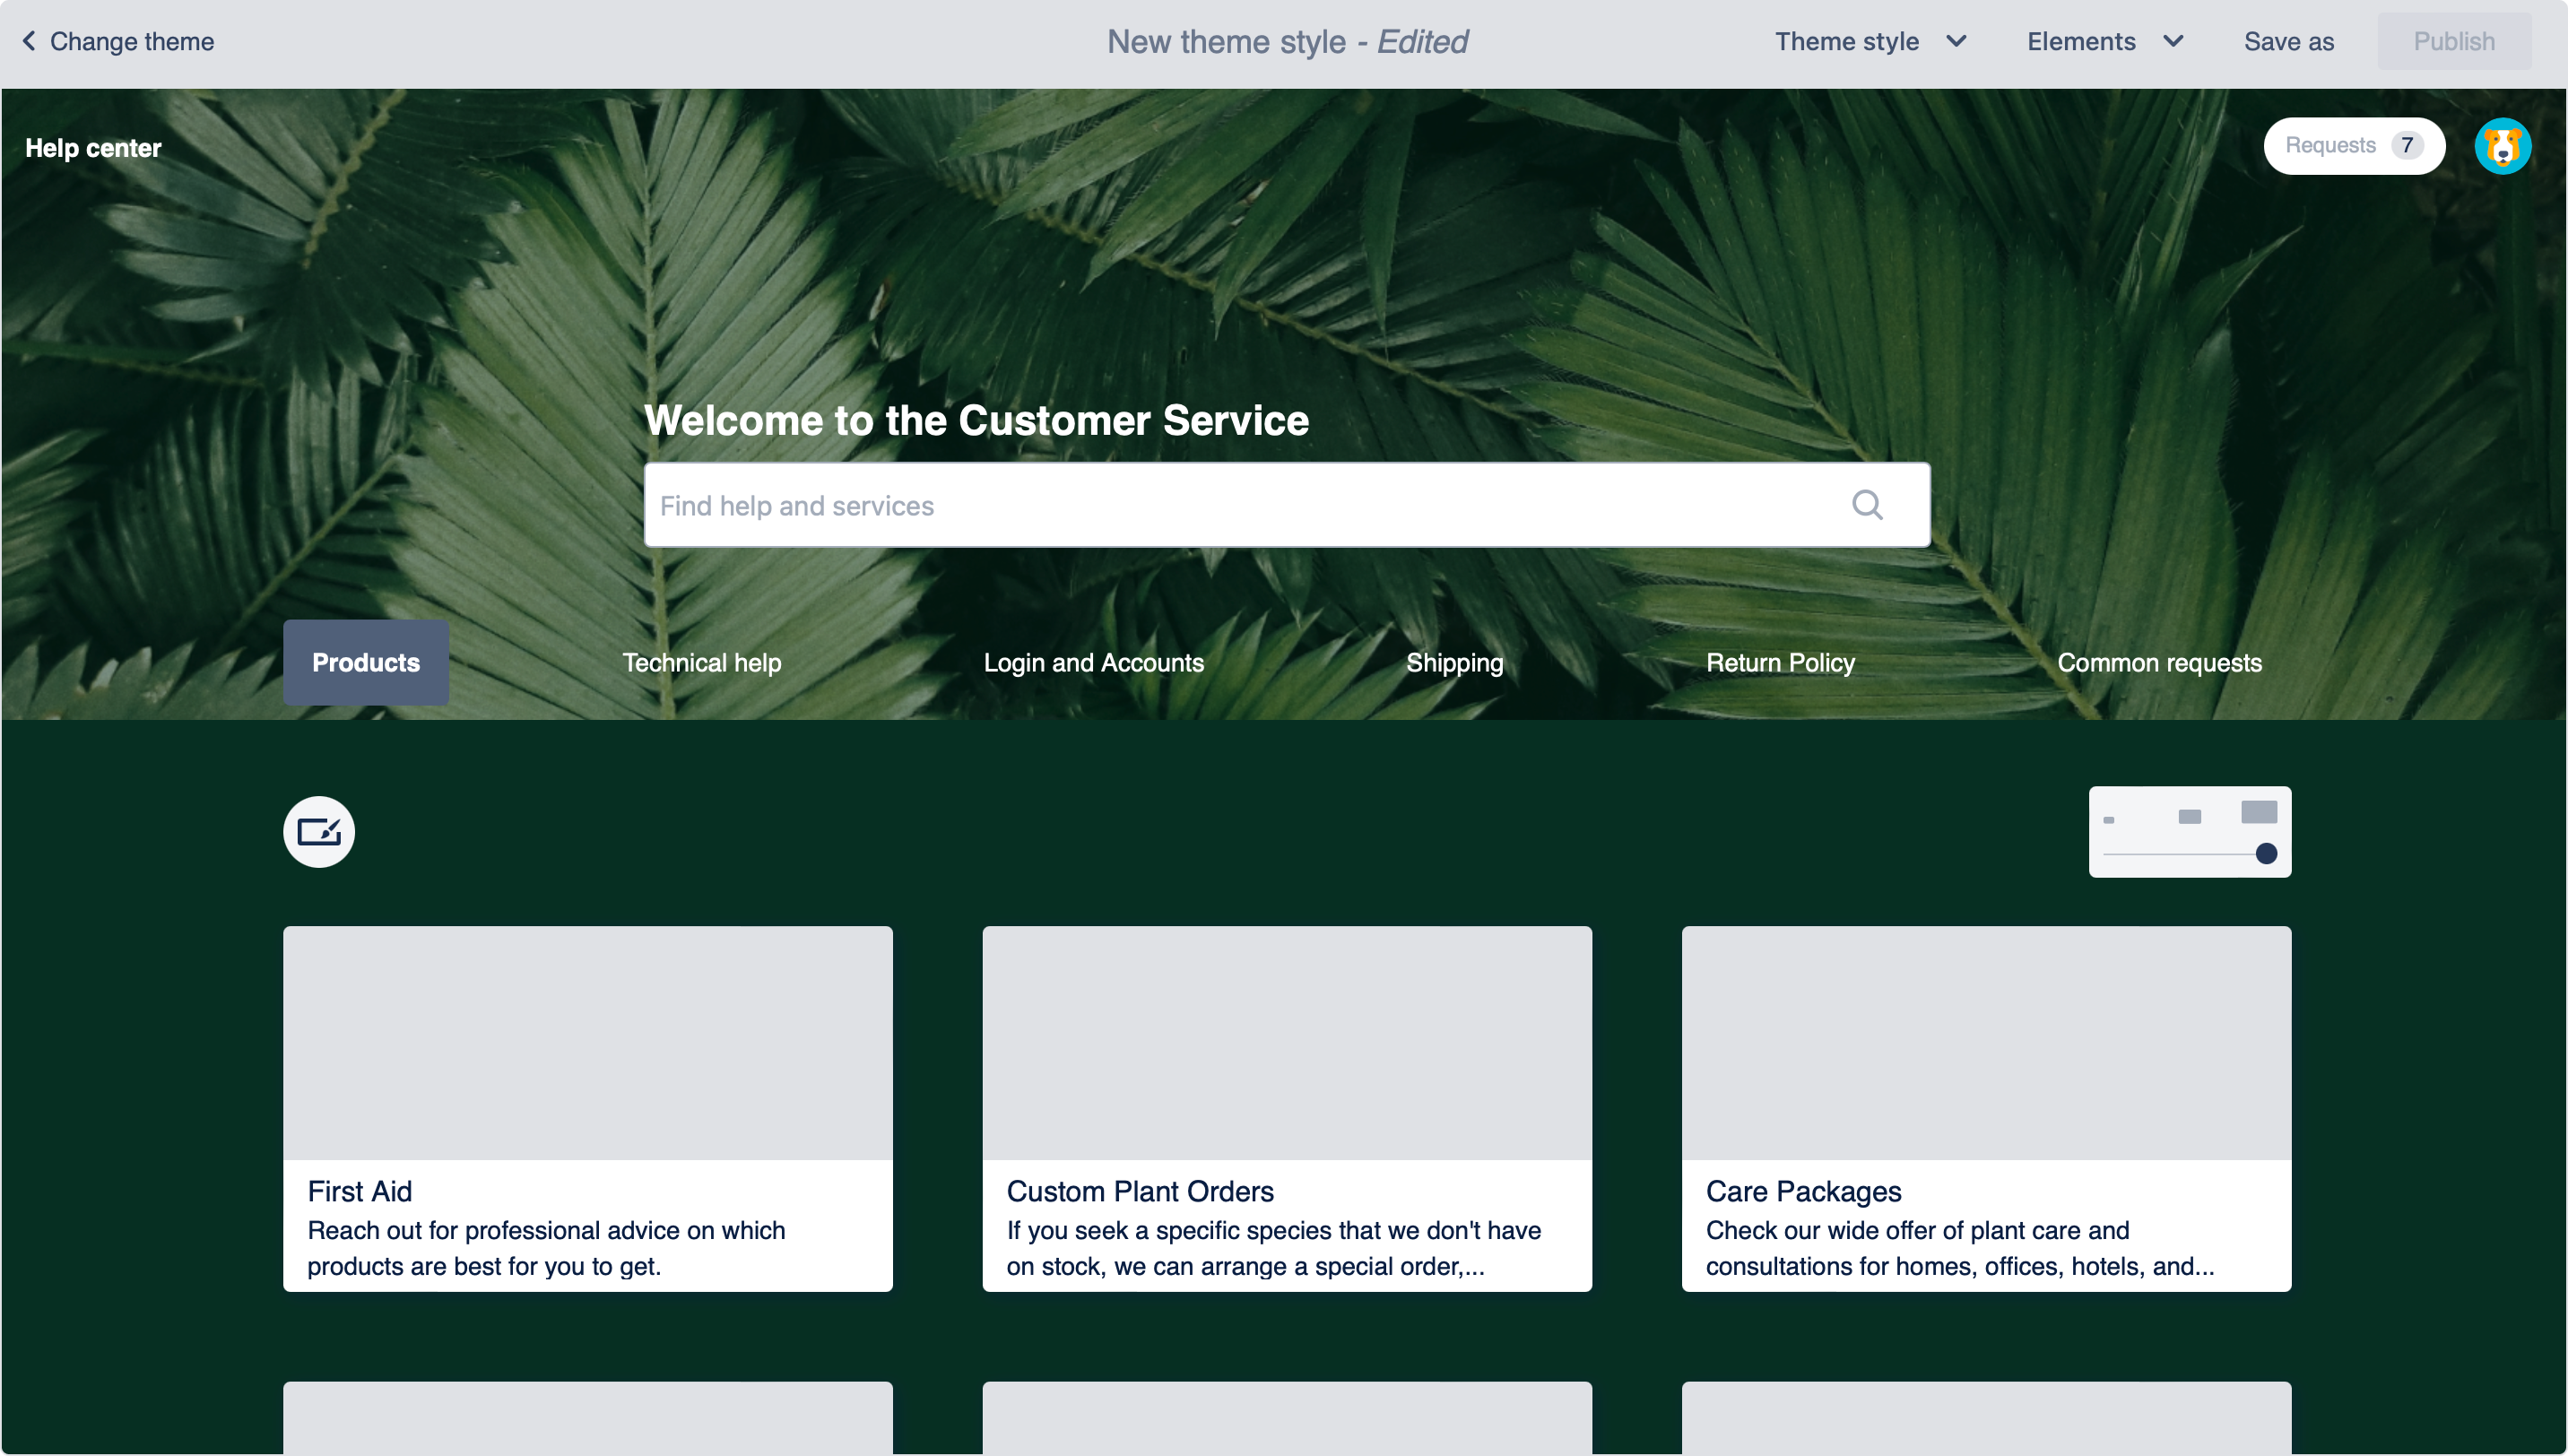
Once you’ve added the color palette to your theme, you can further customize other elements of the site.
Navigation bar
You can change the layout and colors of the navigation bar which is used to switch between different categories or request types groups. If you want to learn more about categories, see Categorization.
Steps
-
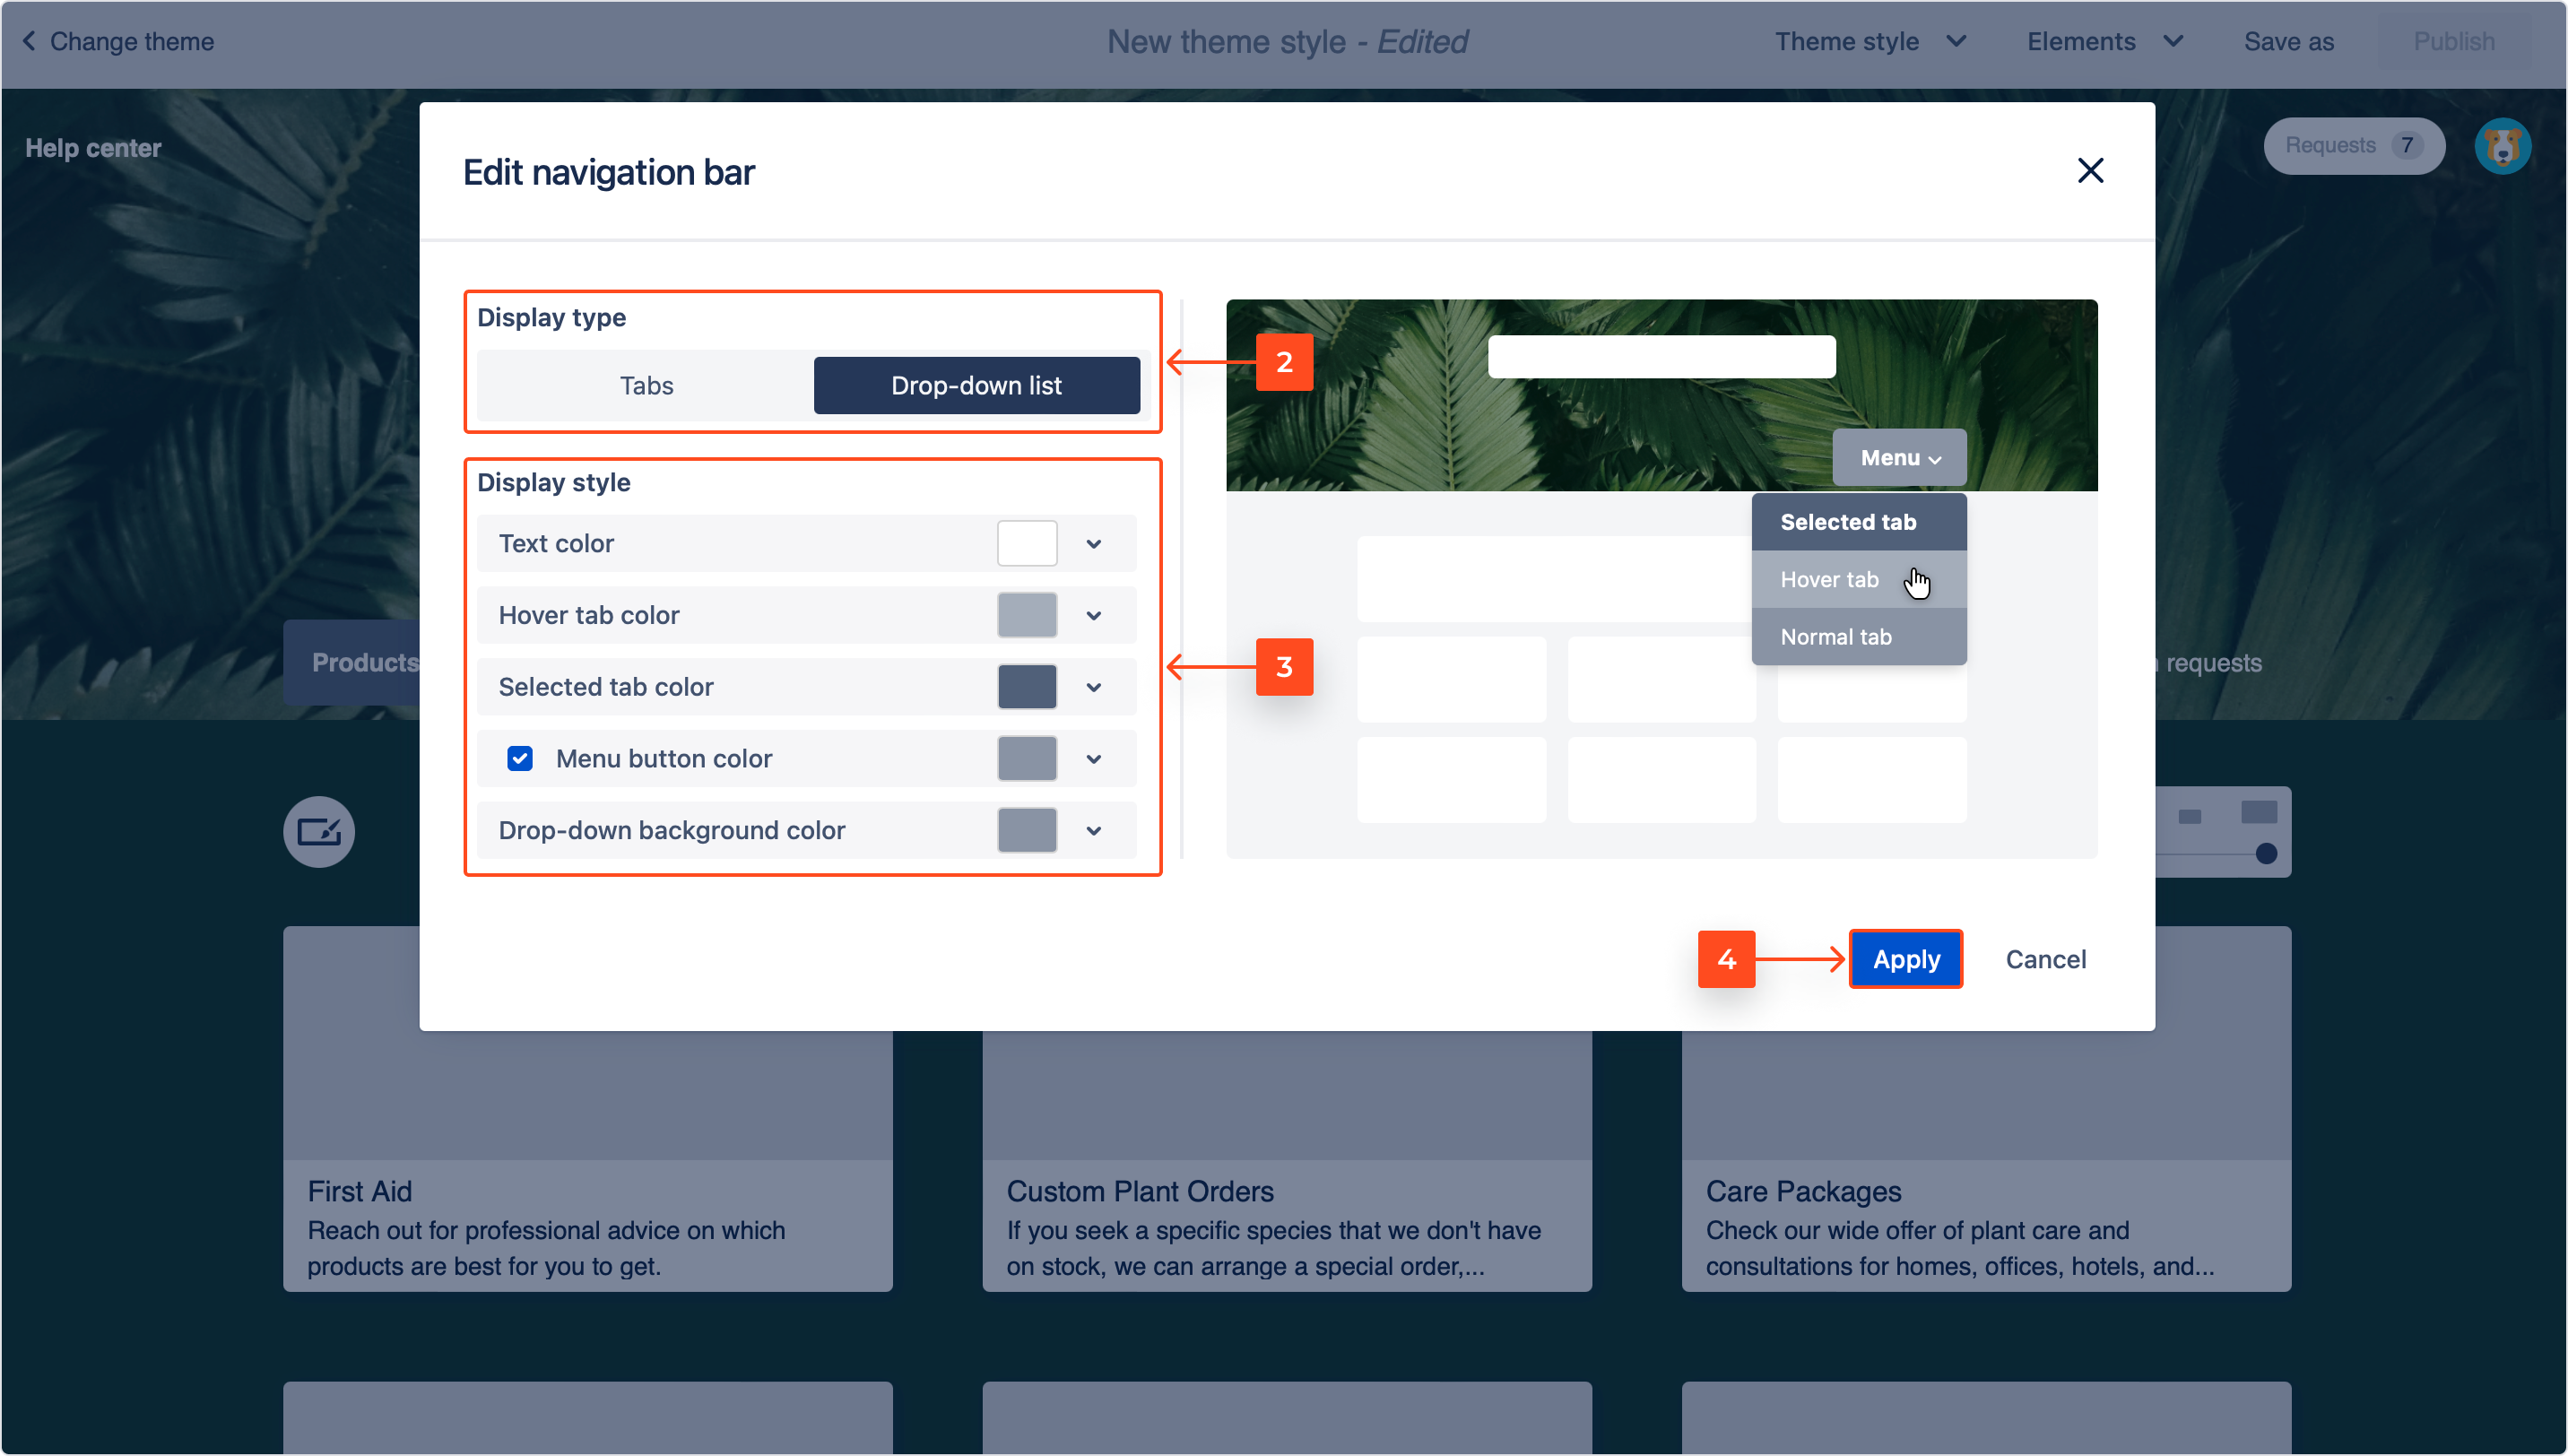
In the theme editor, hover over the navigation bar and click the pen icon on the right.
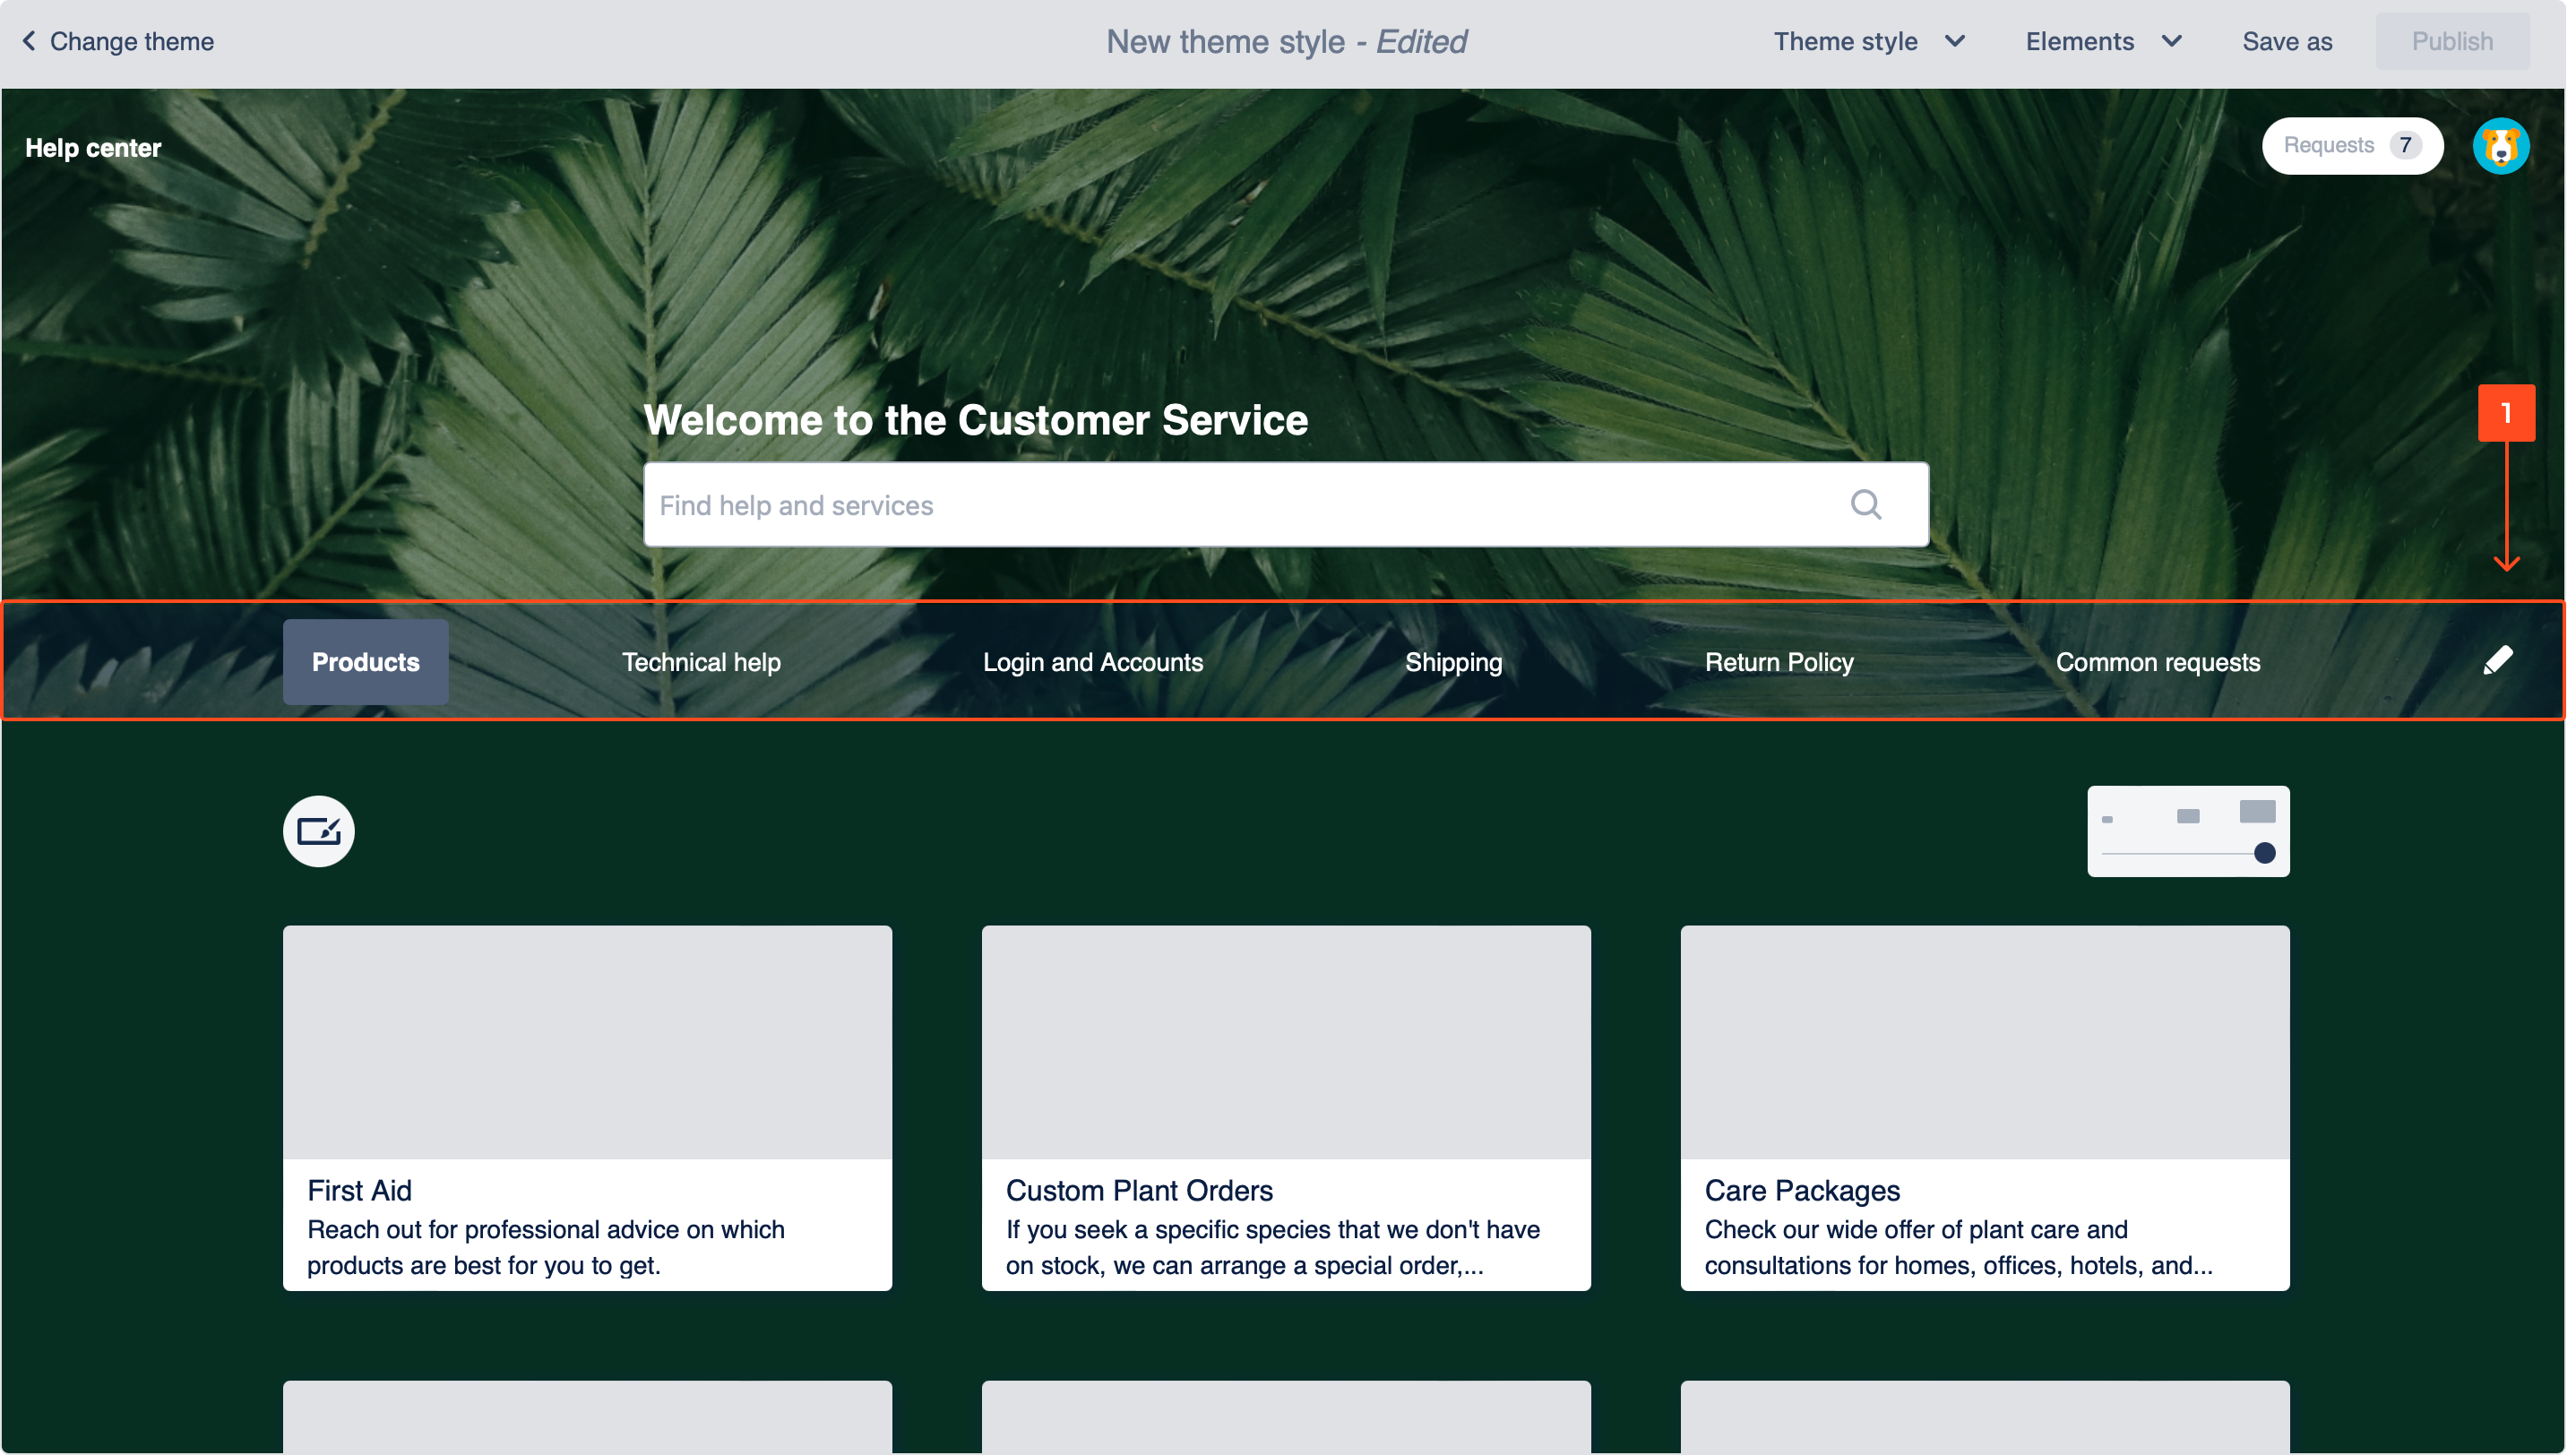
-
Select the bar type. There are two available options: tabs and drop-down list.
-
Specify the colors of the text and the buttons in different states. If you don’t want to see the particular states, uncheck the boxes next to them.
-
Note
If you select tabs display type and there’s too many categories to show, the excessive ones will collapse into a More drop-down list.
Result
The Navigation bar is customized.
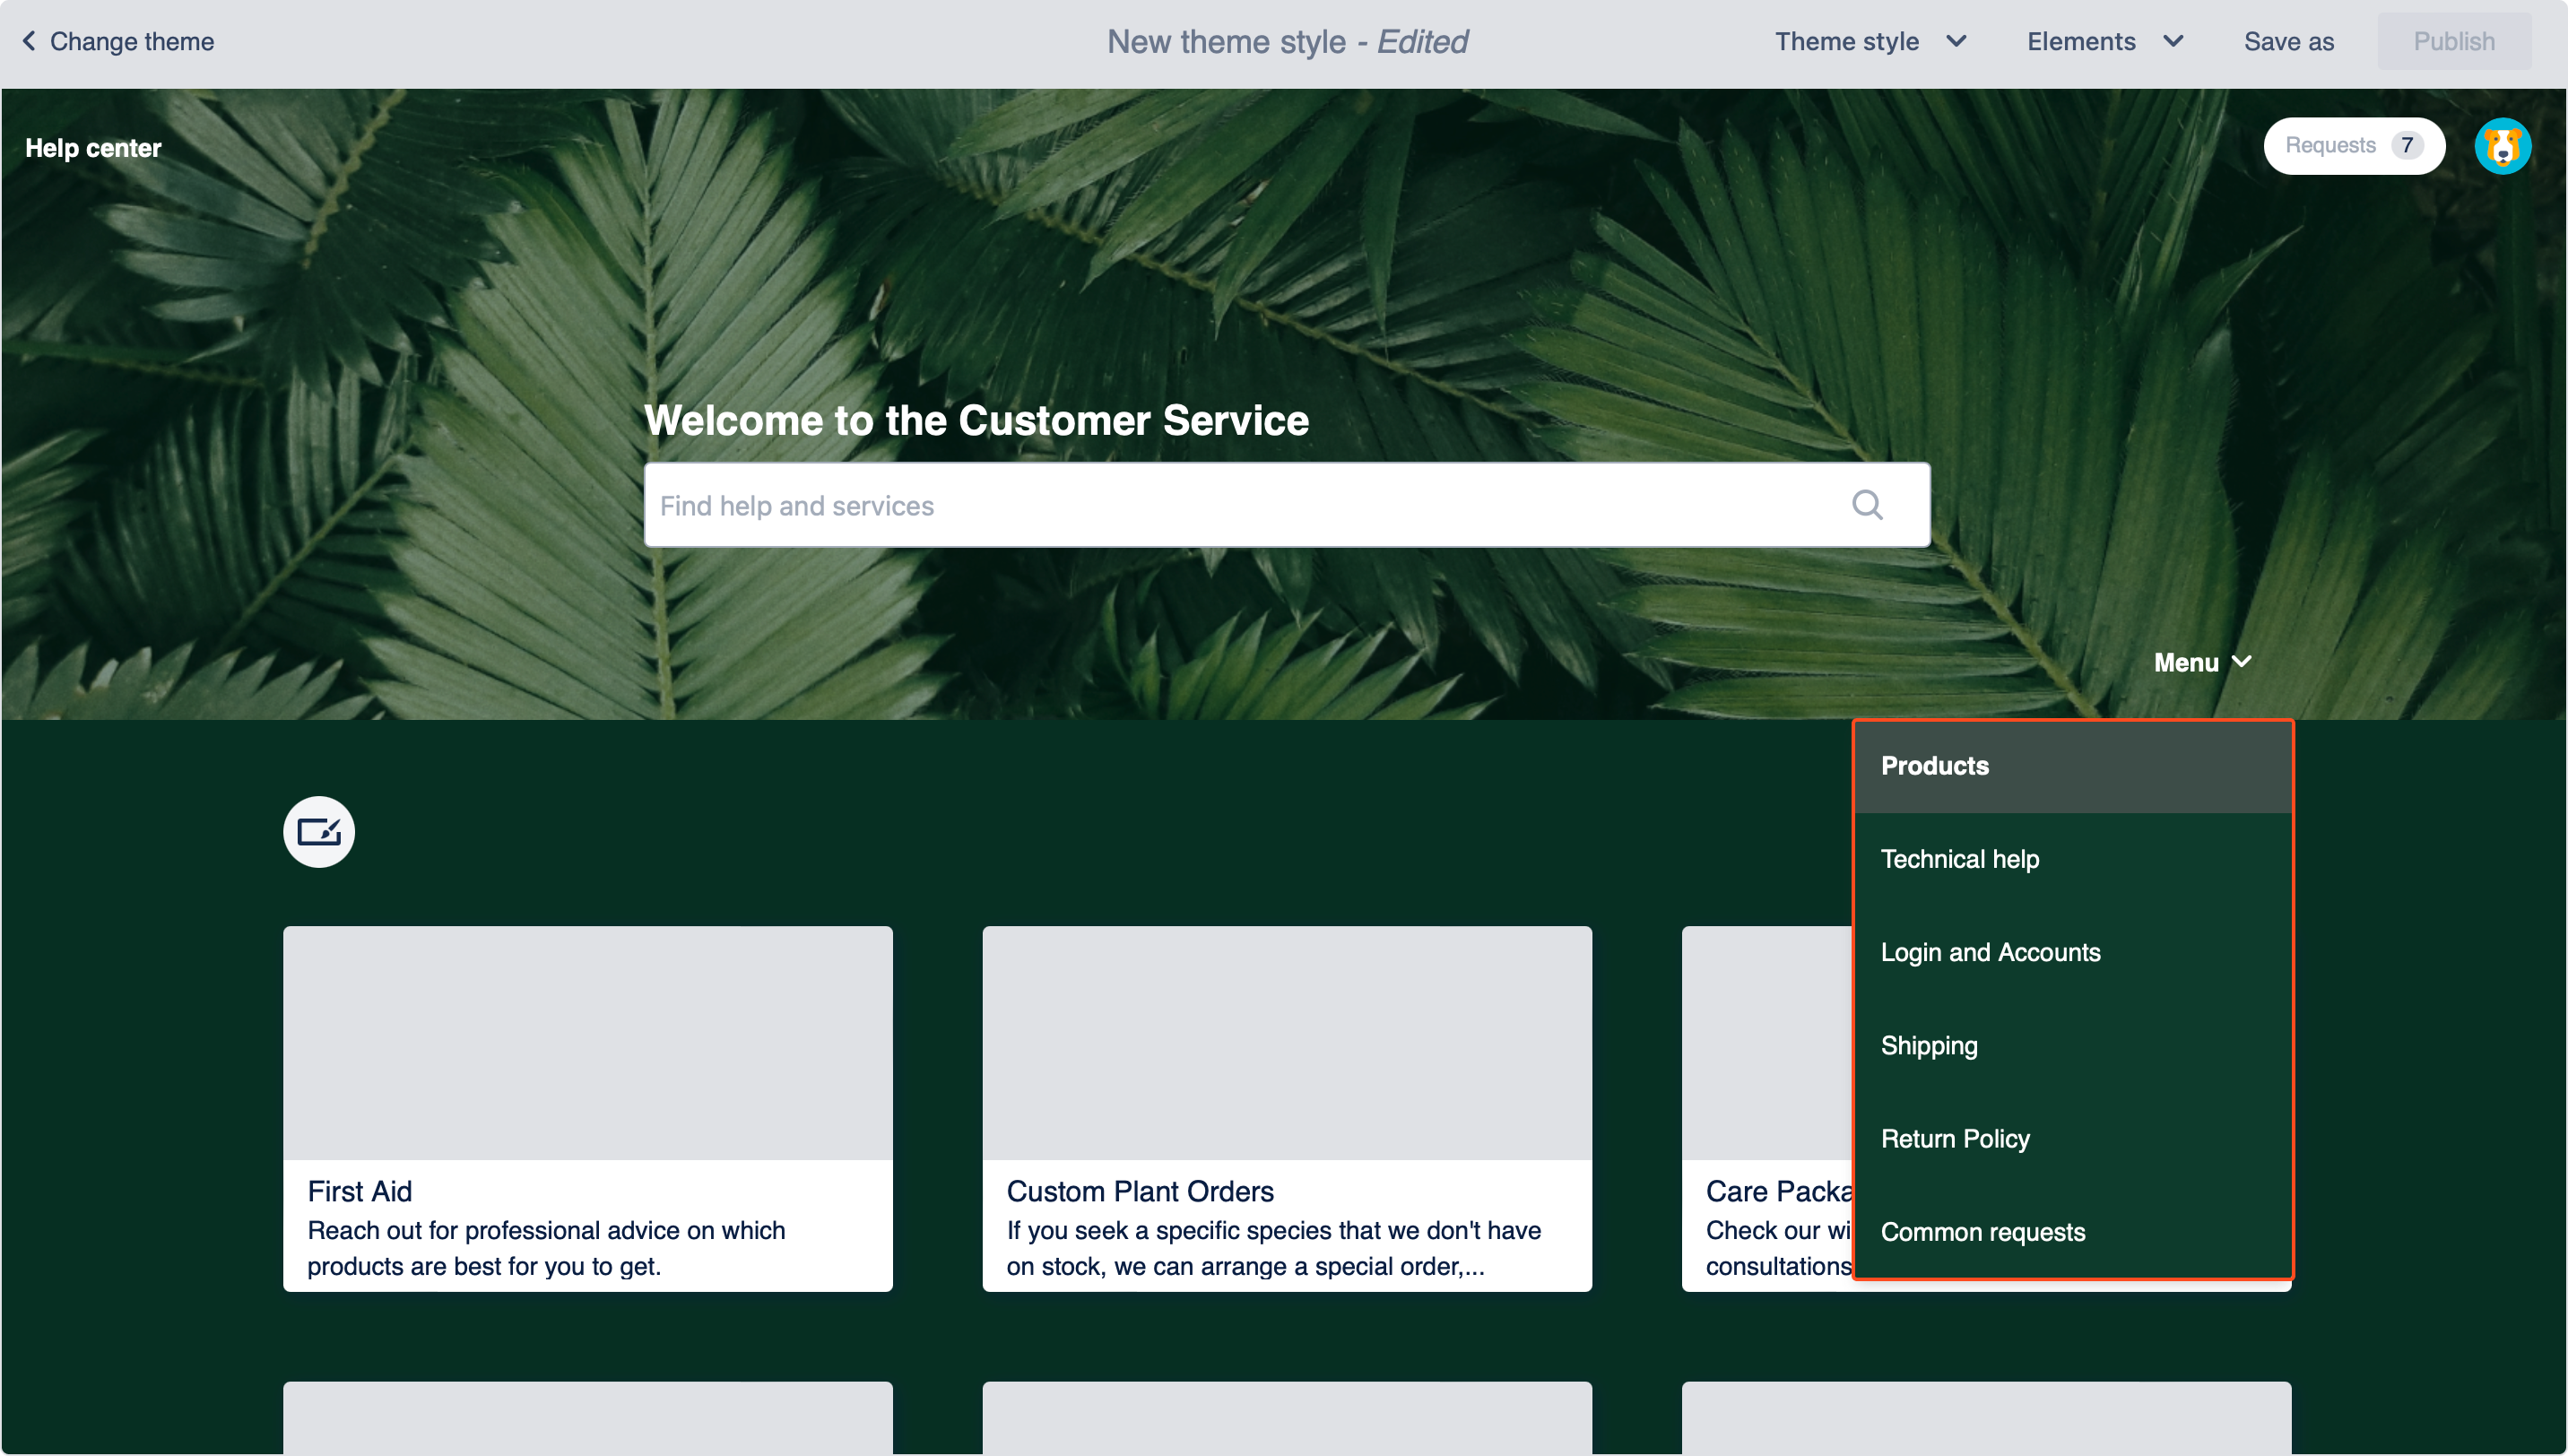
Searcher and Welcome message
You can change the text and style of the Searcher.
Steps
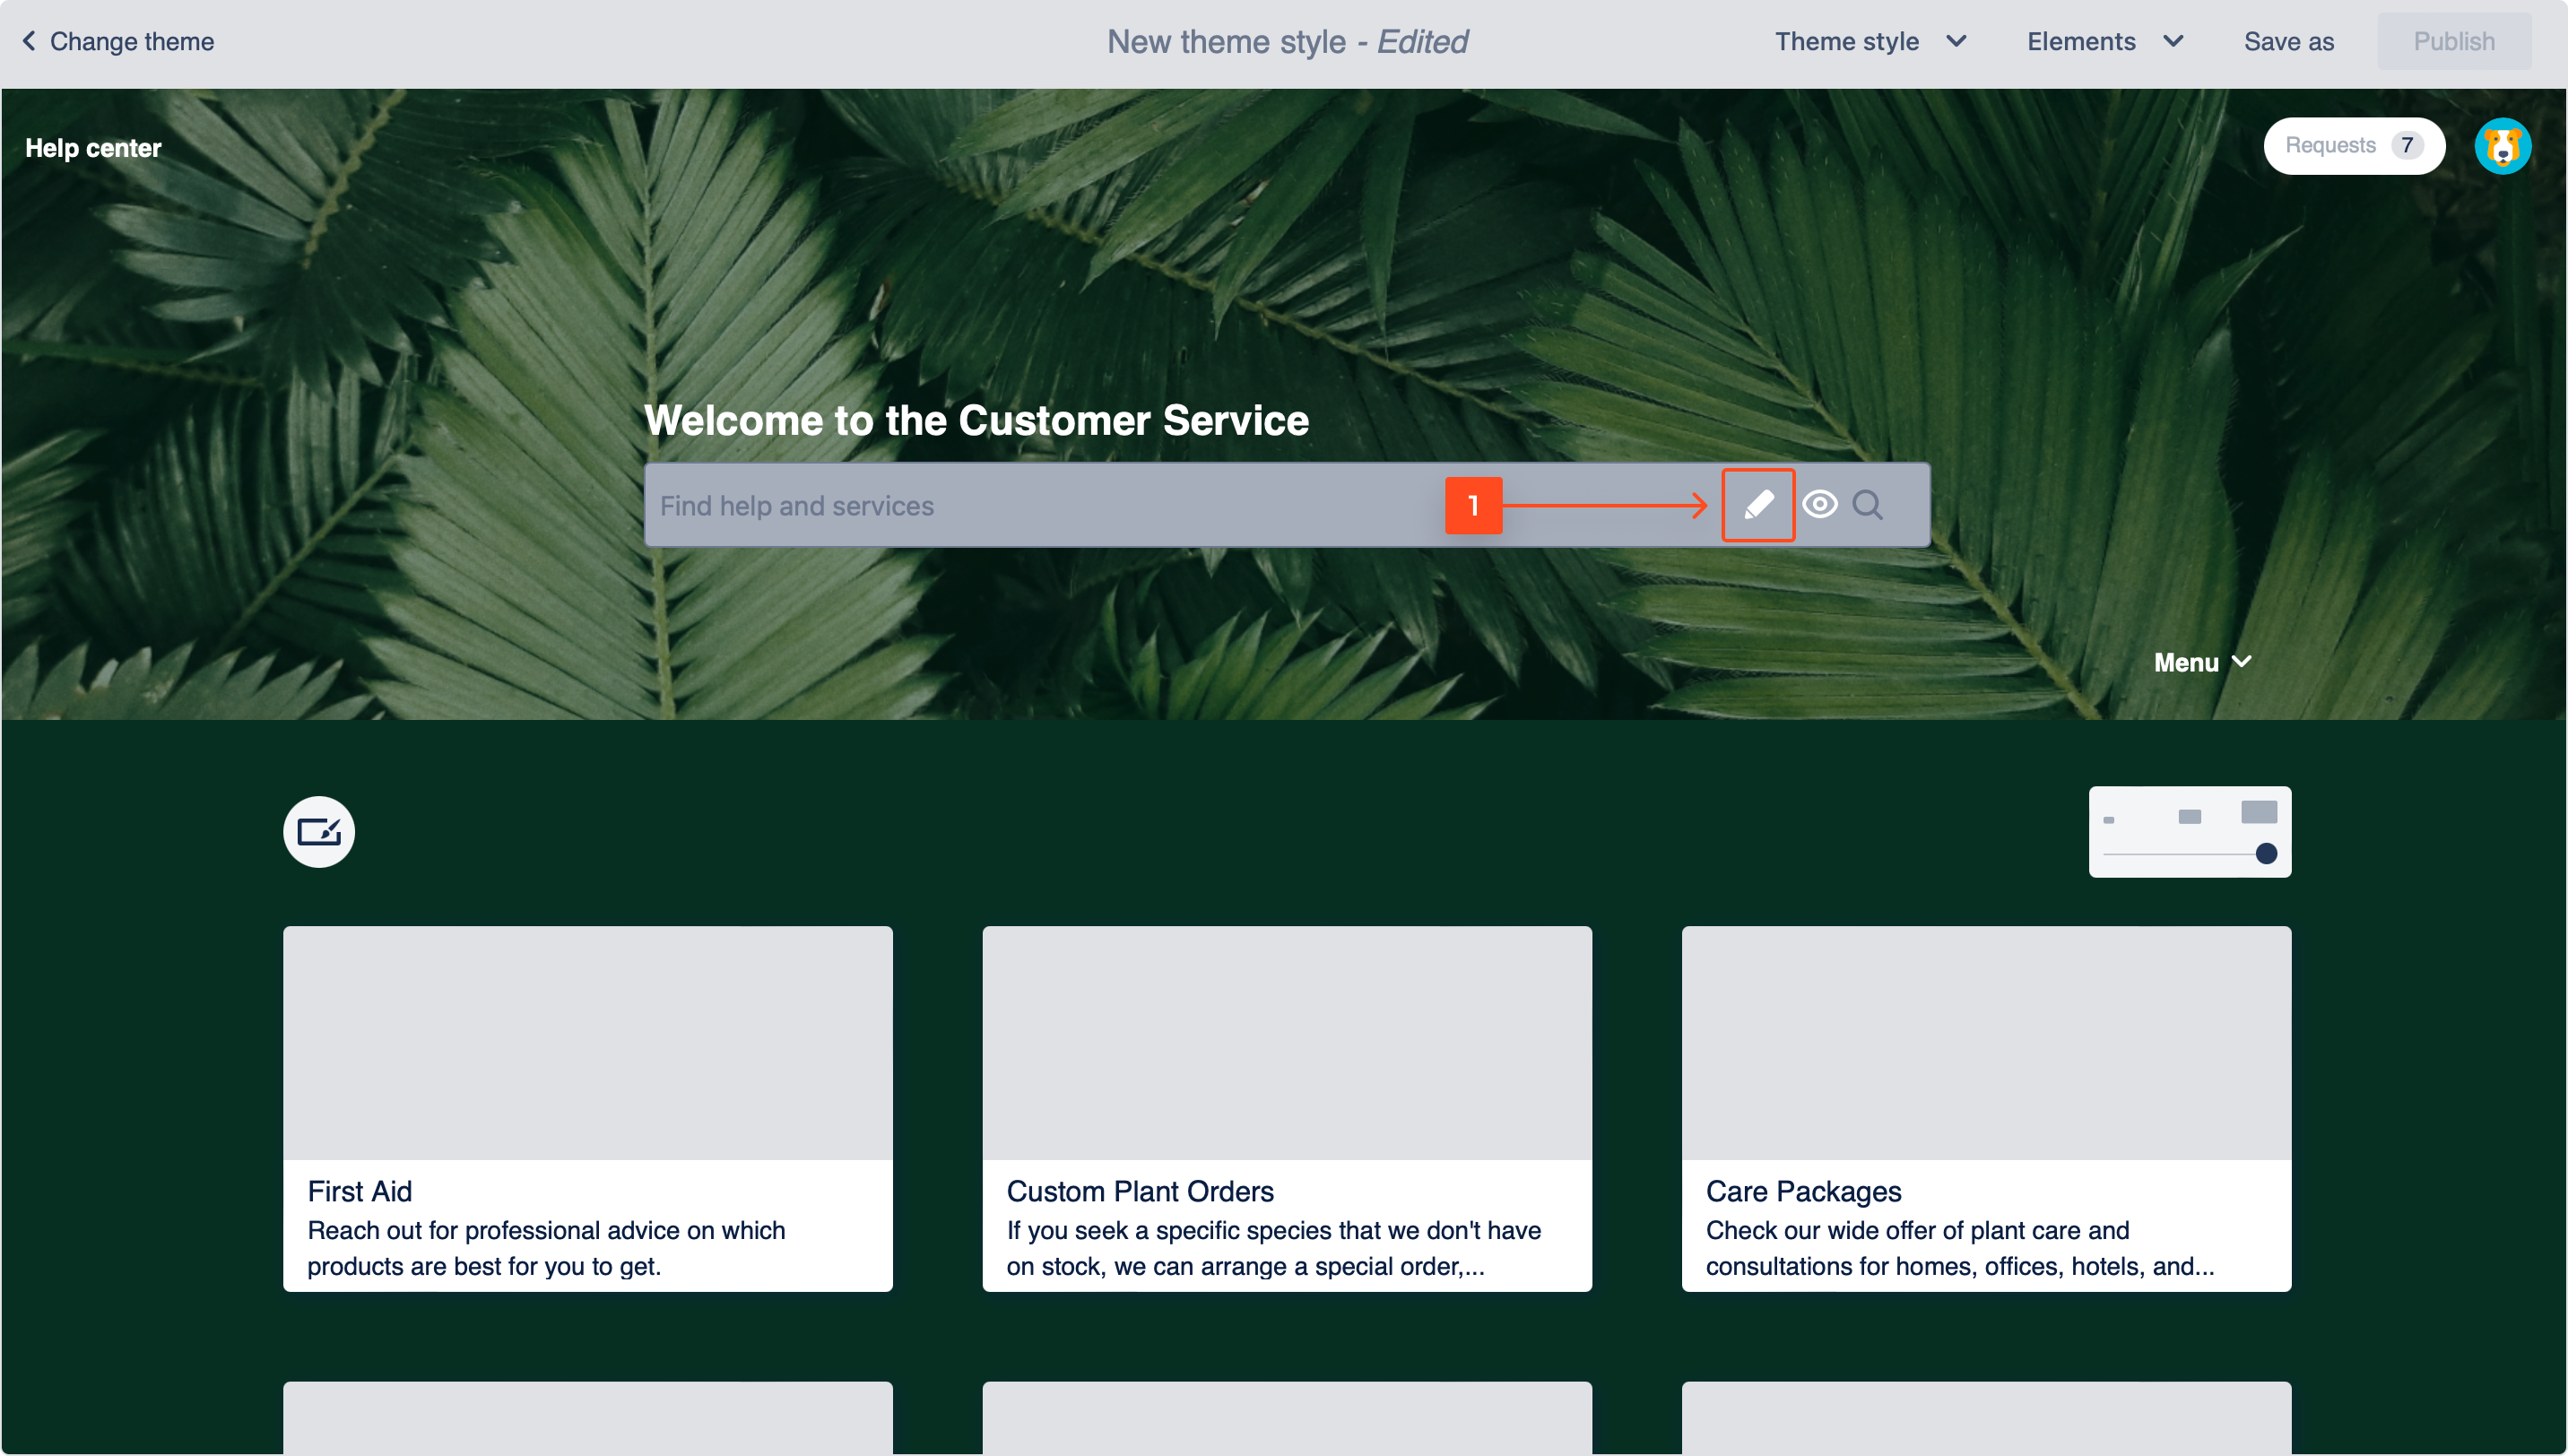
- To customize the Searcher, hover over it and click on the pen icon.
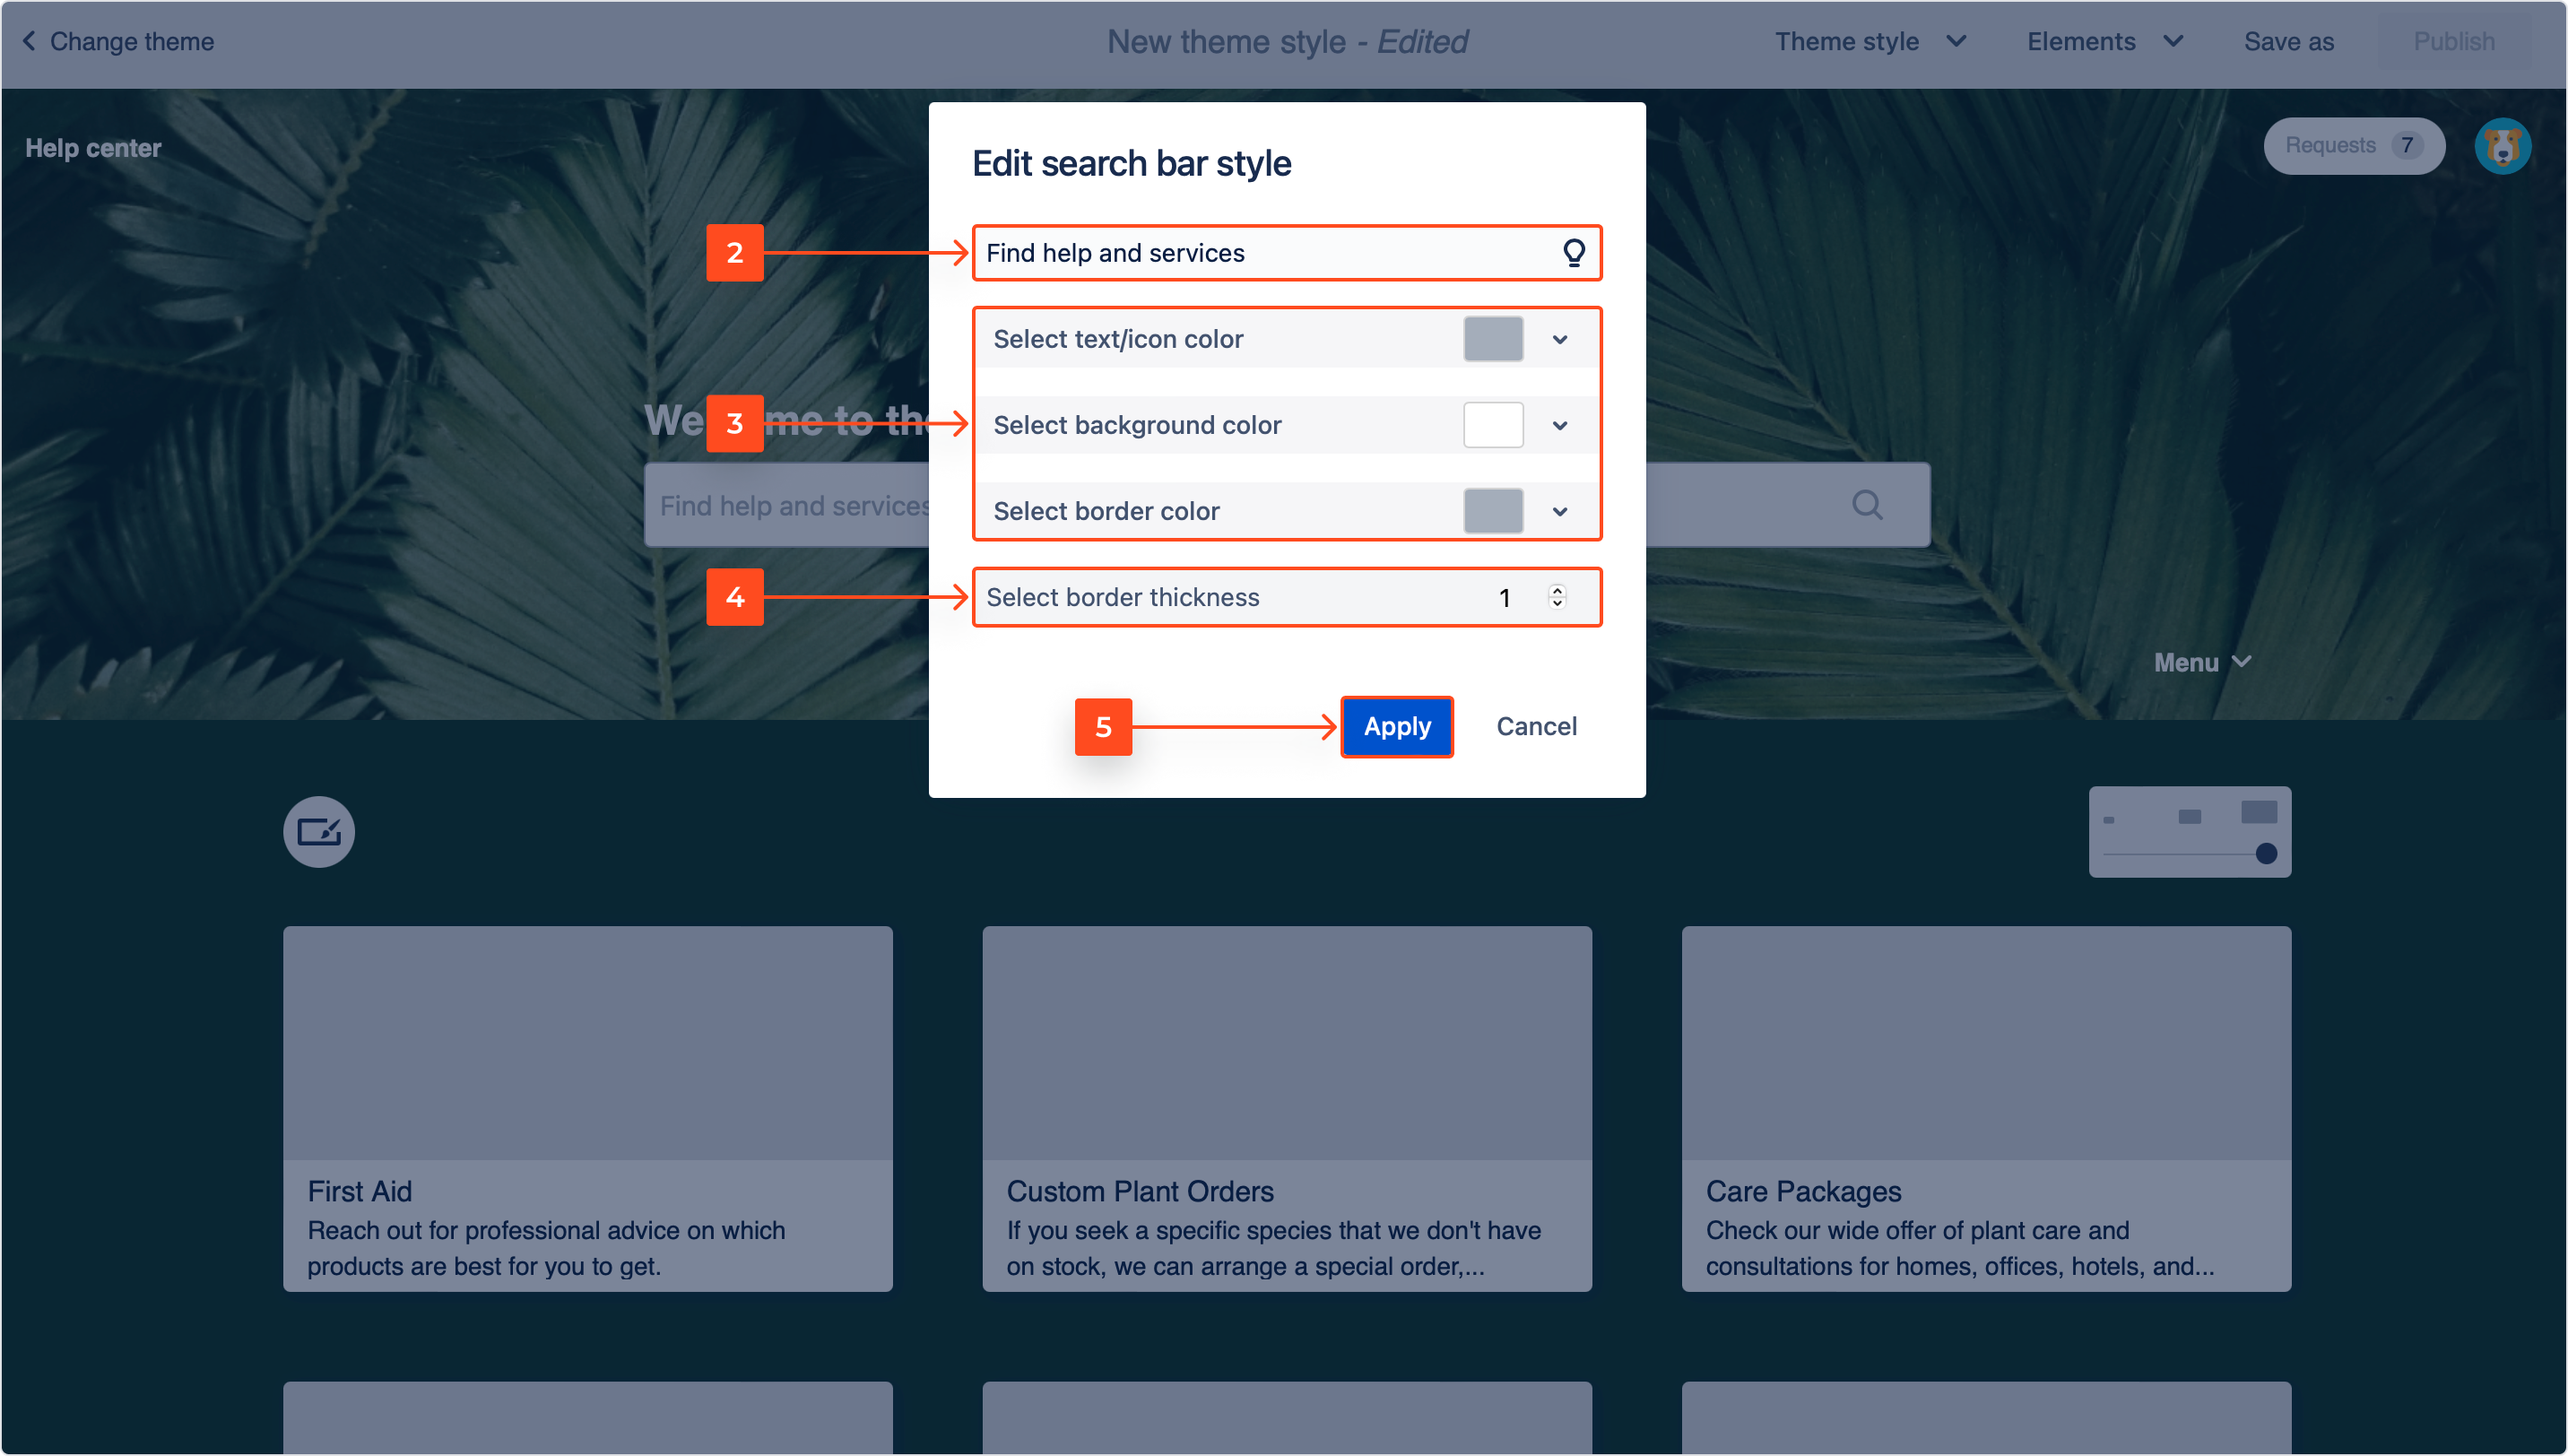
- Change the placeholder text. You can also apply variables.
- Select the composition of colors using the palette or hex code.
- Set the border thickness.
- Click Apply.
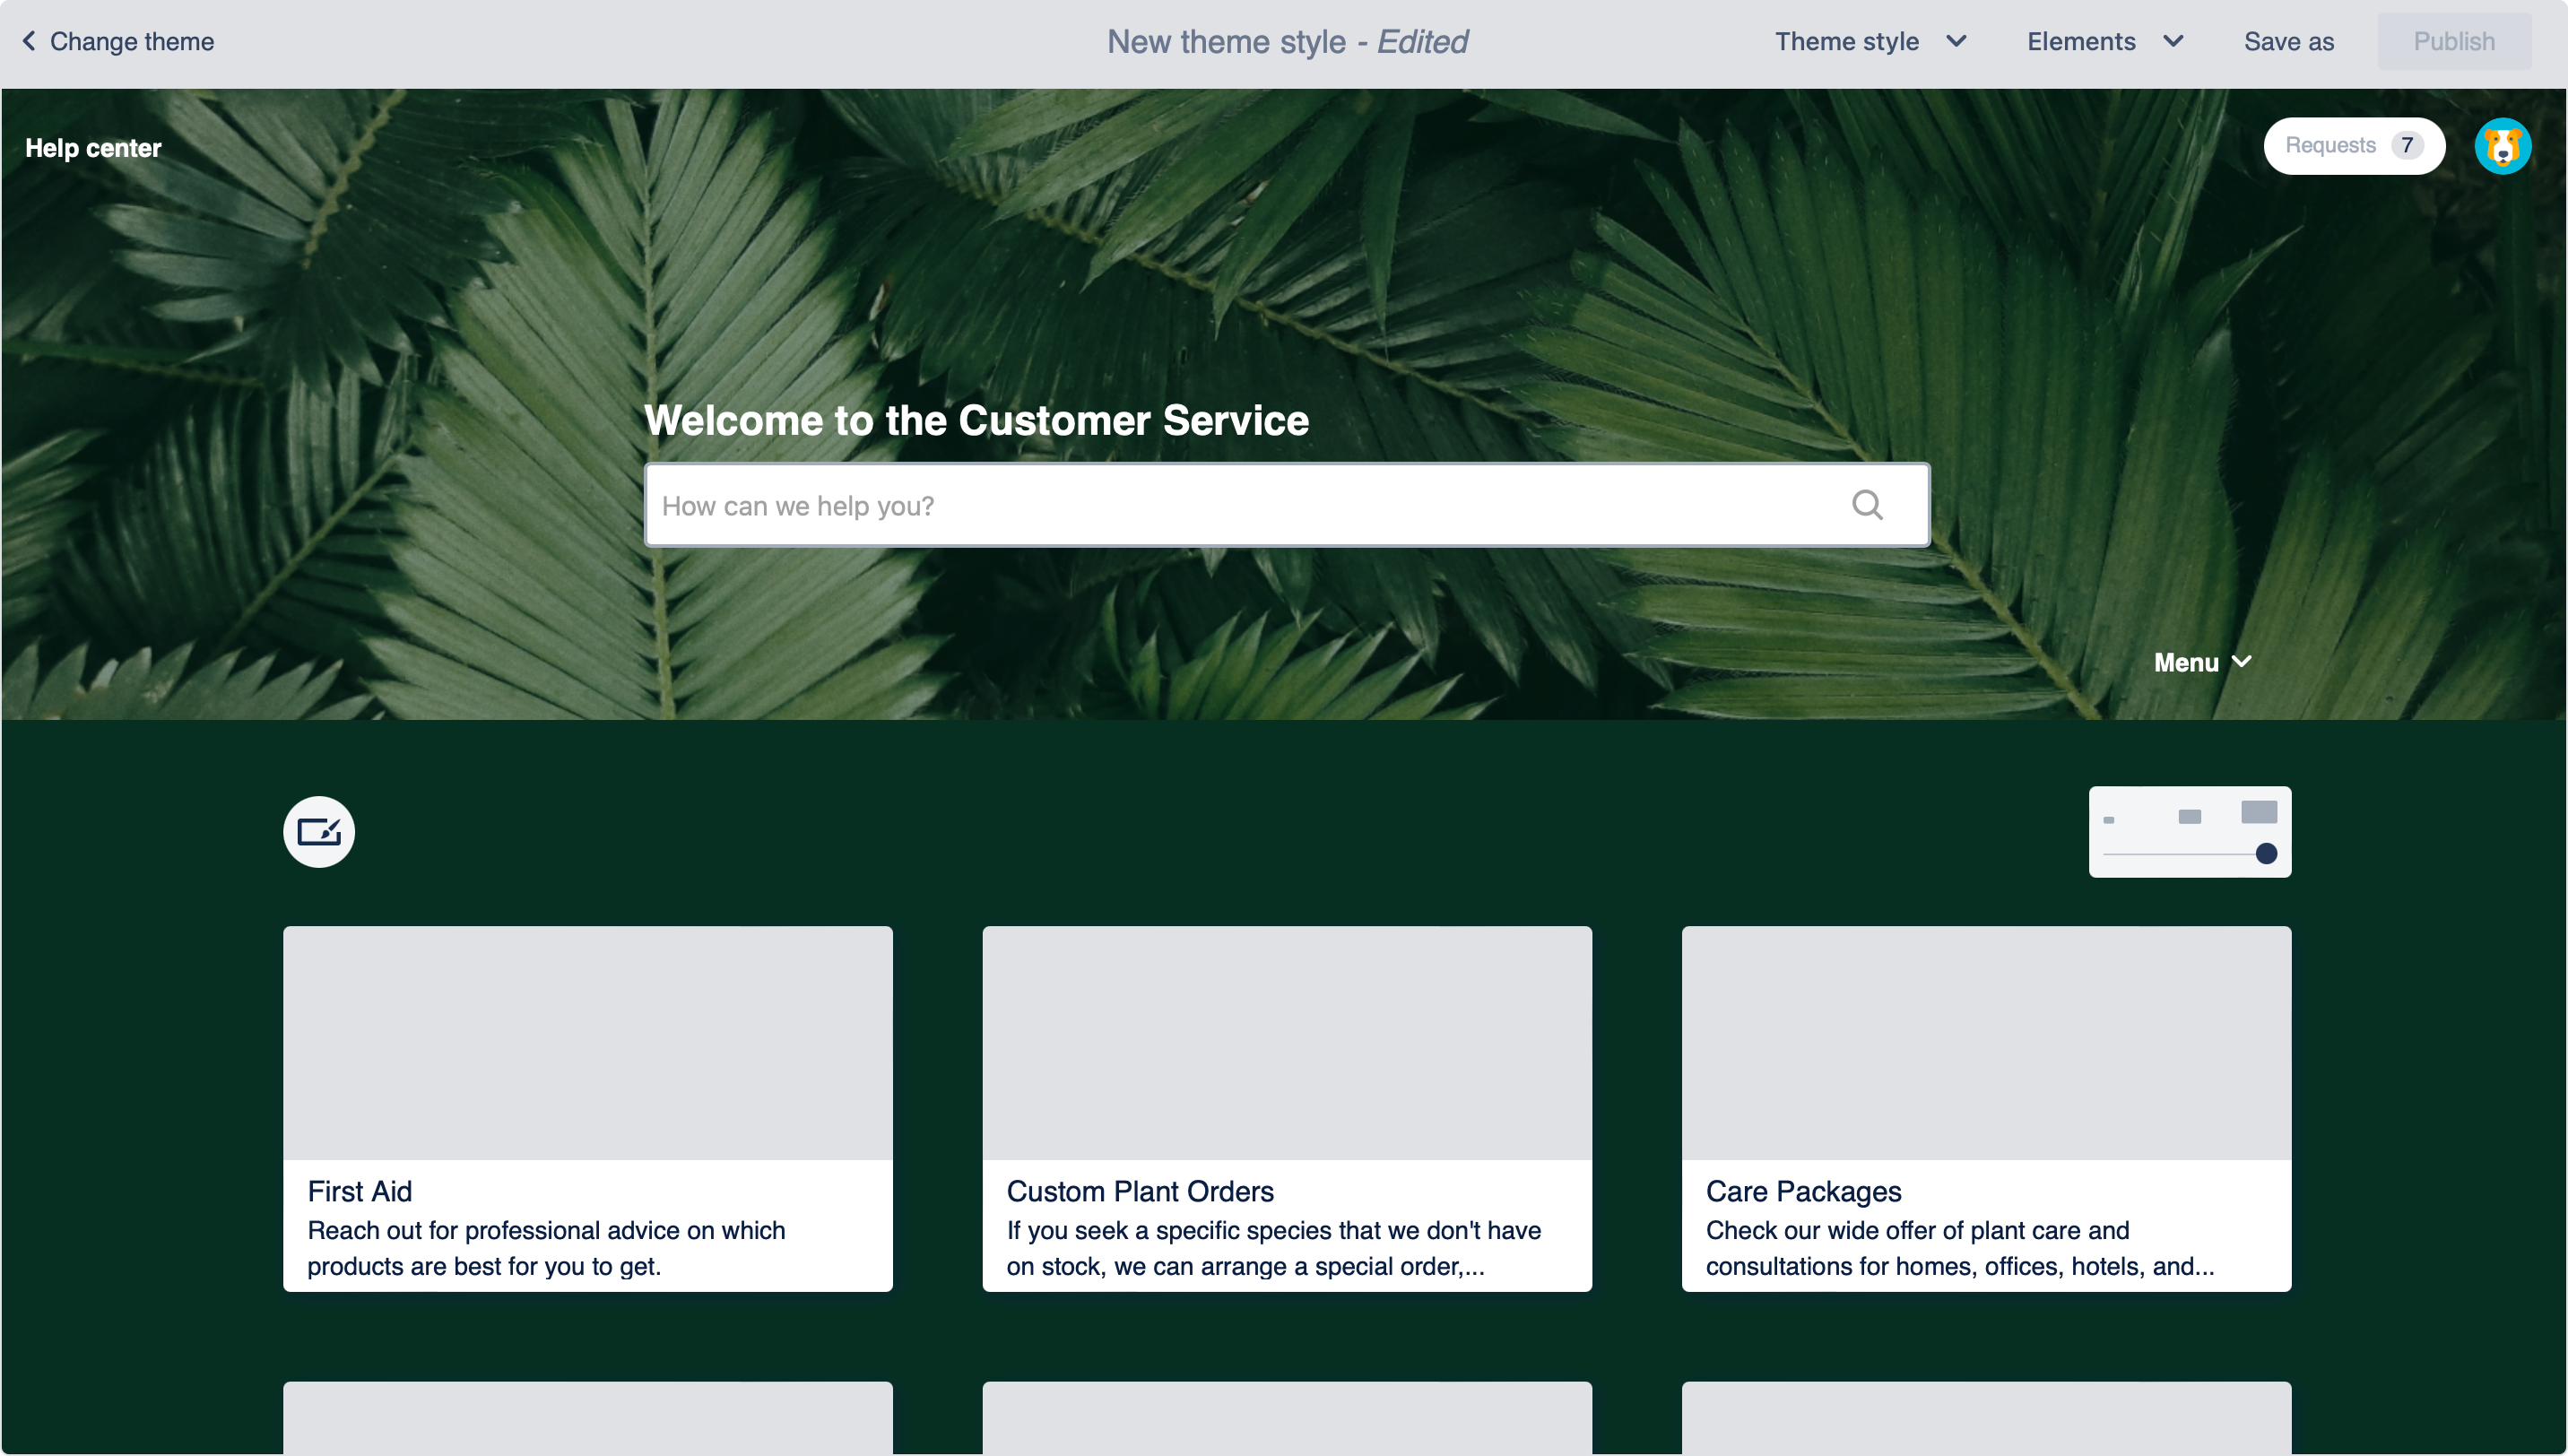
Result
Your search bar is configured.
You can choose to hide the searcher by clicking the eye icon on the right. The searcher is visible by default.
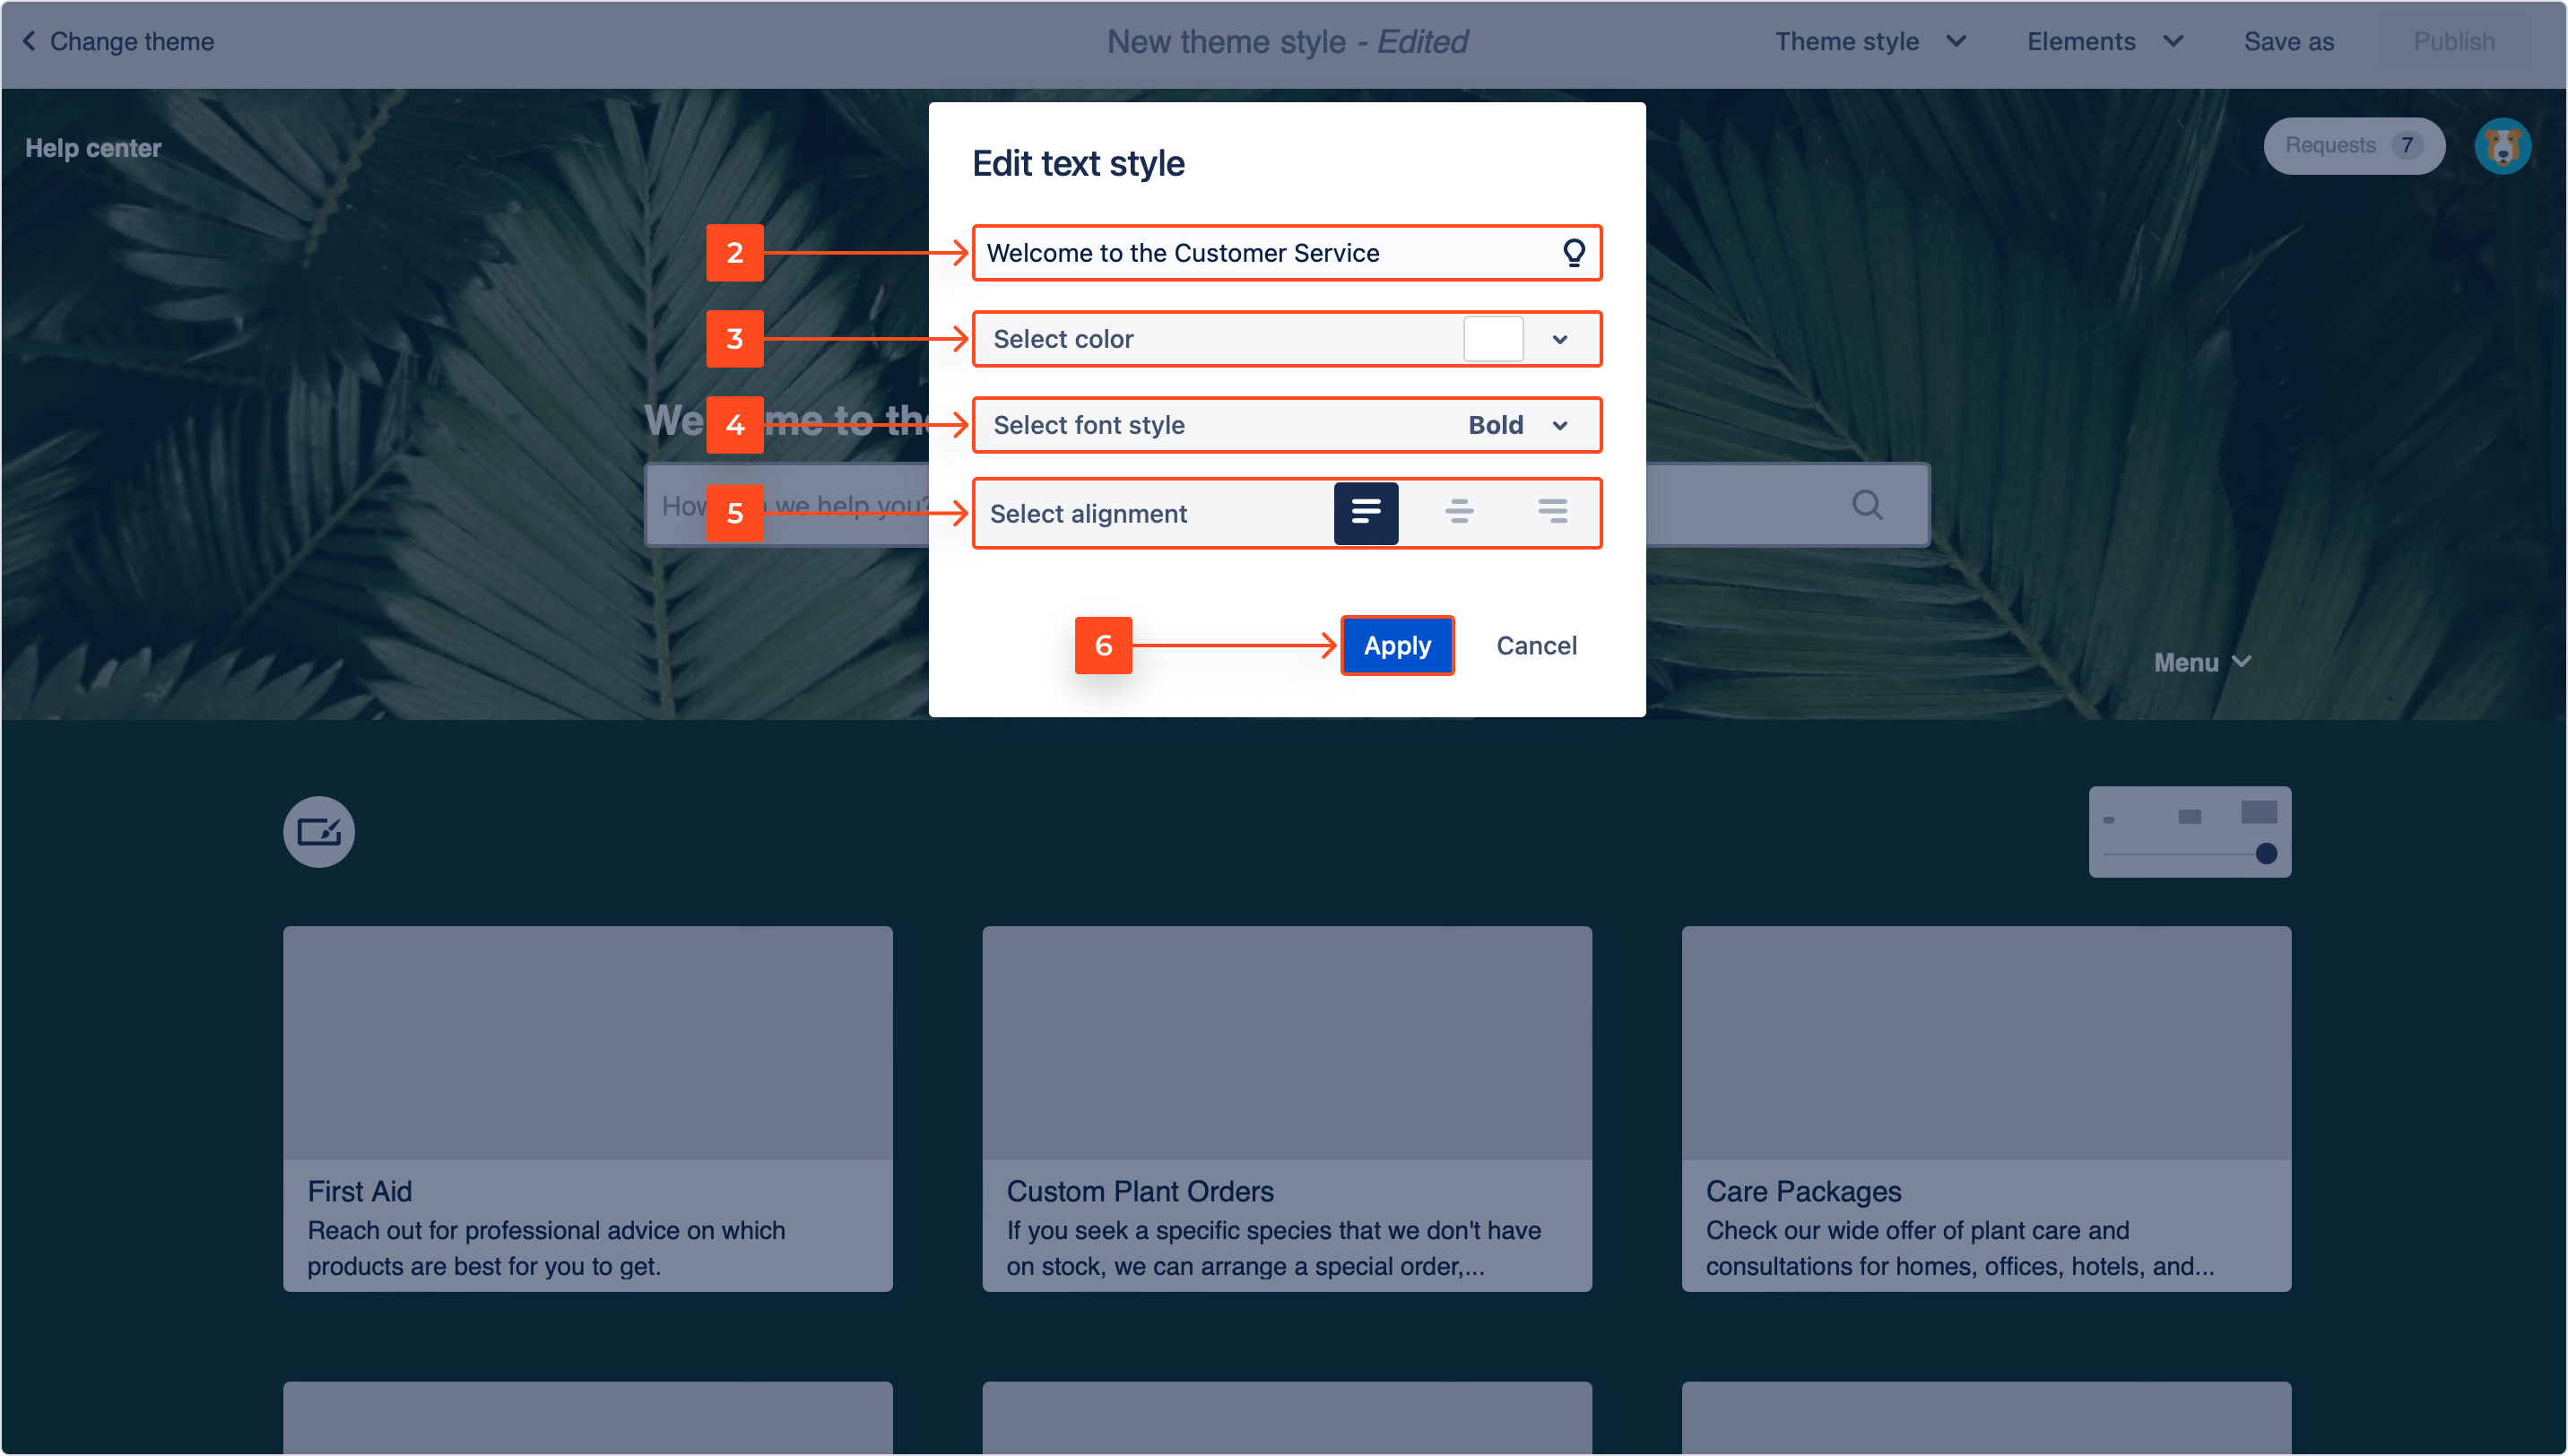
You can also customize the Welcome message.
Steps
-
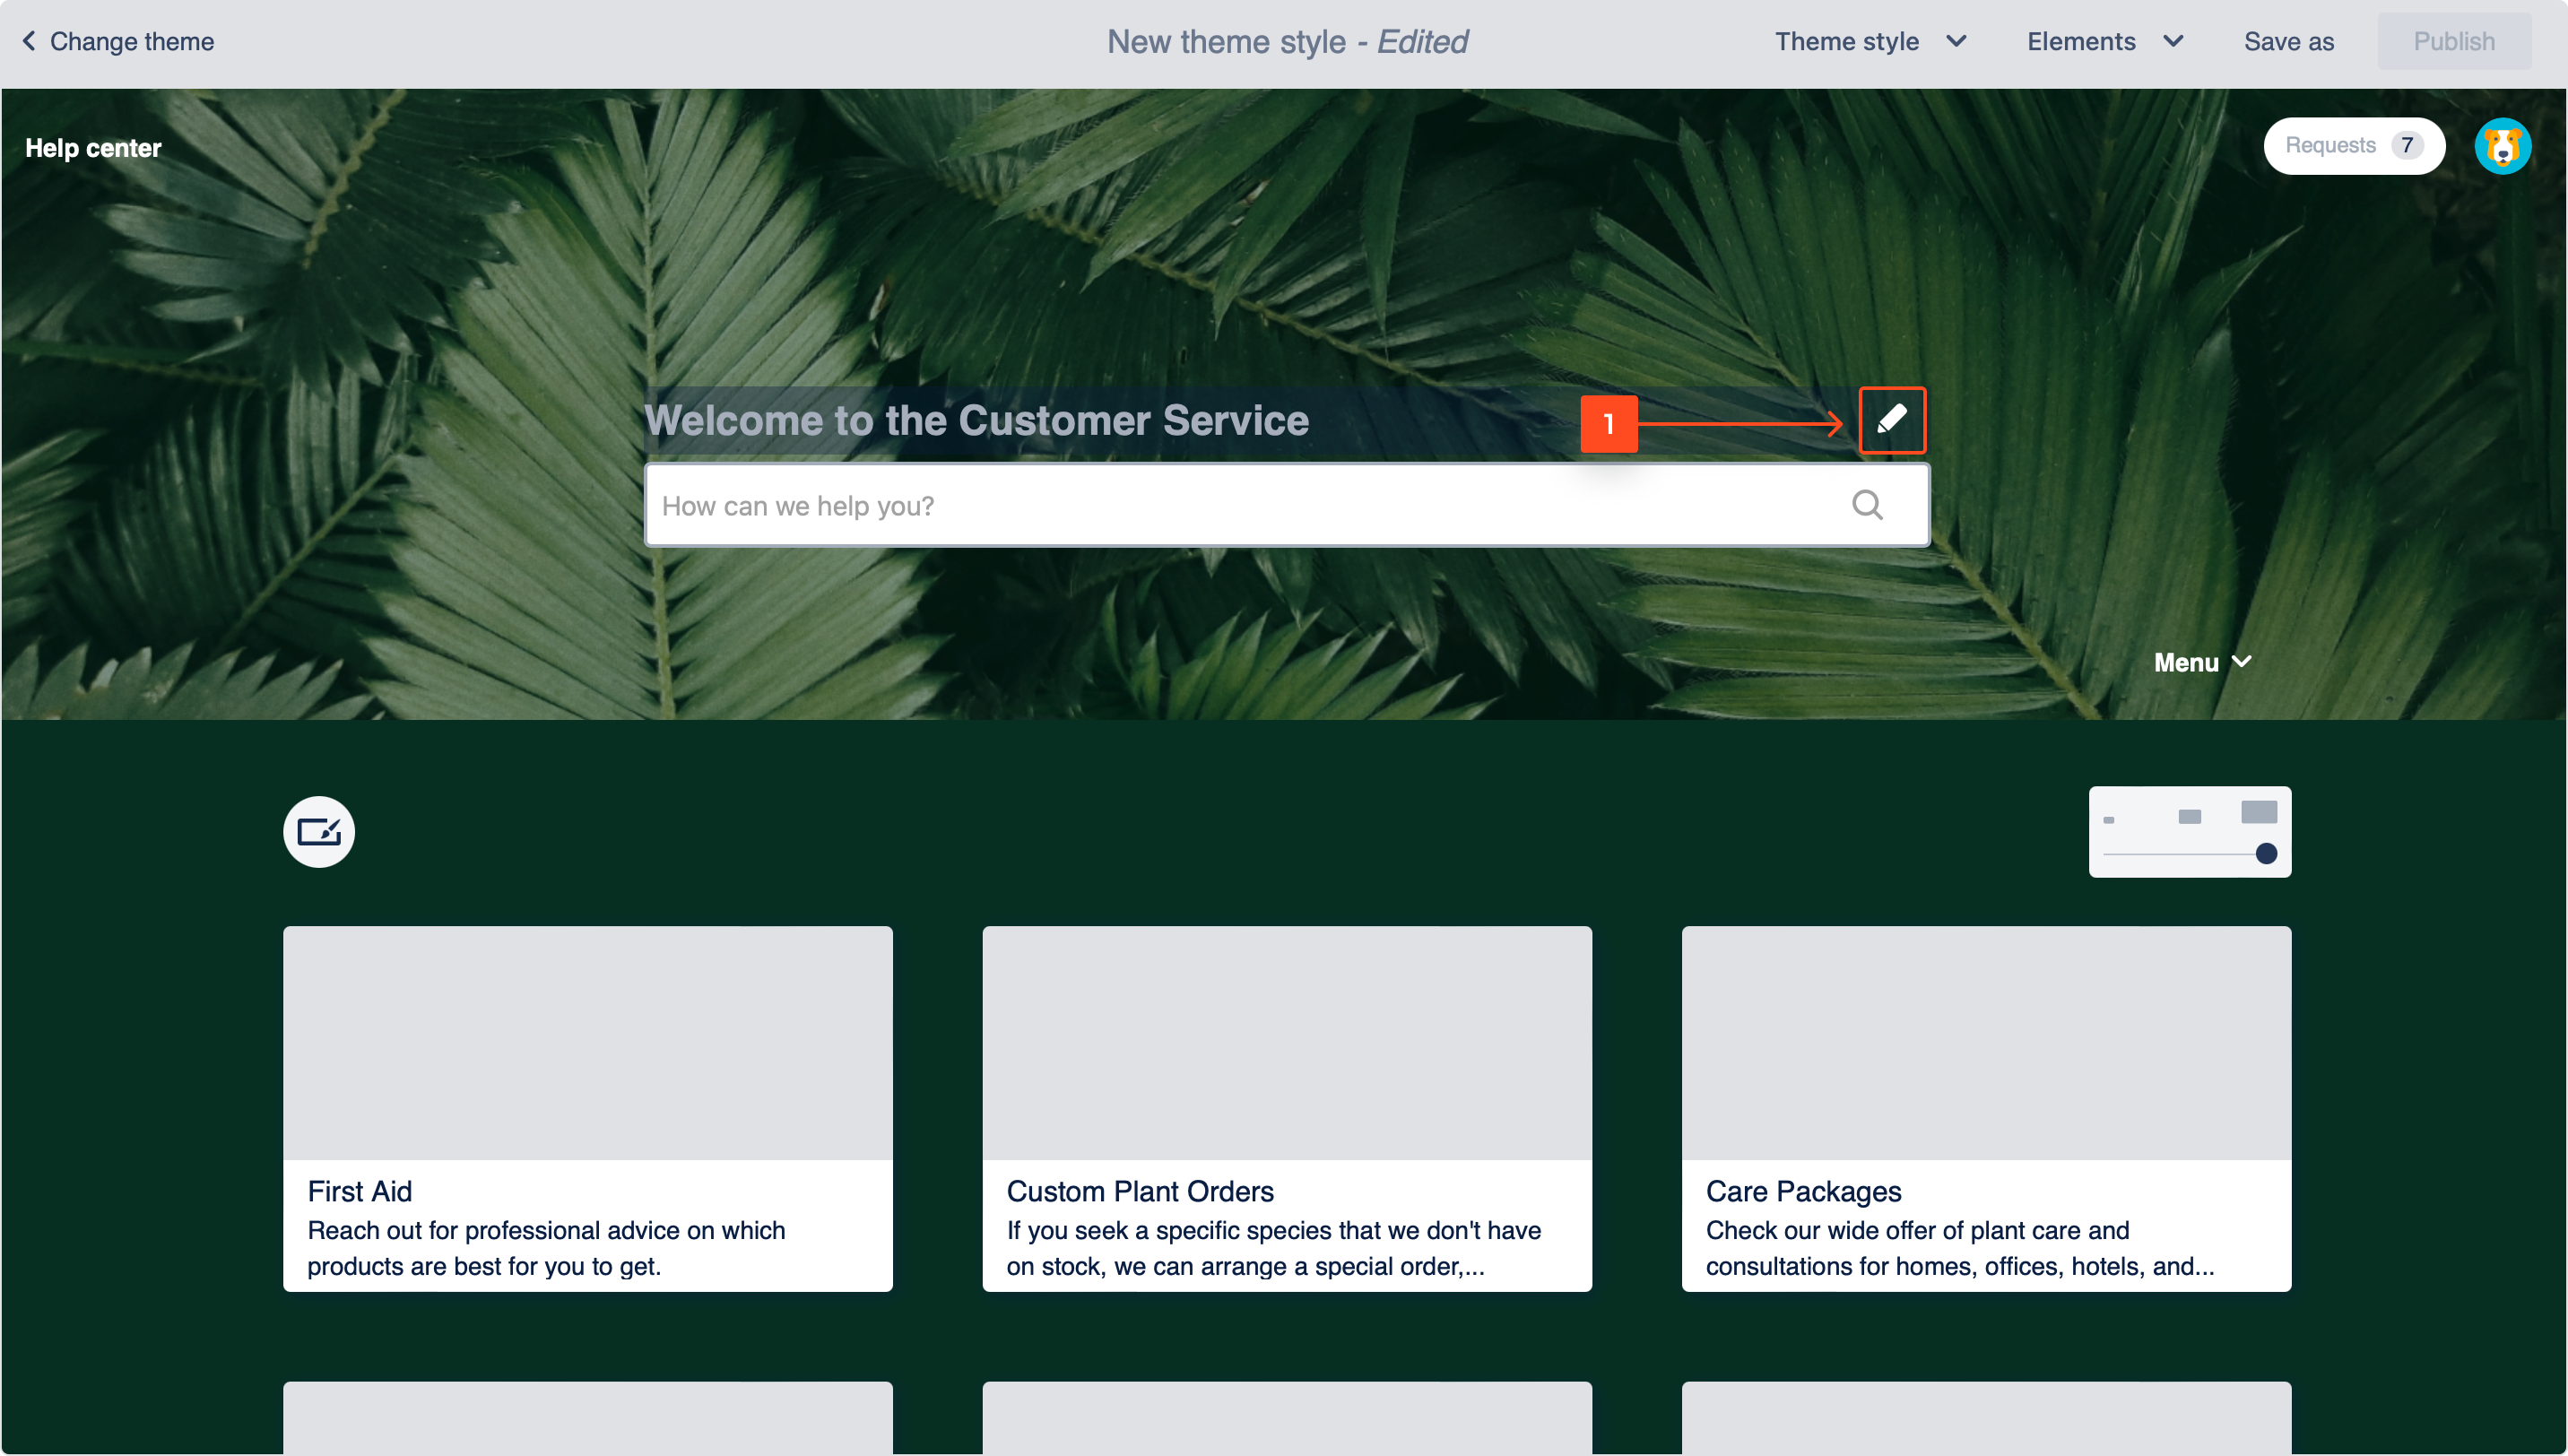
To customize the Welcome message, hover over it and click on the pen icon.
-
Change the text. You can also apply variables.
-
Change the color of the text using the palette or hex code.
-
Select the font style.
-
Set the text alignment.
Result
Your welcome message is customized.
Default card
You can set the default card that will be consistent in style with every newly created service project or request type.
Steps
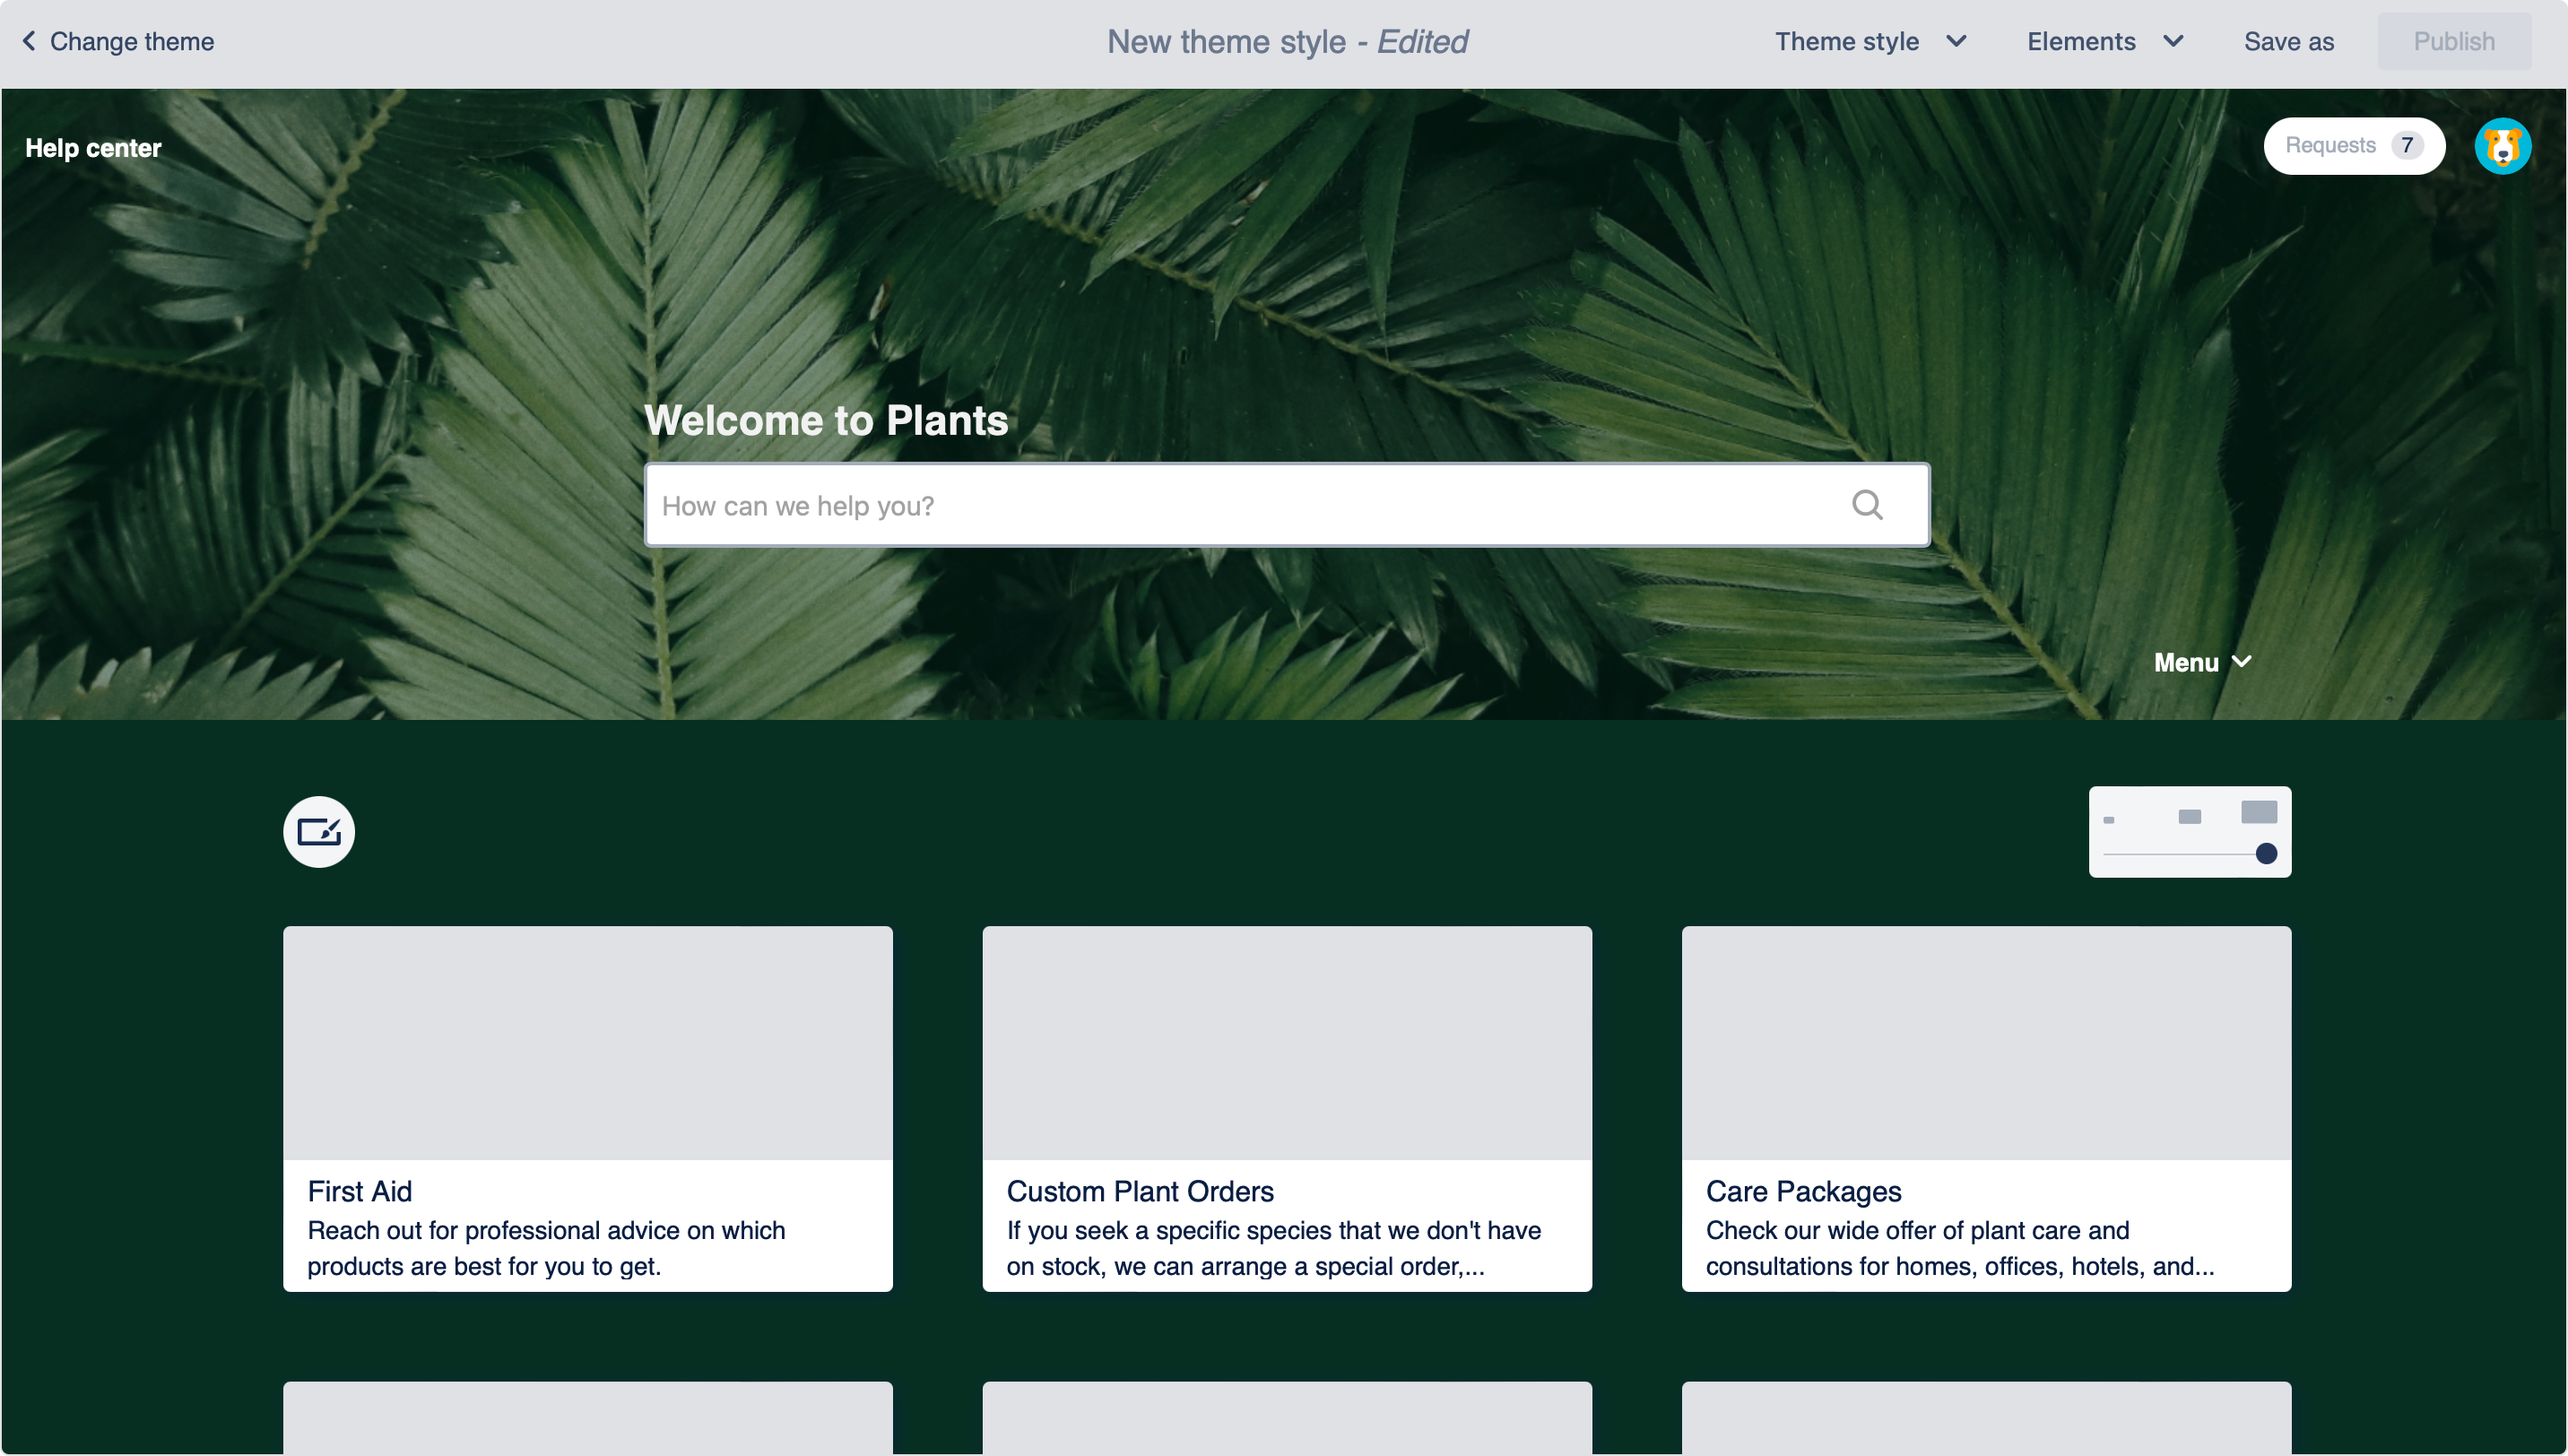
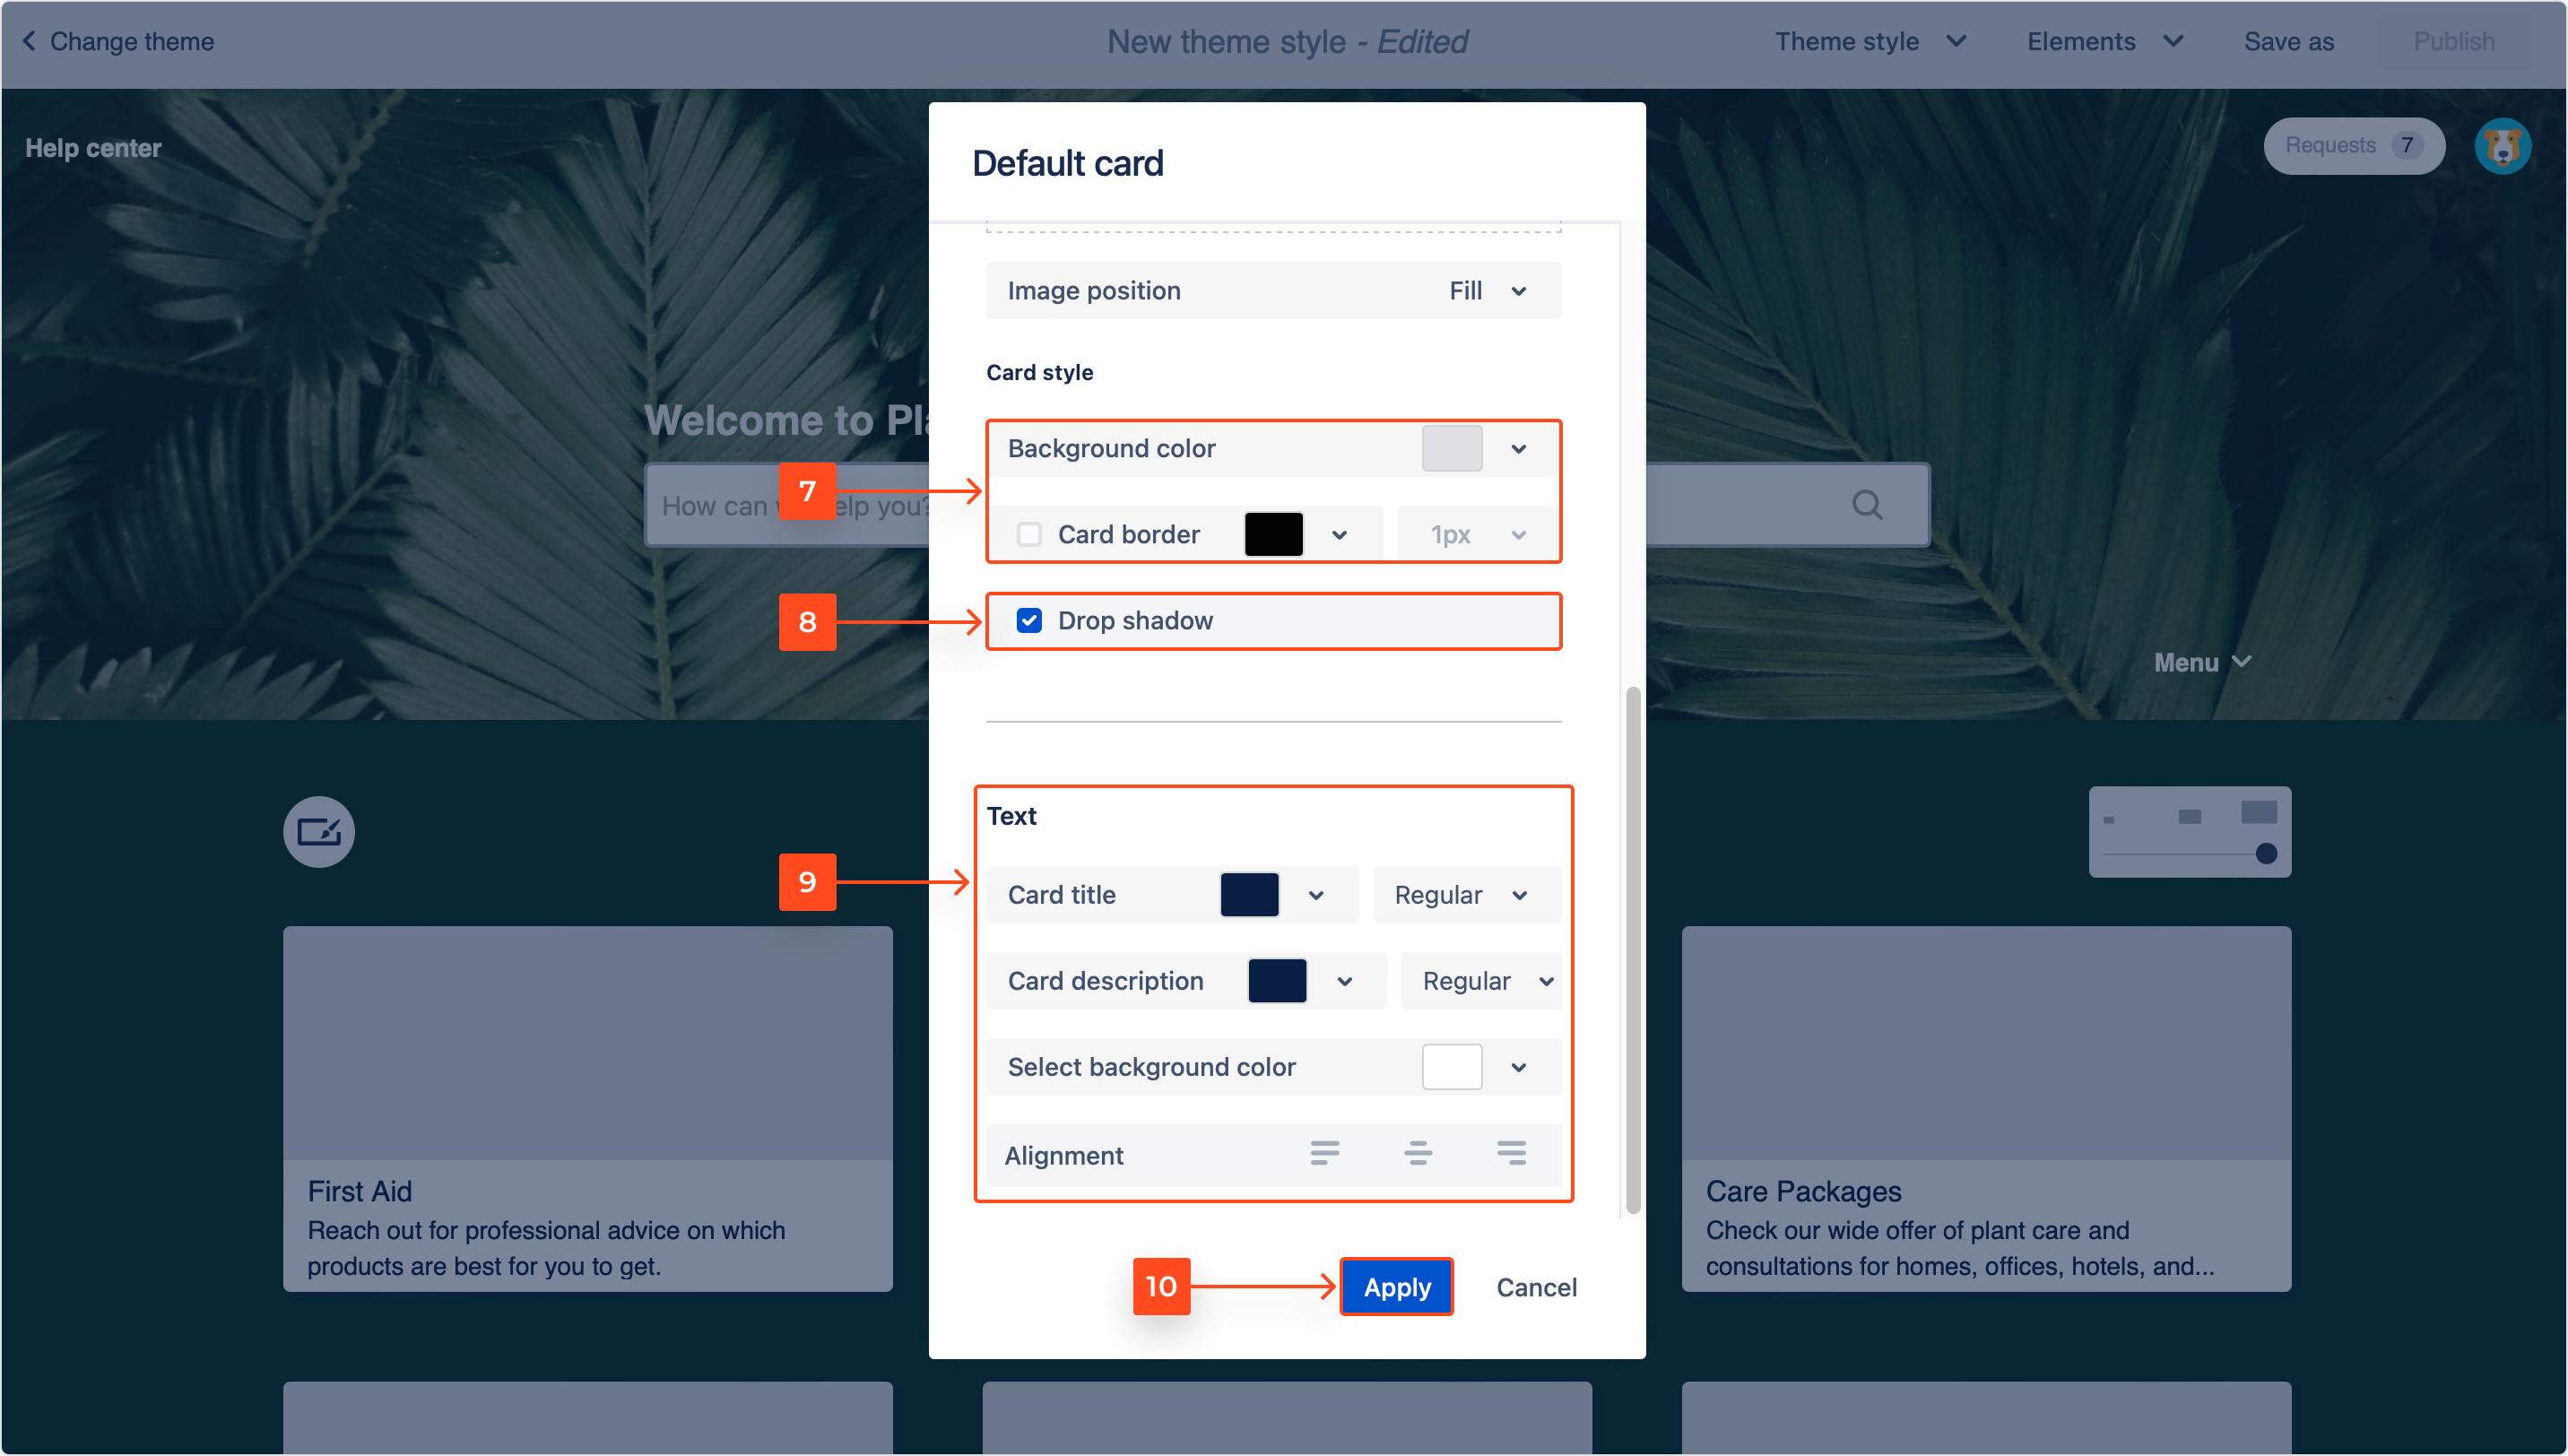
- To start the default card configuration, click on the brush icon in the theme editor.
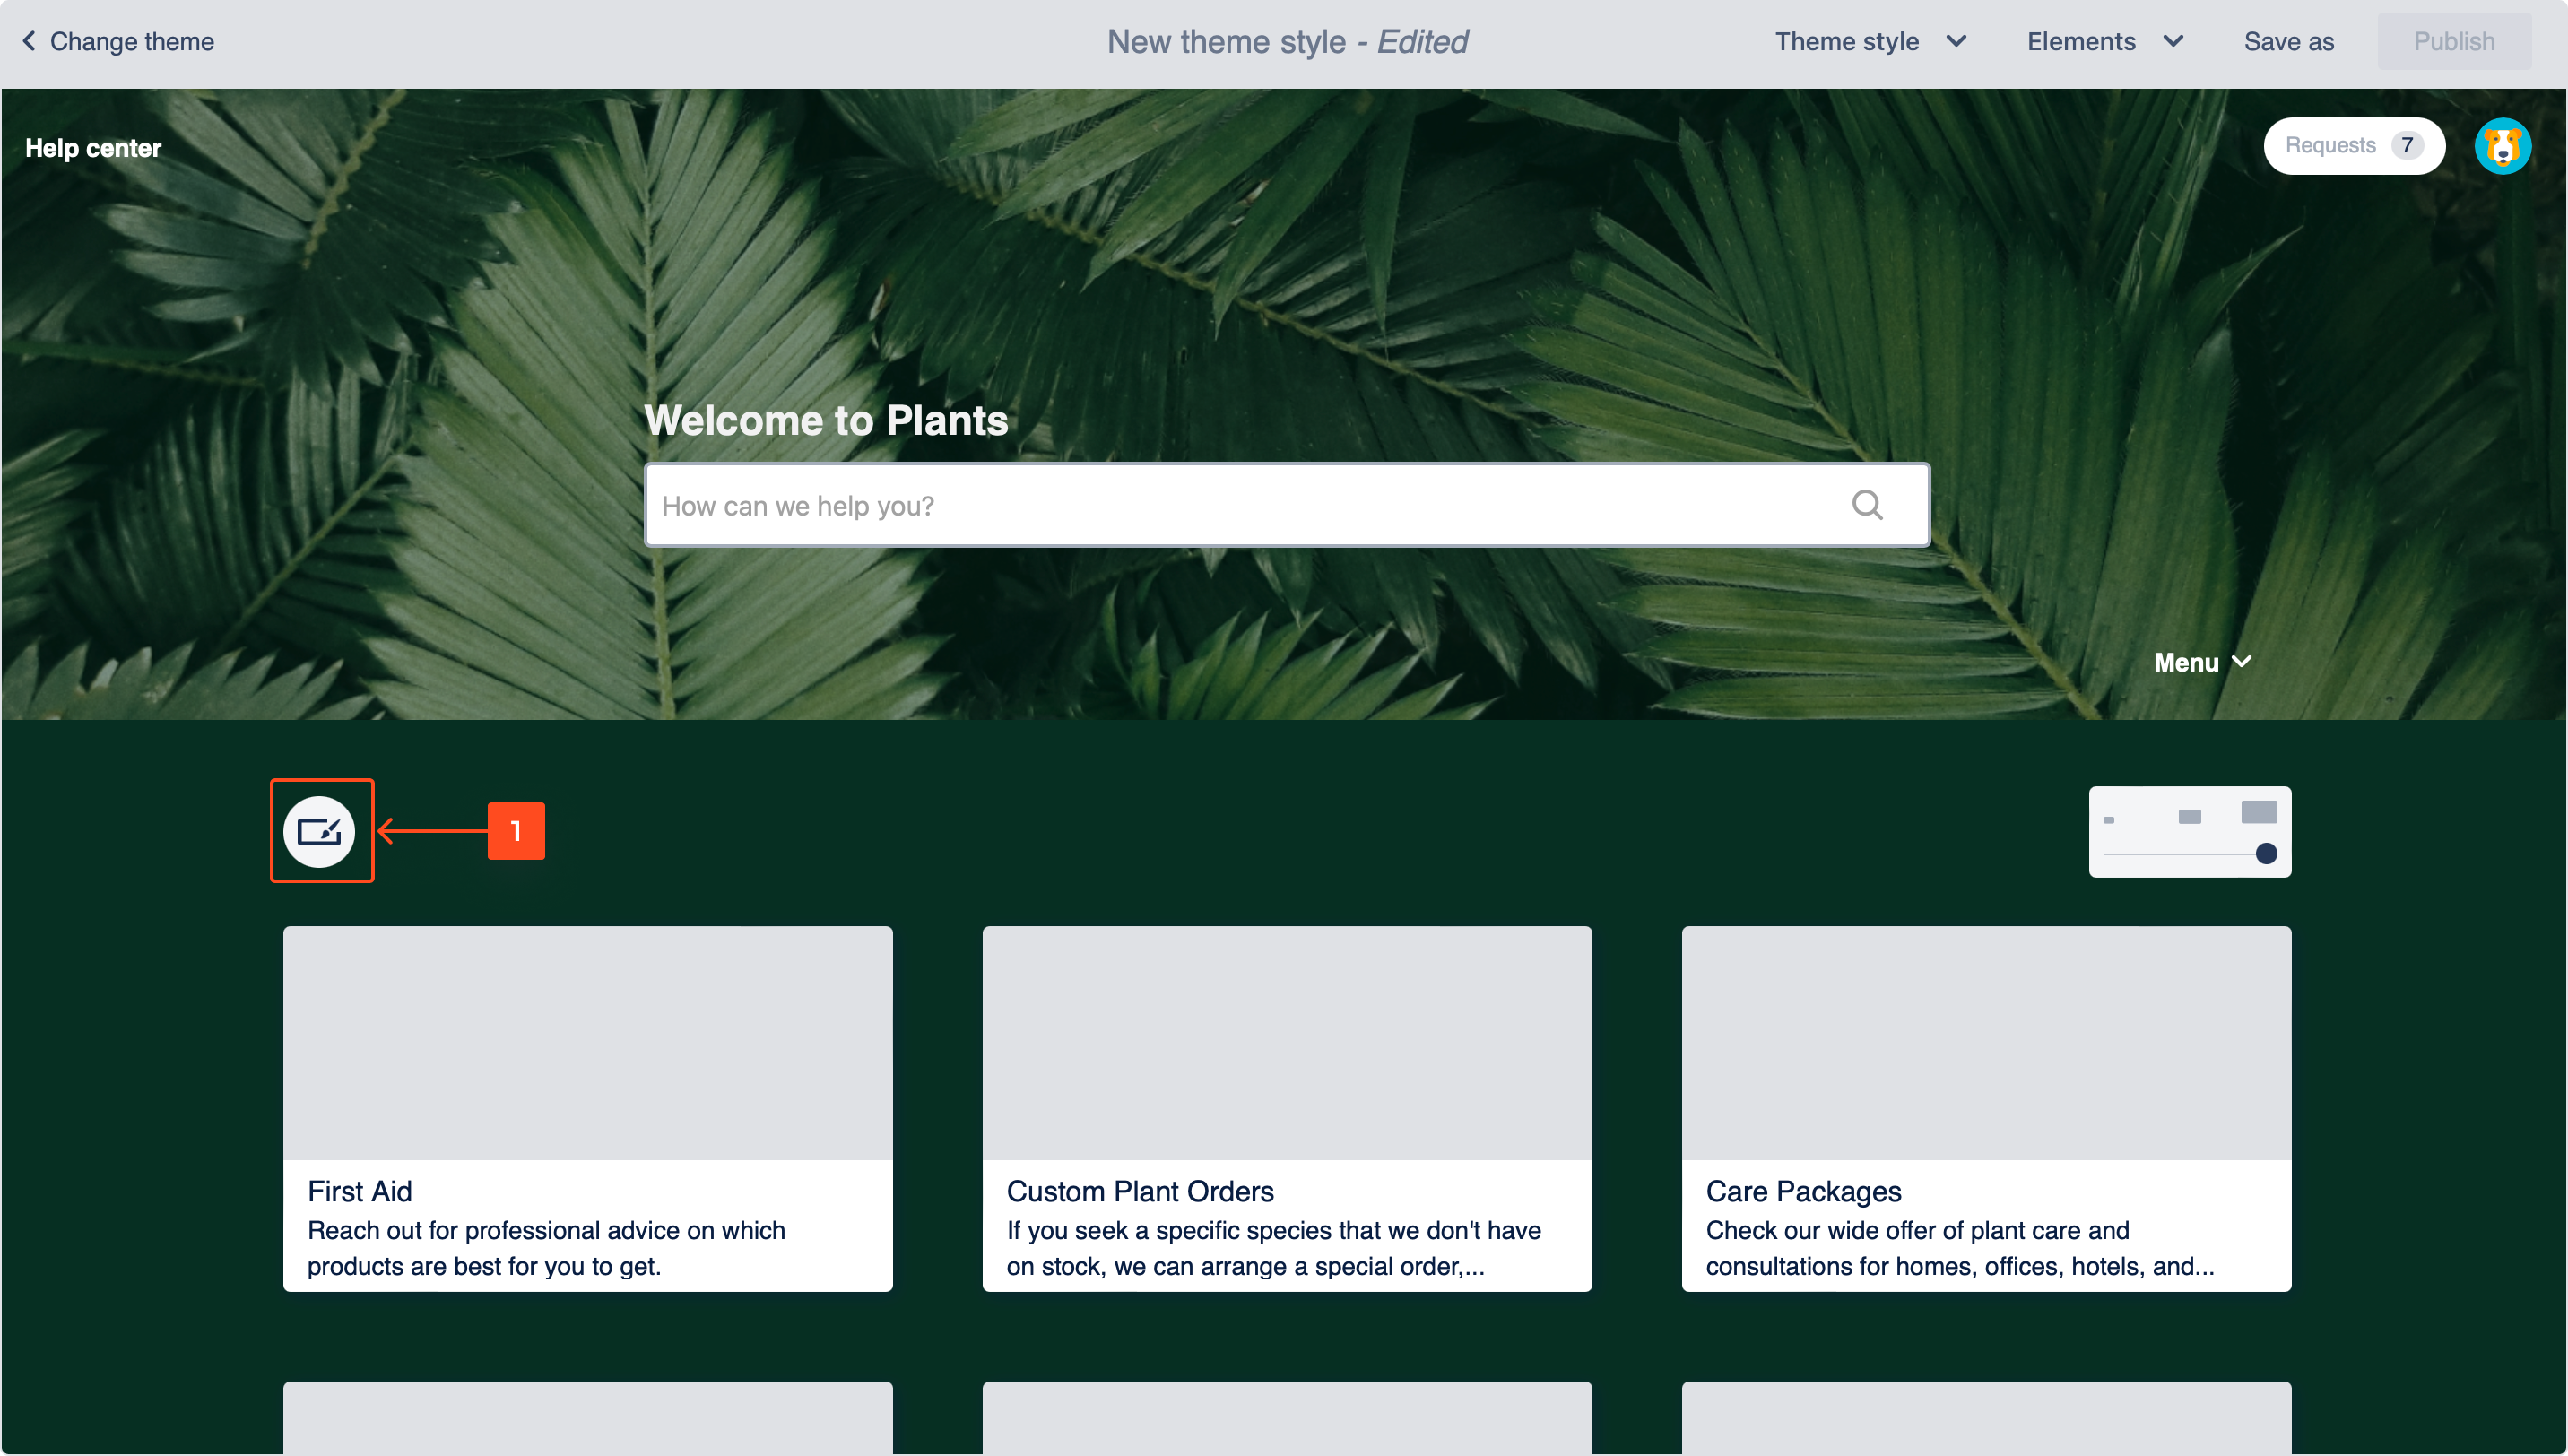
- Select Card type.
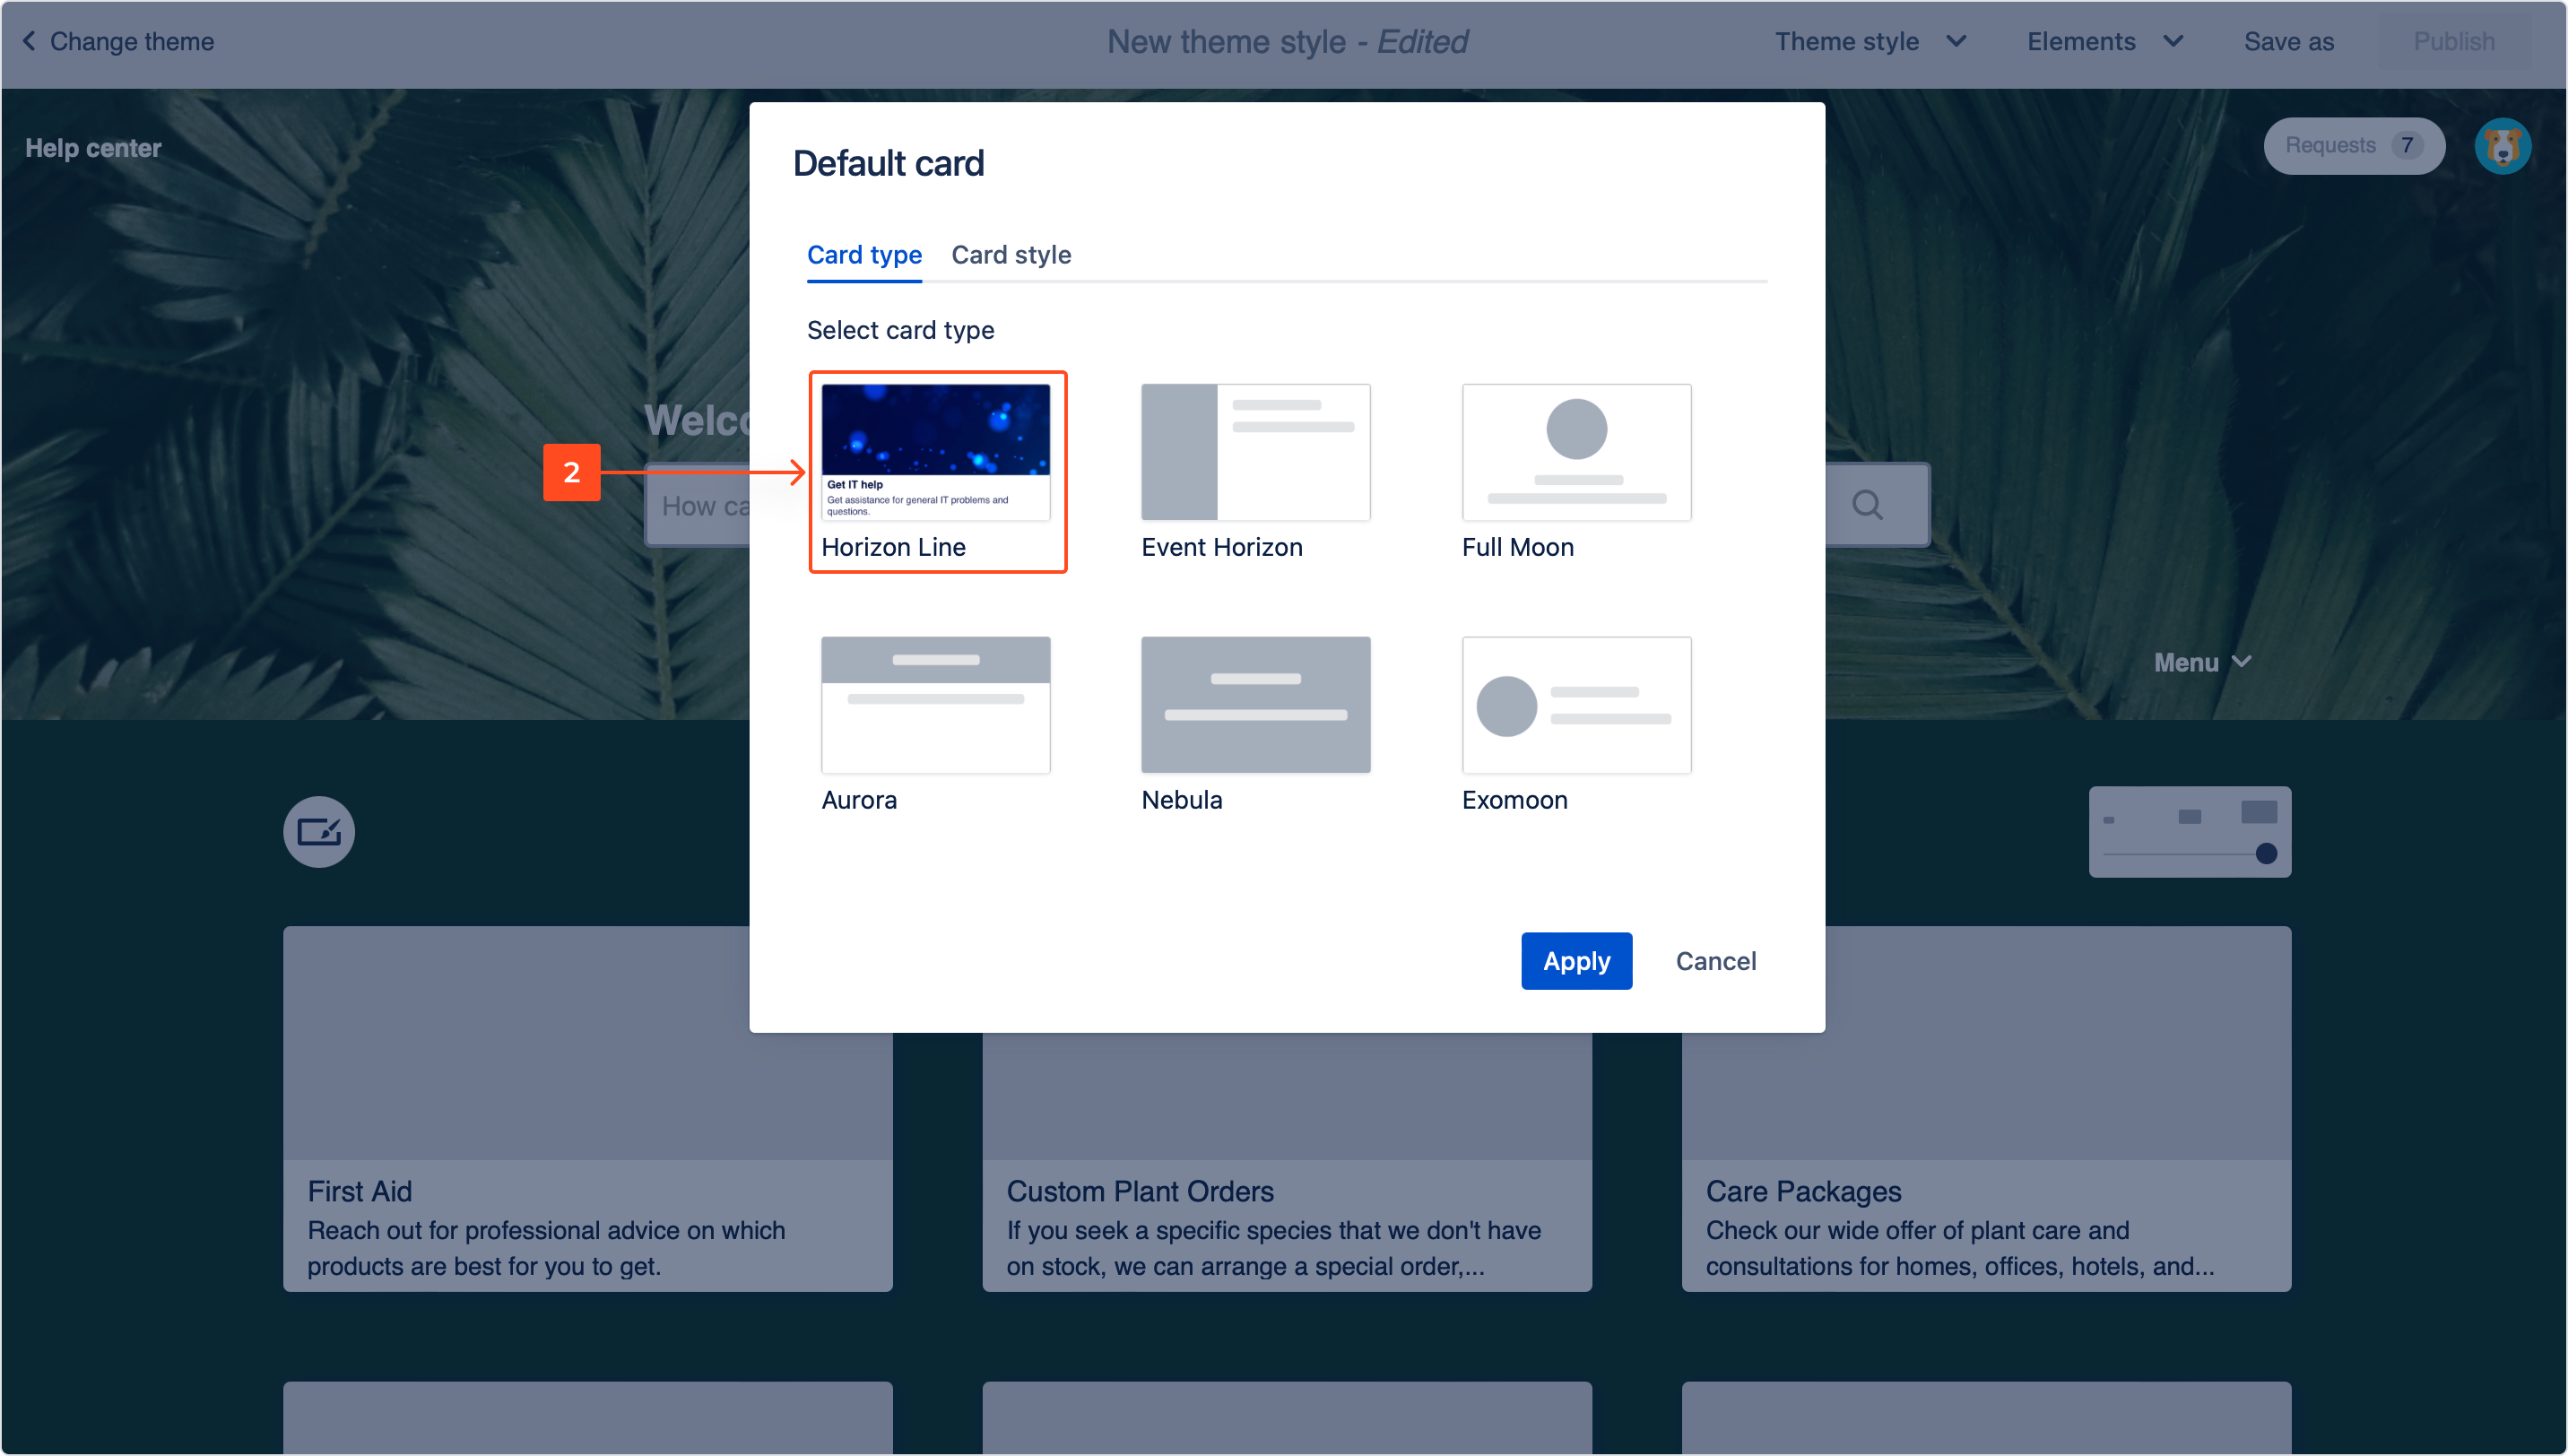
- Click the Card style tab.
- Check the box if the request type icon should be displayed on the card.
- Upload an image to be visible on the card.
- Set the position of the uploaded image.
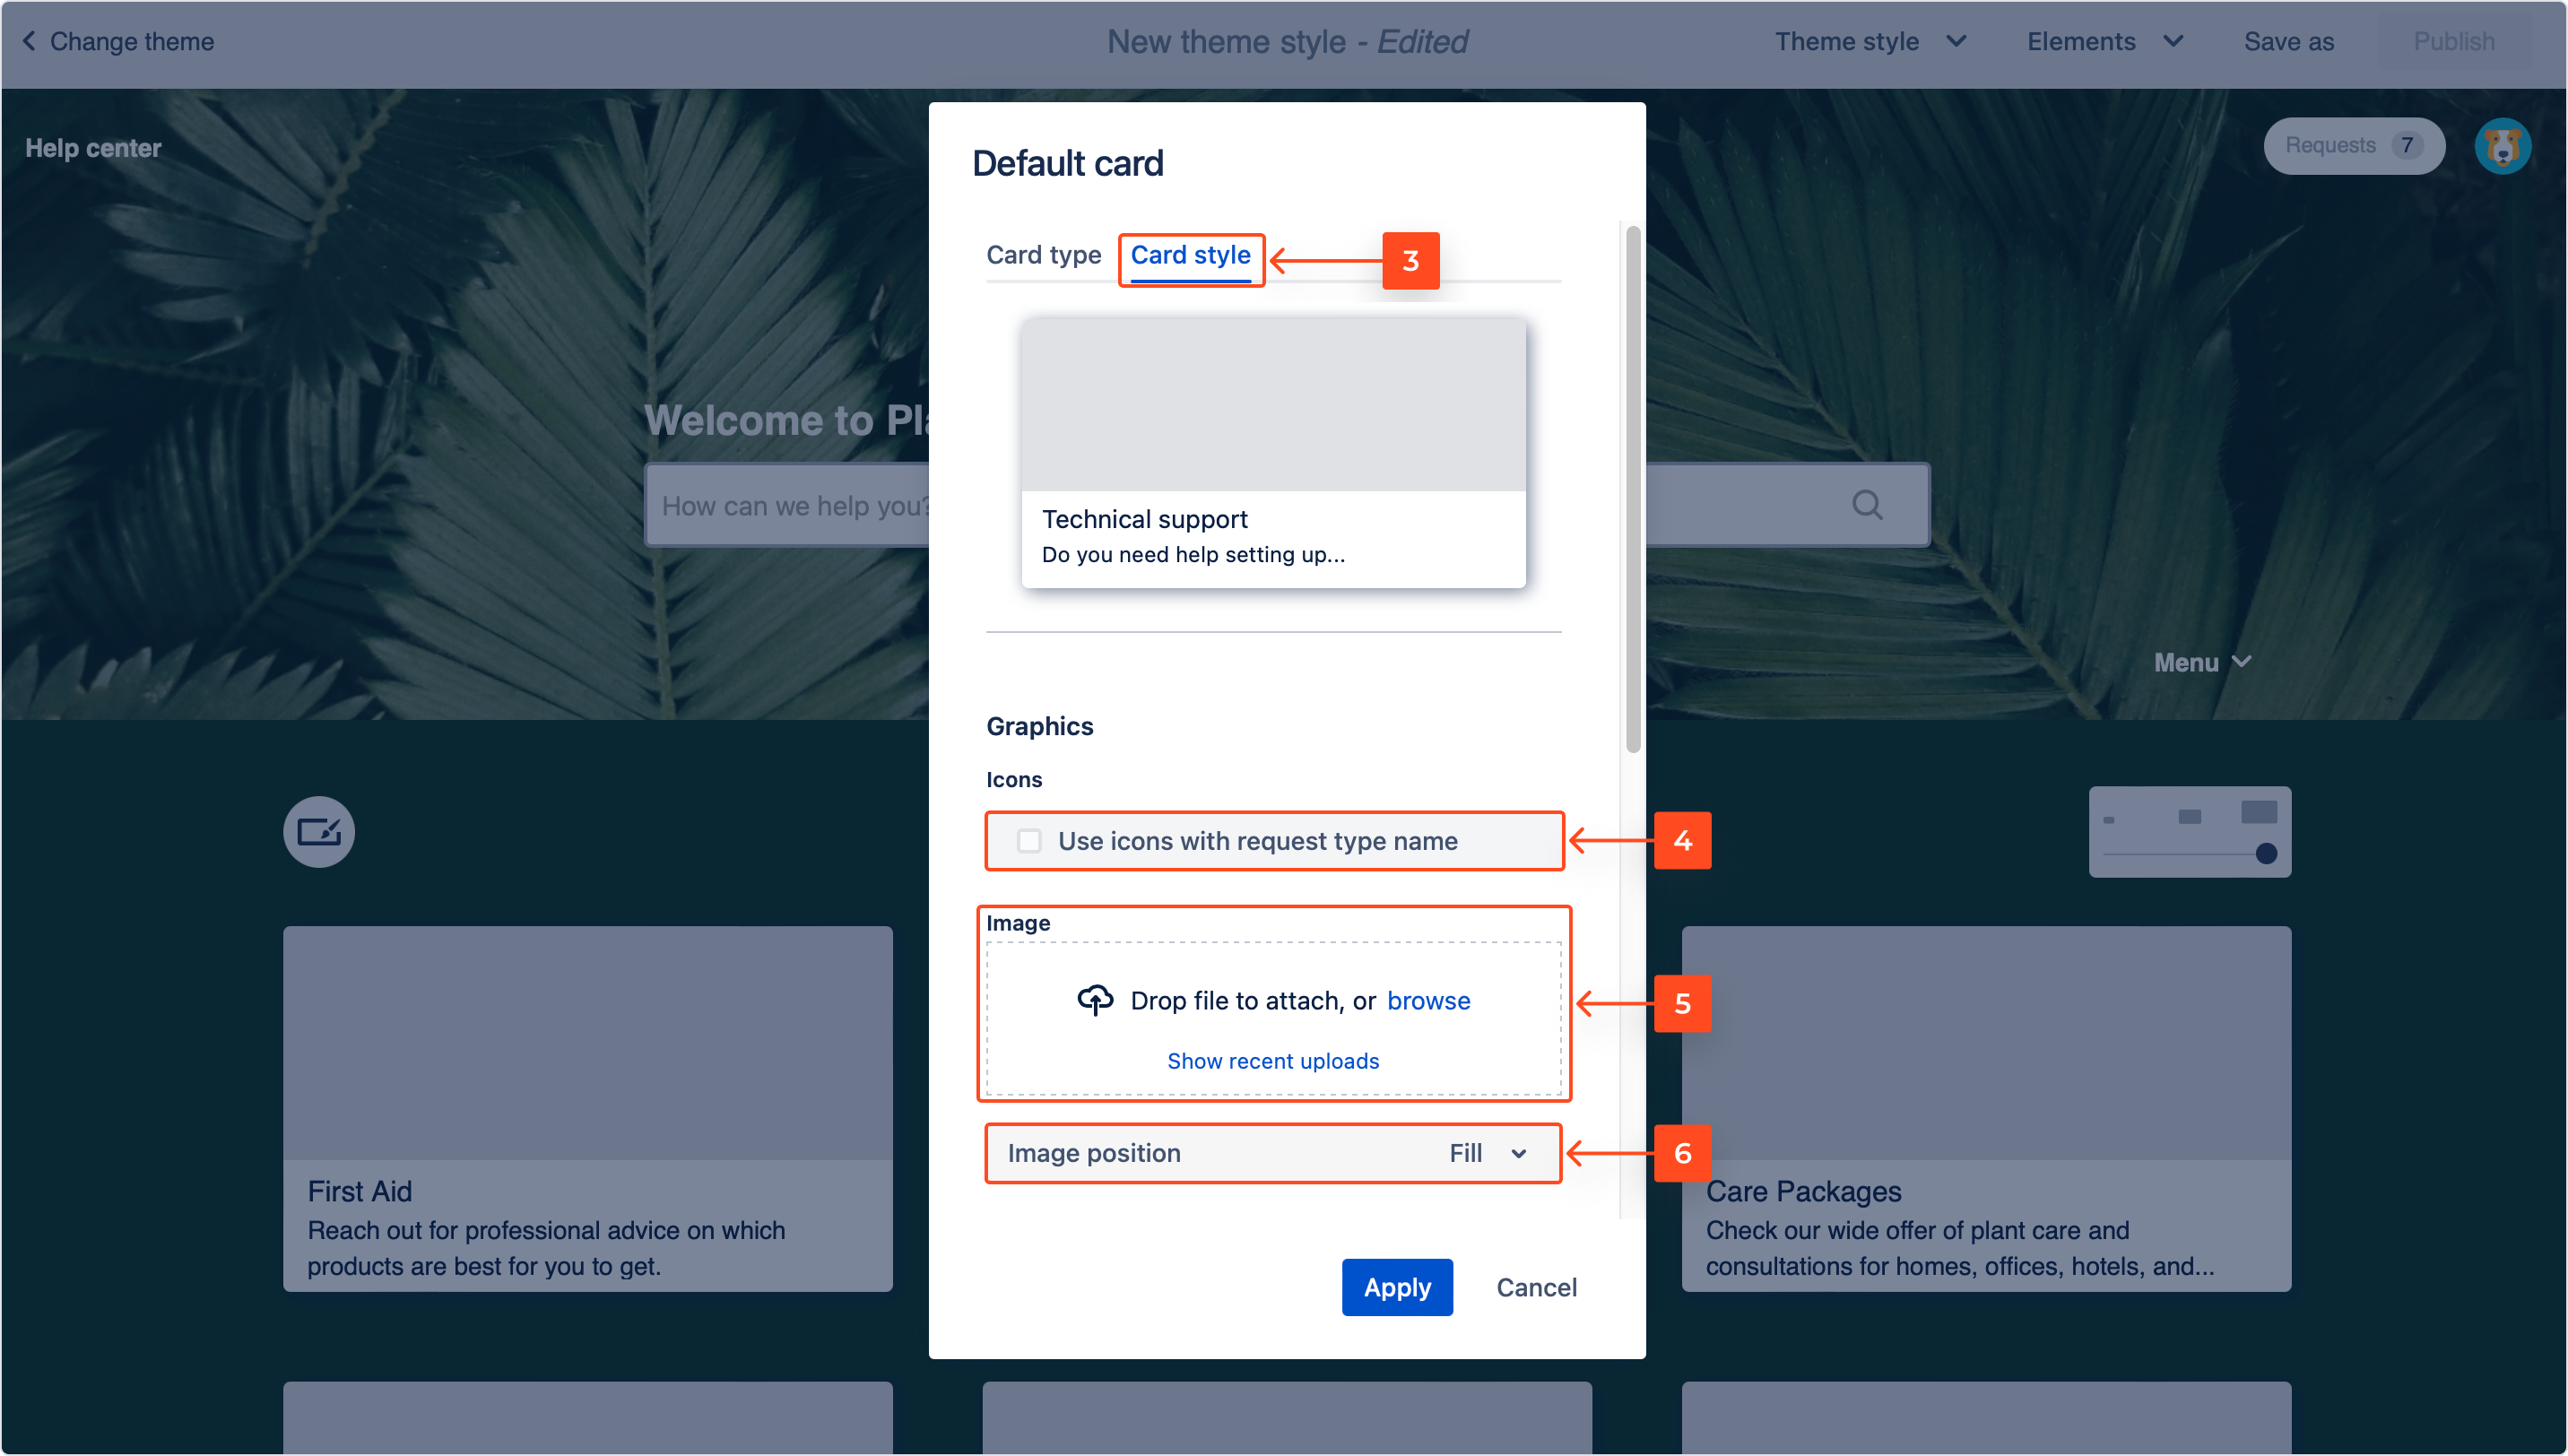
- Set the card style. Select color and thickness of the border.
- Check the box if you want the card to have drop shadow.
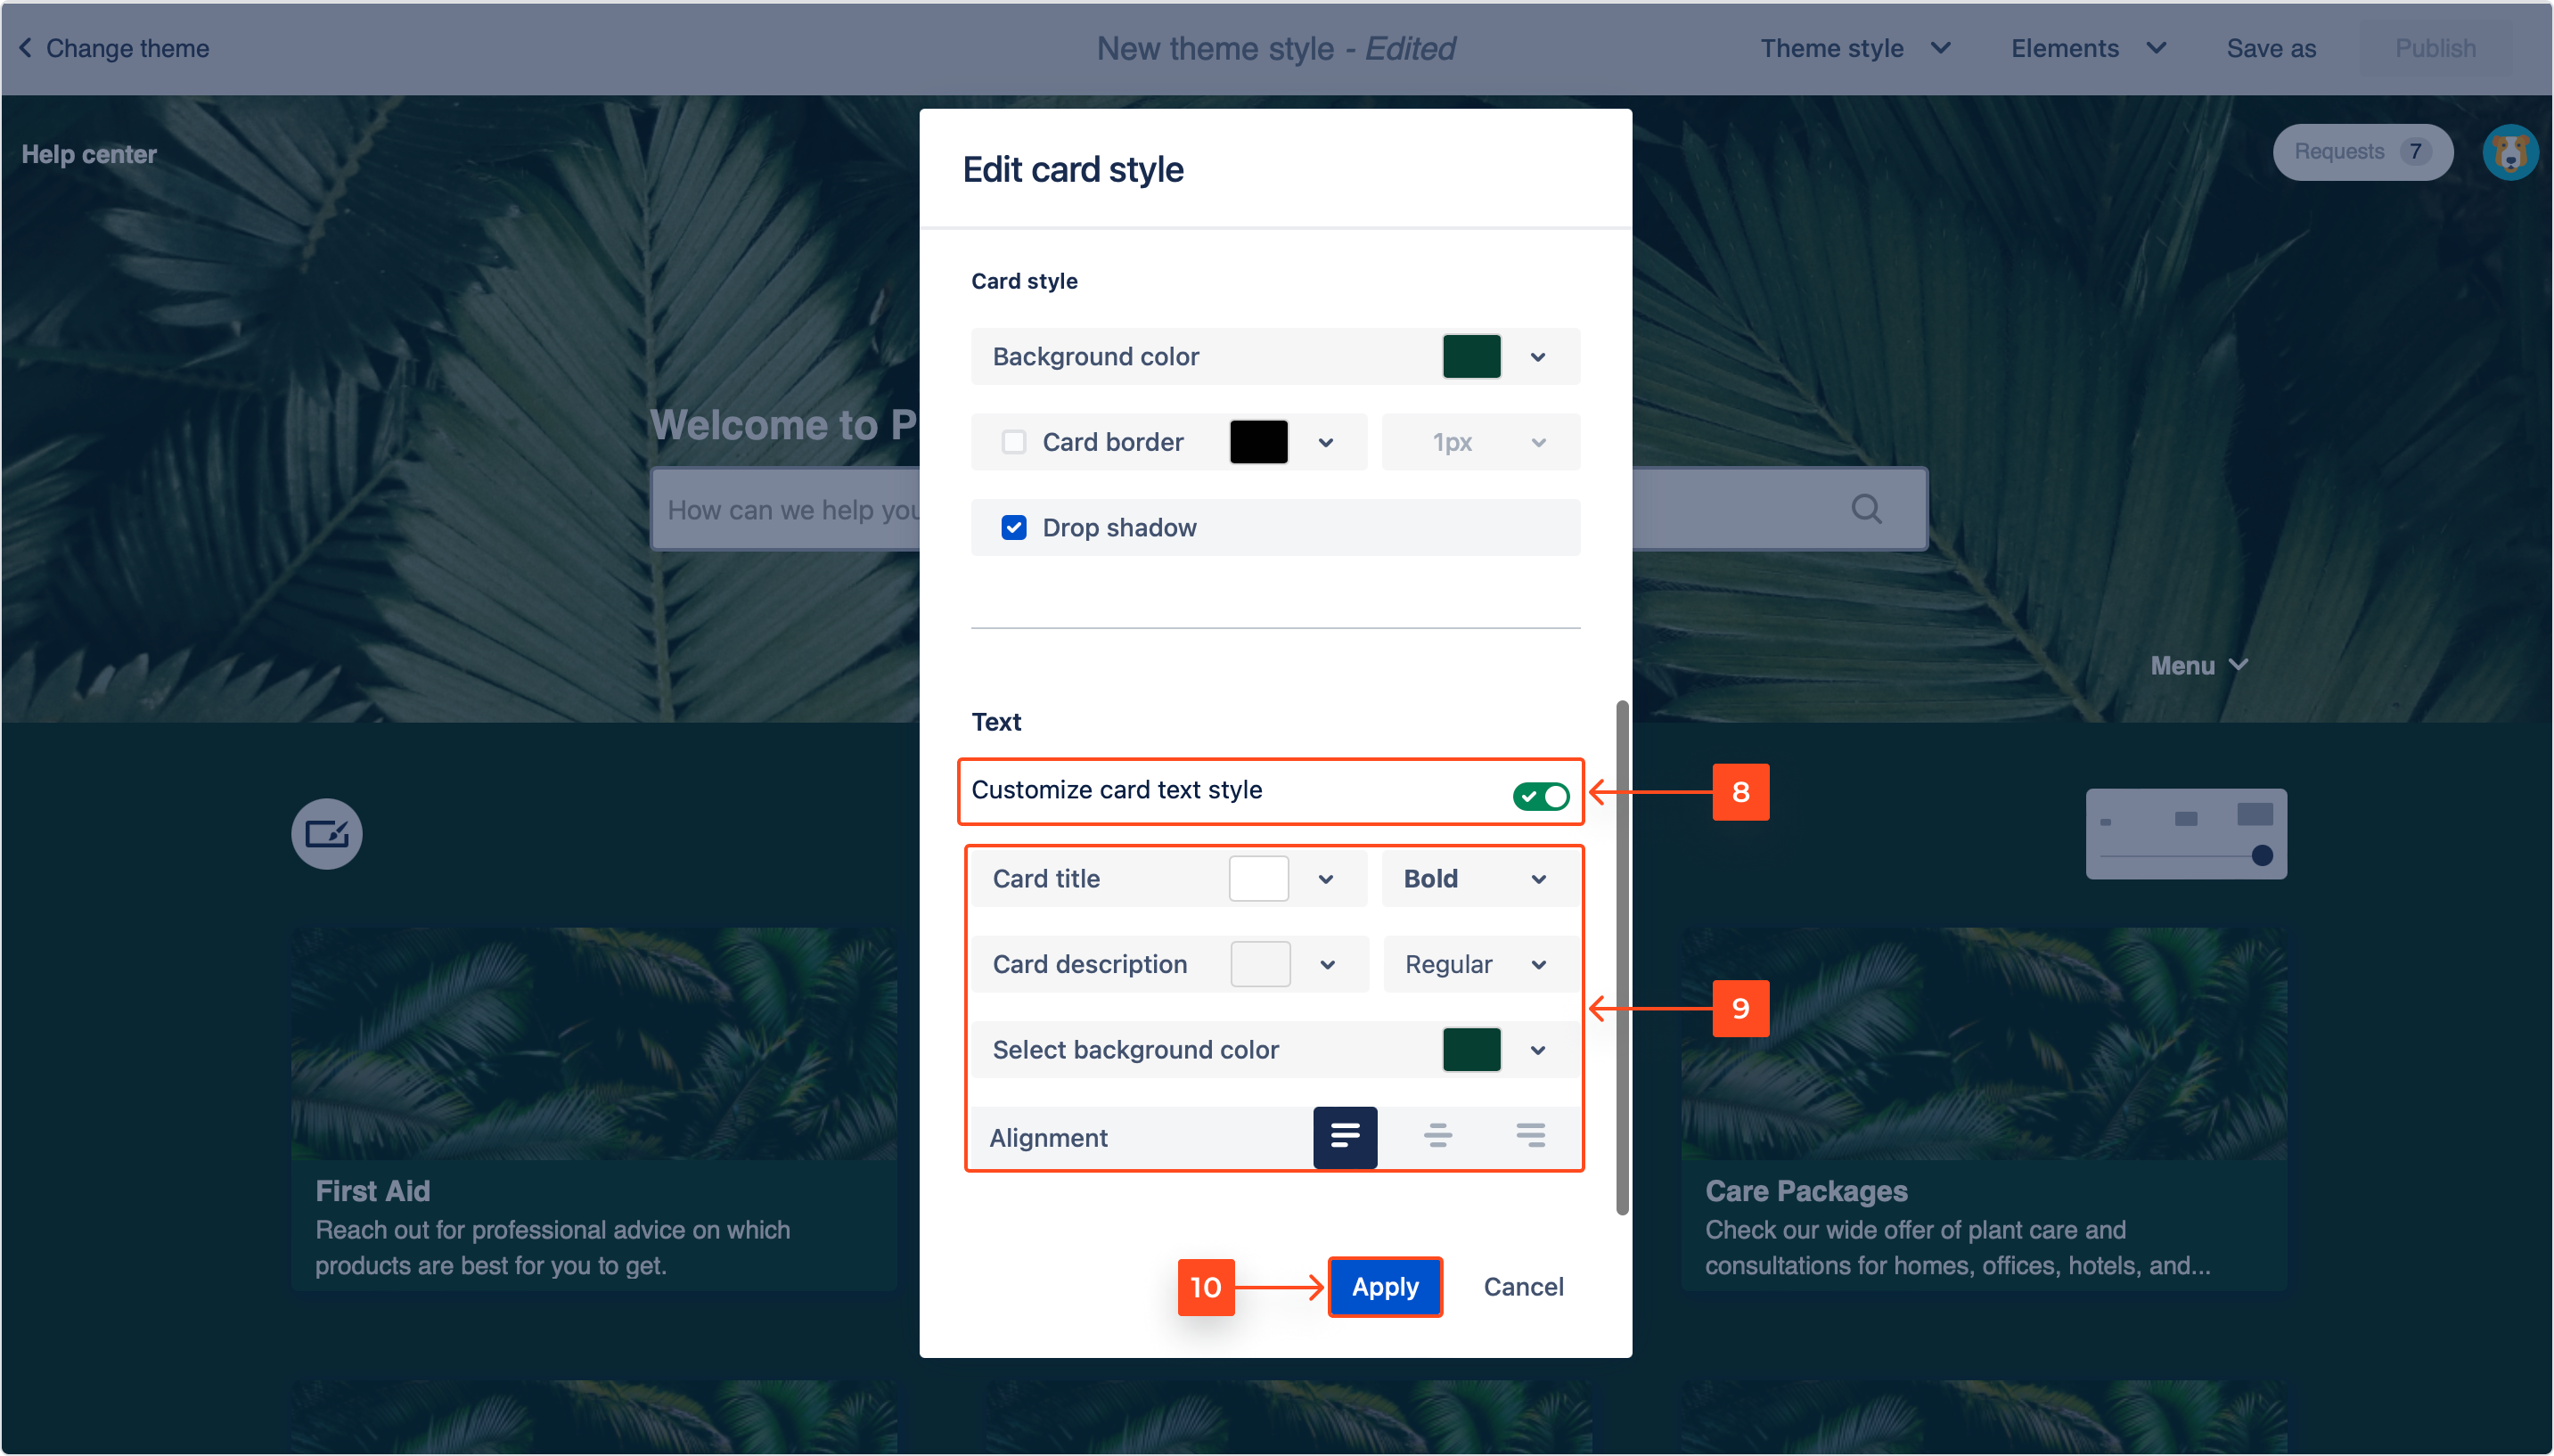
- Set the color and style of the card title and description. You can also change the background color and alignment of the text.
- Click Apply.
Result
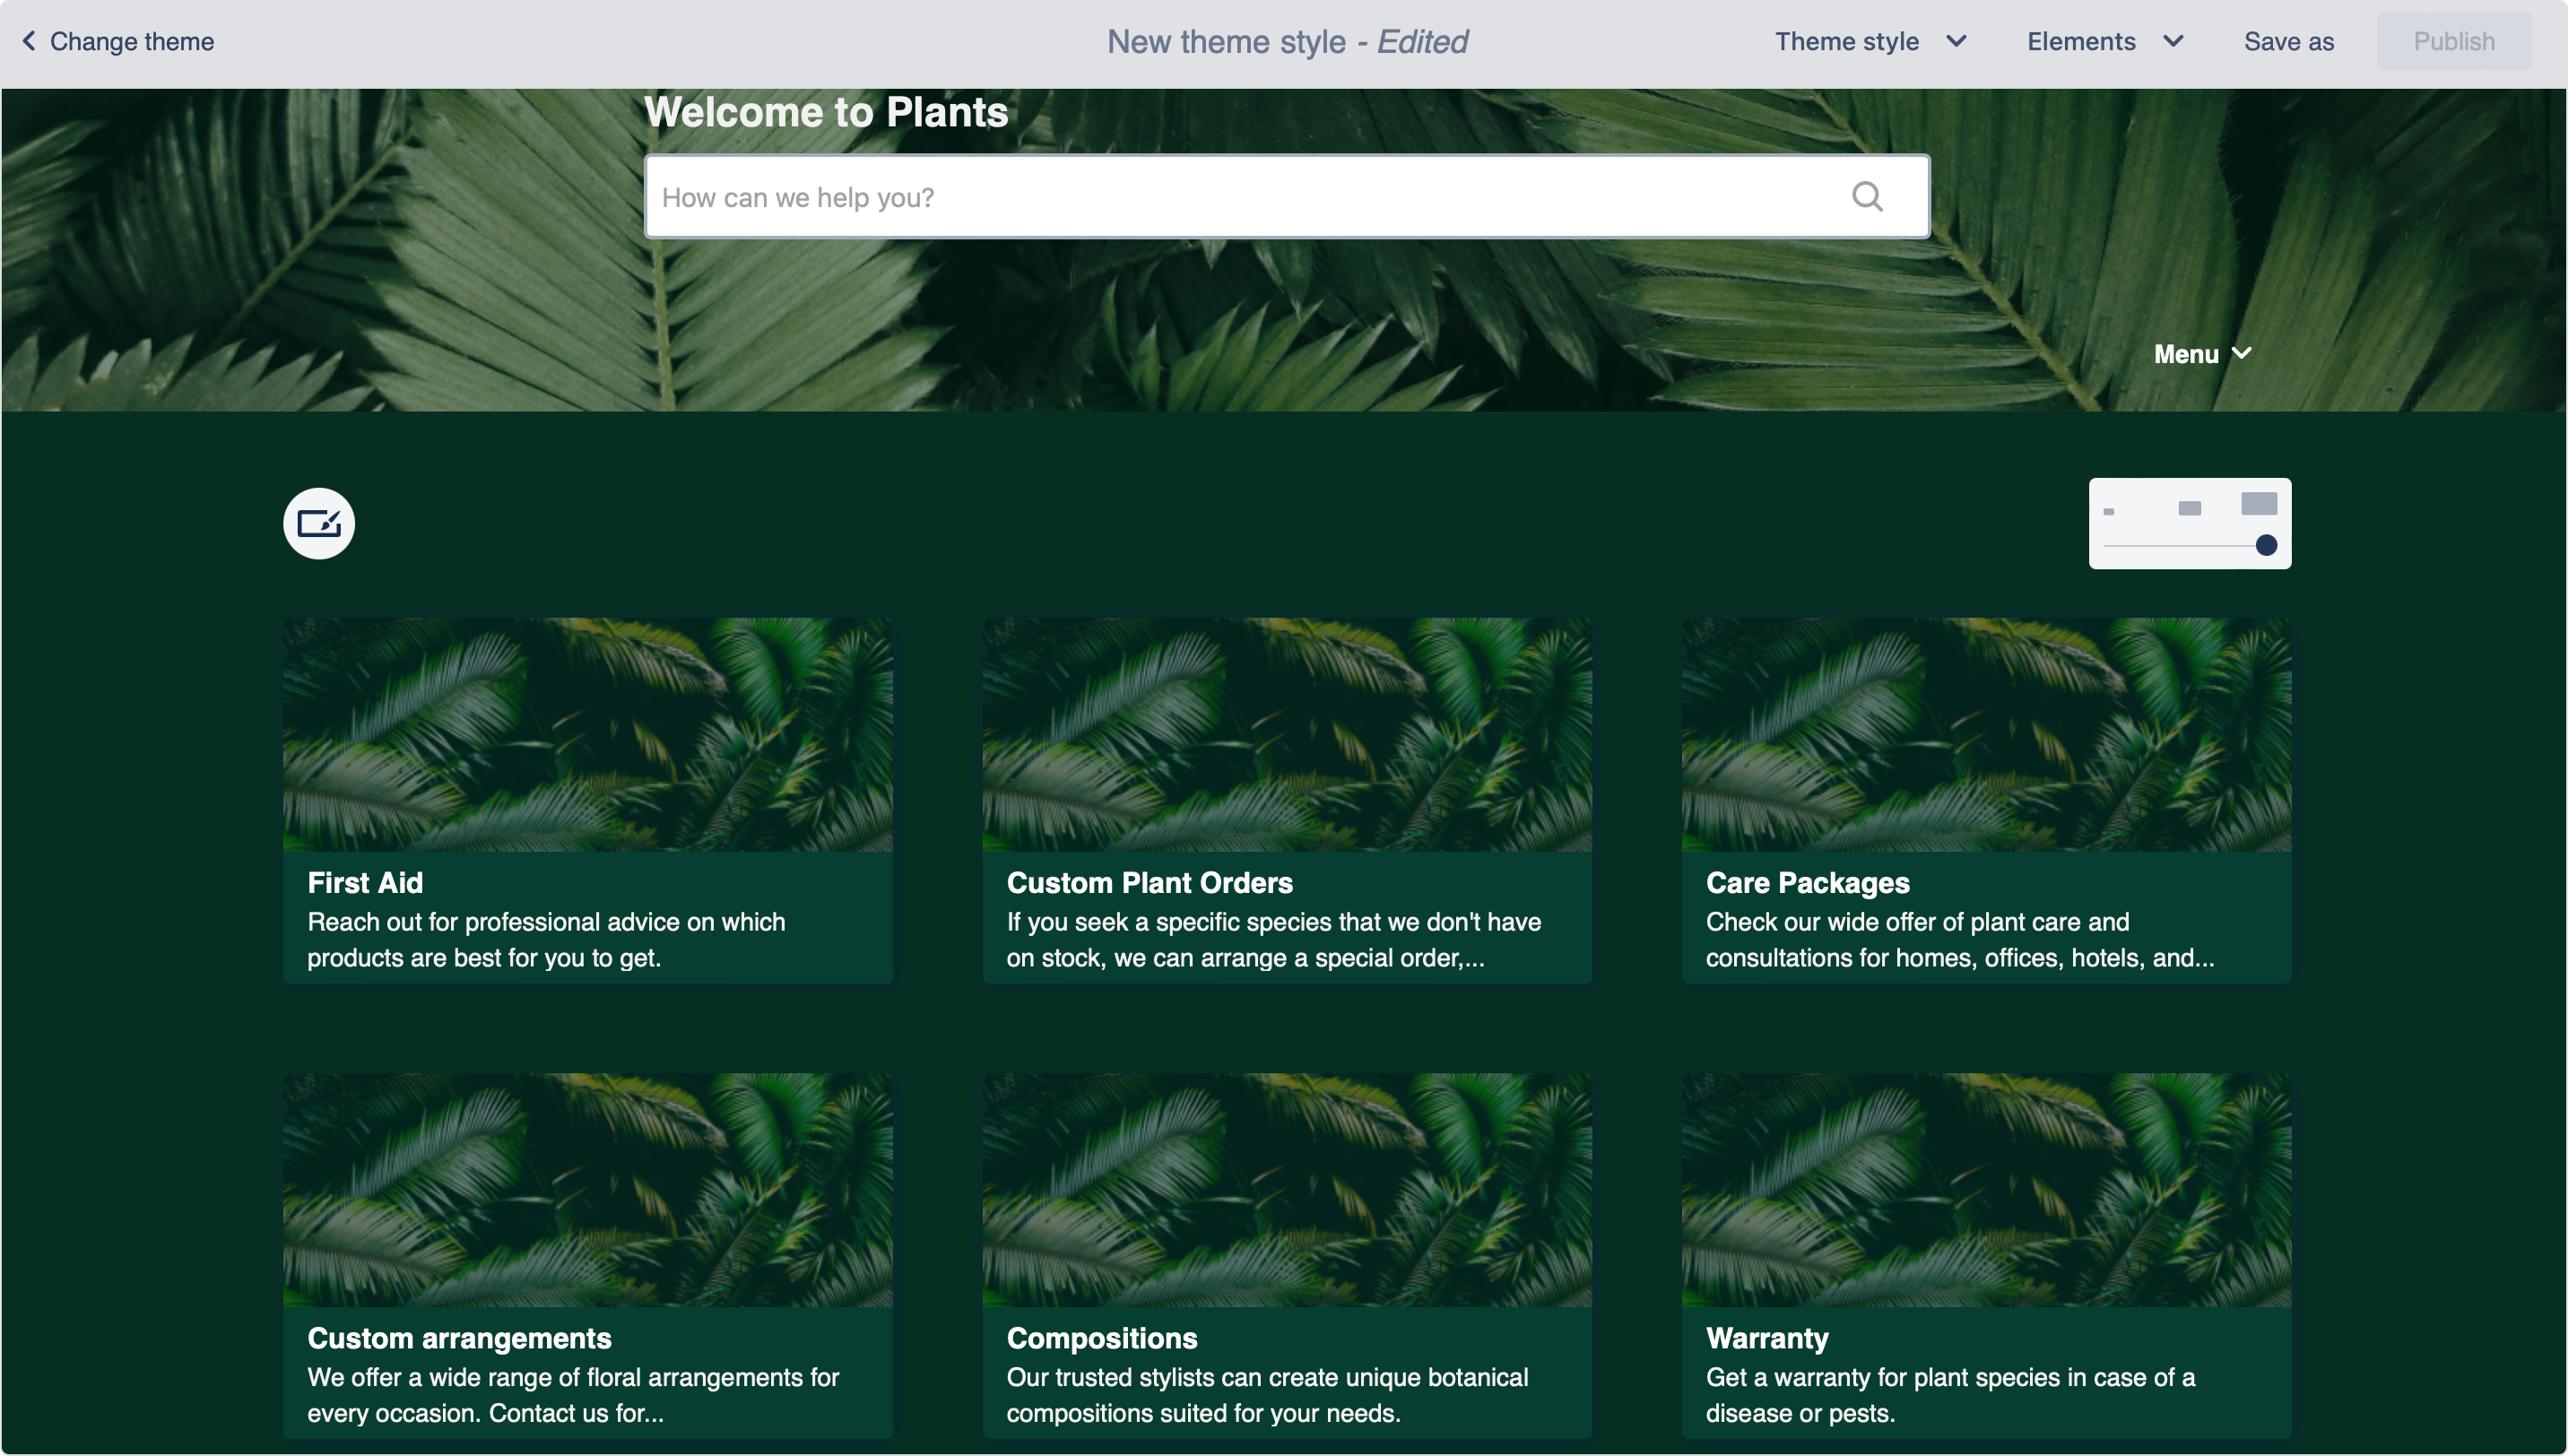
The default card is set and applied to all existing and new request types and service projects. In the future, each card that is not individually customized will inherit the default card appearance.
Individual card
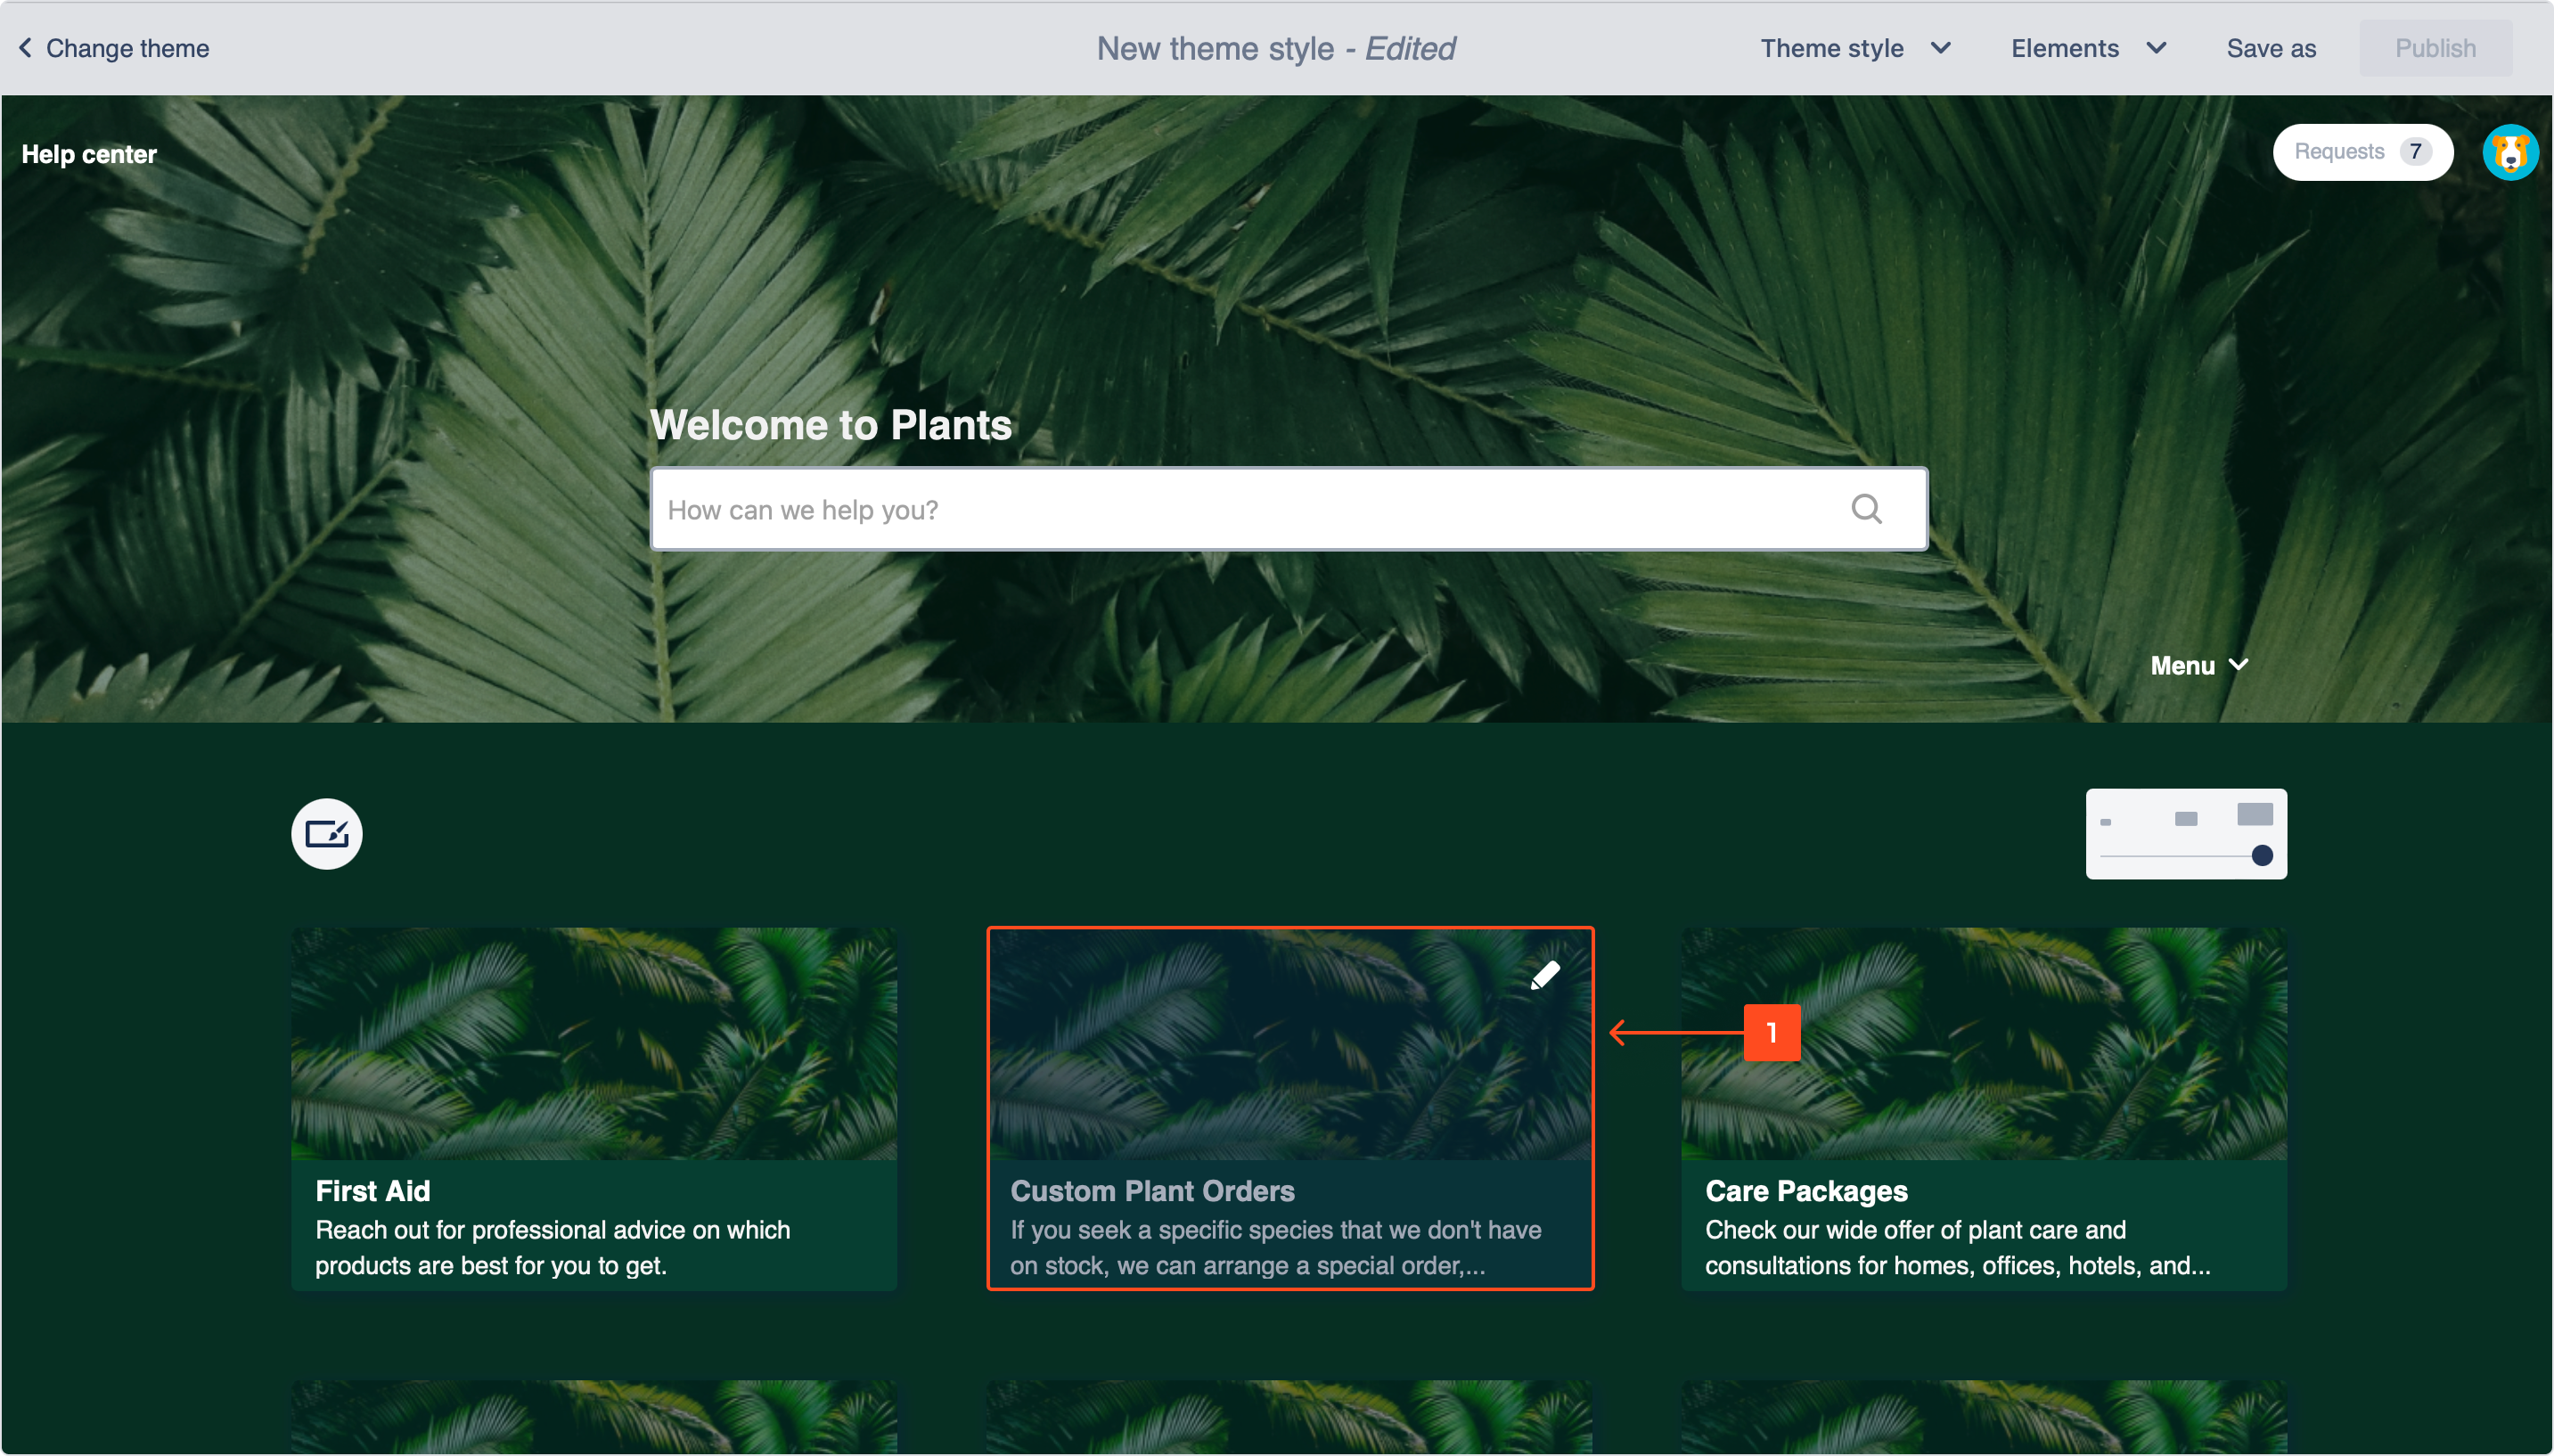
You can choose one of the available cards and individually change its appearance to override the default configuration.
Steps
- In the theme editor, click on one of the existing cards.
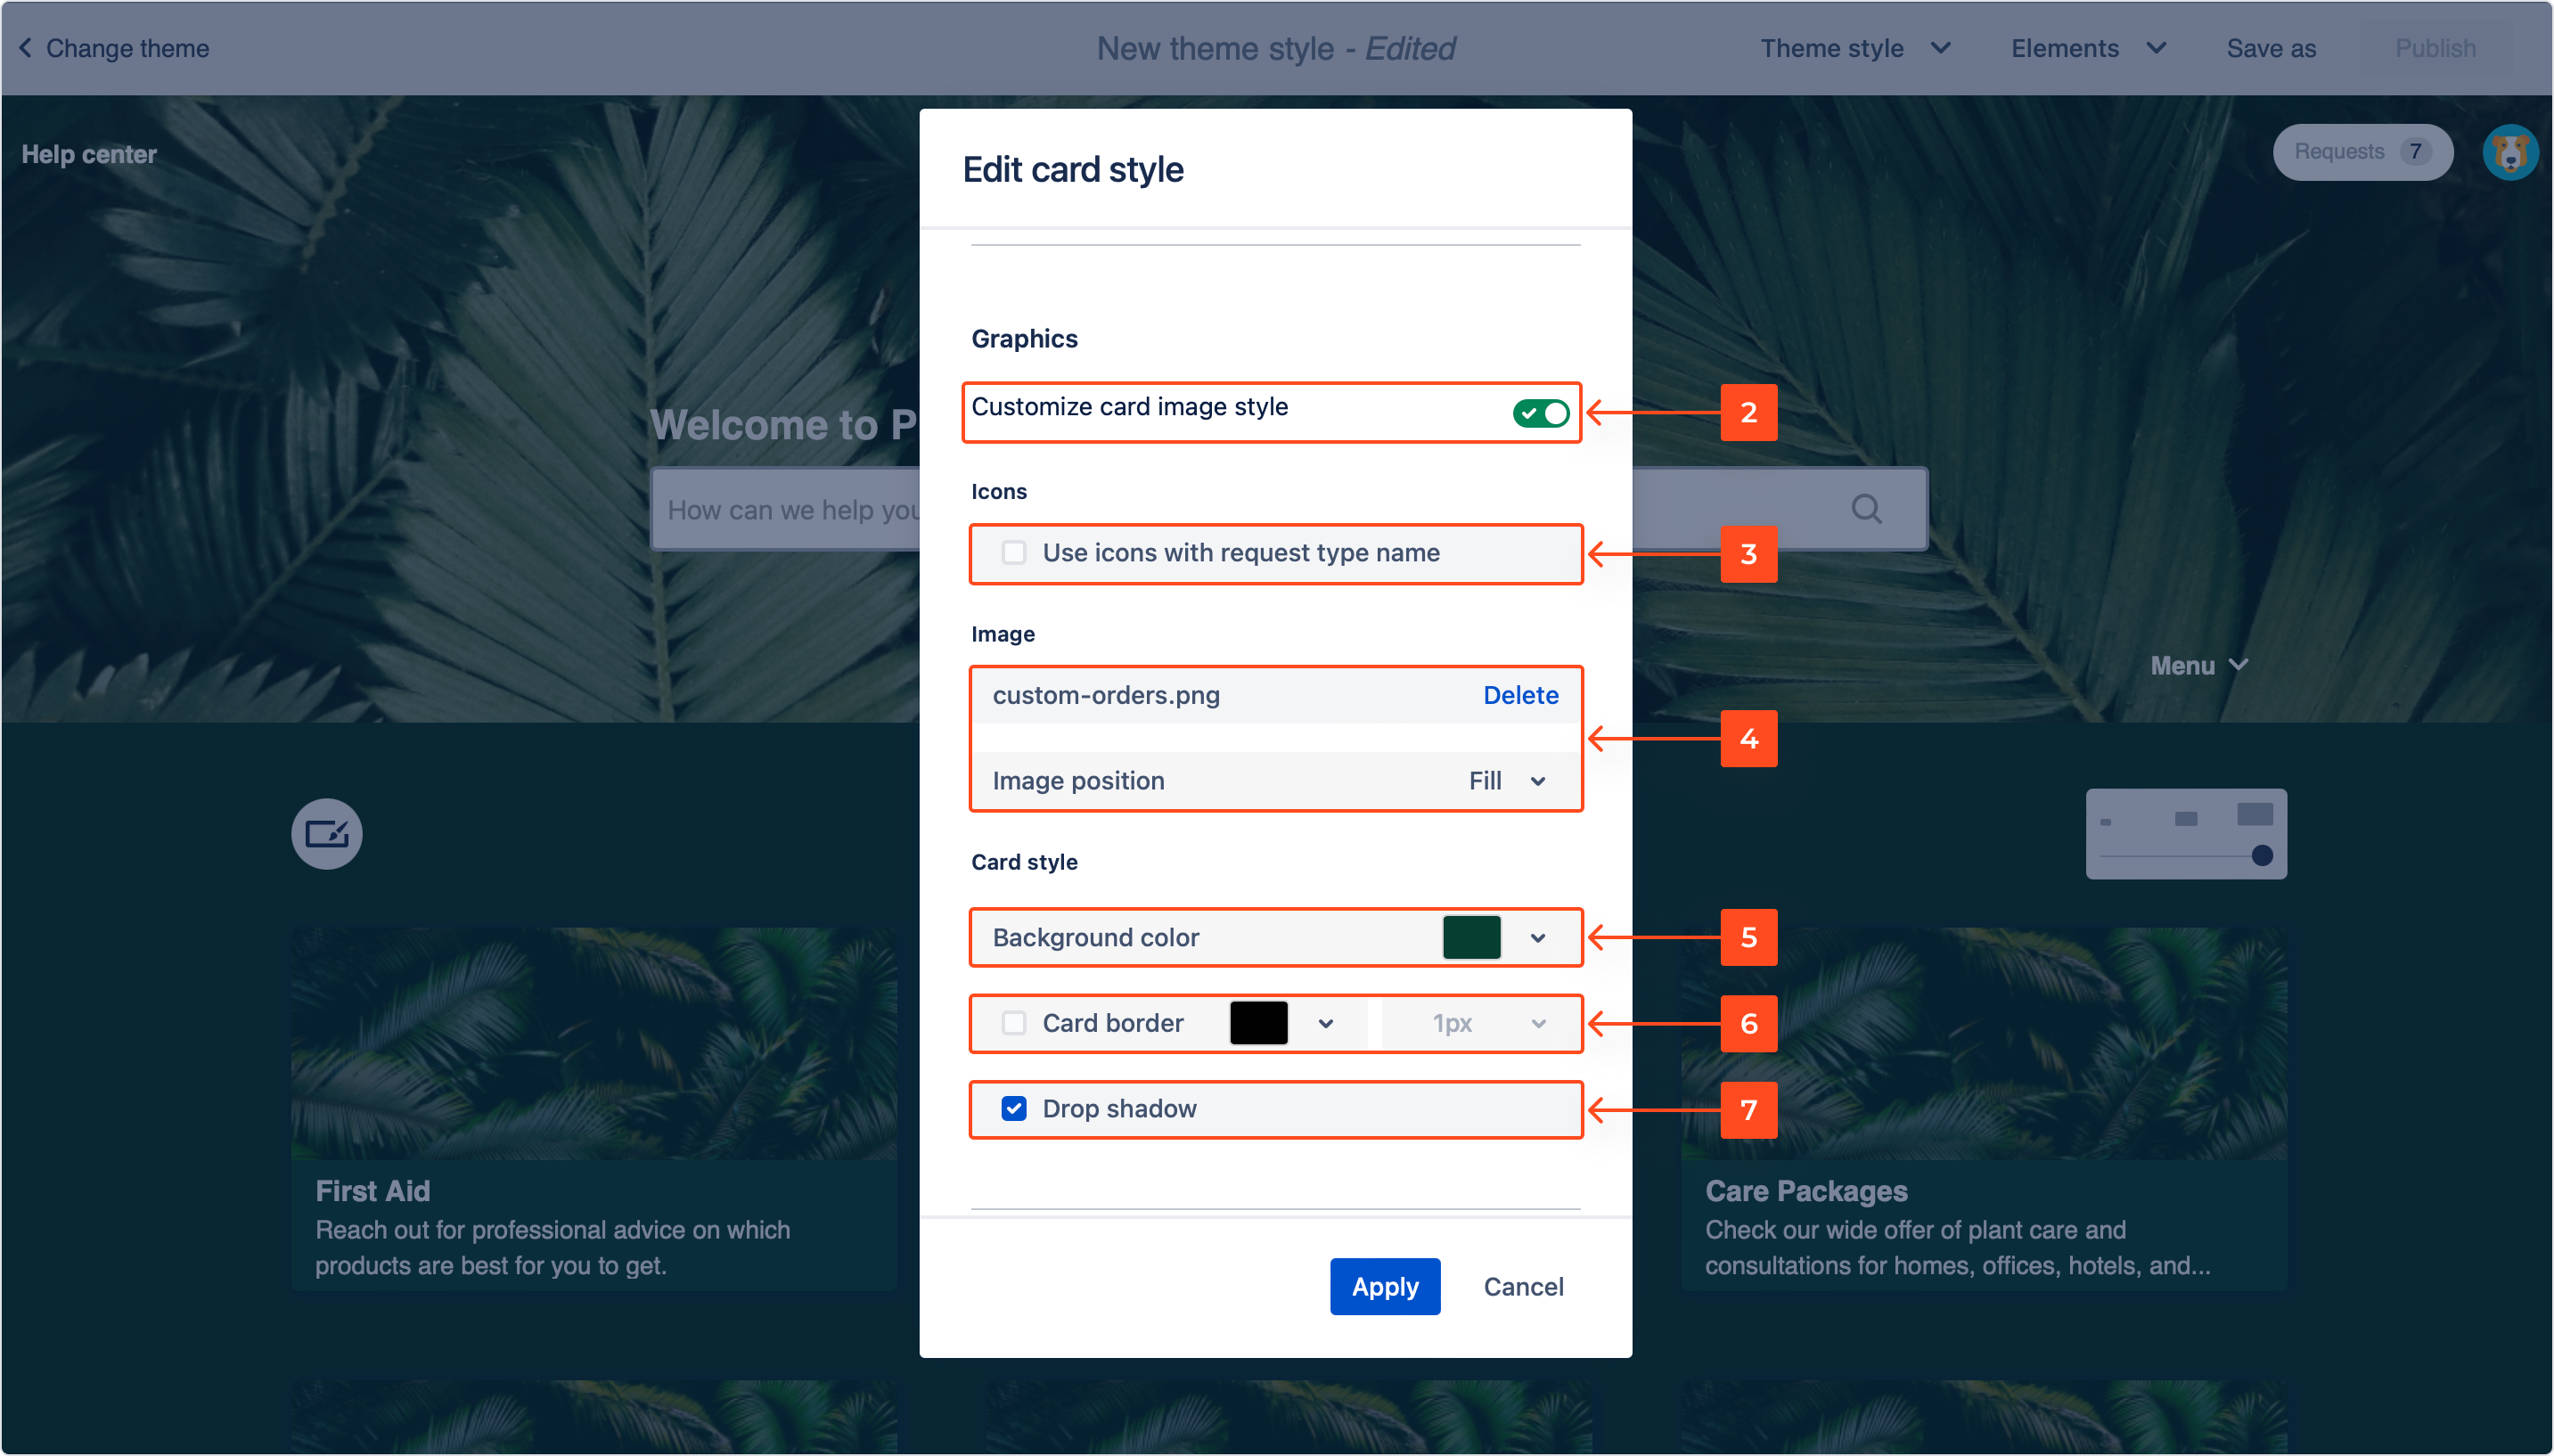
- Turn on the Graphics toggle to enable customization.
- Check the box if the request type icon should be displayed on the card.
- Upload or change the existing image.
- Change the background color using the palette or hex code.
- Set the color and thickness of the border.
- Check the box if you want the card to have drop shadow.
- Turn on the Text toggle to enable customization.
- Set the color and style of the card title and description. You can also change the background color and alignment of the text.
- Click Apply.
Result
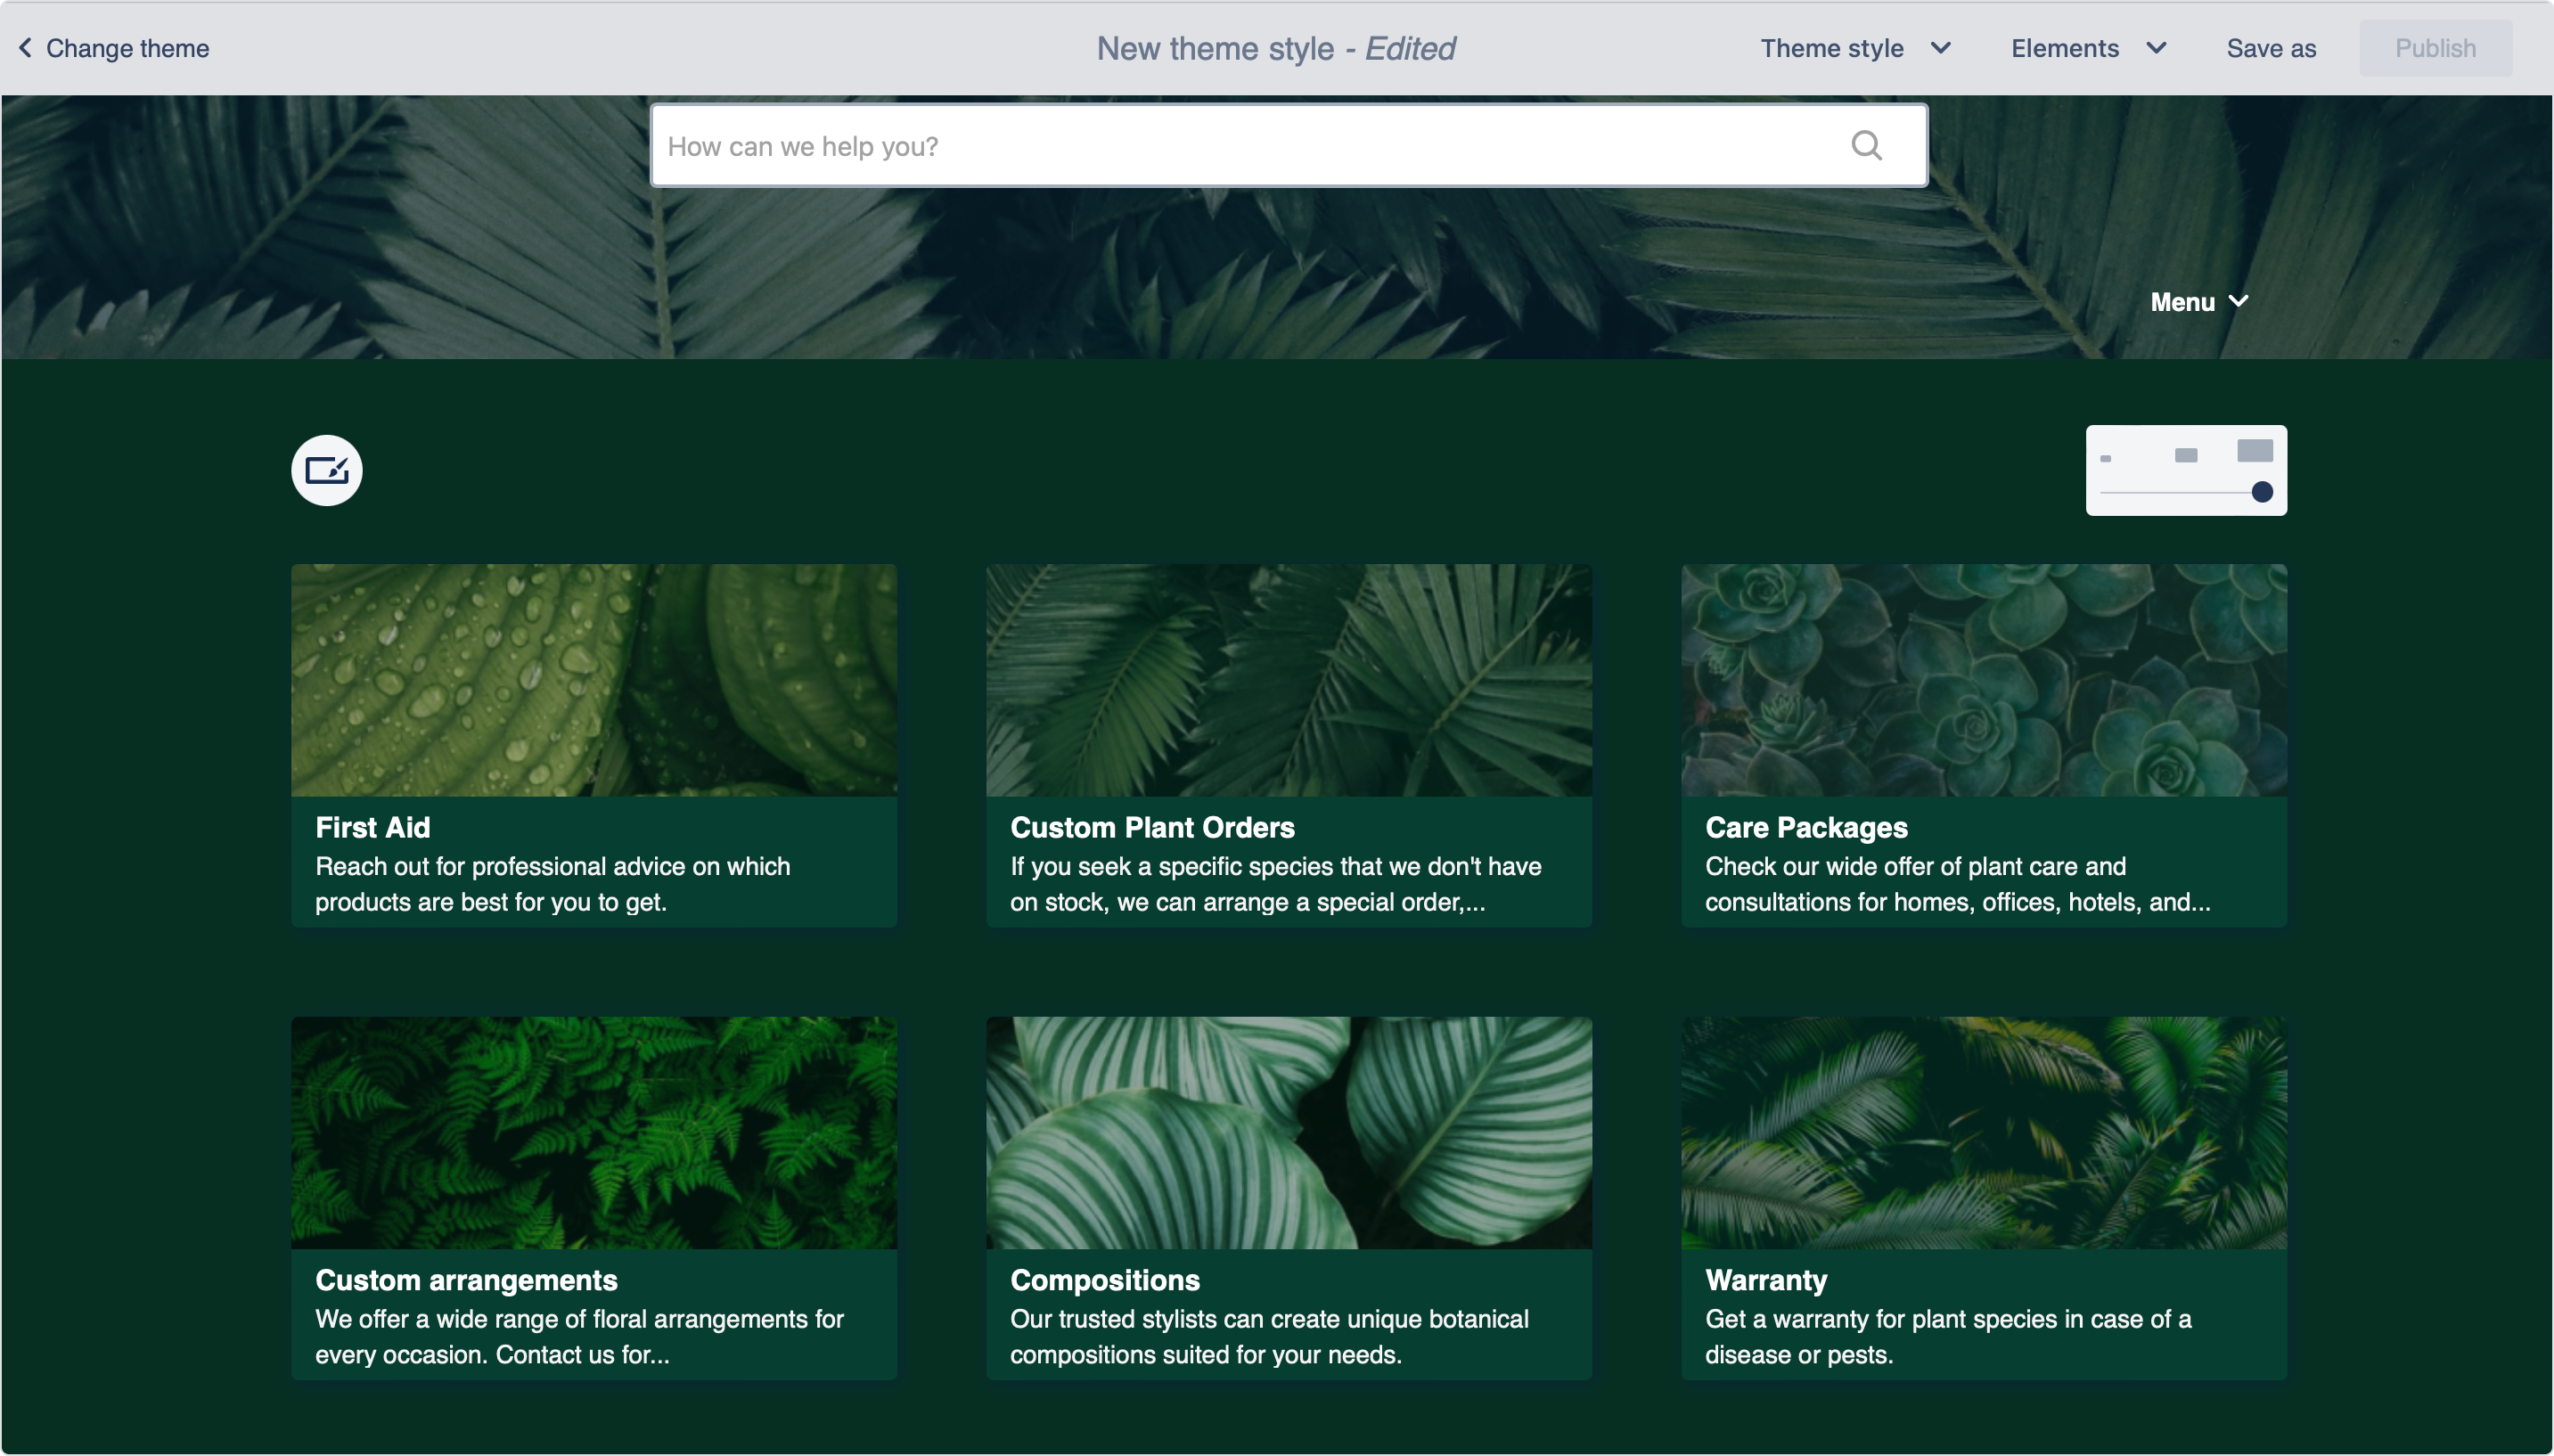
Each card has its individual style applied.
Custom card
In case of a special event or occasion, you can set a unique card, which is different in style from a default card.
Steps
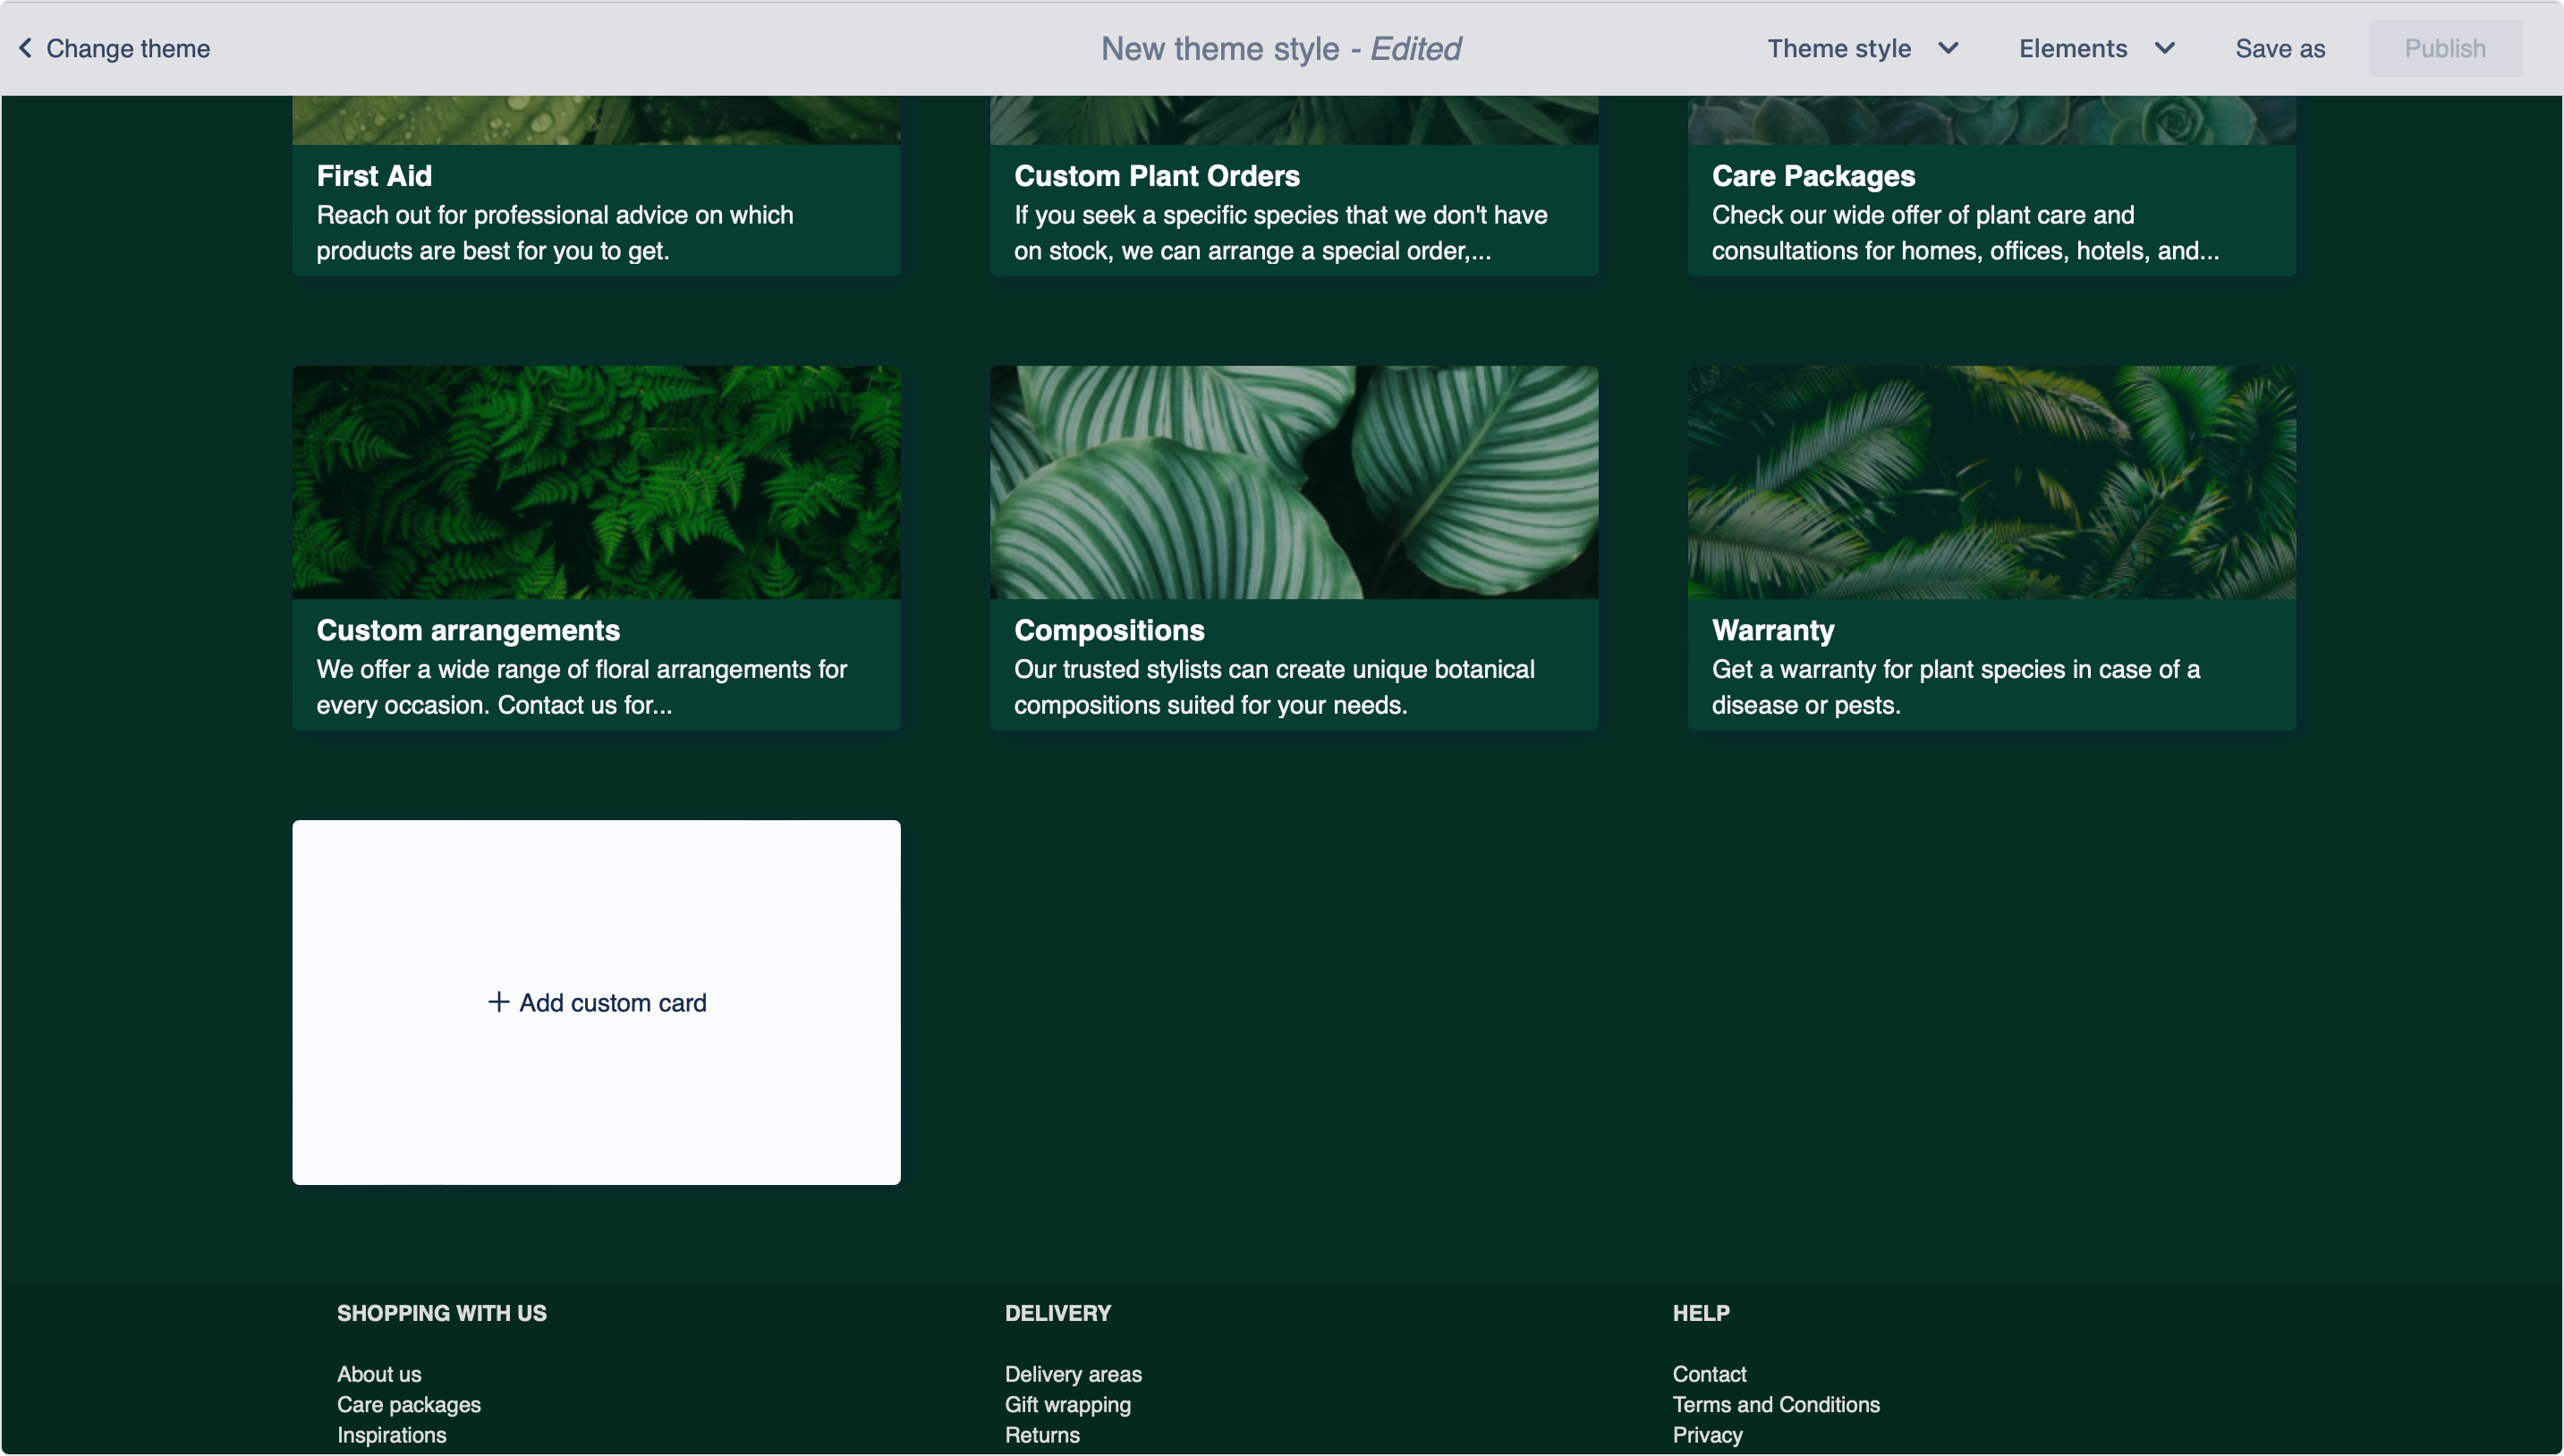
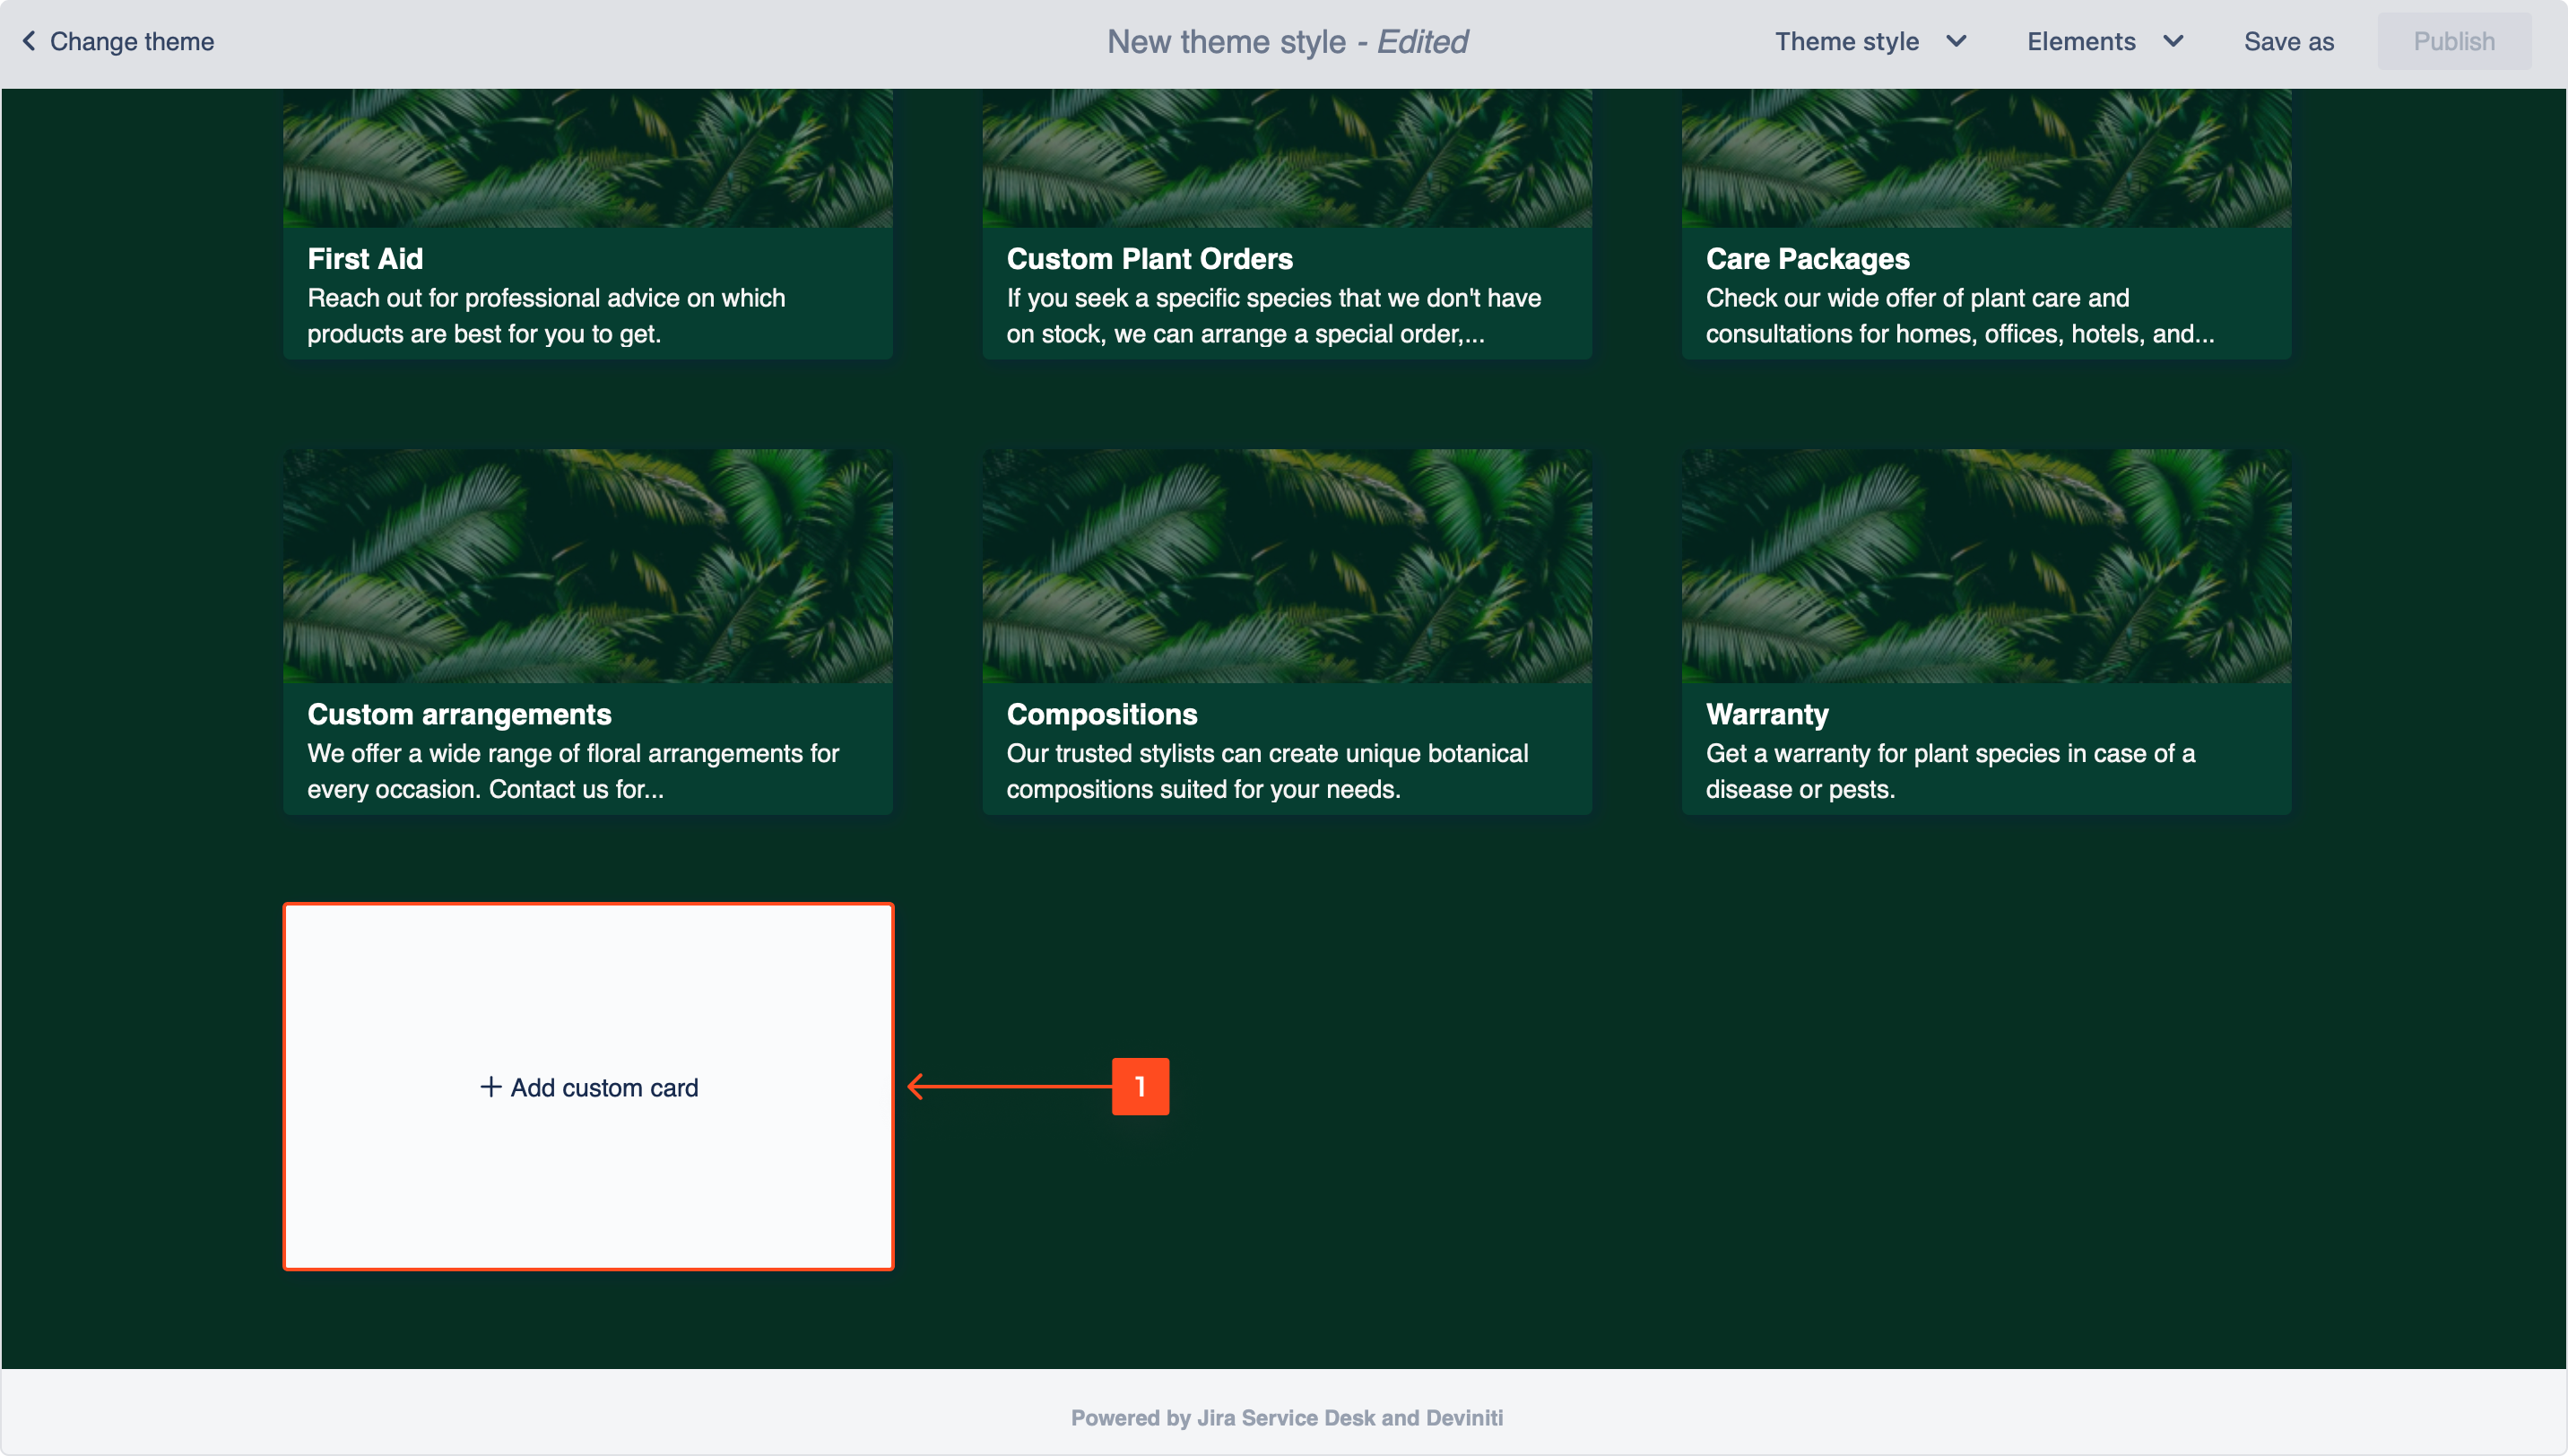
- To set a custom card, click Add a custom card in the theme editor.
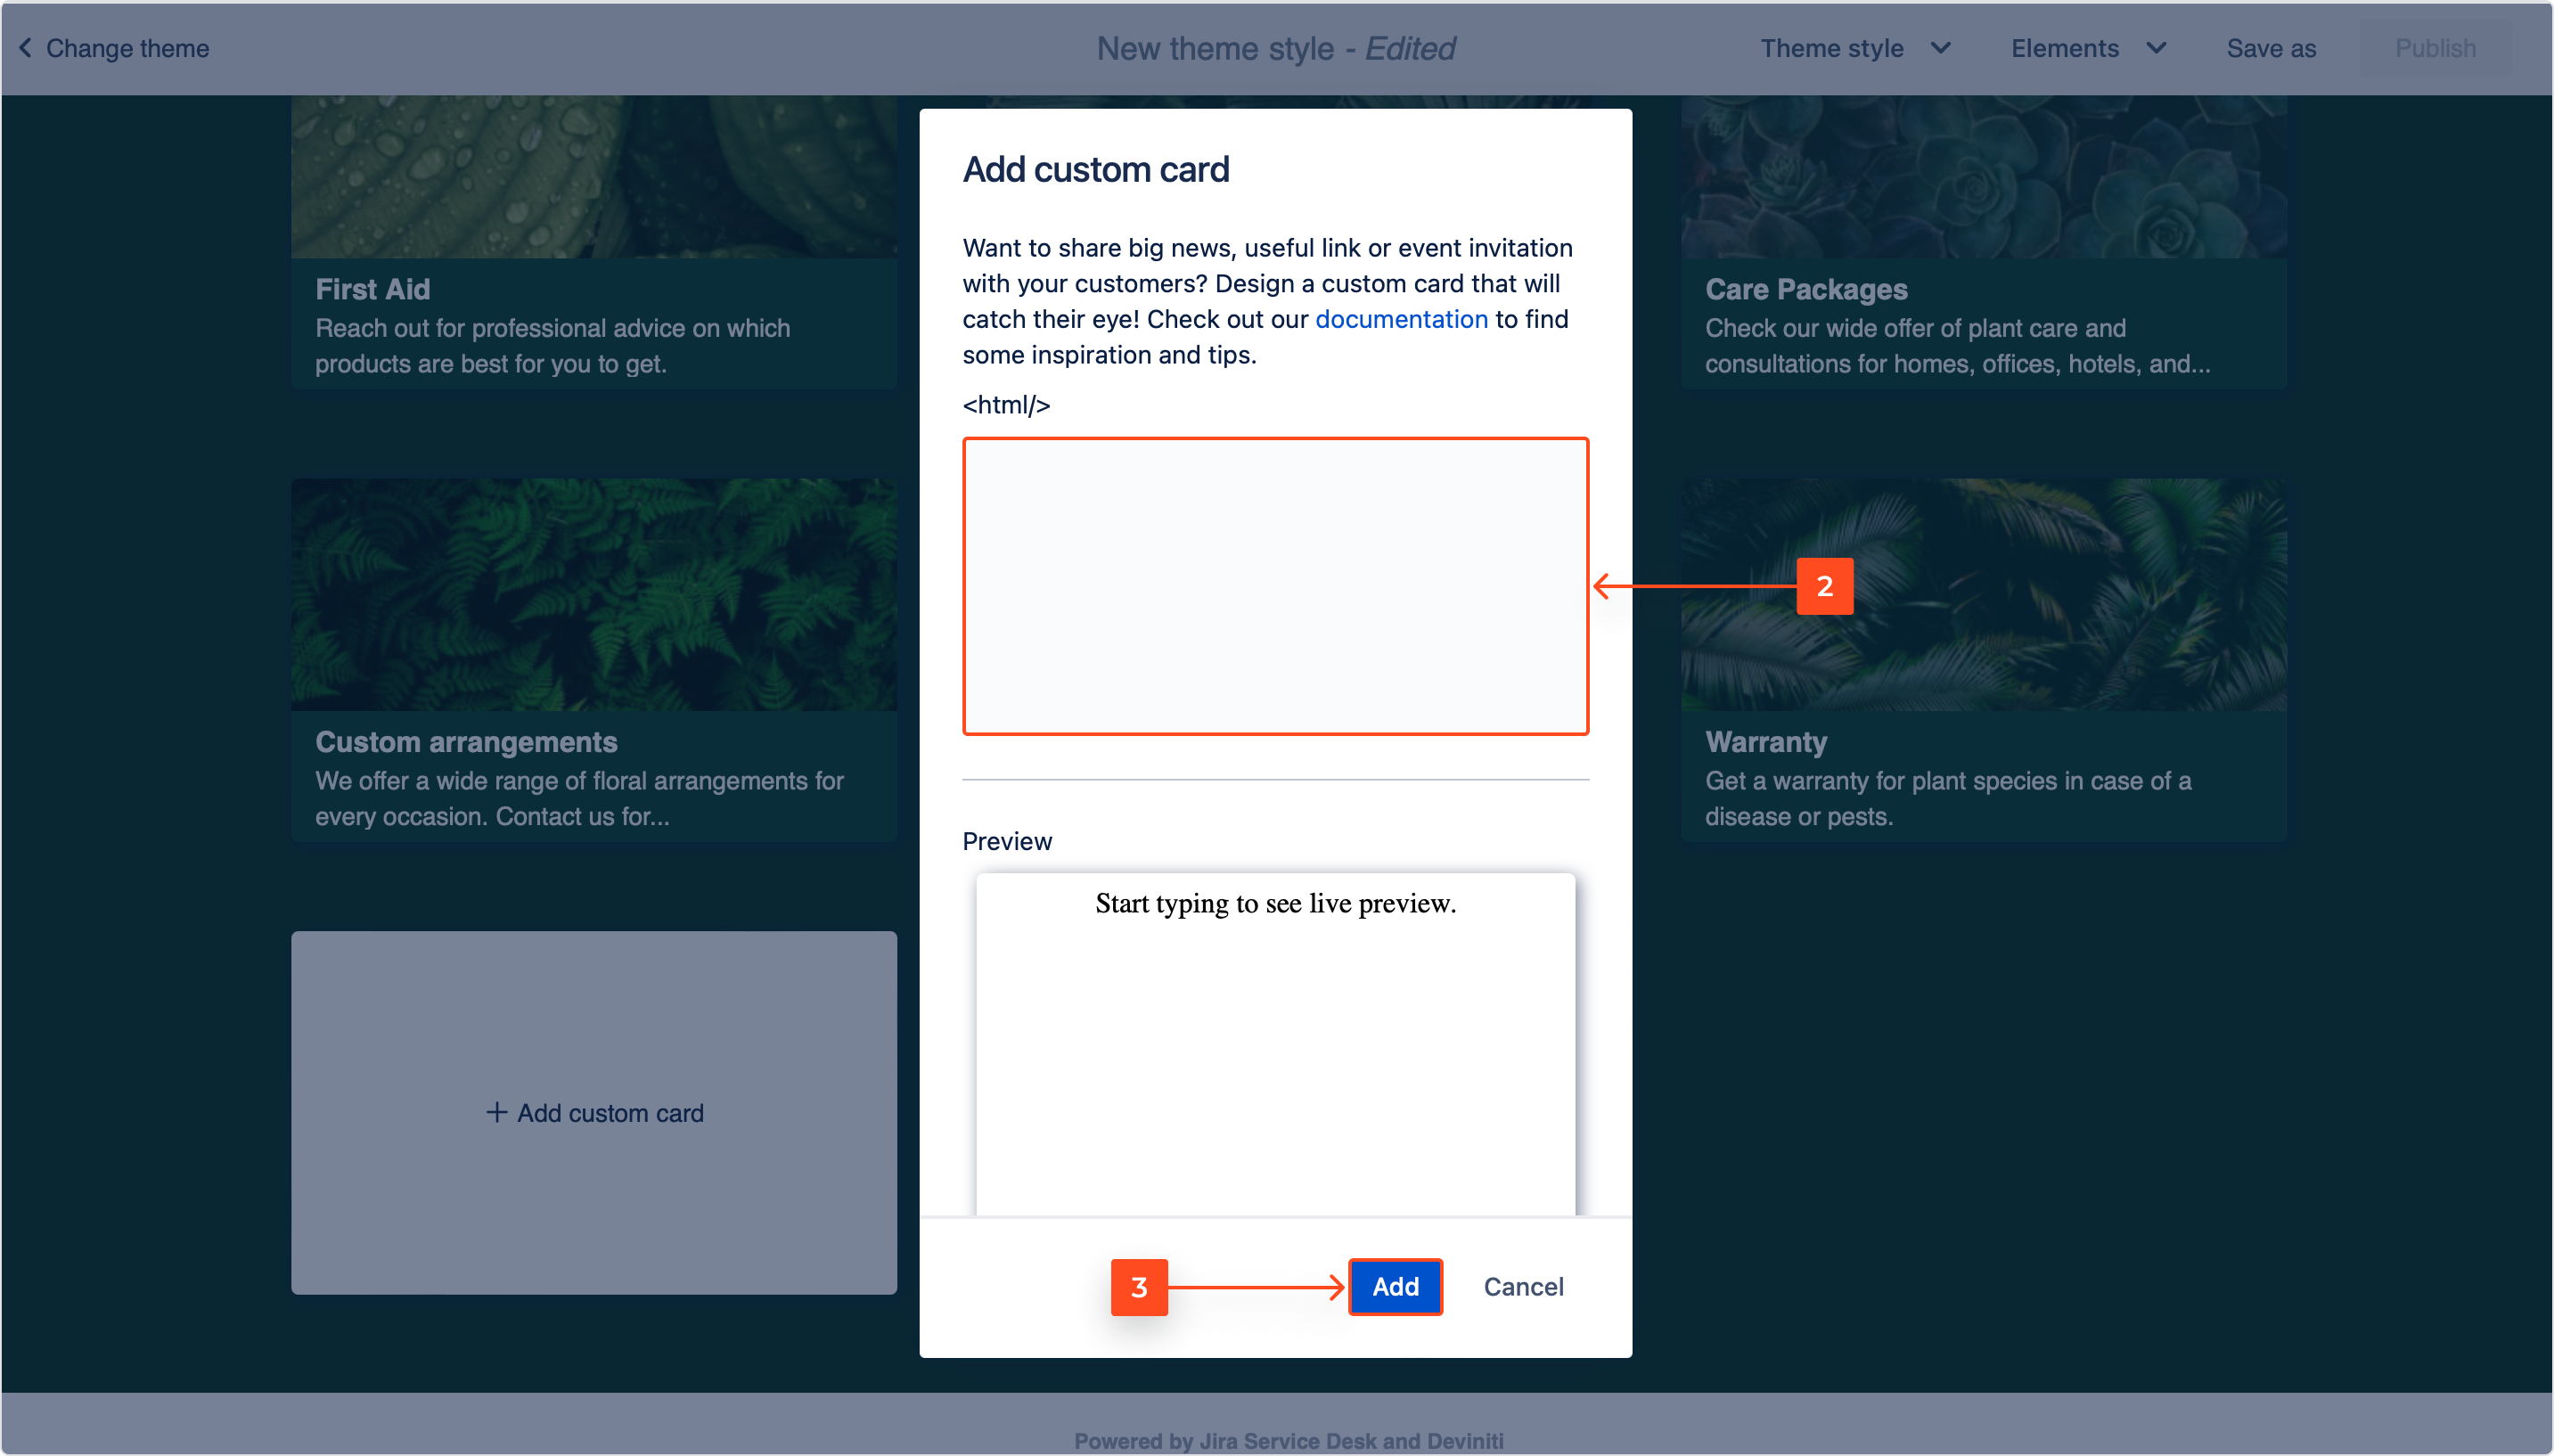
- Insert a text or an HTML code to create a fully personalized card.
- Click Add.
Apart from common formats, you can also insert SVG graphics into the custom card HTML code.
Visit Design inspirations to see different ideas for custom cards with ready-to-use HTML code snippets.
Result
Your custom card is added.
To optimize the workflow, when configuring a Help Center page, you can create an empty category that contains all the custom cards, so that your customers will have access to the important cards in one place. For more instructions on how to create a category, visit Categorization.
Announcement banner
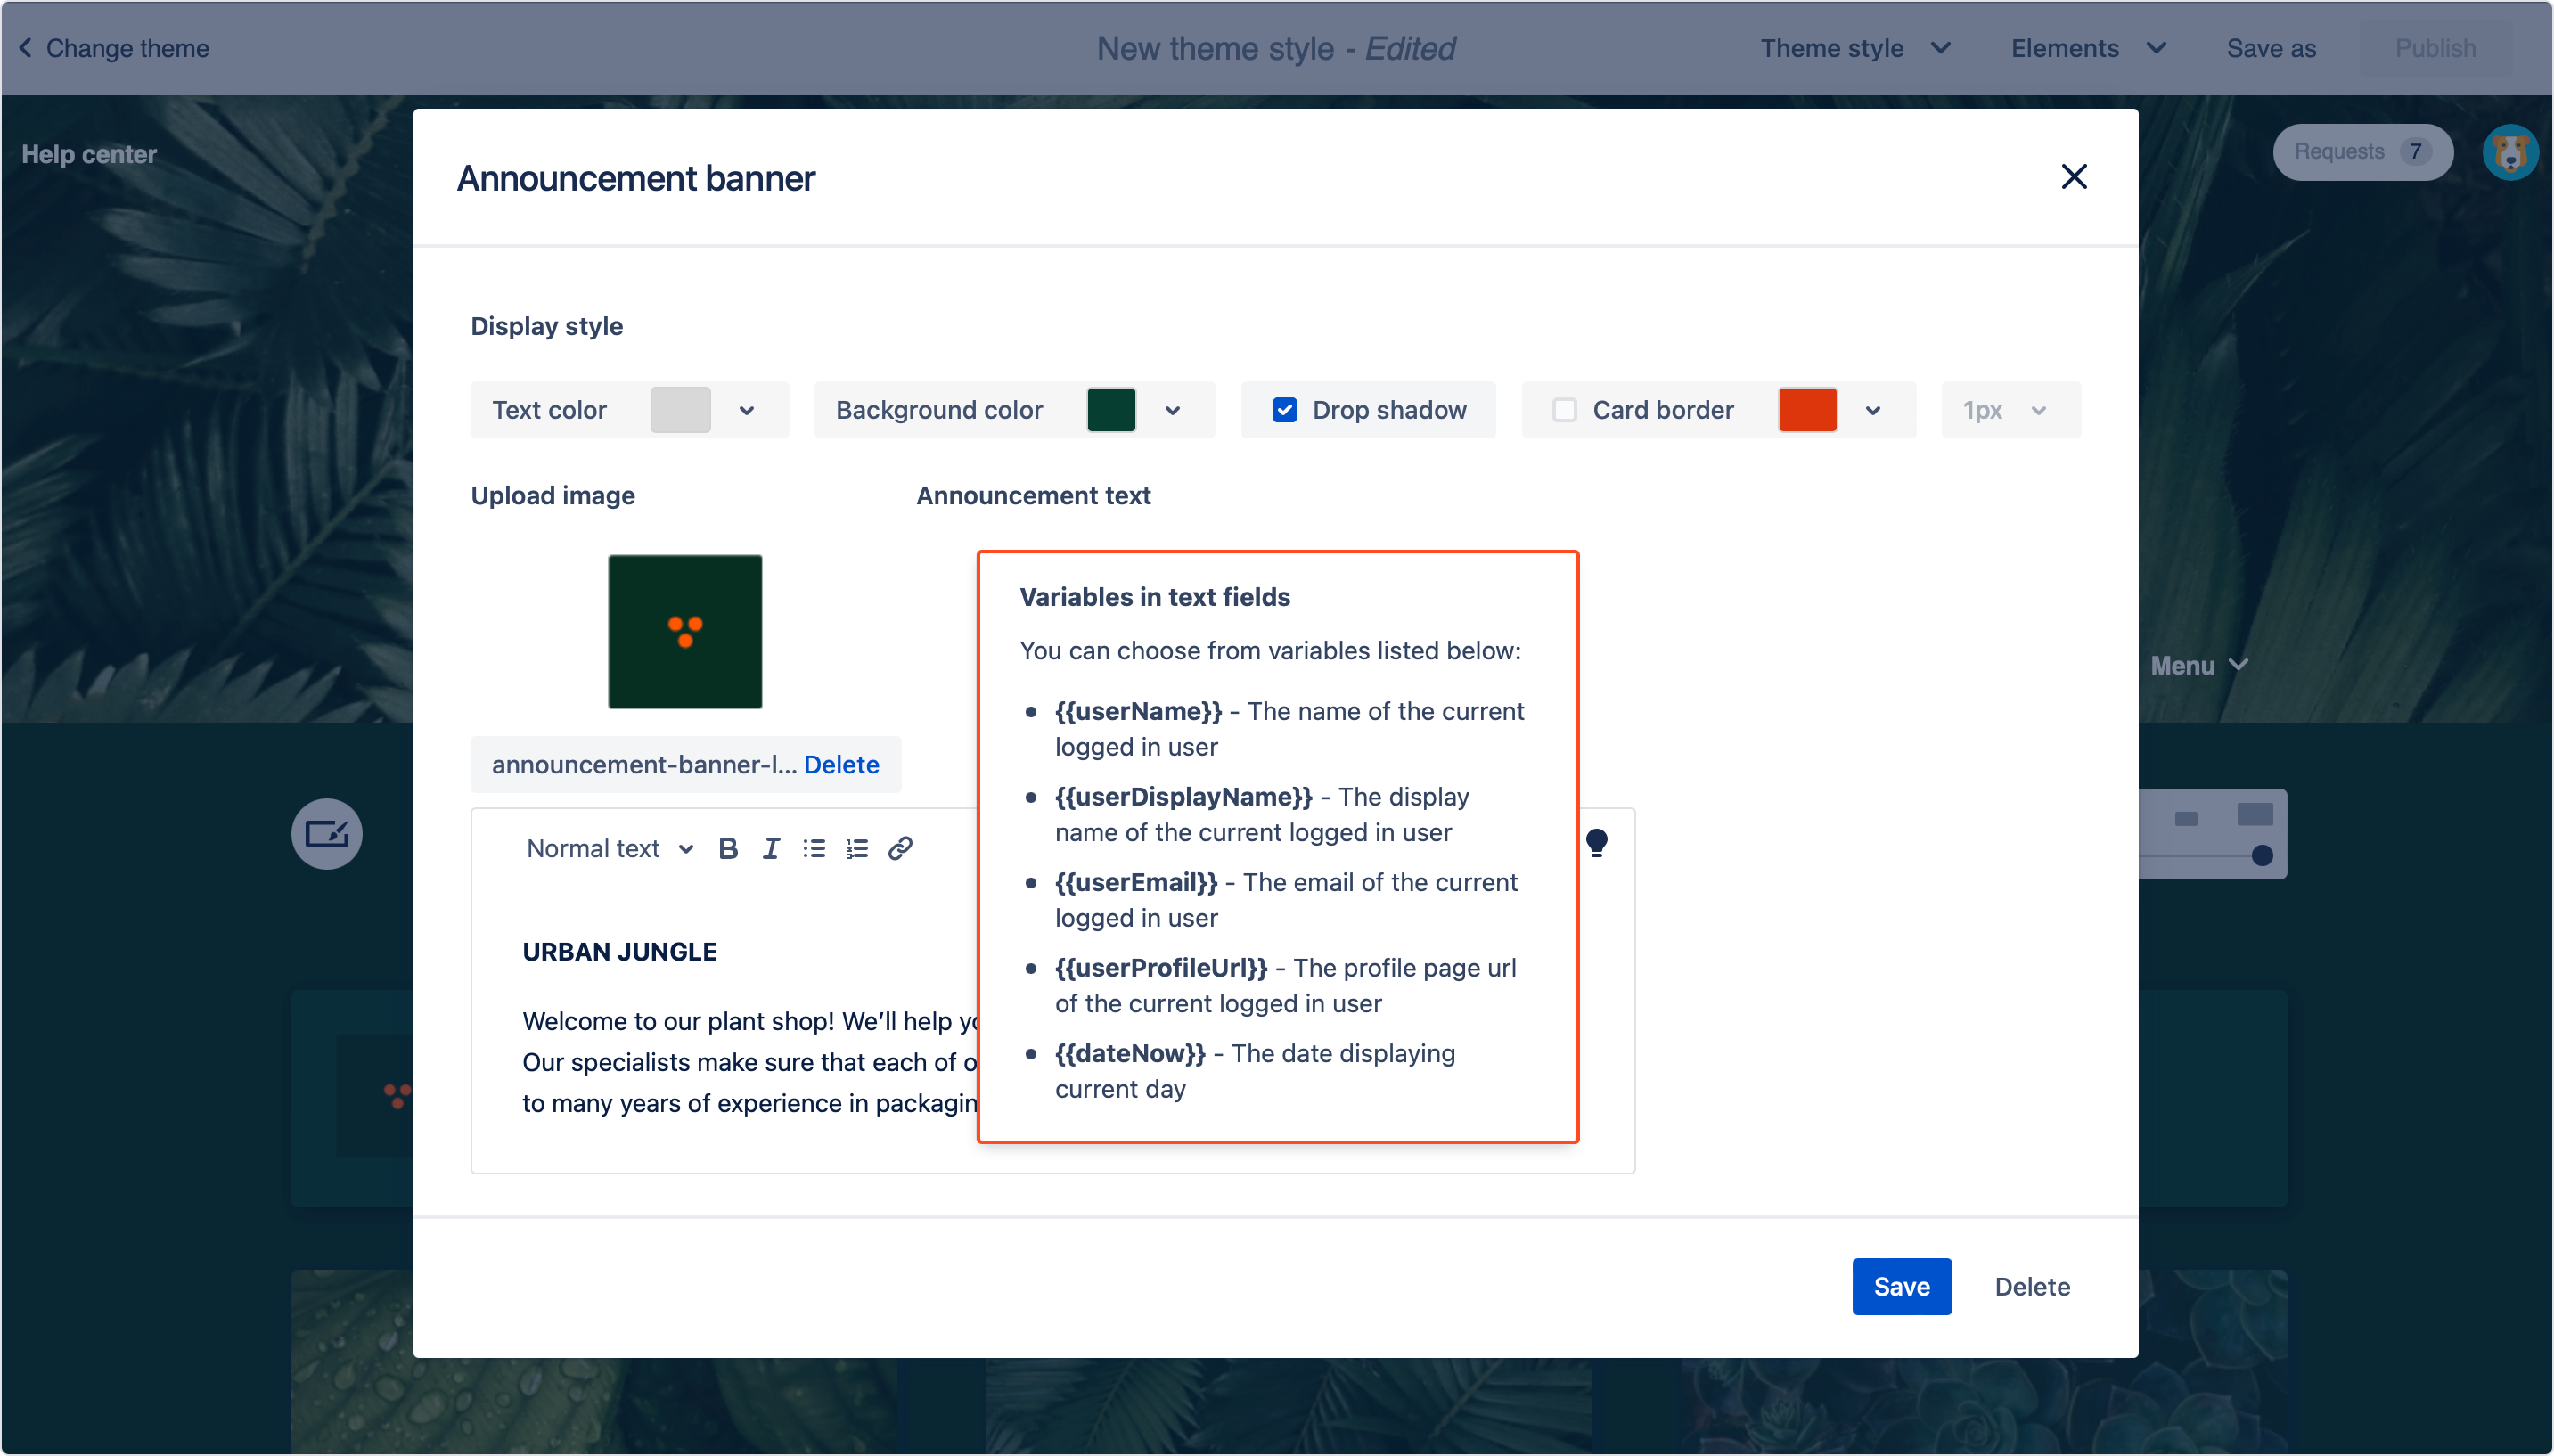
You can change the text and insert variables directly into the announcement banner that your customers see when they visit your site.
Steps
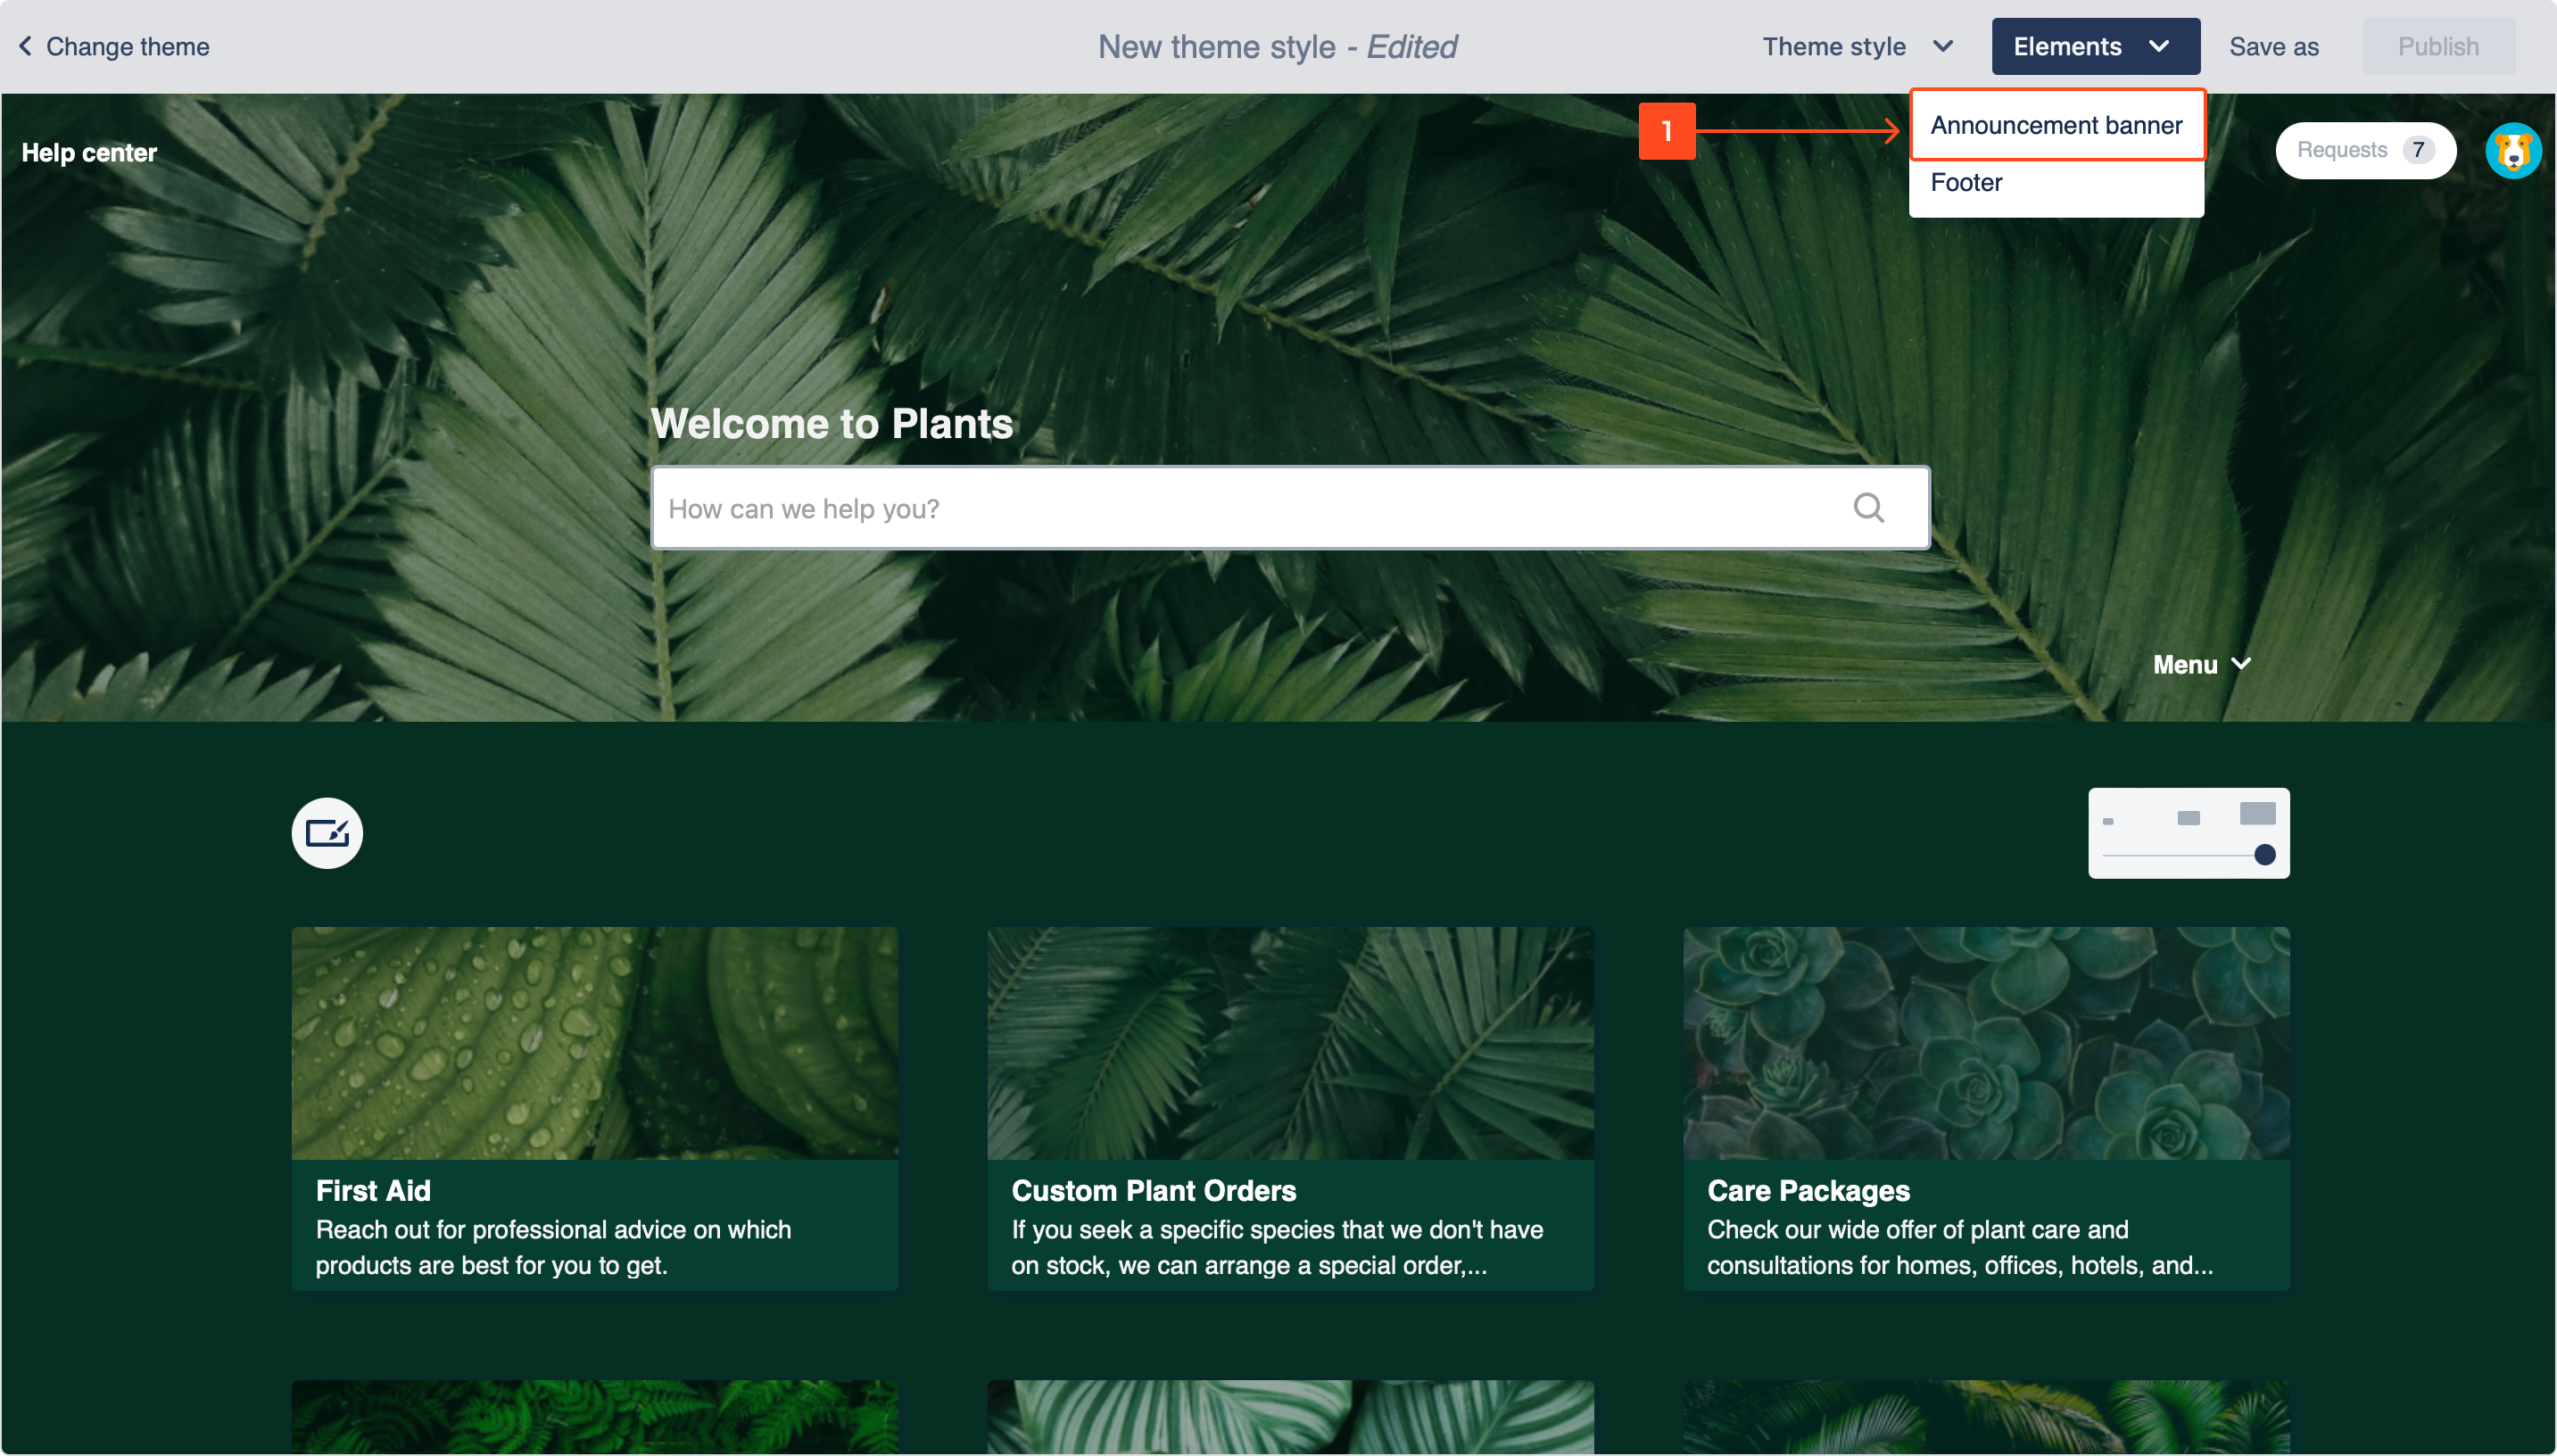
- In the theme editor, click Elements and select Announcement banner from the drop-down list.
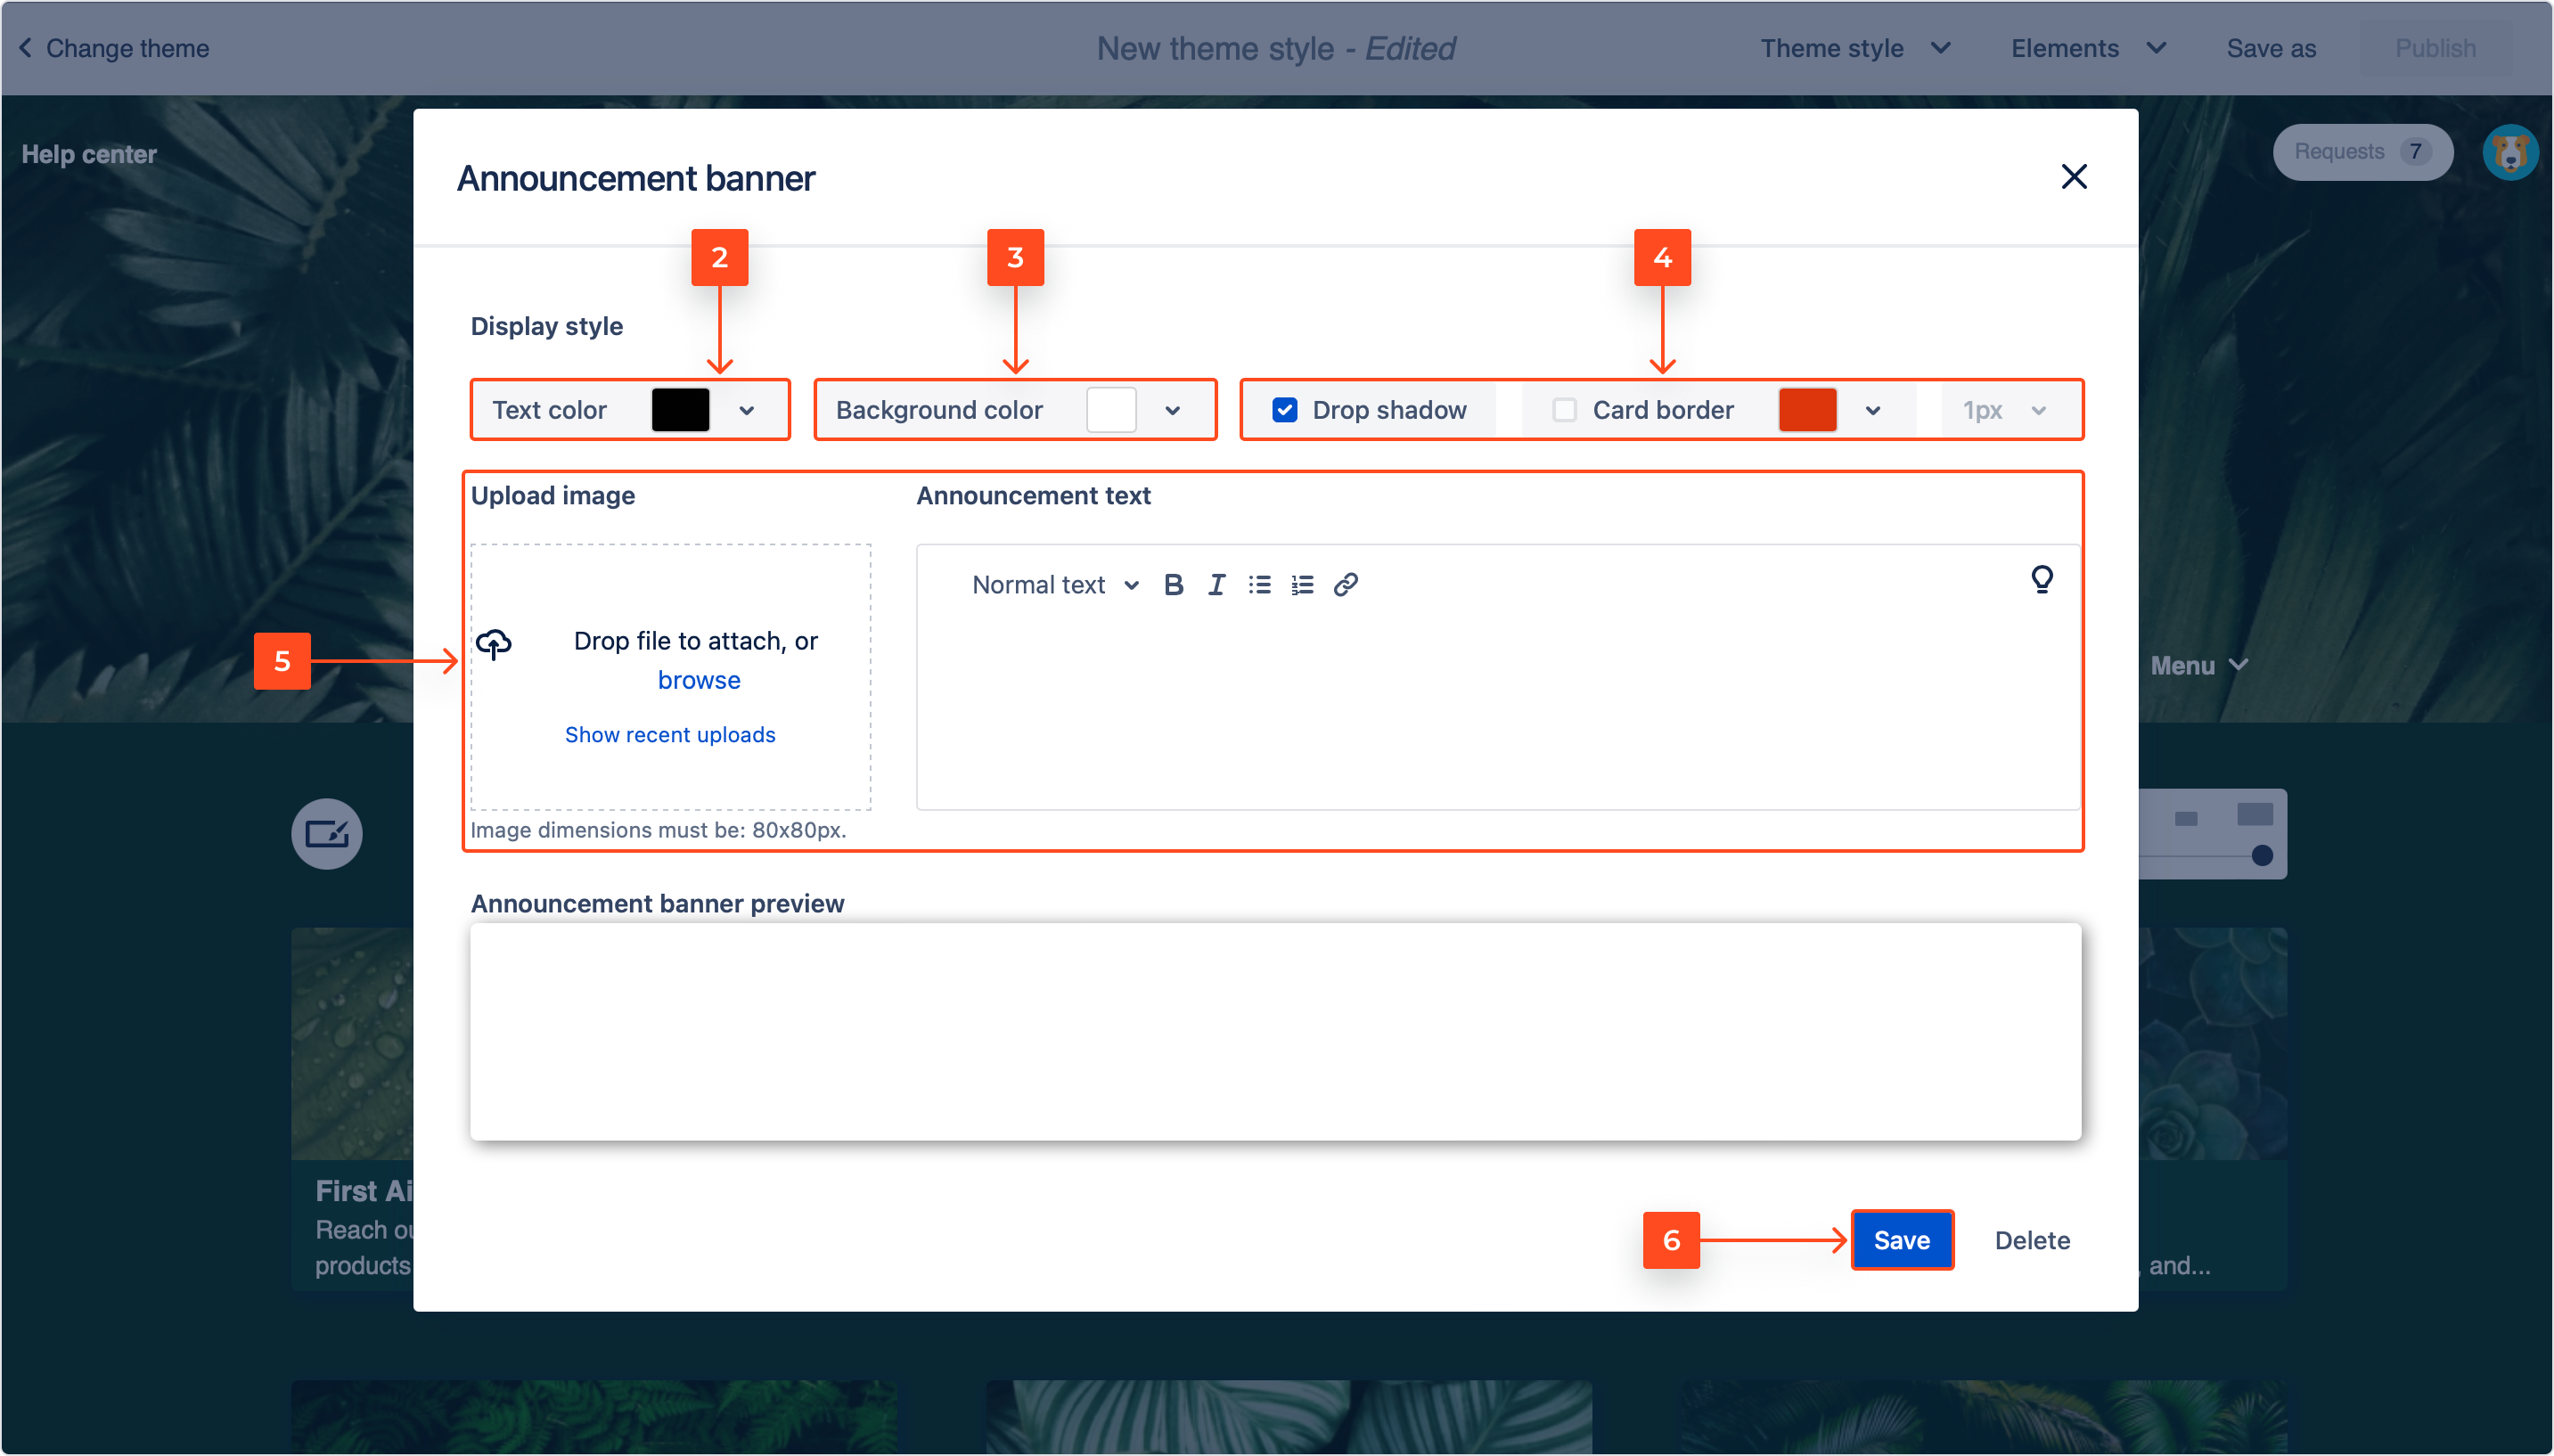
- Choose the text color.
- Choose the background color.
- Specify if the drop shadow and card border should be applied.
- Insert the announcement text. You can also upload an image using drag and drop.
Note
Image dimensions must be 80x80 px.
- Click Save.
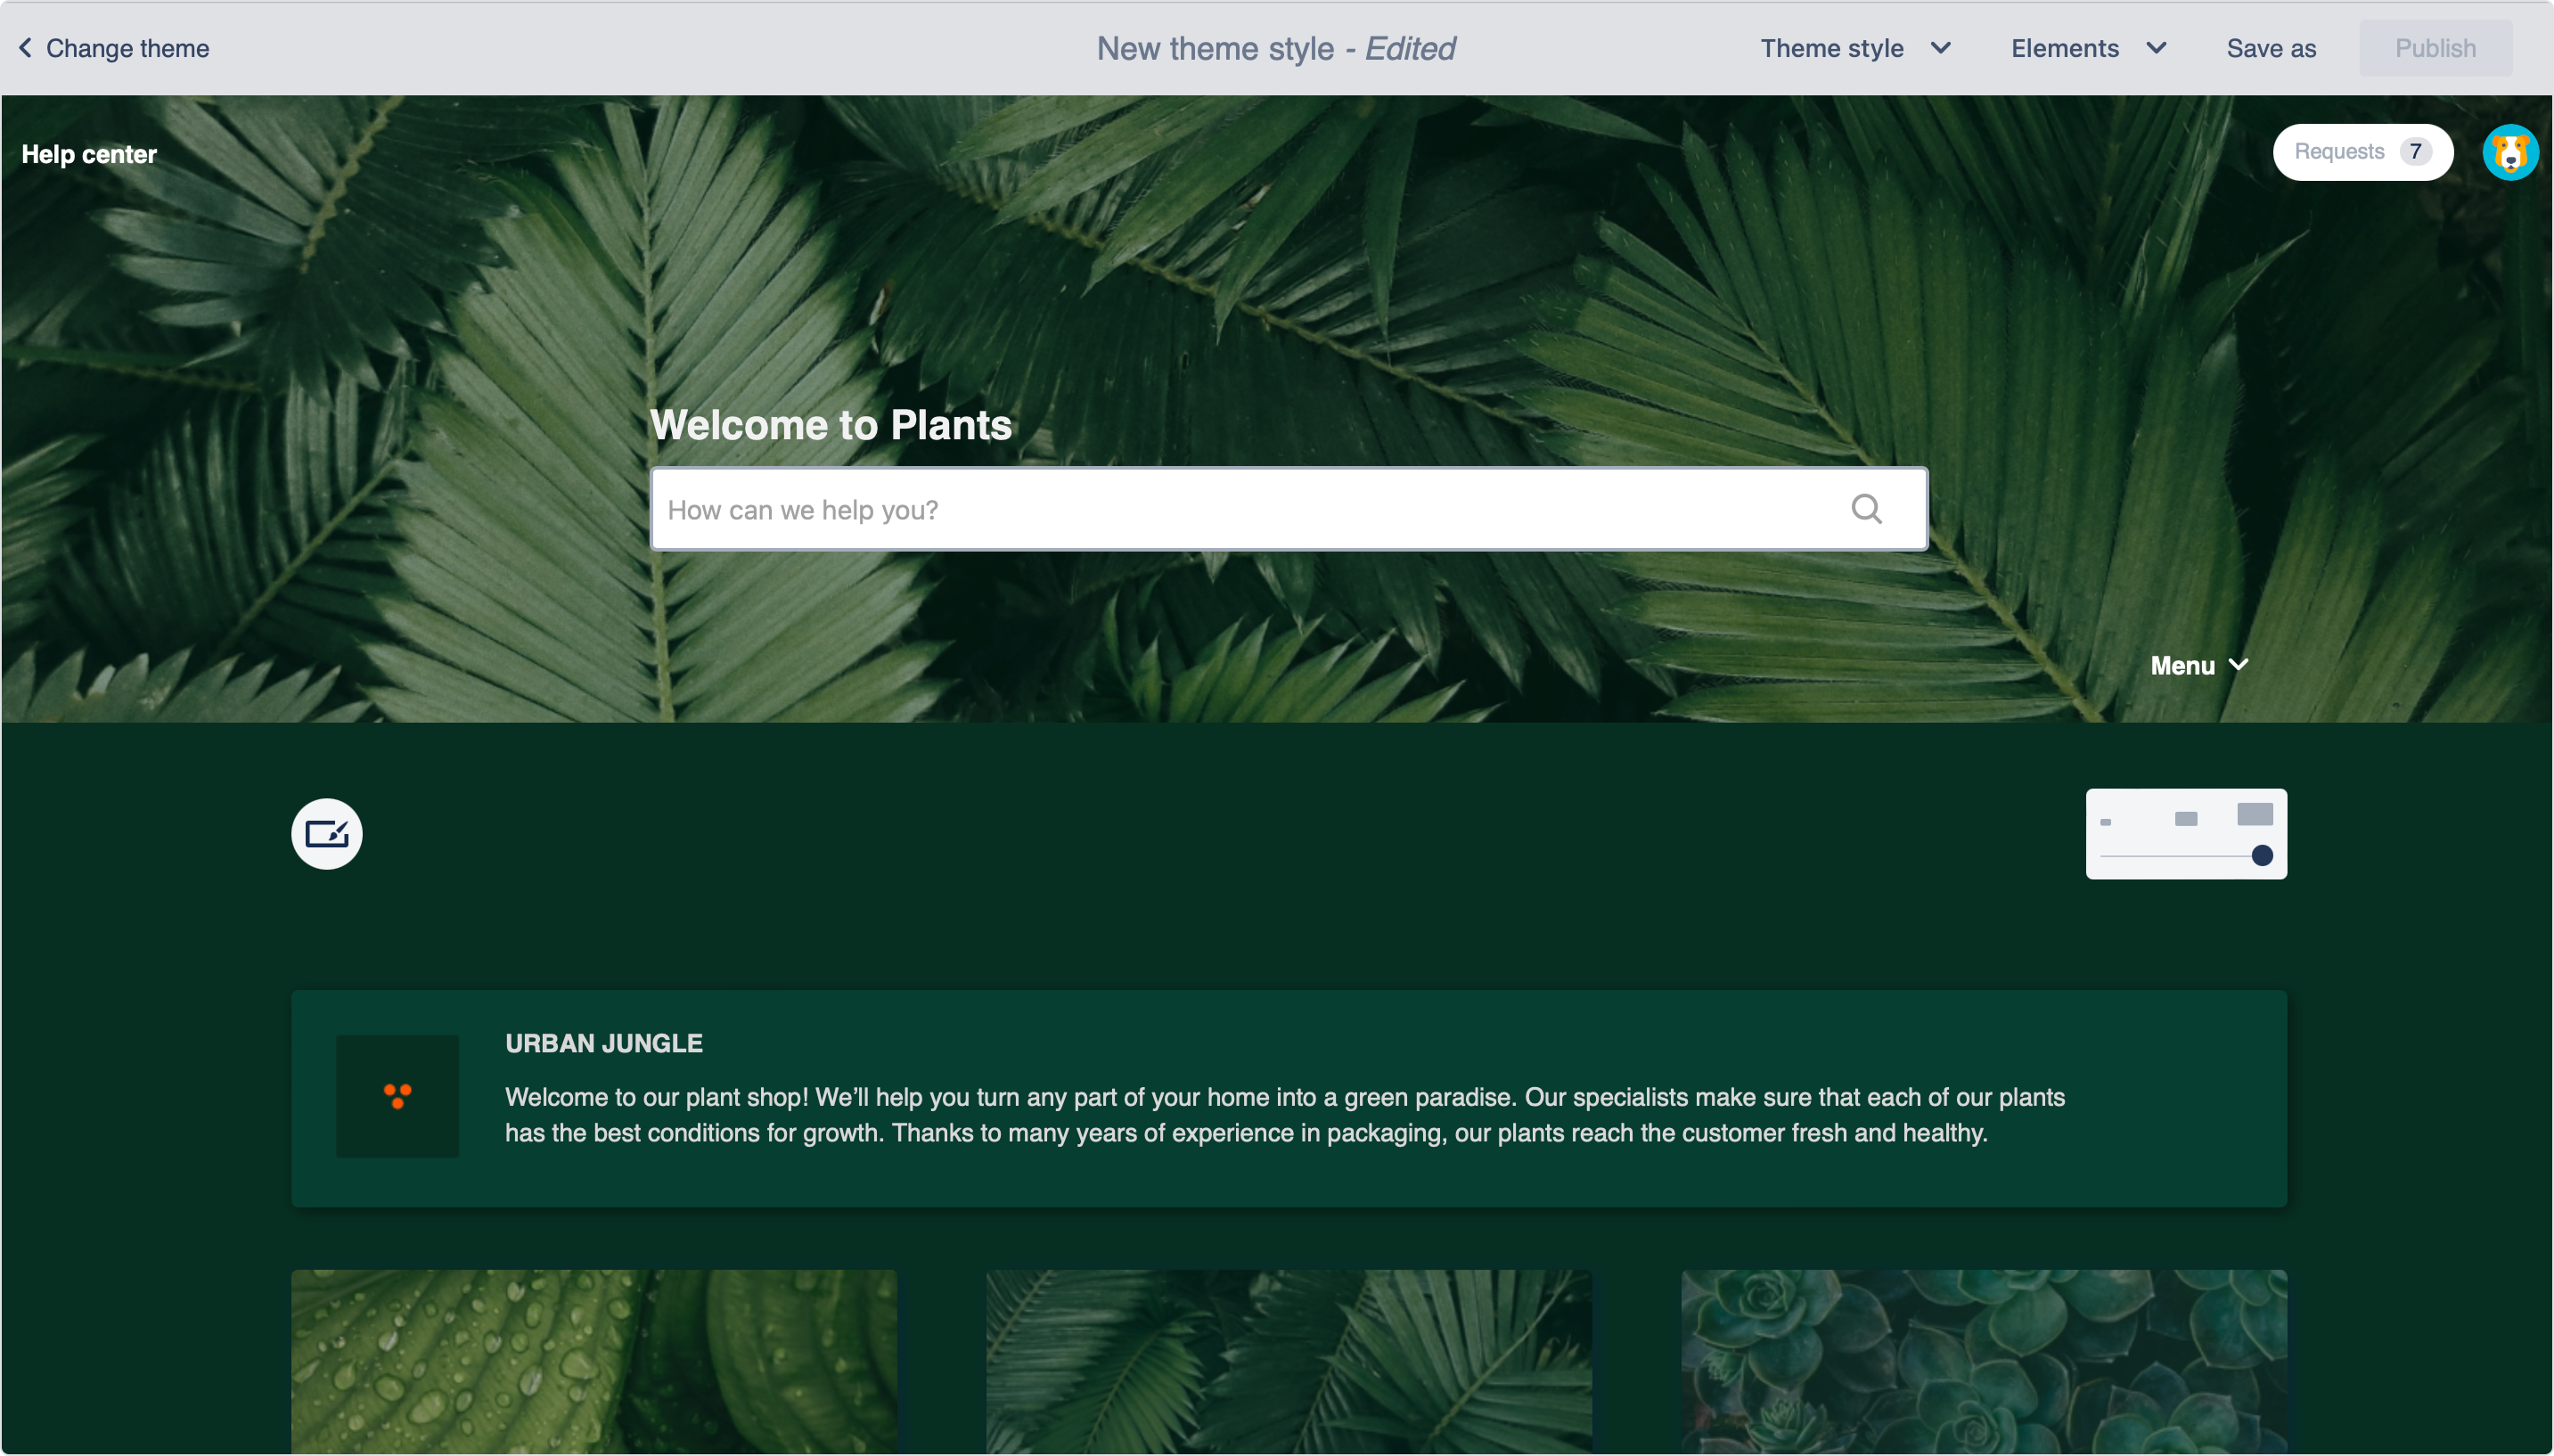
Result
Your announcement banner is applied.
Editing permissions
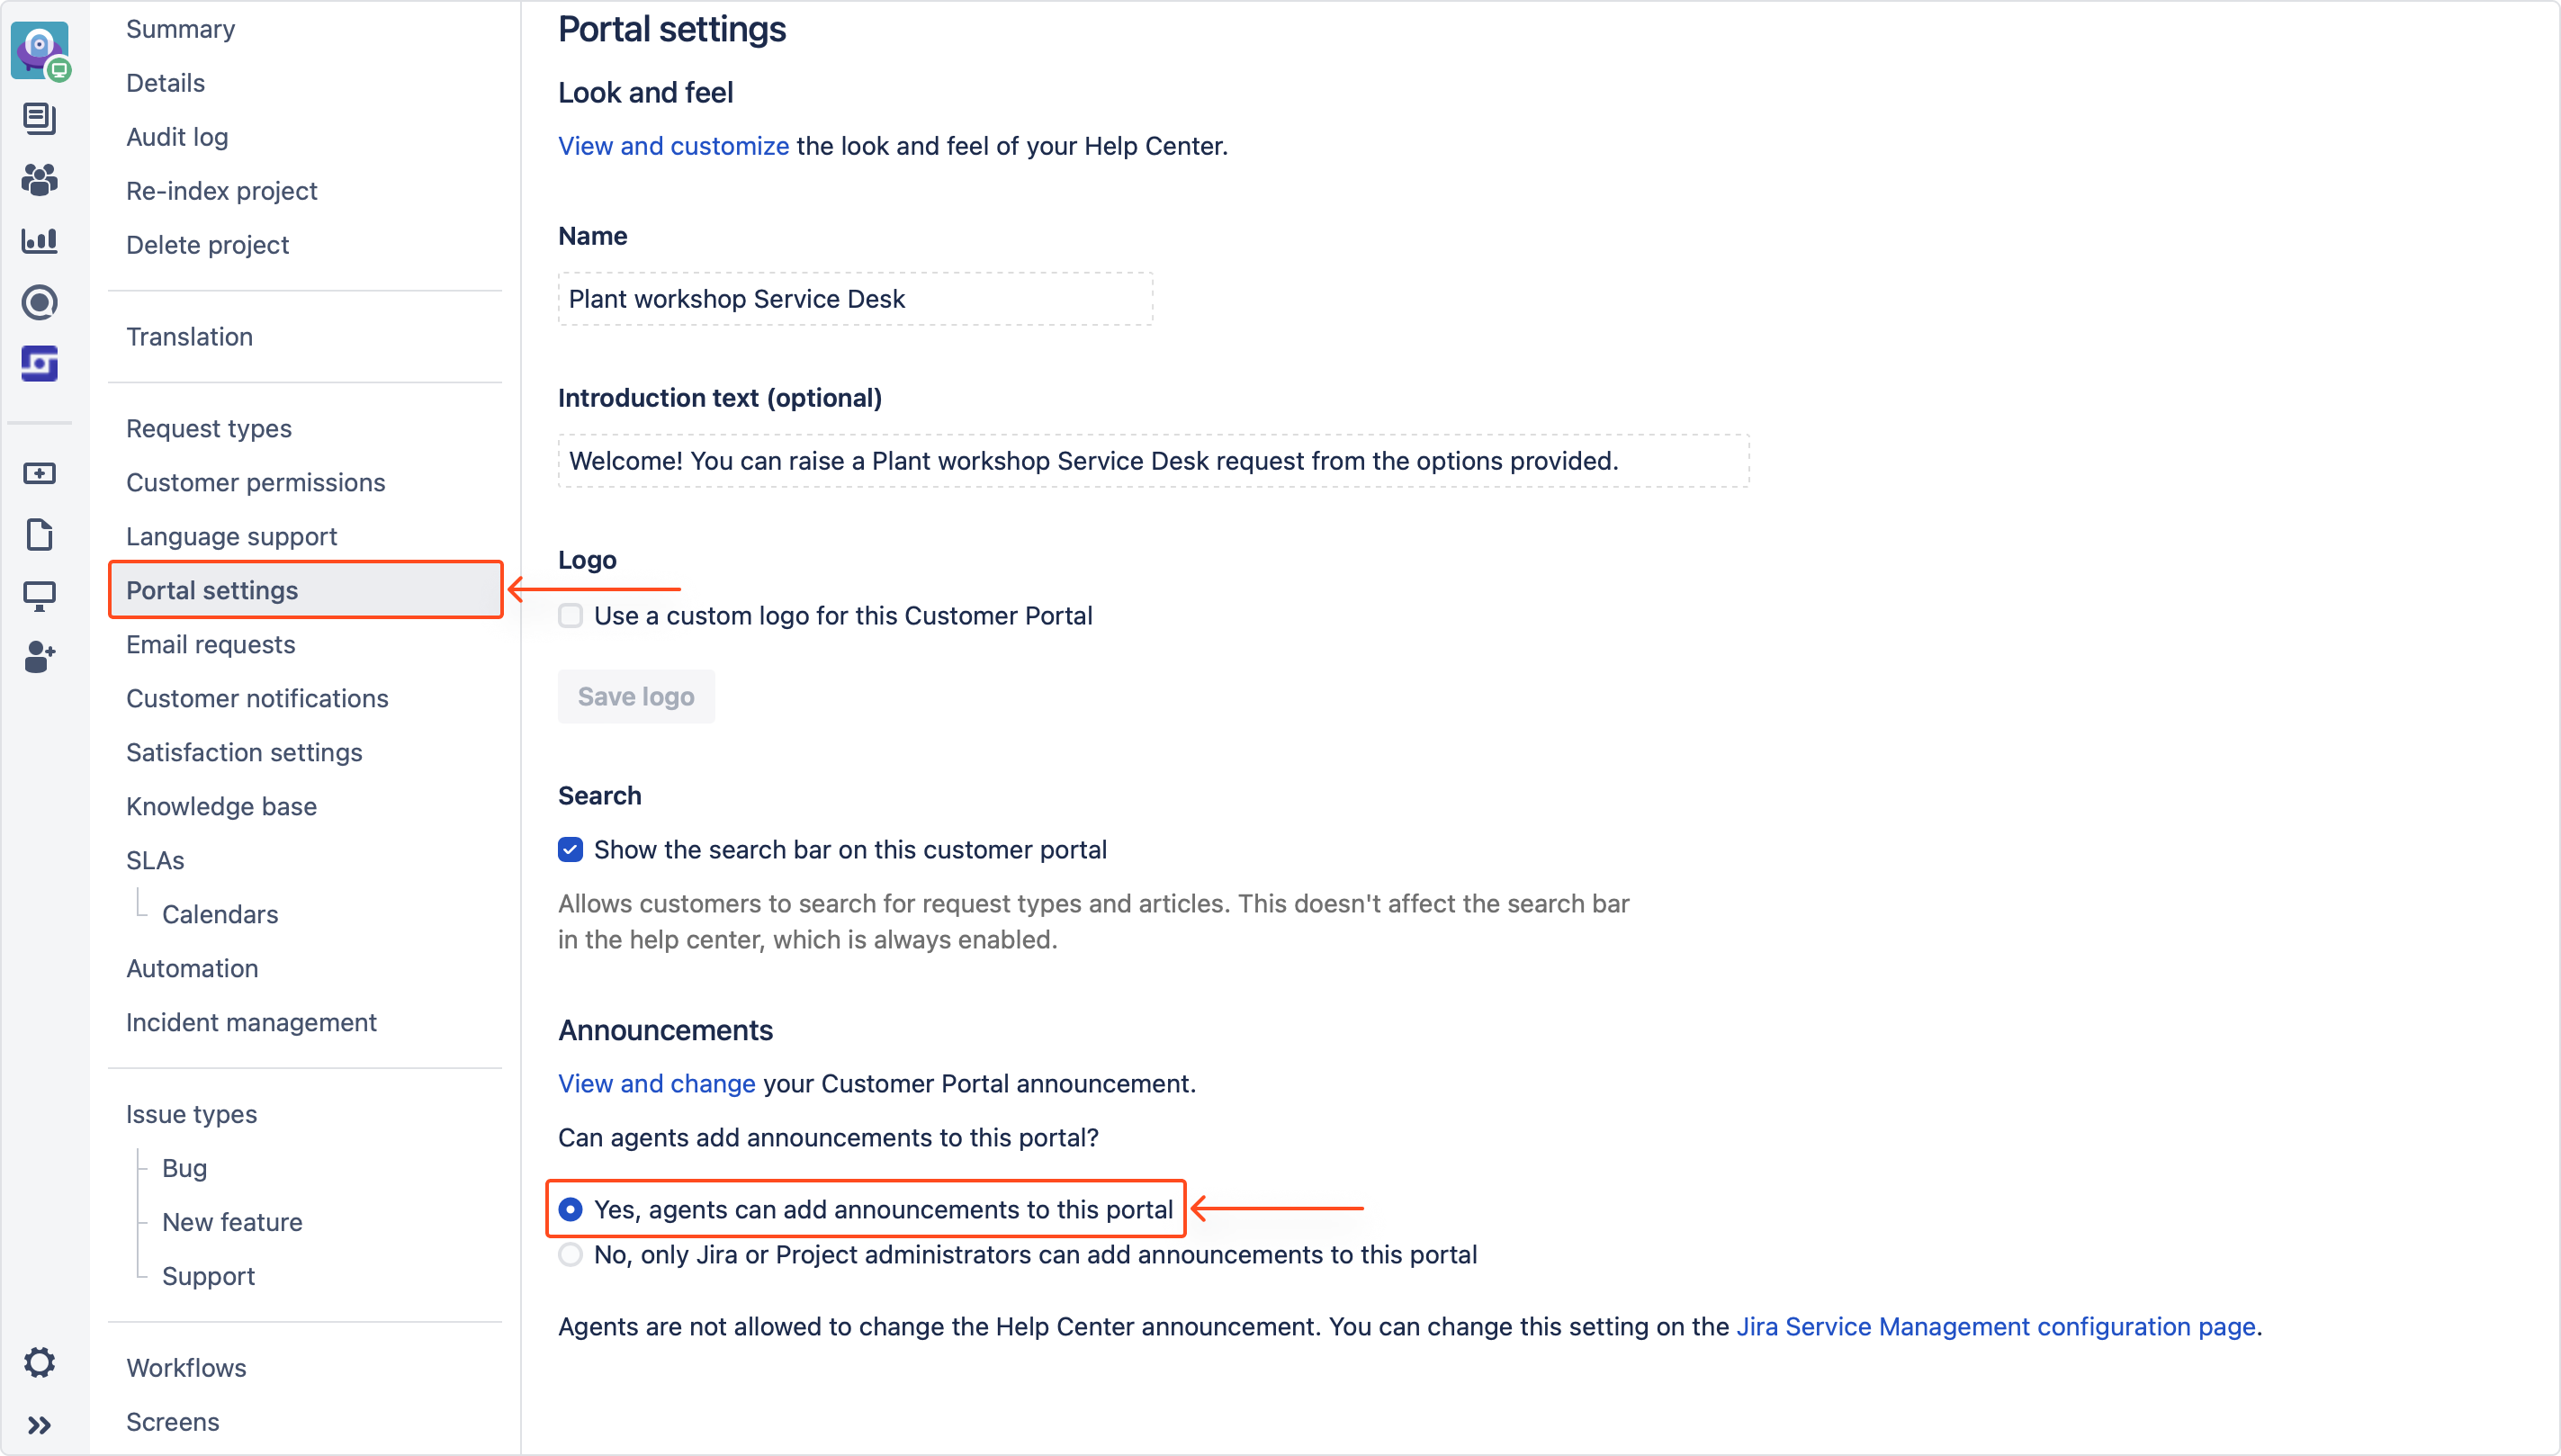
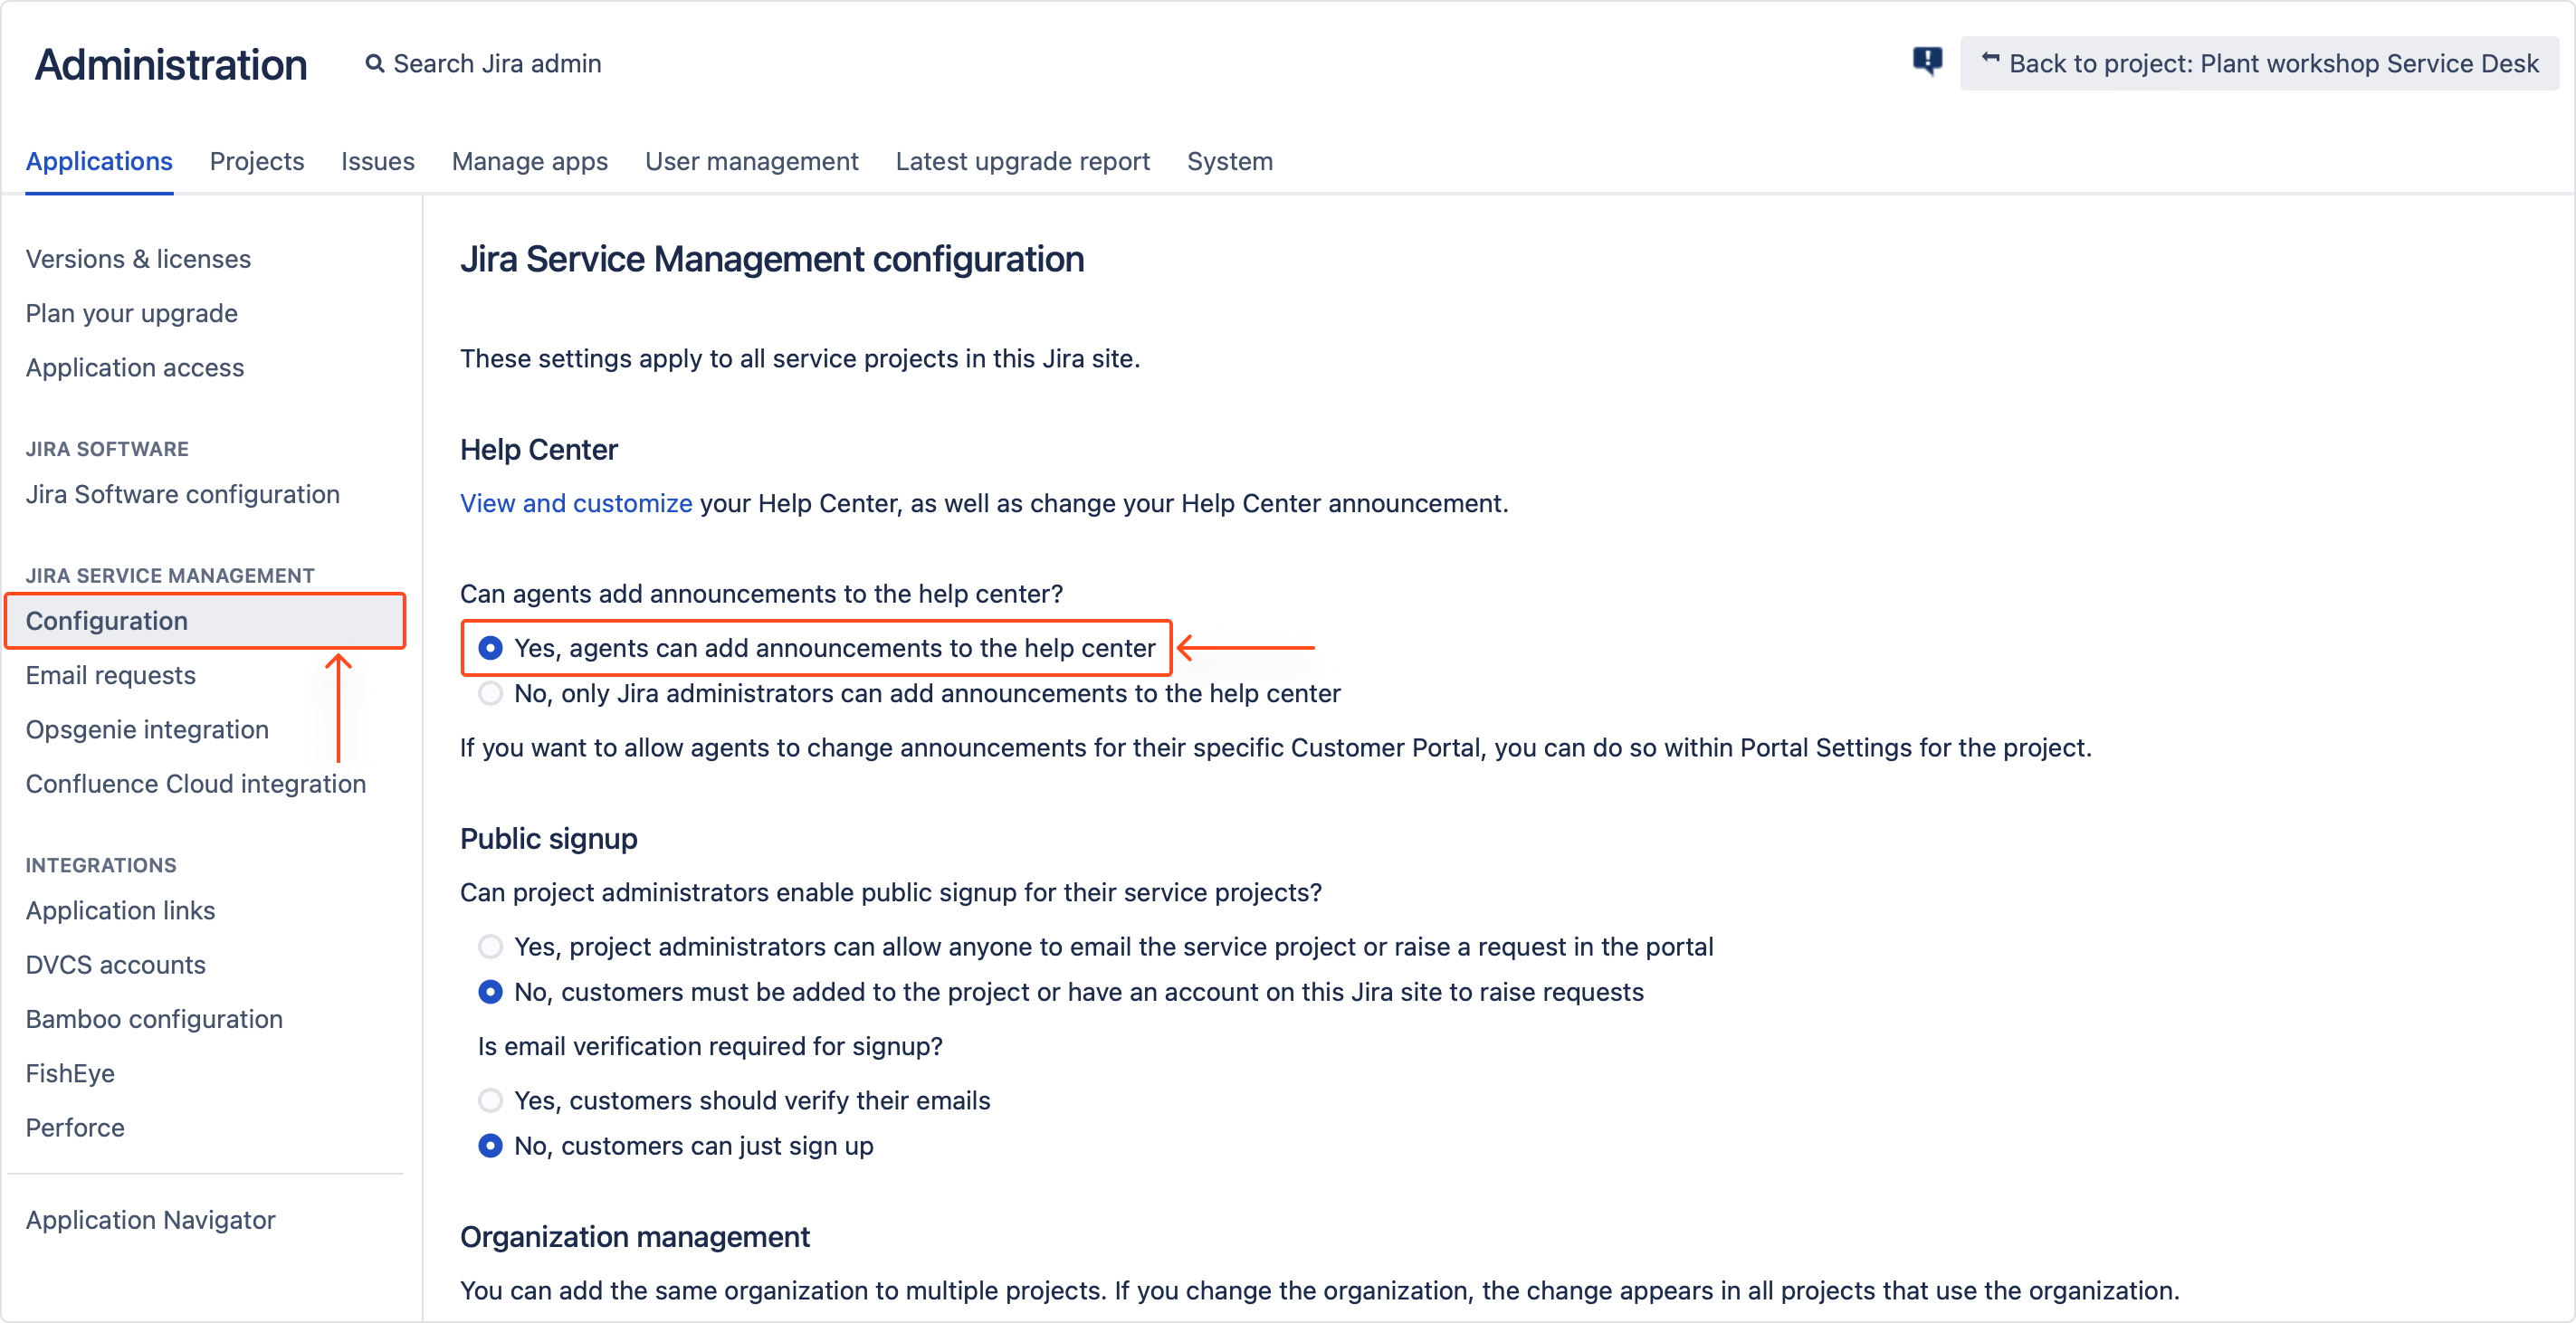
The option to edit the announcement banner can be made available to all the agents in Jira Service Management. They will be able to access only the announcement banner configuration panel, without seeing the rest of theme editor. To allow the agents for editing the banner, the administrator needs to grant them permissions related either to the Customer Portal or Help Center.
To grant permission for editing banner on the Customer Portal, go to your Project’s Portal settings and select the proper option below the Announcements section:
To grant permission for editing banner on the Help Center, go to Applications > Jira Service Management Configuration and select the proper option below the Help Center section:
When configuring a banner, the agents won’t see the option to get the translation key that can be used with the Translation app. The reason is that agents don’t share the same permissions as administrators, so they wouldn’t be able to configure it either way.
Footer
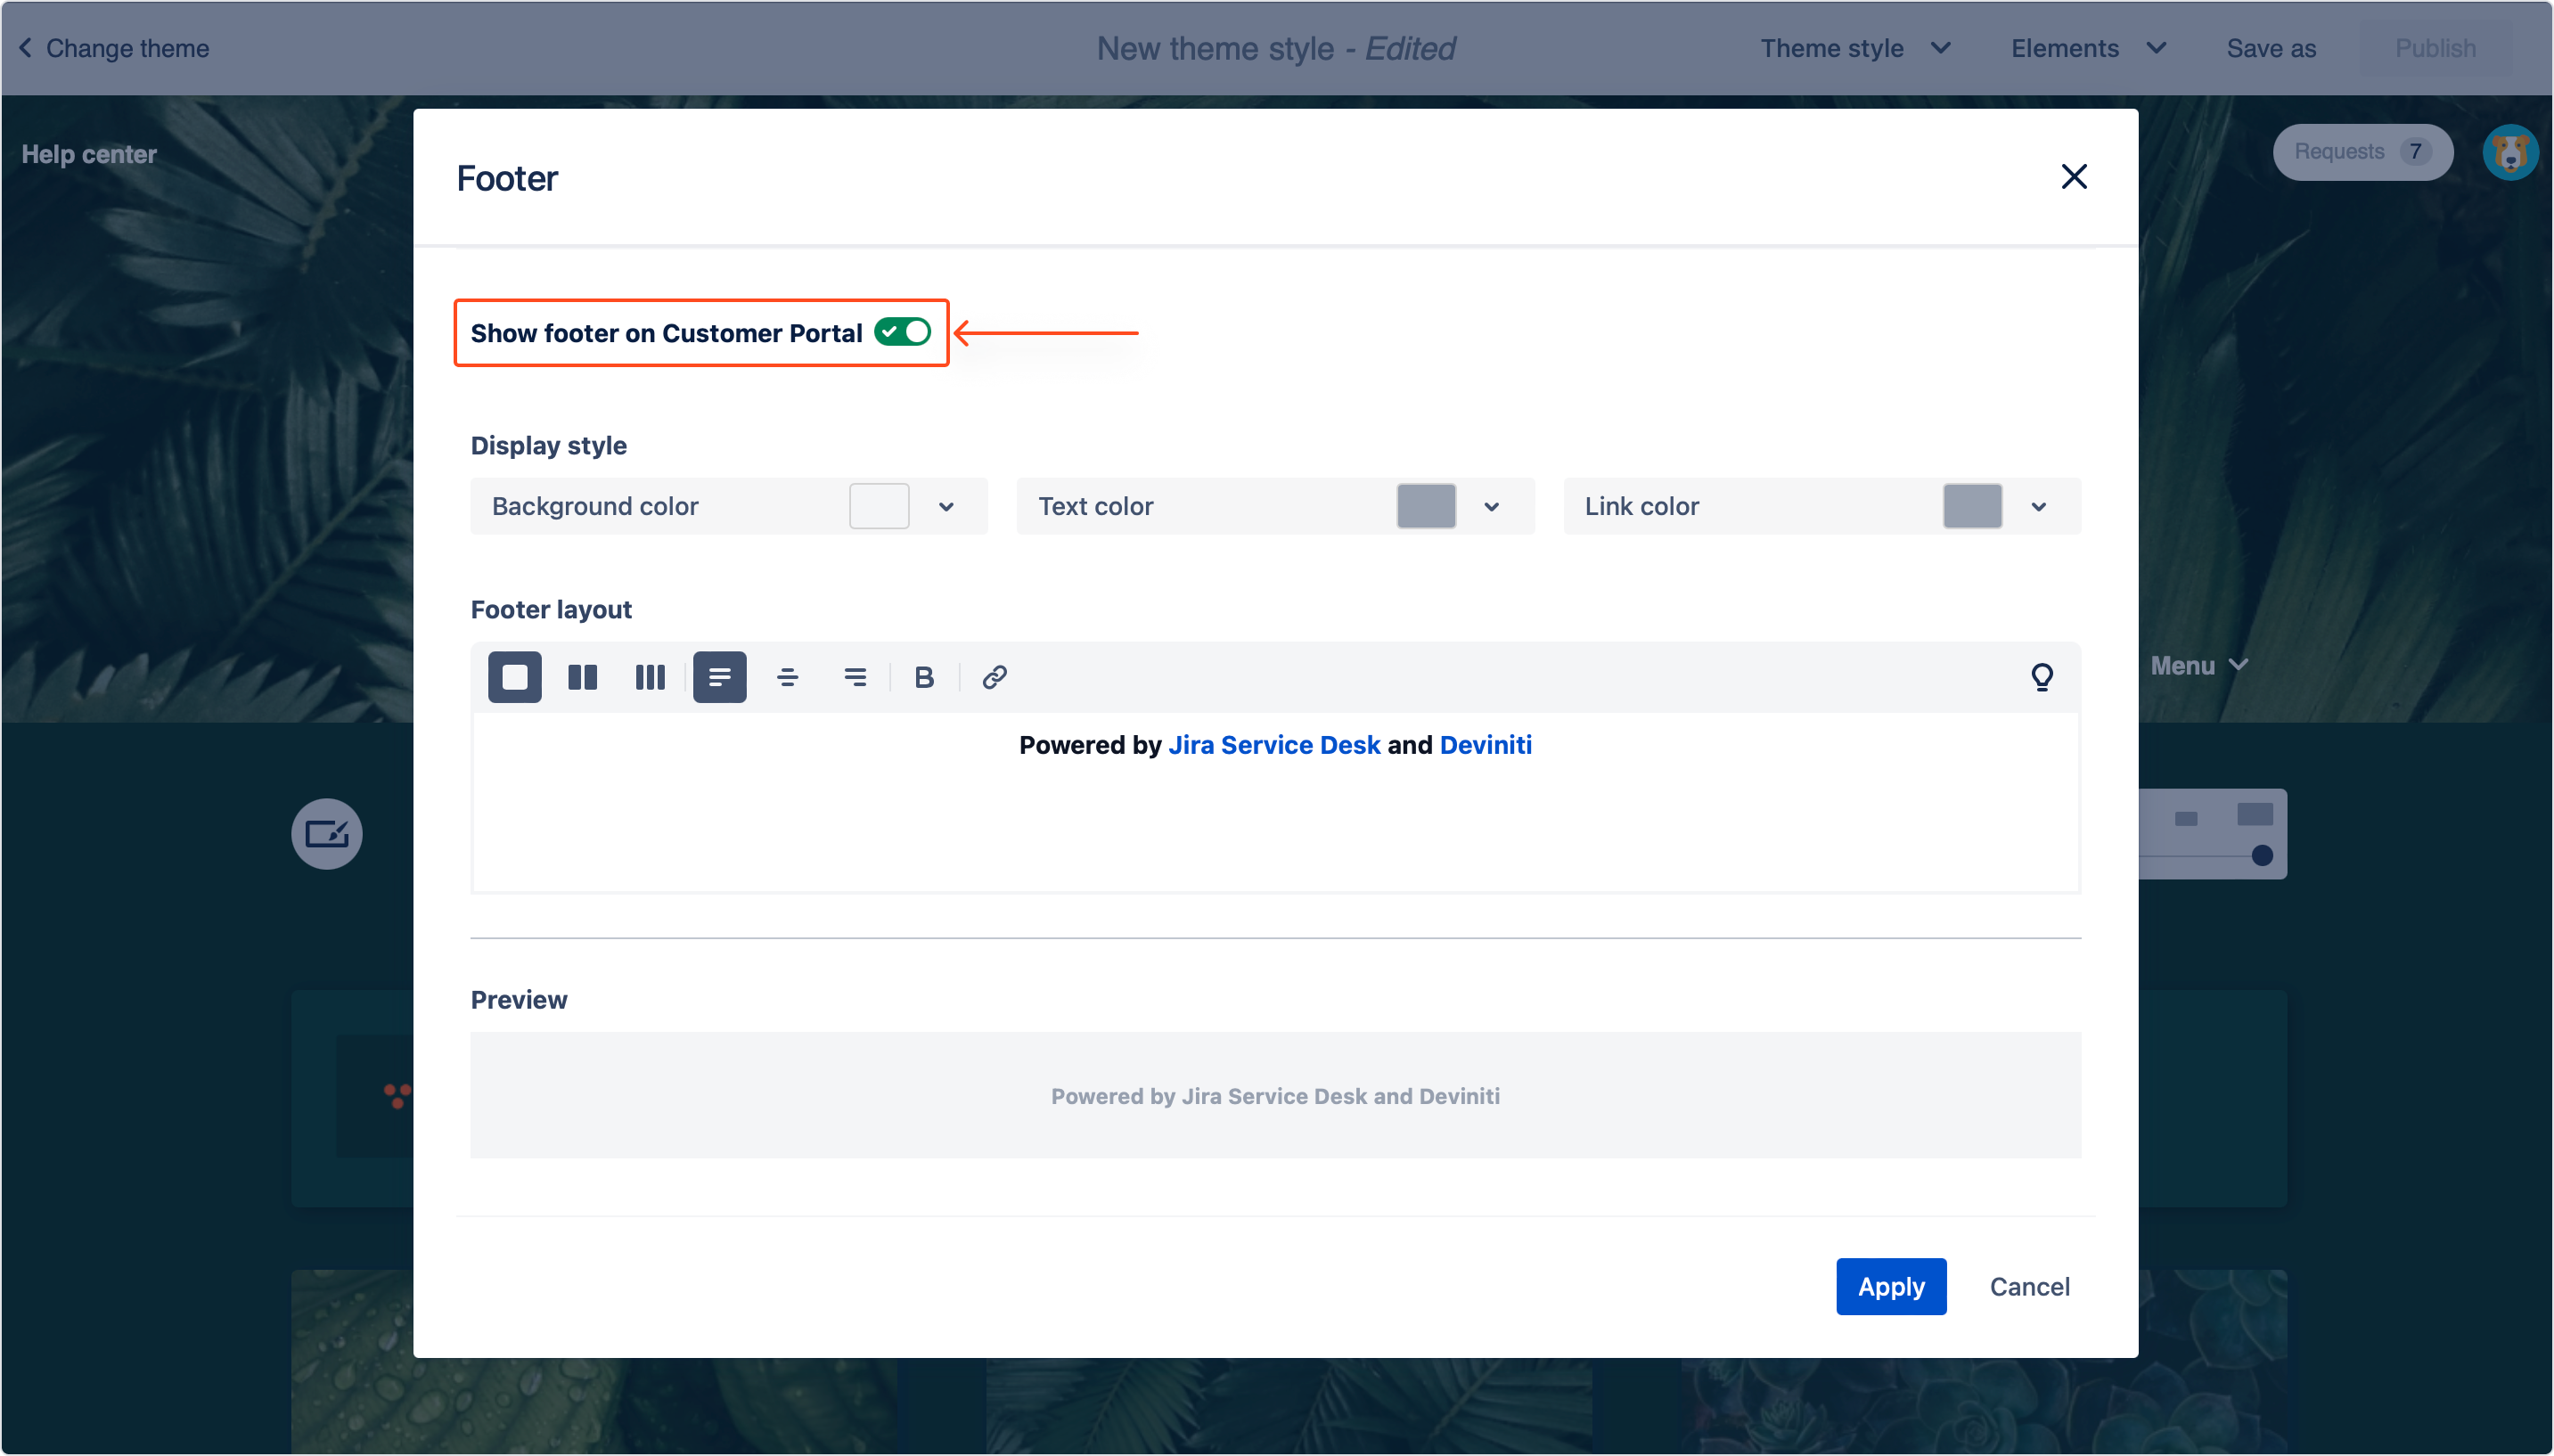
You can change the text and insert variable parameters into the footer located on the bottom of the site.
Steps
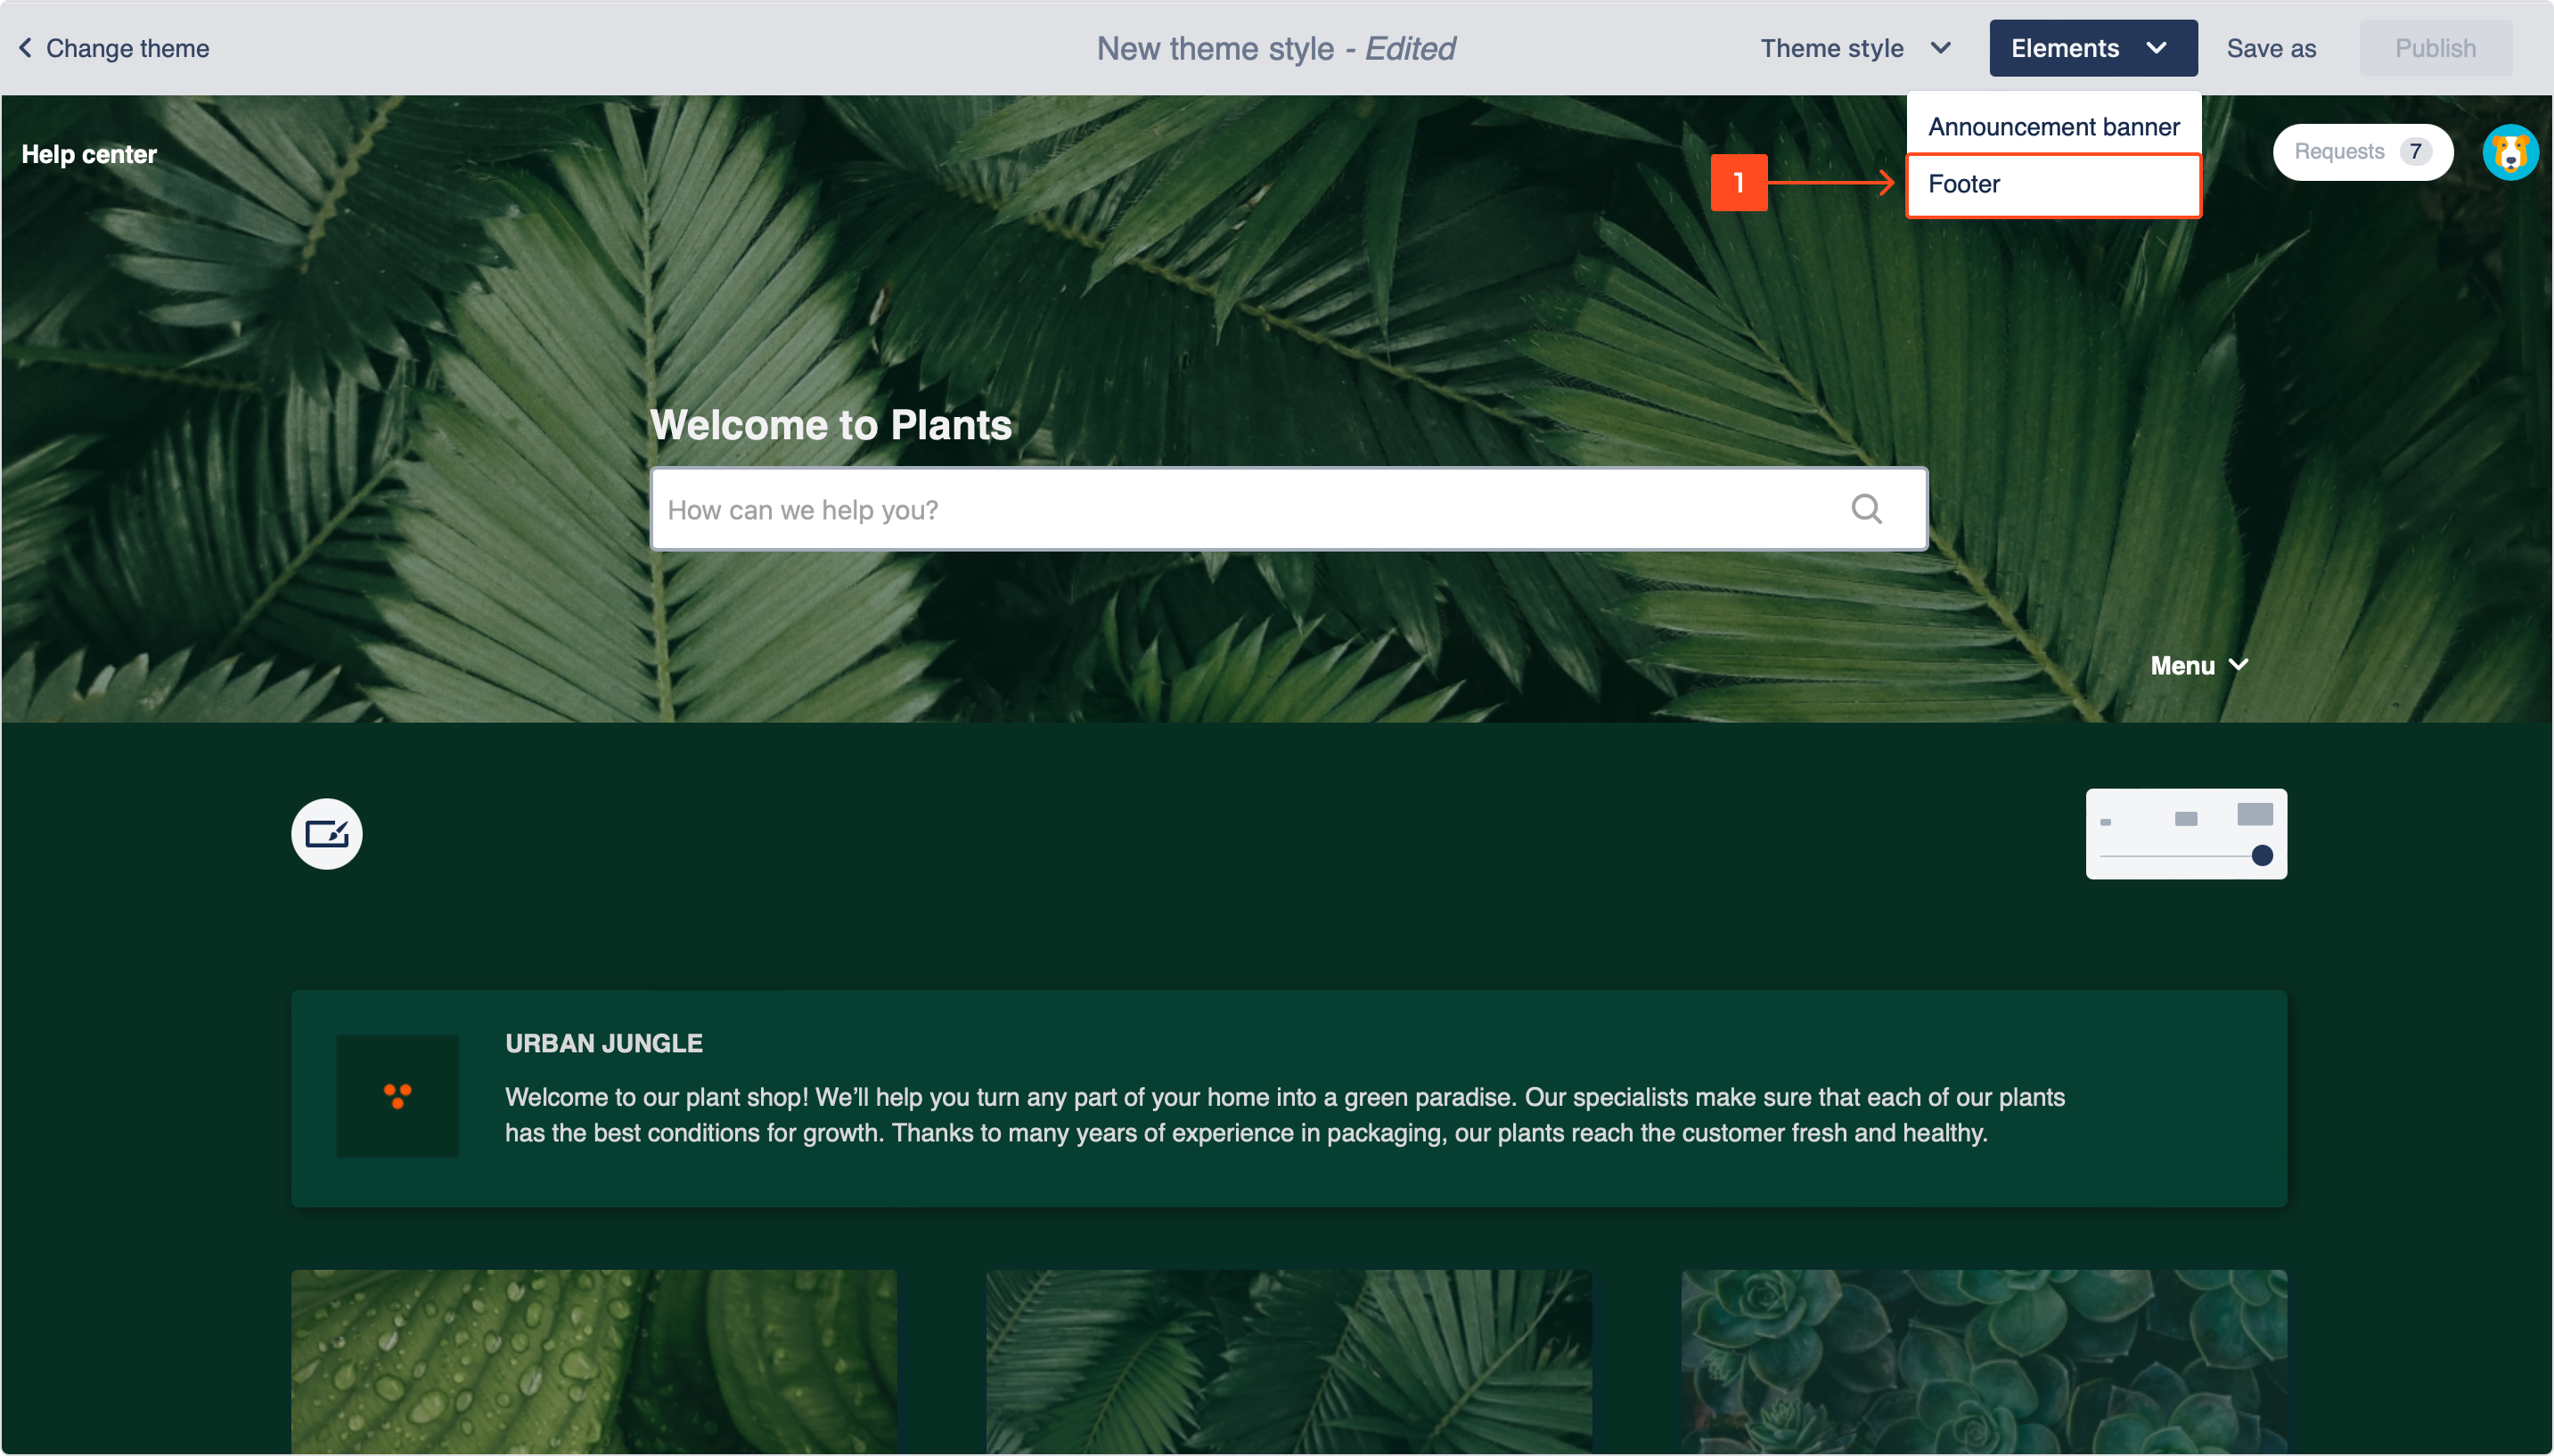
- In the theme editor, click Elements and select Footer from the drop-down list.
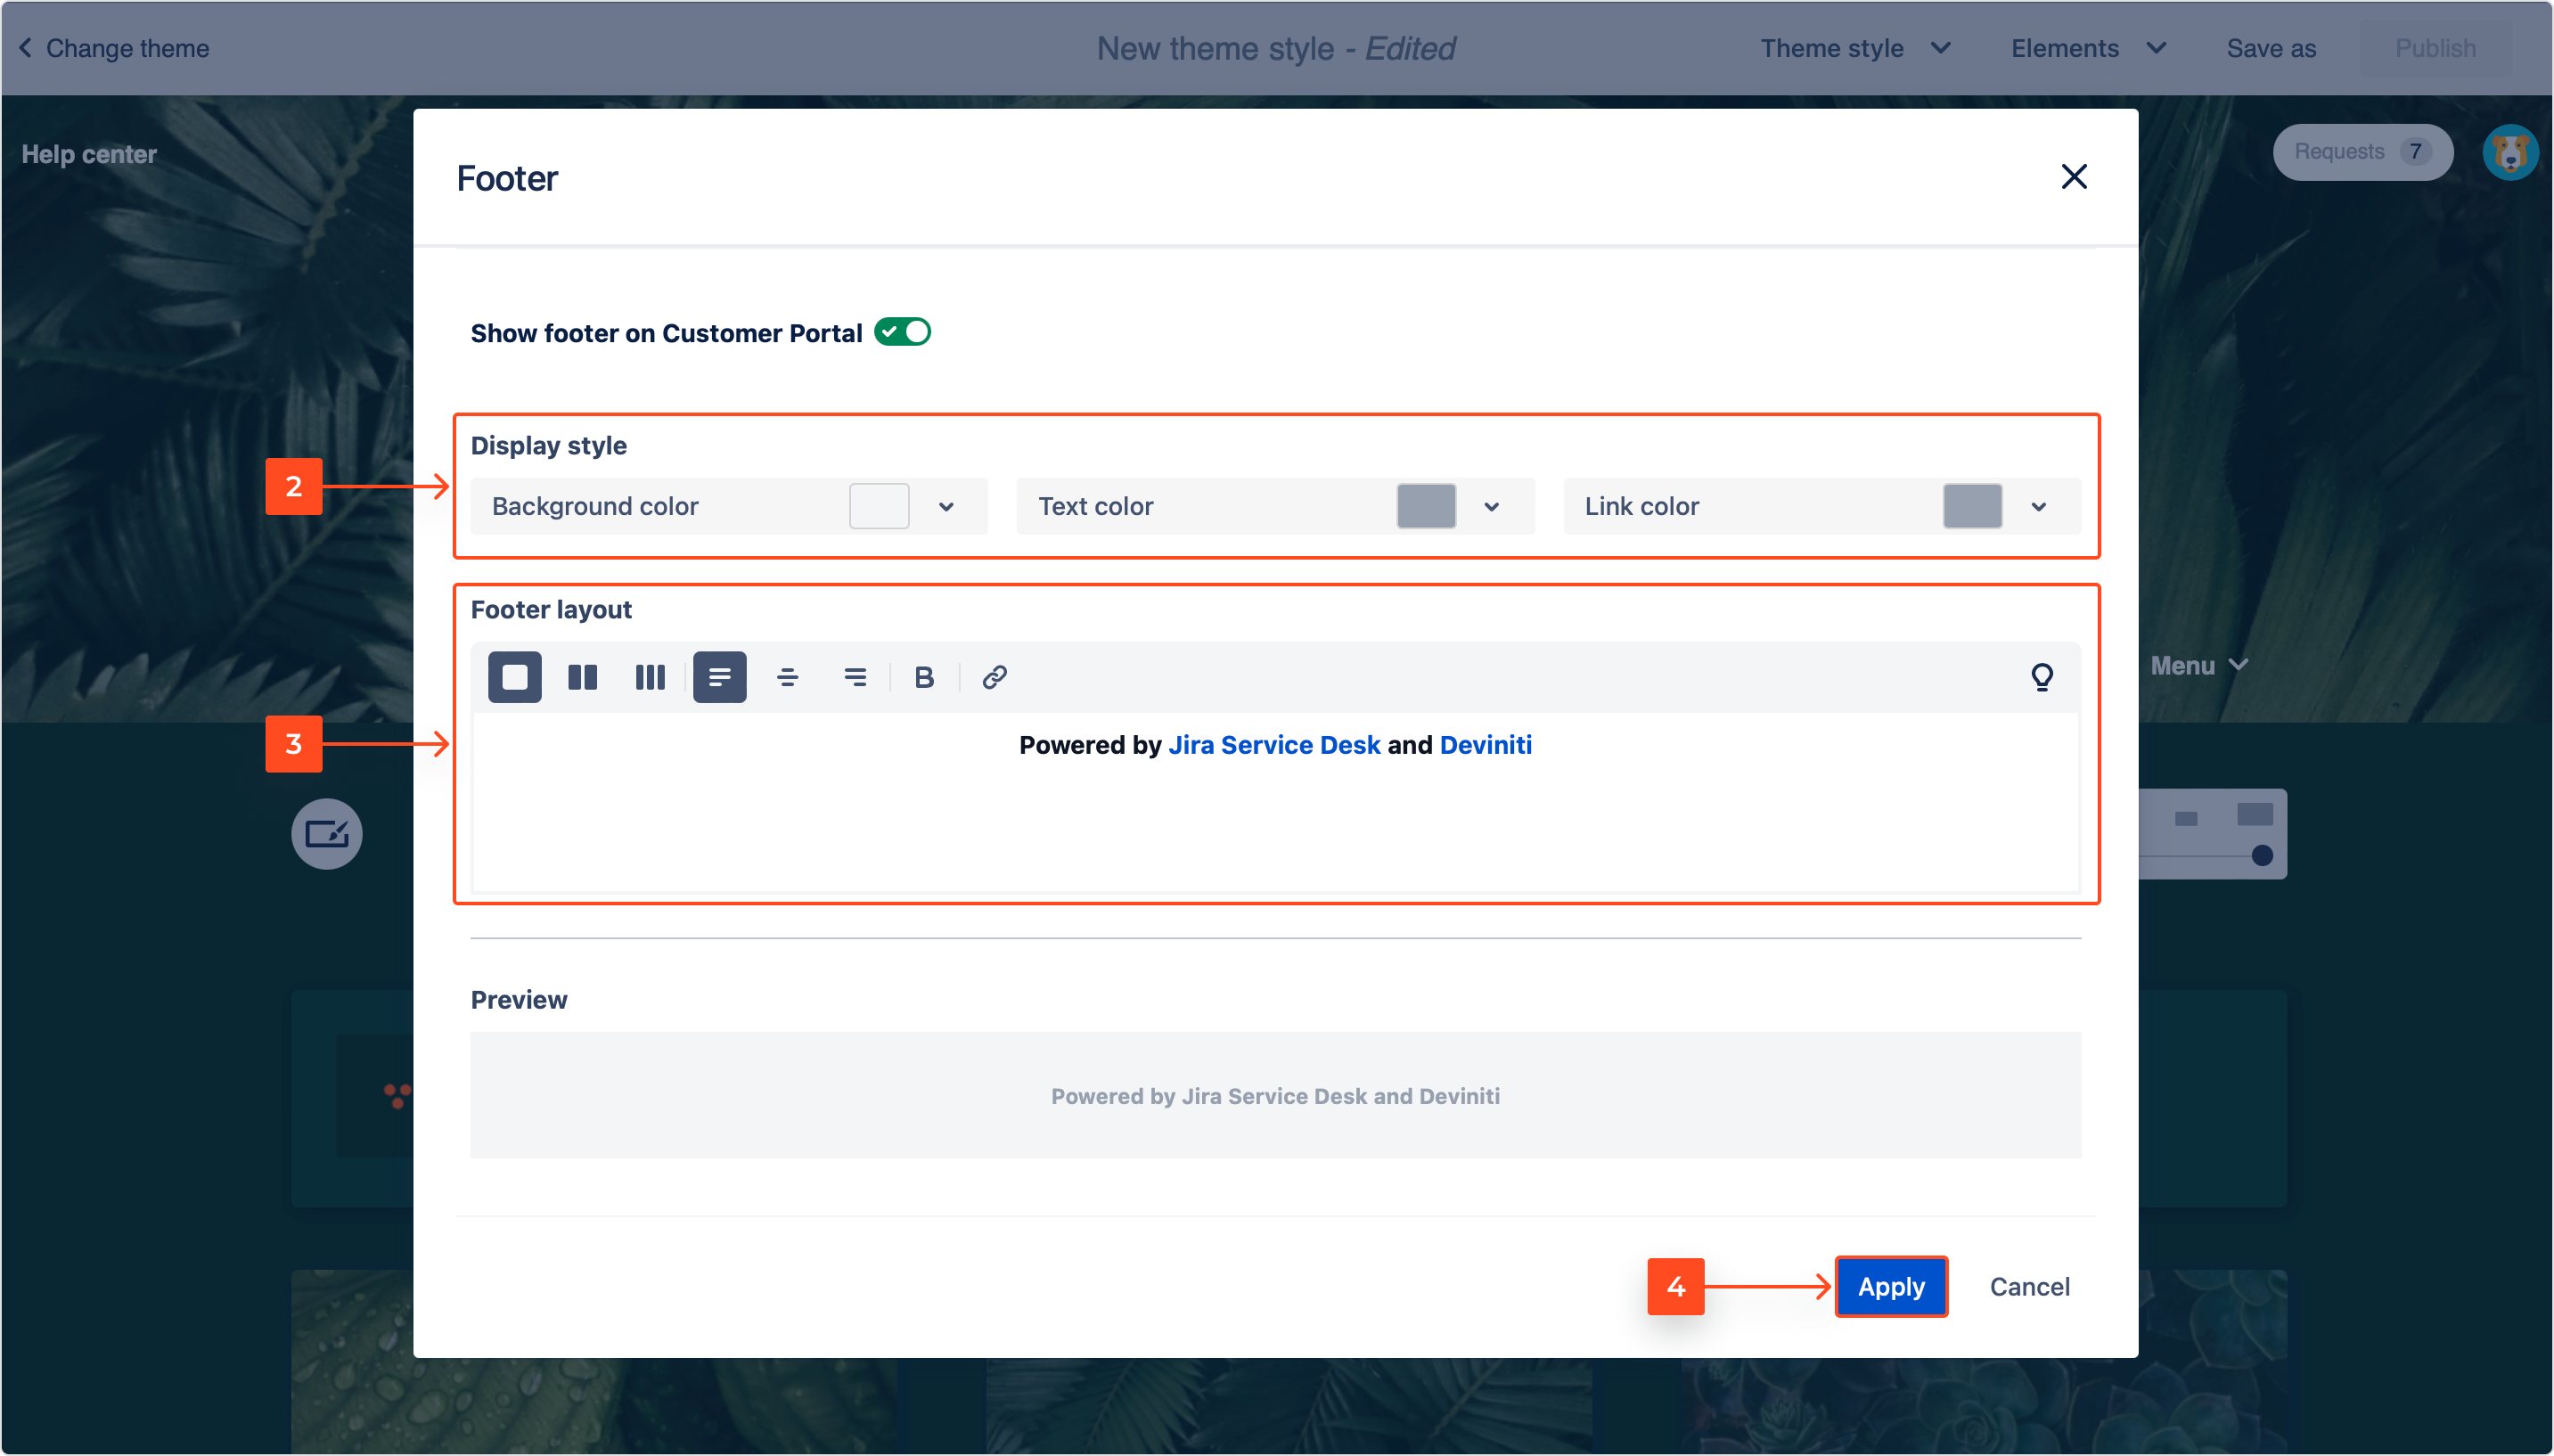
- Define the colors of the footer using the palette, or a hex code
- Insert text into the left and right section of the footer. You can format the text, divide it into columns and apply variables.
- Click Apply.
Result
Home link options
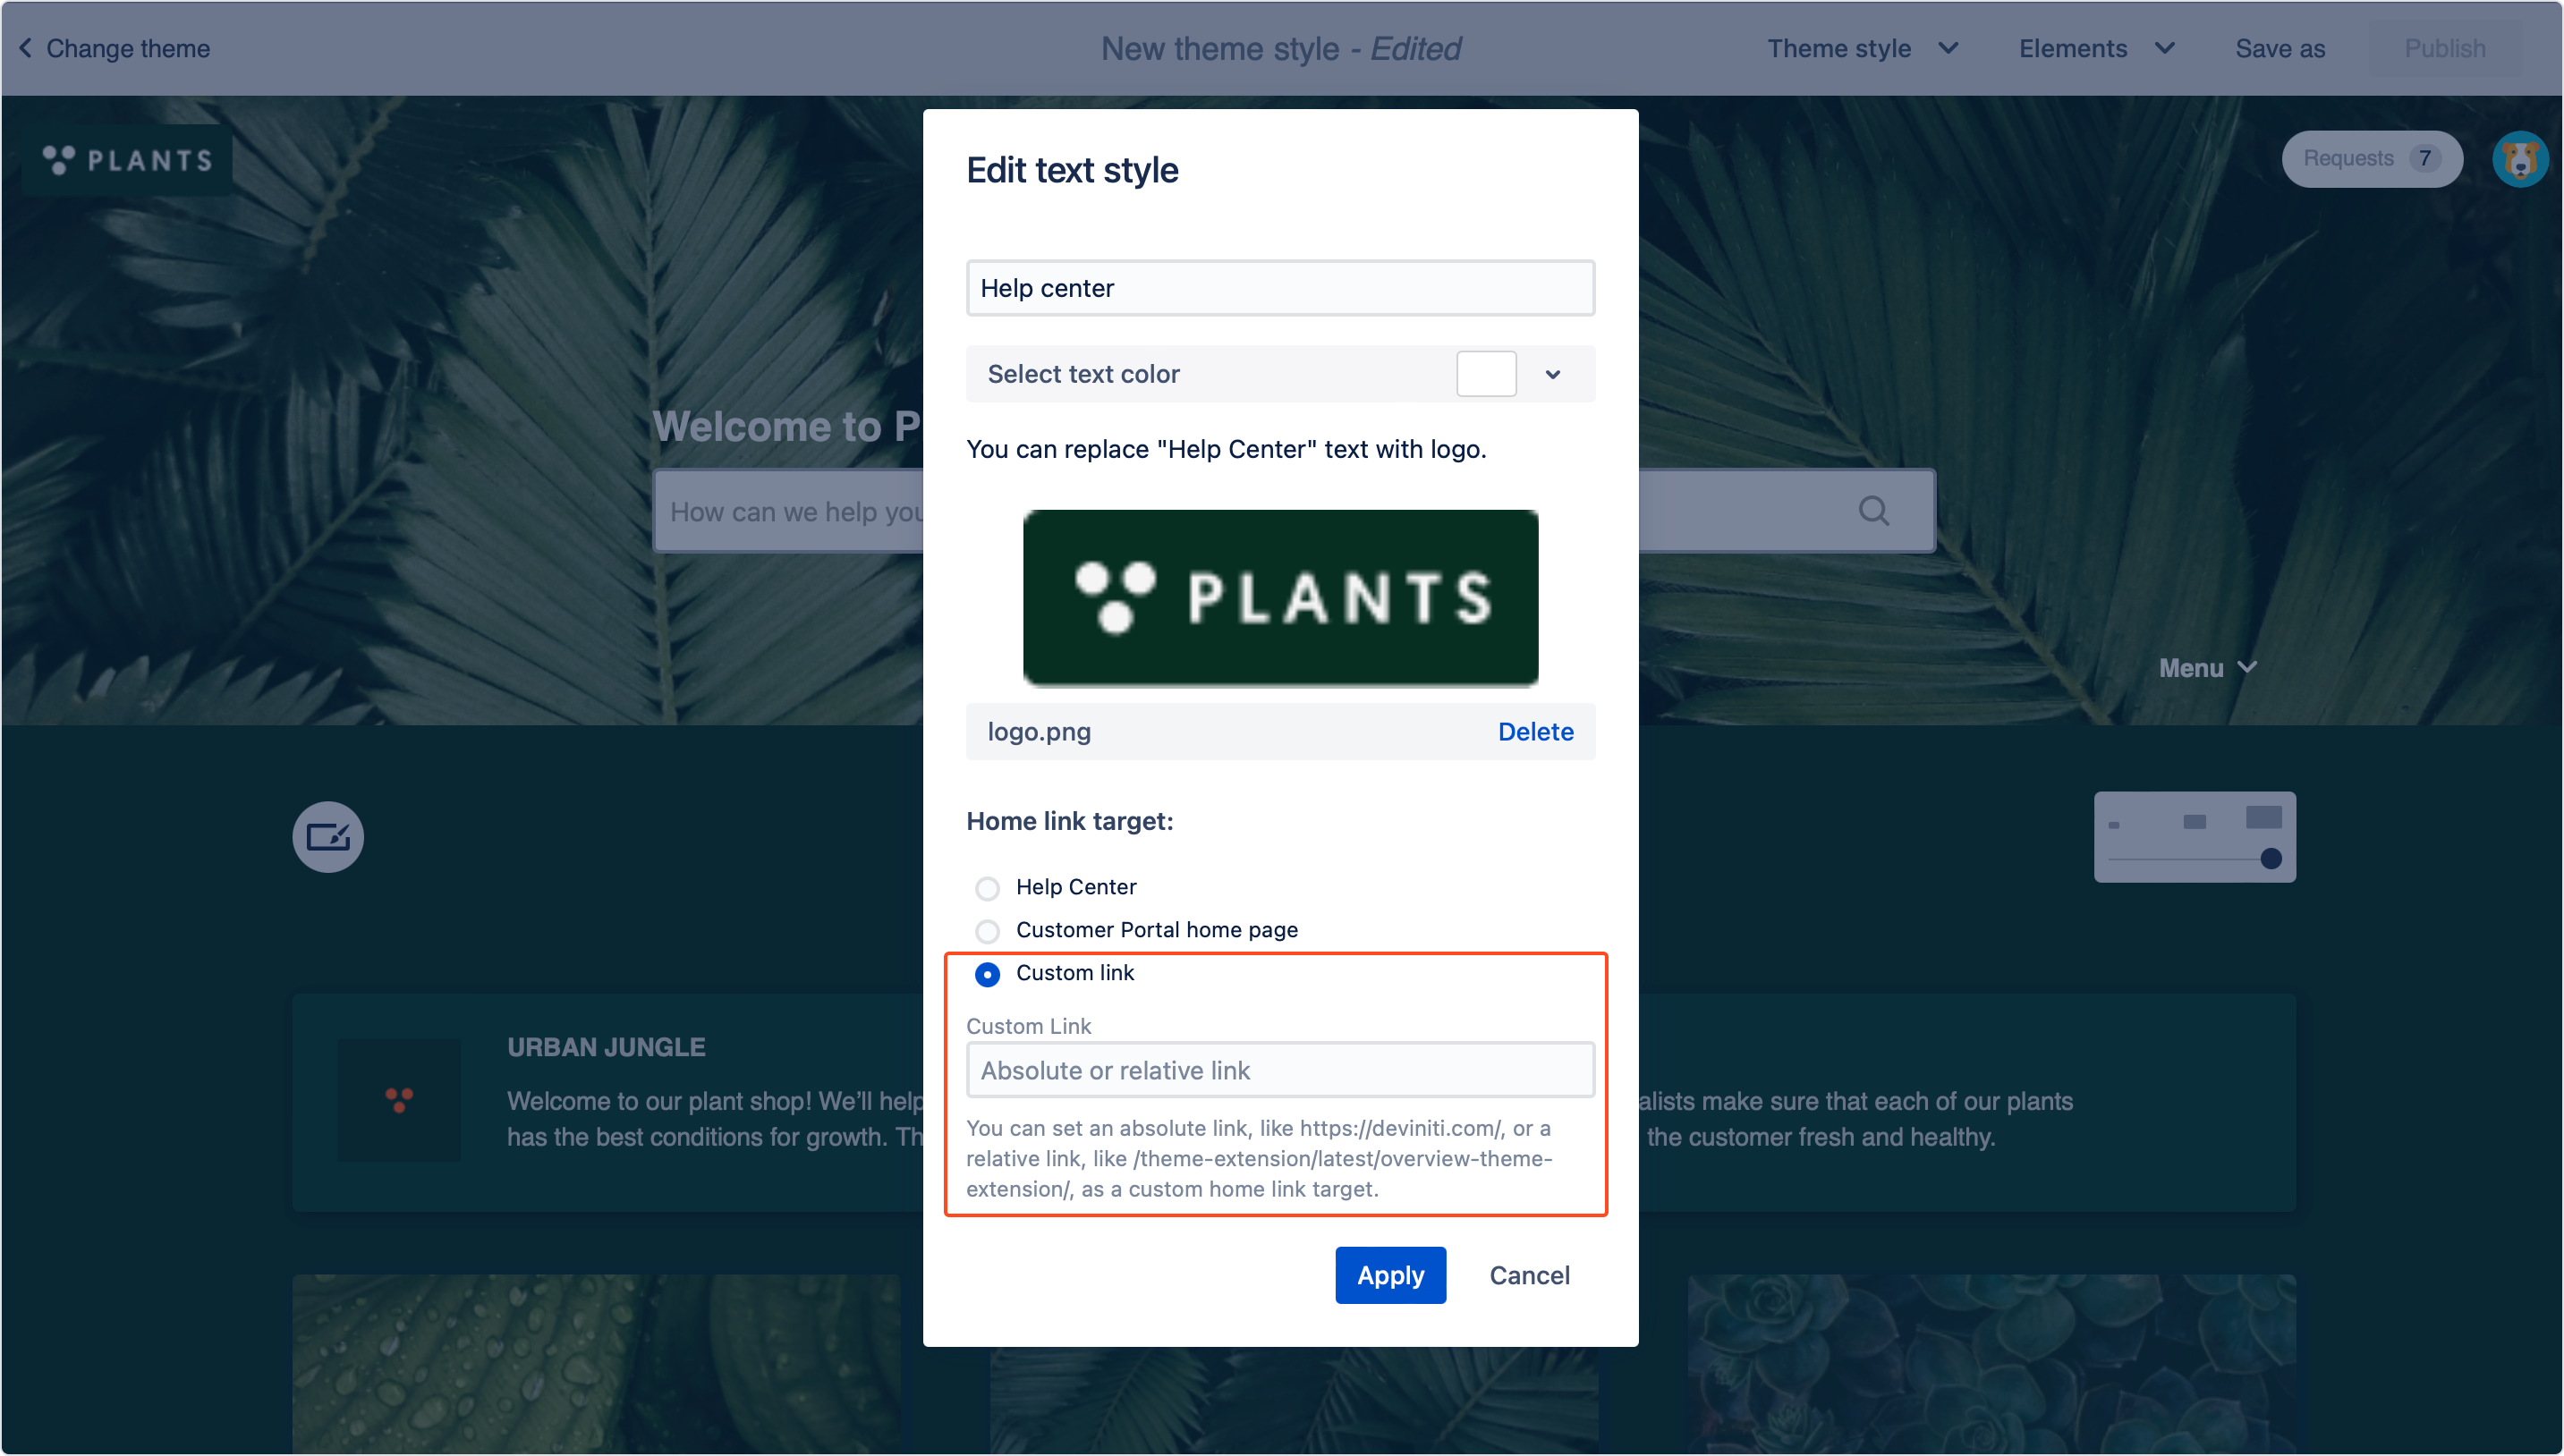
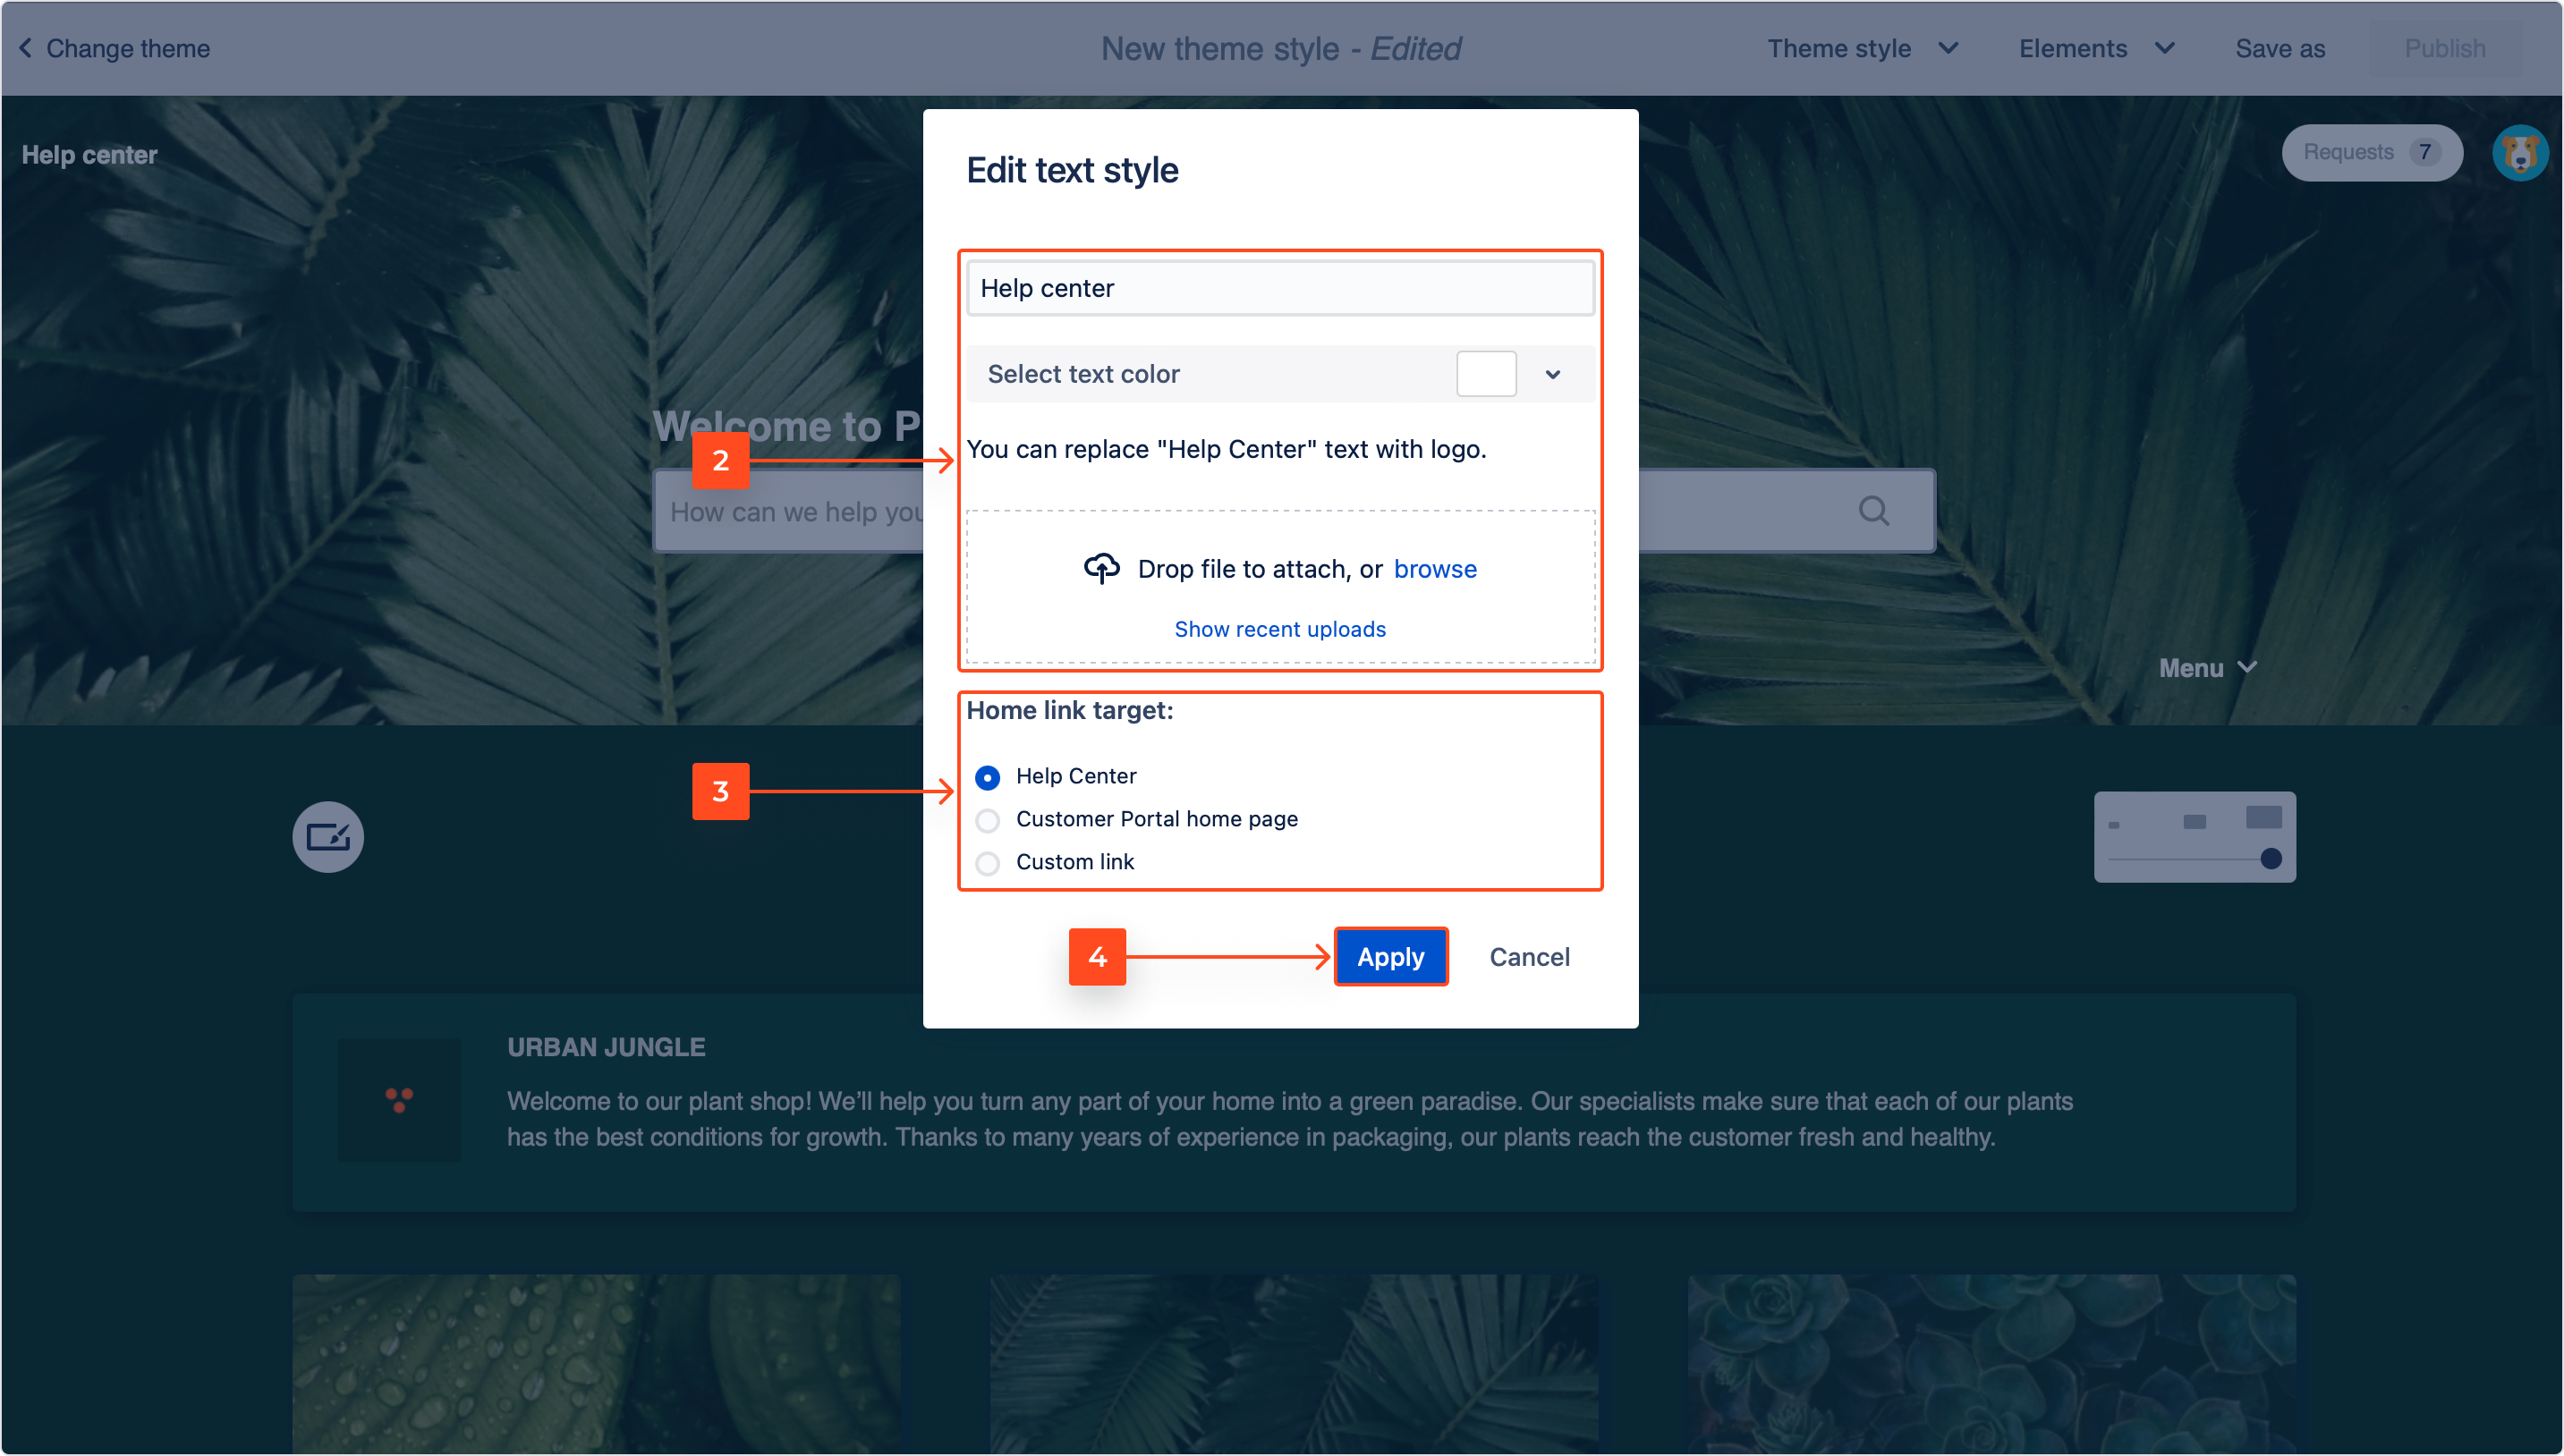
You can change the text, style and destination of the Home link located in the top-left corner of the site.
Steps
- In order to edit the Home link, click on the pen icon in the theme editor.
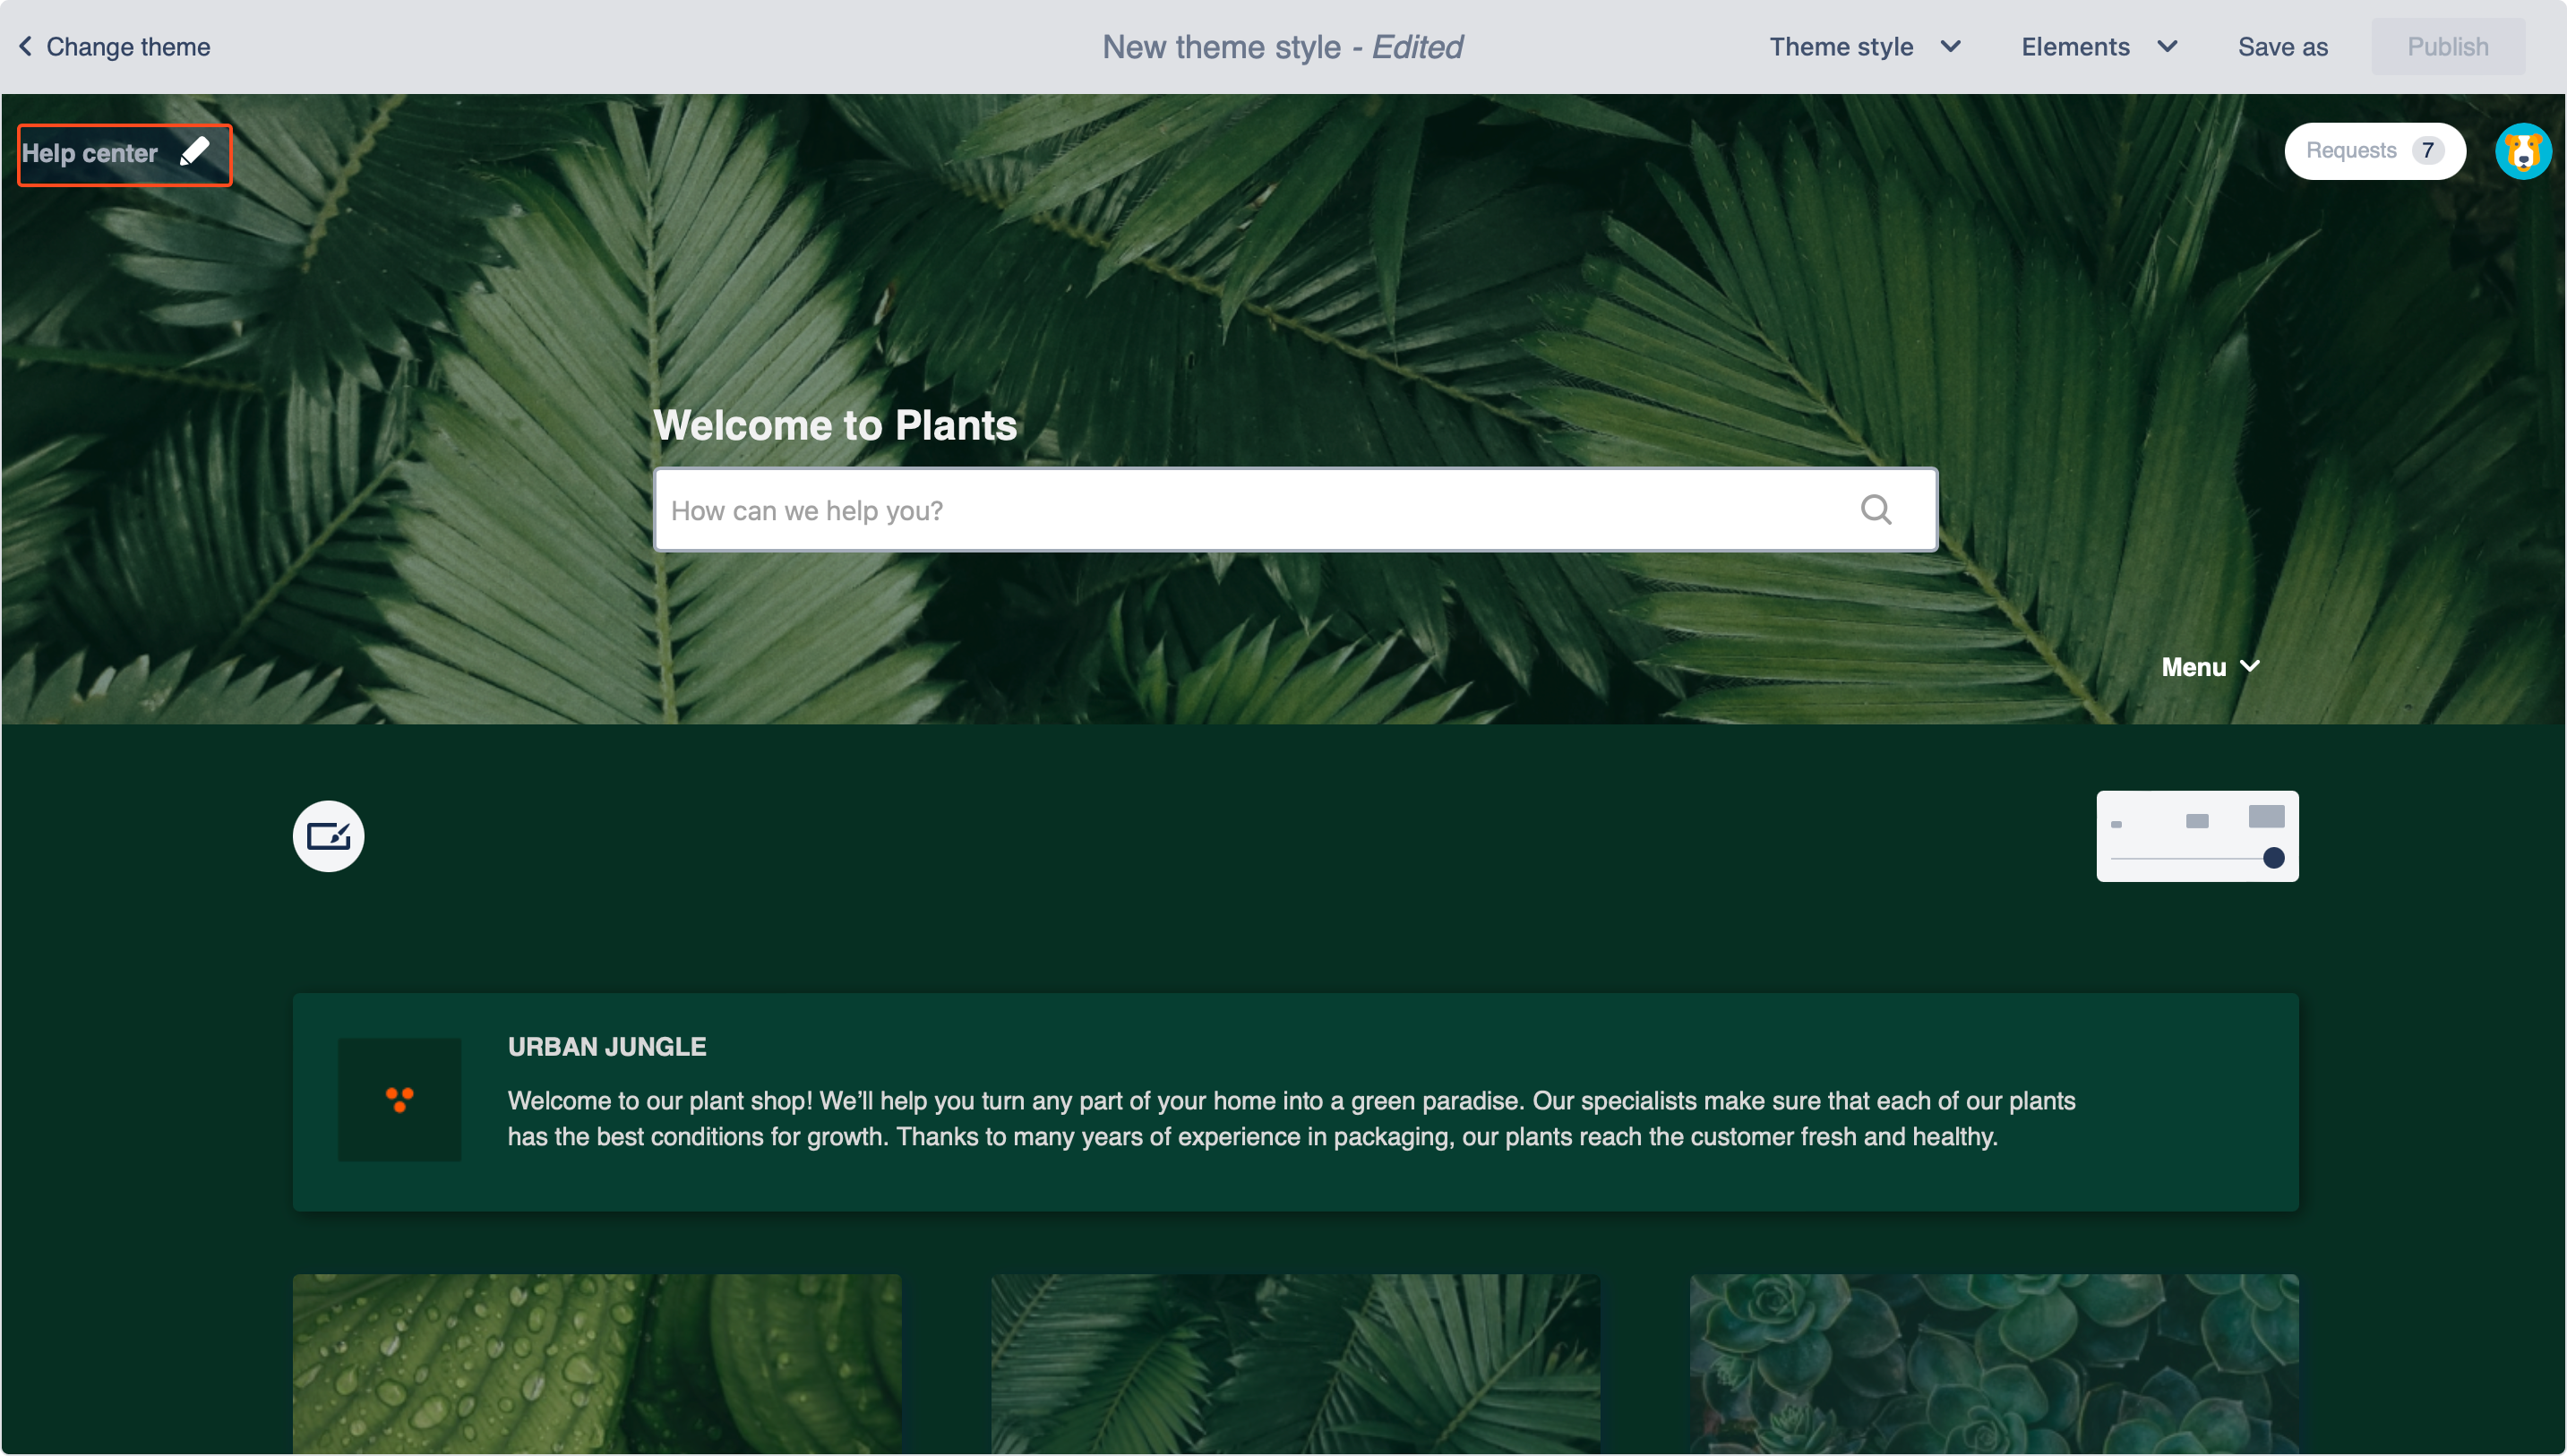
- Choose the text of the link. Alternatively, you can upload an image using drag and drop.
- Decide whether the link should redirect users to the Help Center, Customer Portal home page or a custom destination.
- Click Apply.
Result
Saving as a new style
Once you fully customized your list theme, you can save it as a new style that can later be used throughout the app.
Steps
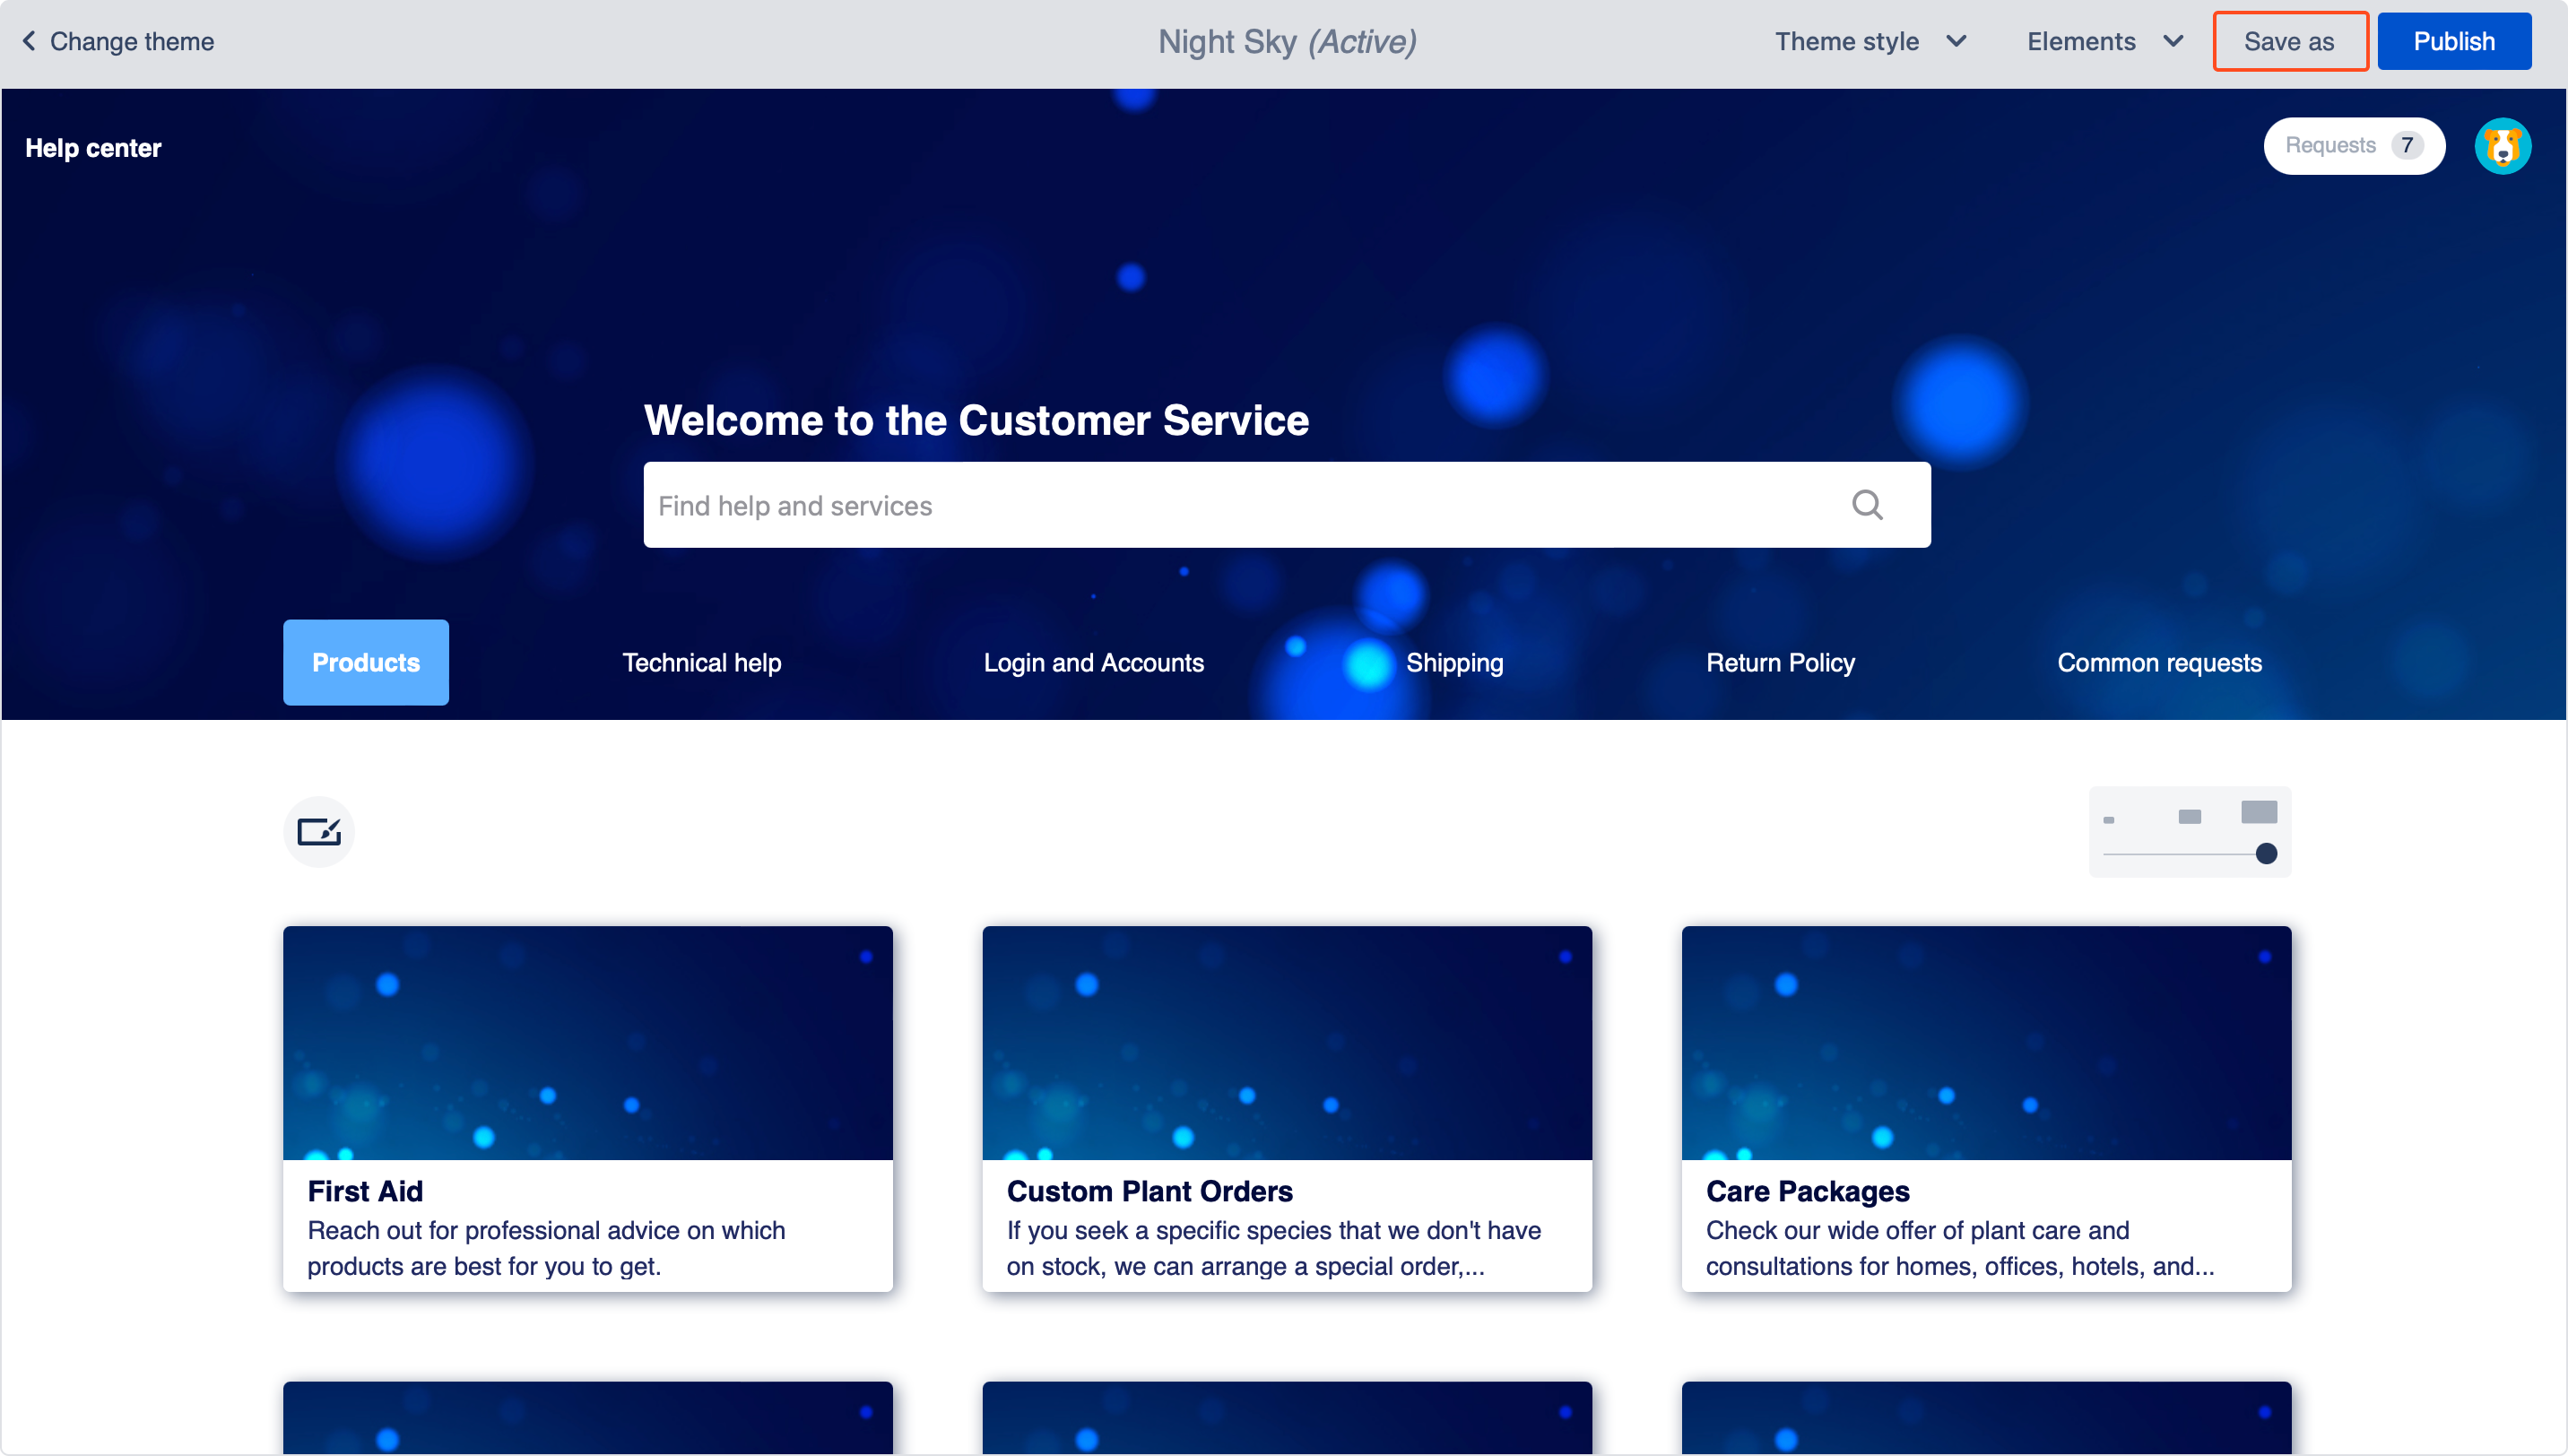
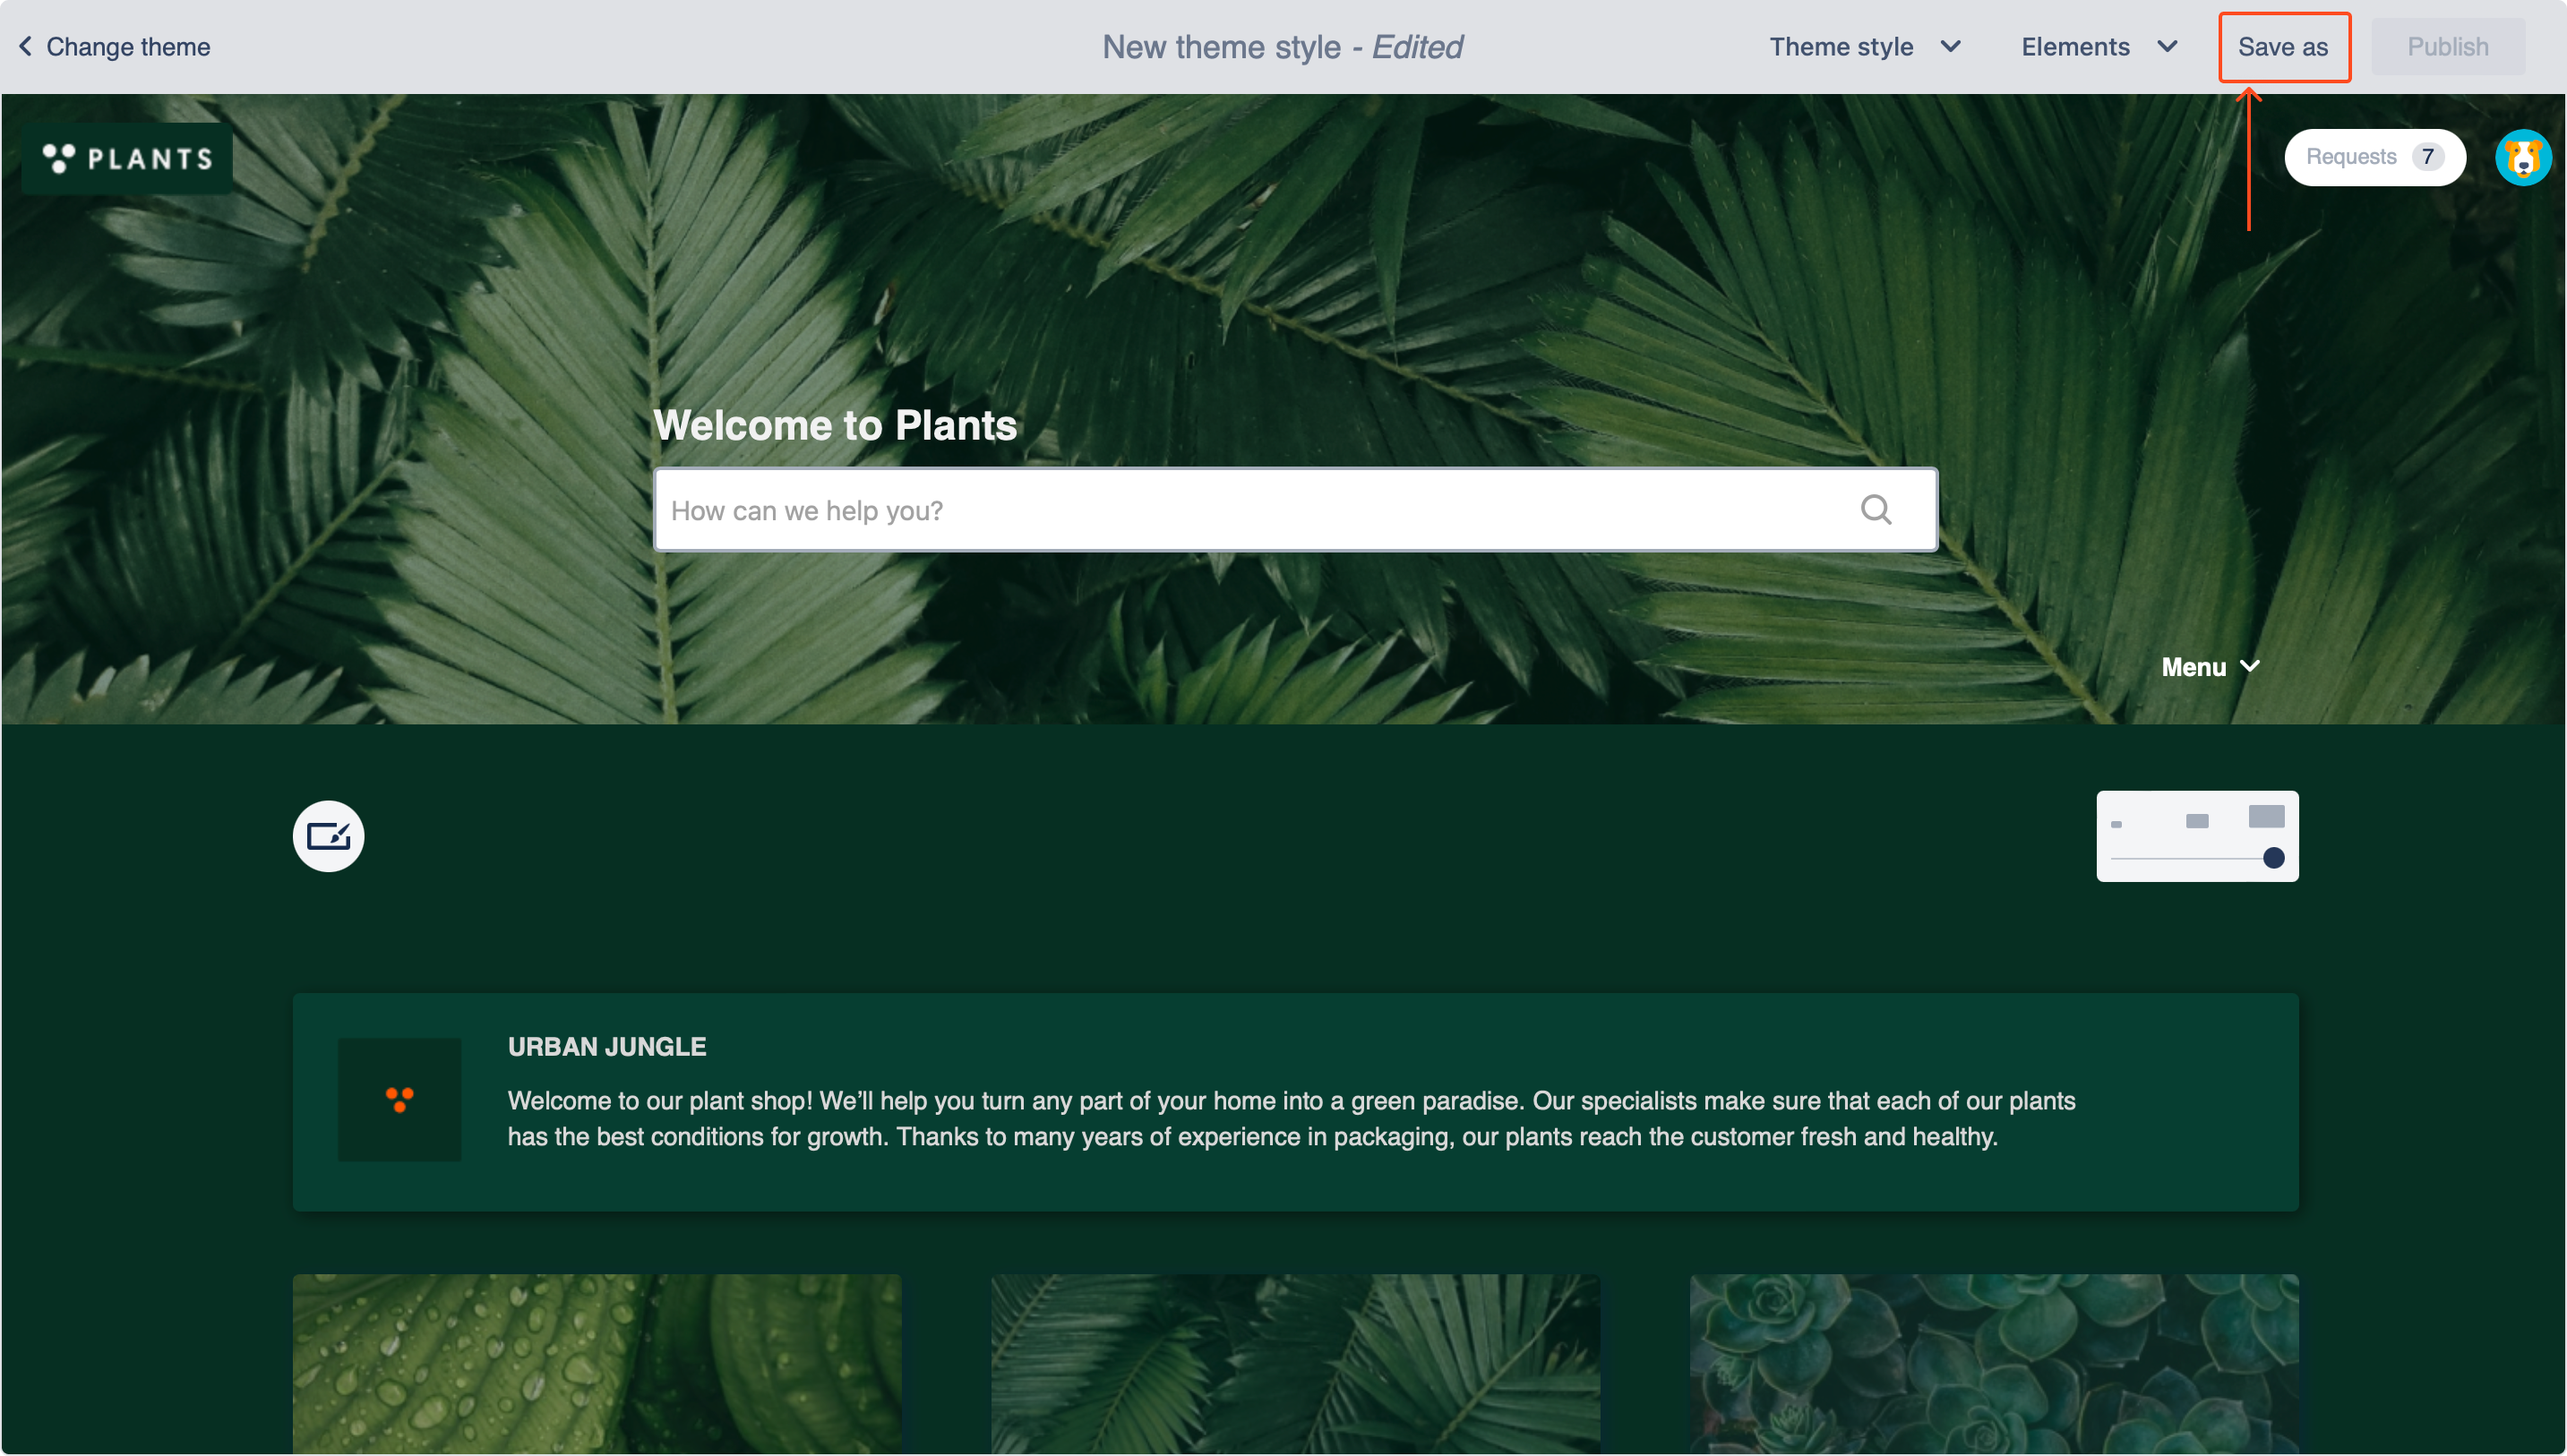
- To save the theme, click Save as in the top right corner.
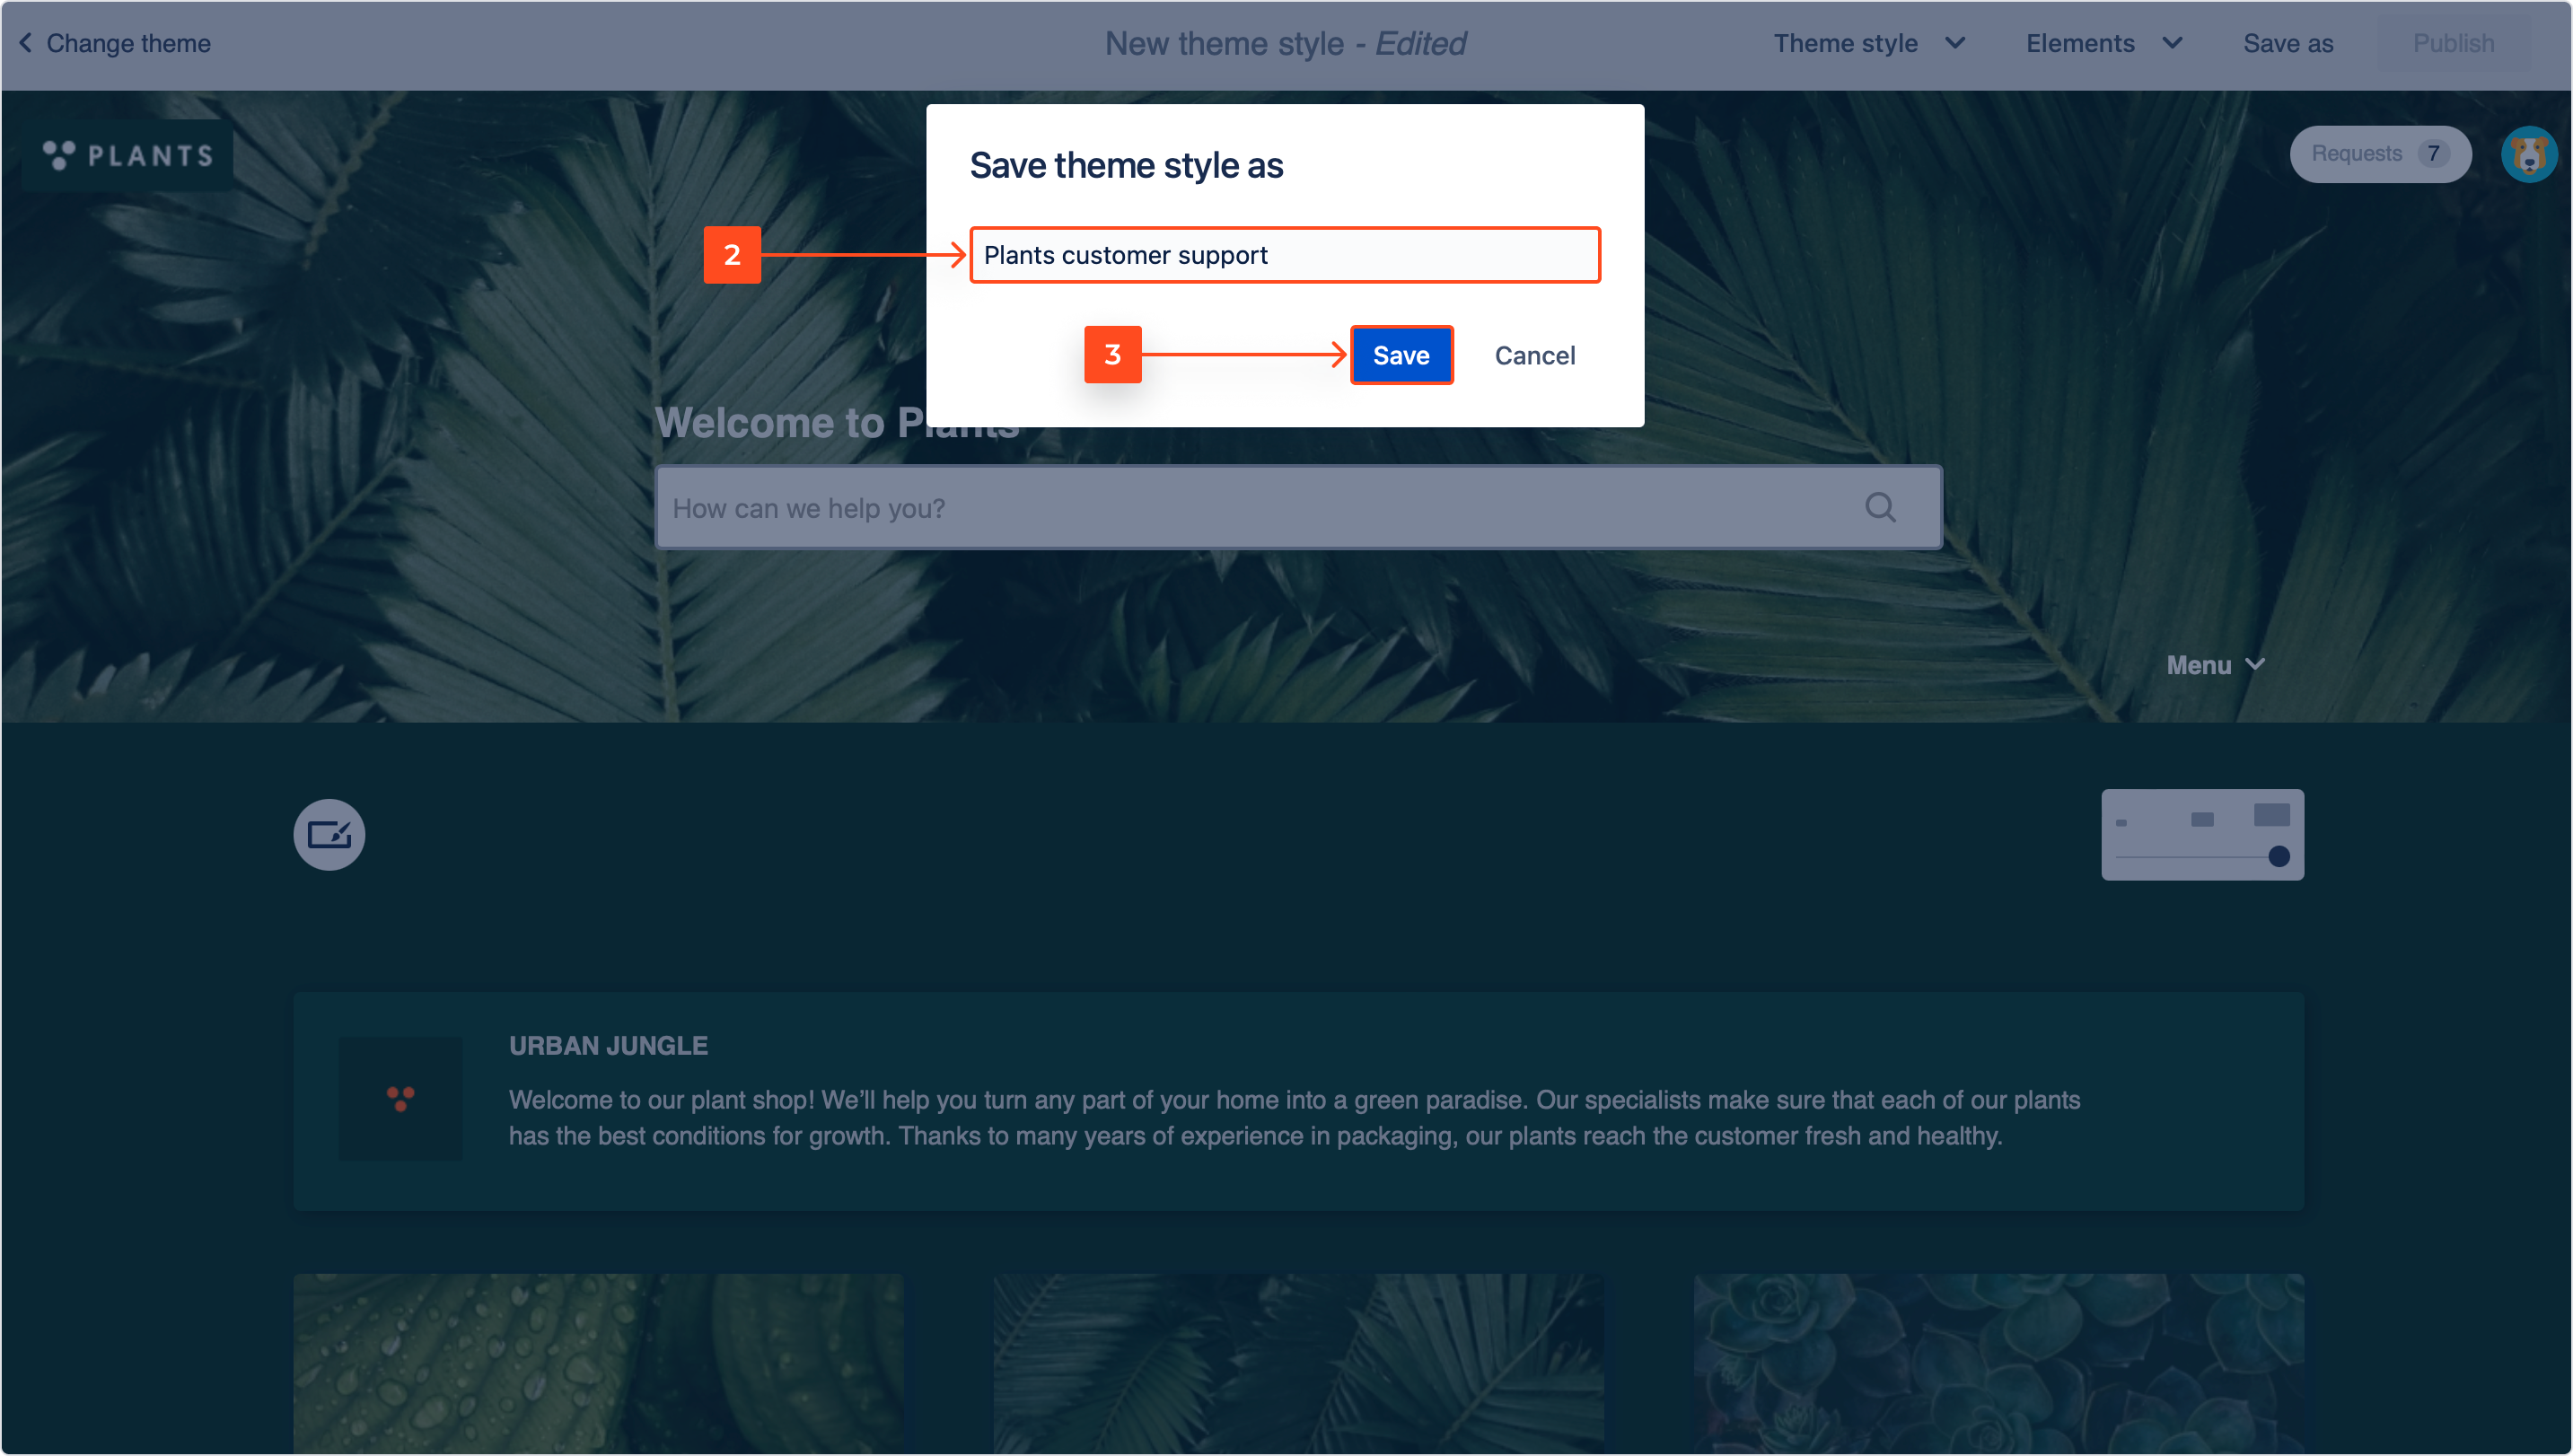
- Enter the name of your theme style.
- Click Save.
Result
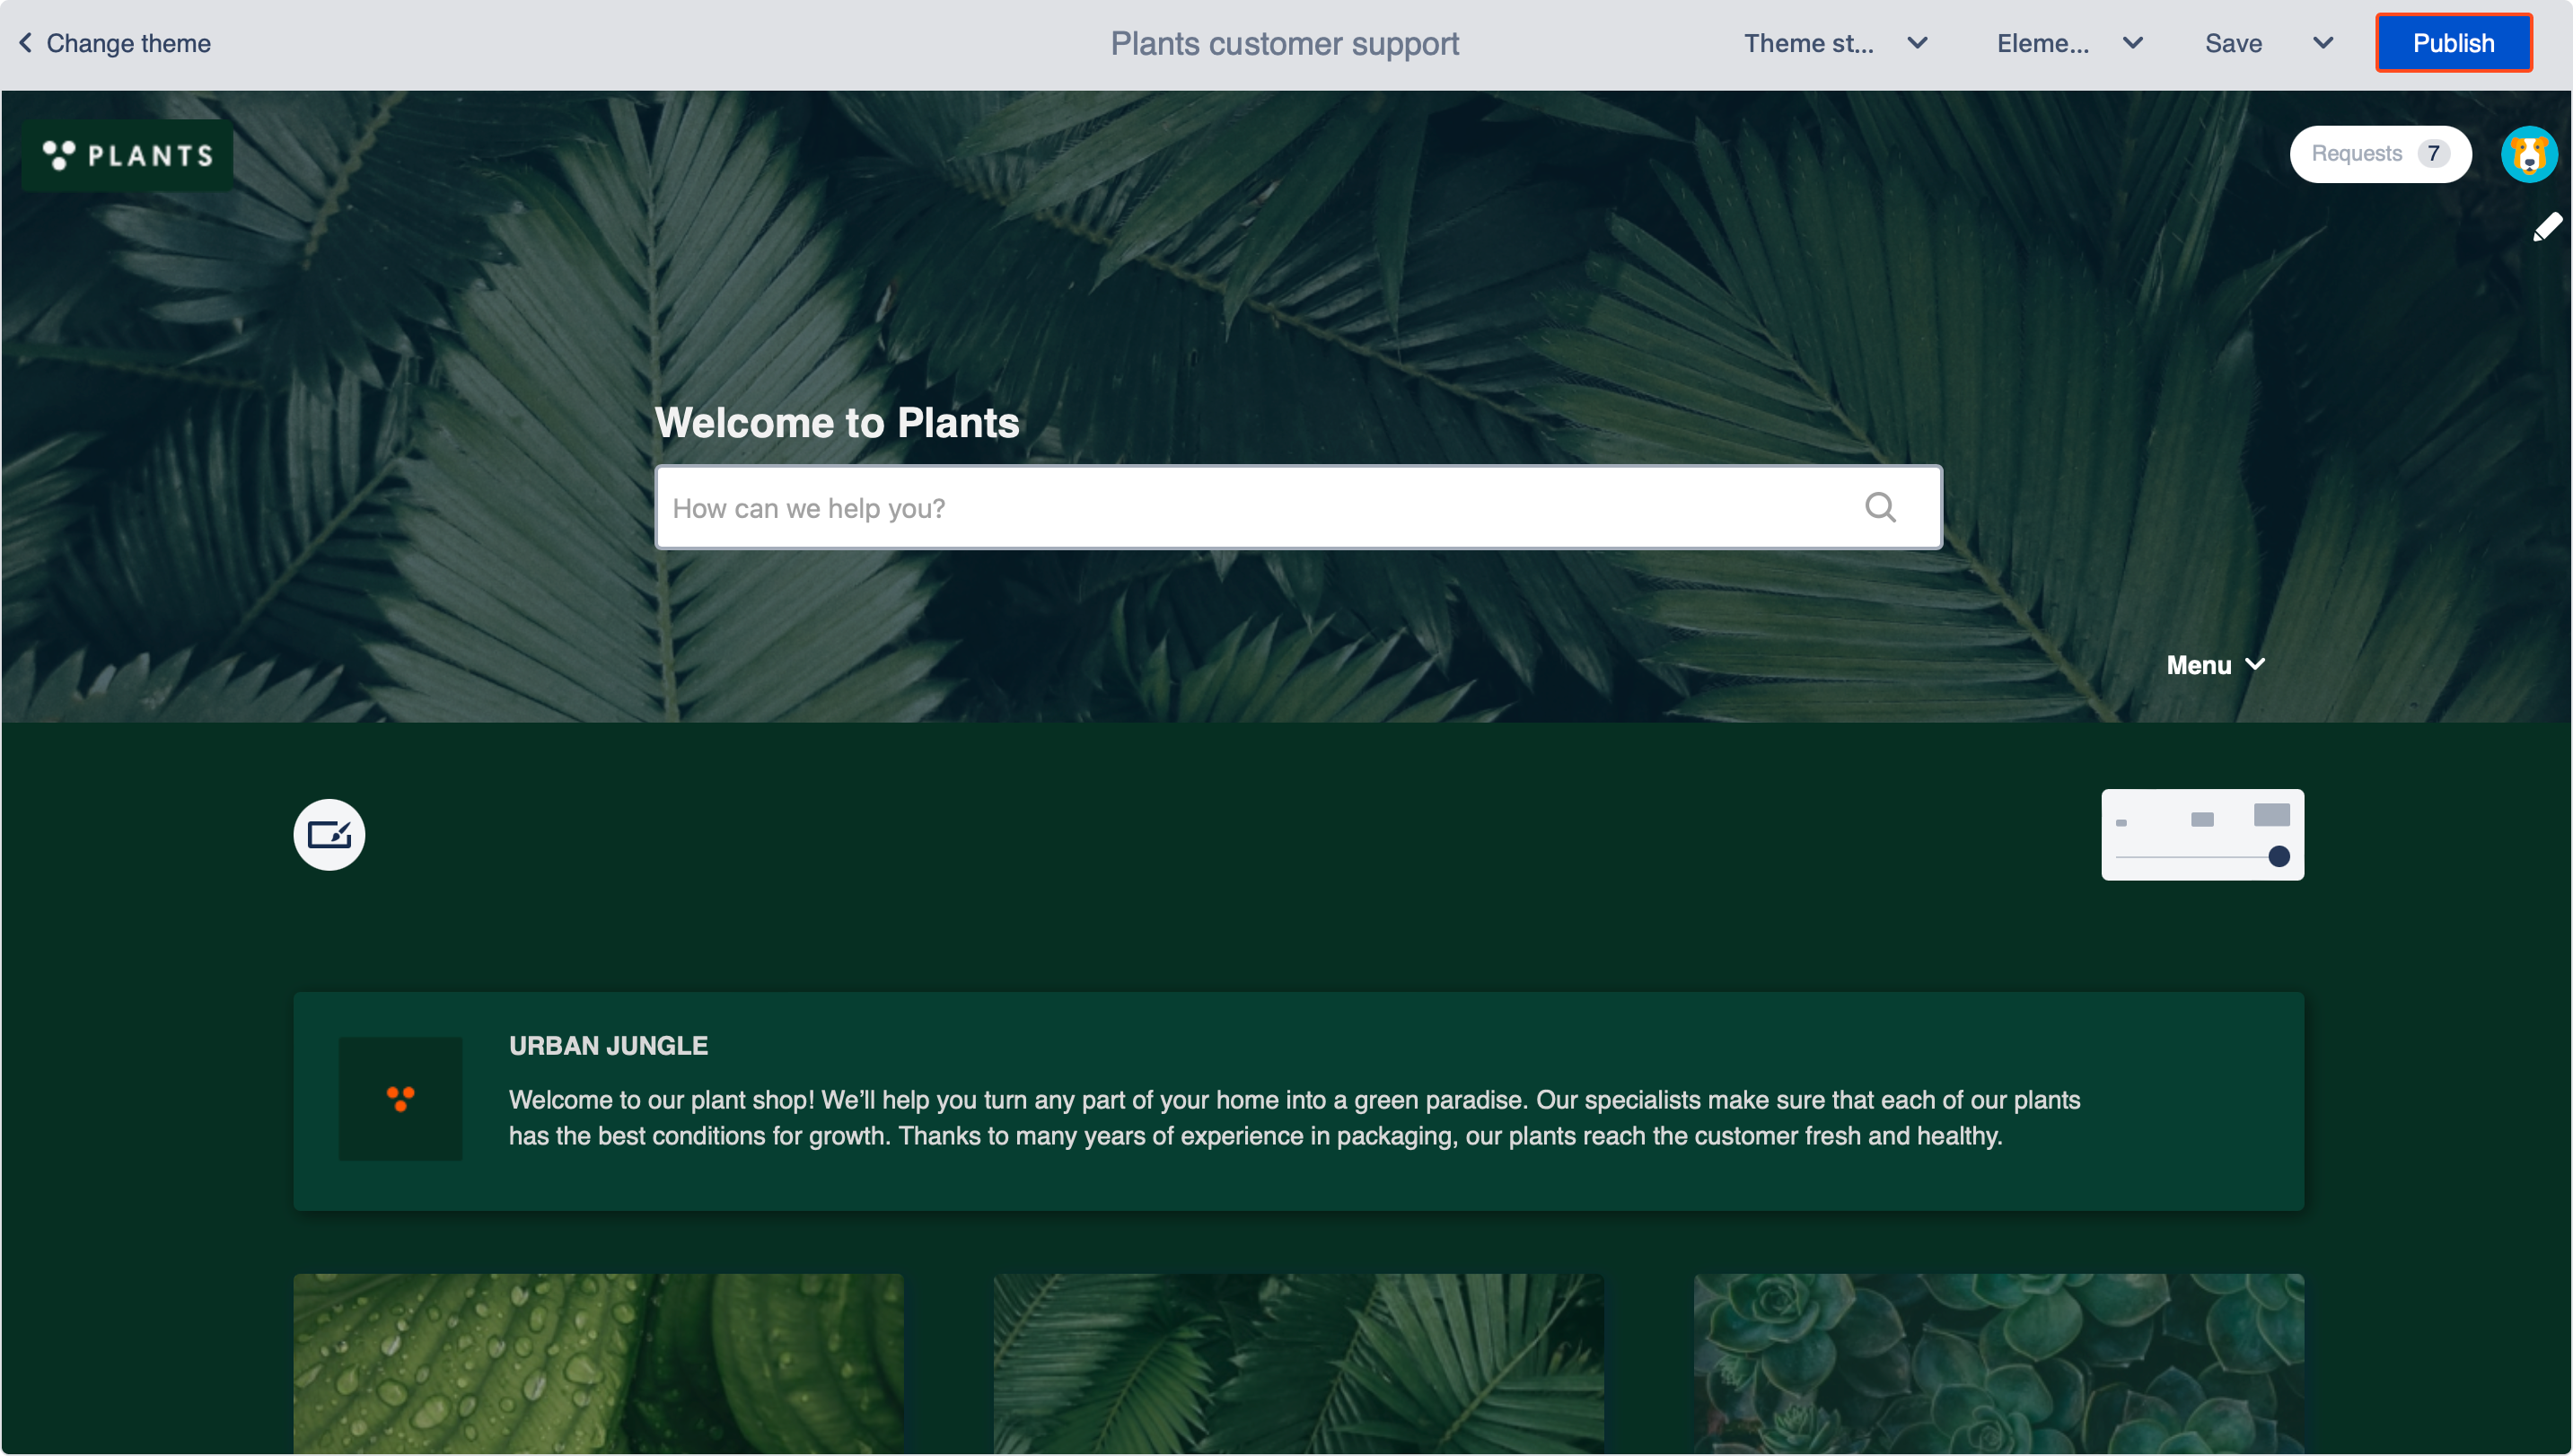
Theme is saved as a style. You can now make visible to the customers by clicking Publish.
If you can’t find the answer you need in our documentation, raise a support request.
