- Configuration
- First steps
- Project setup
- Sample templates
- Migration to Cloud
- Supported fields
- Permissions
- Jira Service Management
- Template management
- Create a template
- Template configuration
- Variables
- Template Navigator
- Delete a template
- Use as a template
- Set of Fields - advanced features
- Using template
- Autocomplete
- Default Template
- Apply template
- Use Template in Jira Automation
- Automatic create and close
- JQL Searchers
- Direct links
- Create Structure post function
- About Create Structure
- Create Structure configuration
- App integrations
- REST API
- ScriptRunner and Groovy scripts
Global configuration
Discover settings that apply to all the templates in Jira
Before you start, log in as a user with the Jira Administrators global permission.
Global configuration is a page dedicated to Jira admins. Settings configured here will define how all the templates work across the entire Jira instance.
Get started
Steps
To open the Global configuration page:
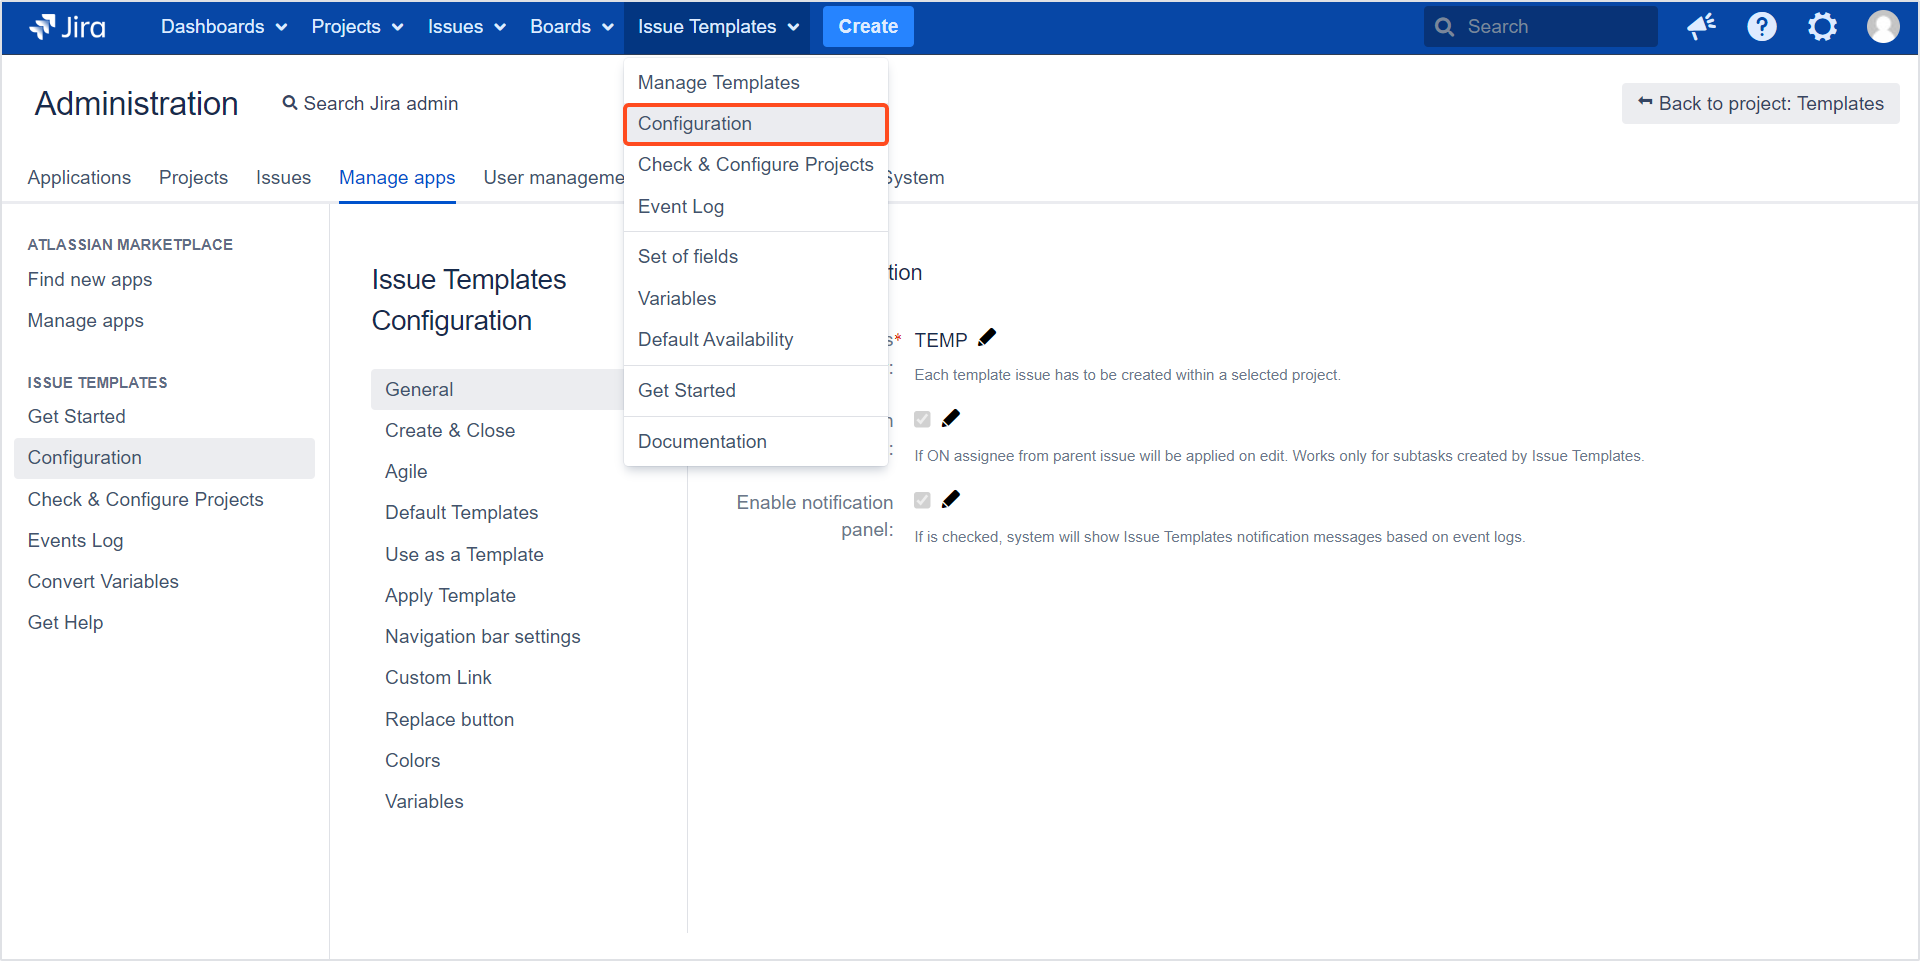
- Go to Jira Administration > Manage apps.
- Select Configuration from the Issue Templates app navigation.

General
Here you can configure the most general app settings.
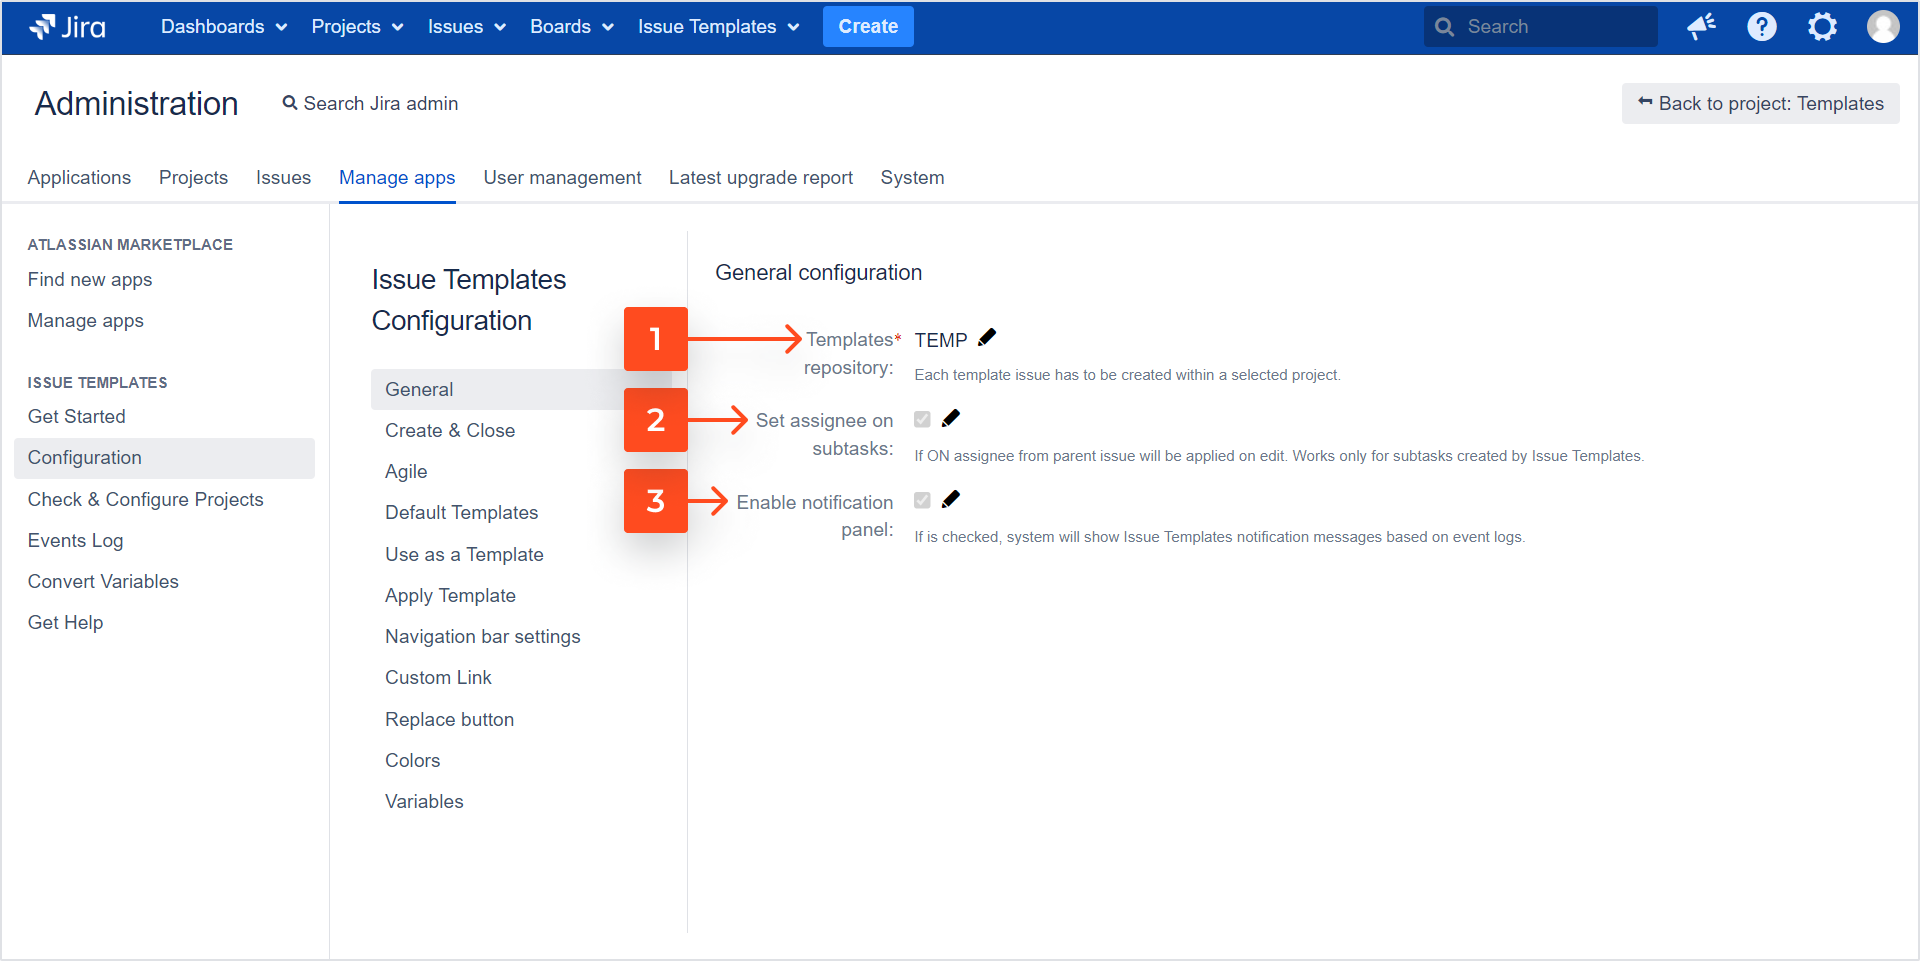
- Templates repository: From the list of available projects, choose the one that should become your Template repository.
We don’t recommend changing the default Template repository project (Templates (TEMP)). As soon as you select a different project, every issue in this project will become a template.
-
Set the assignee on subtasks: Check this box to automatically copy the assignee from the parent issue to its subtasks.
-
Enable notification panel: If checked, Jira will show Issue Templates notification messages based on the Event log.
Create & Close
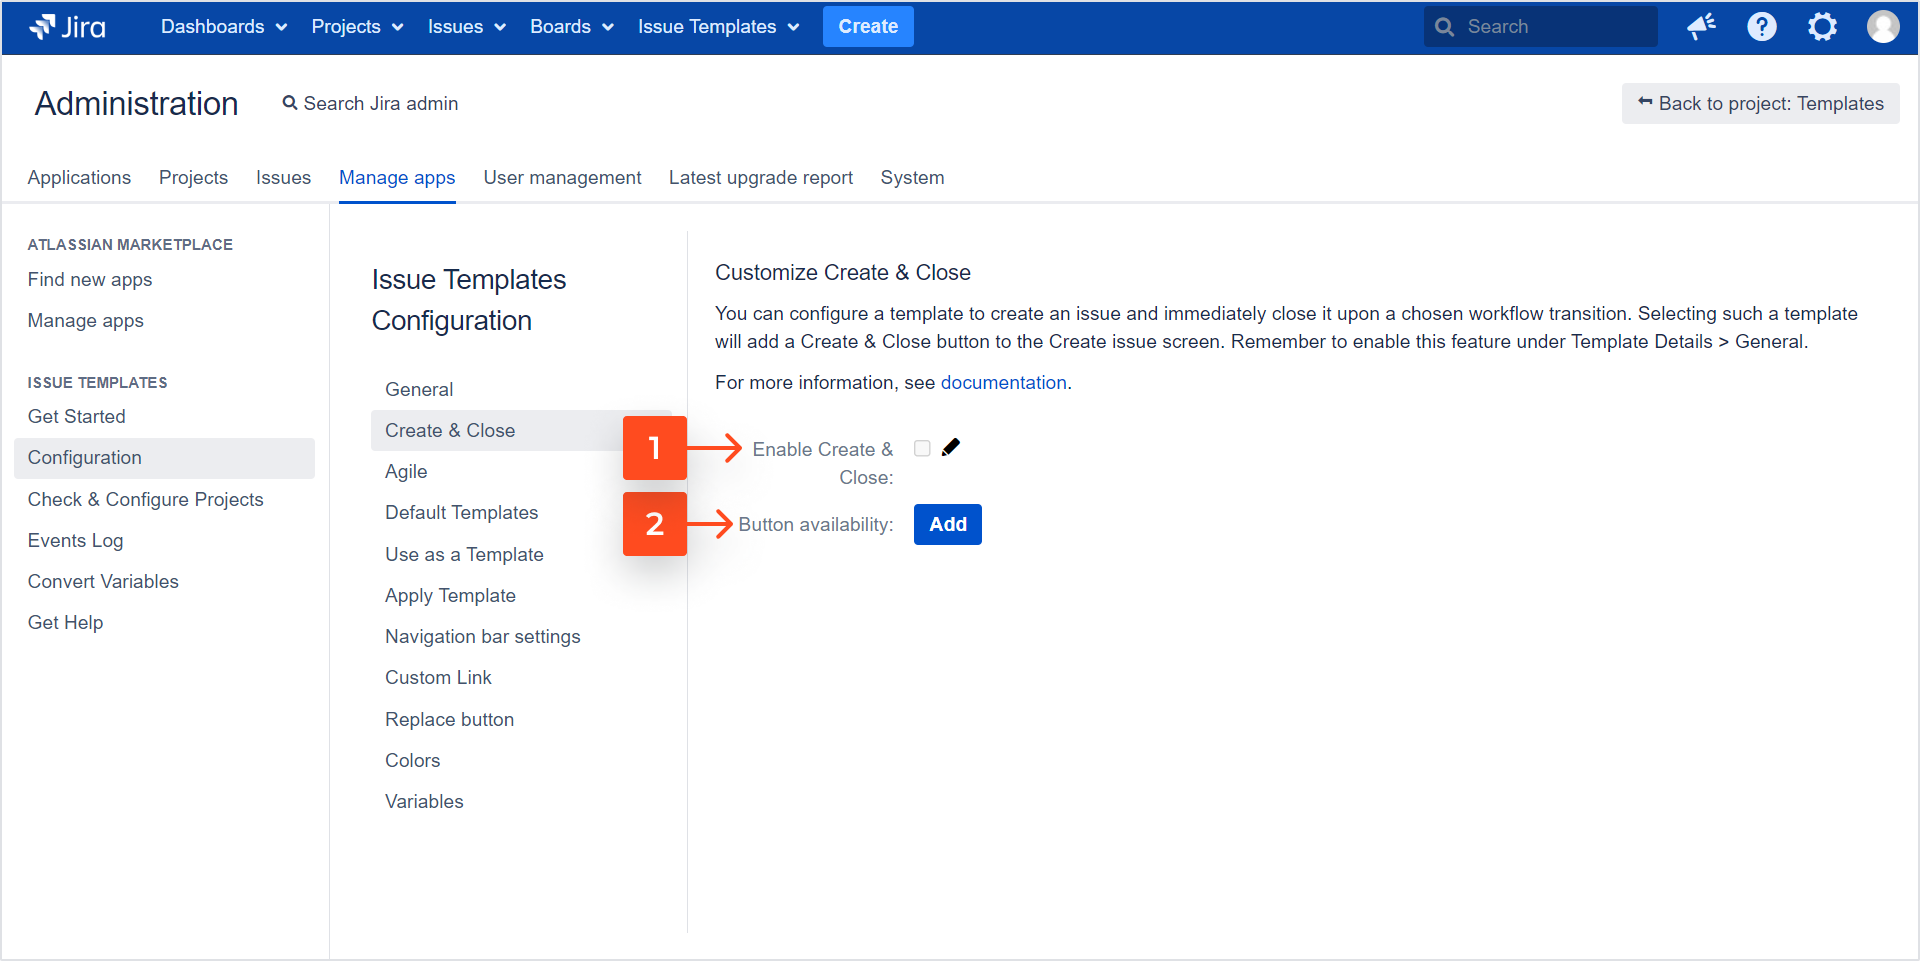
With this feature you can configure a special closing transition that opens the issue from the template and closes it immediately. Learn how to configure it in the Create and Close chapter.
- Enable Create & Close: Check the box to activate the feature. It will add the Create & Close toggle under Template details > General.
- Button availability: Click Add to define the availability of the Create & Close button.
Agile
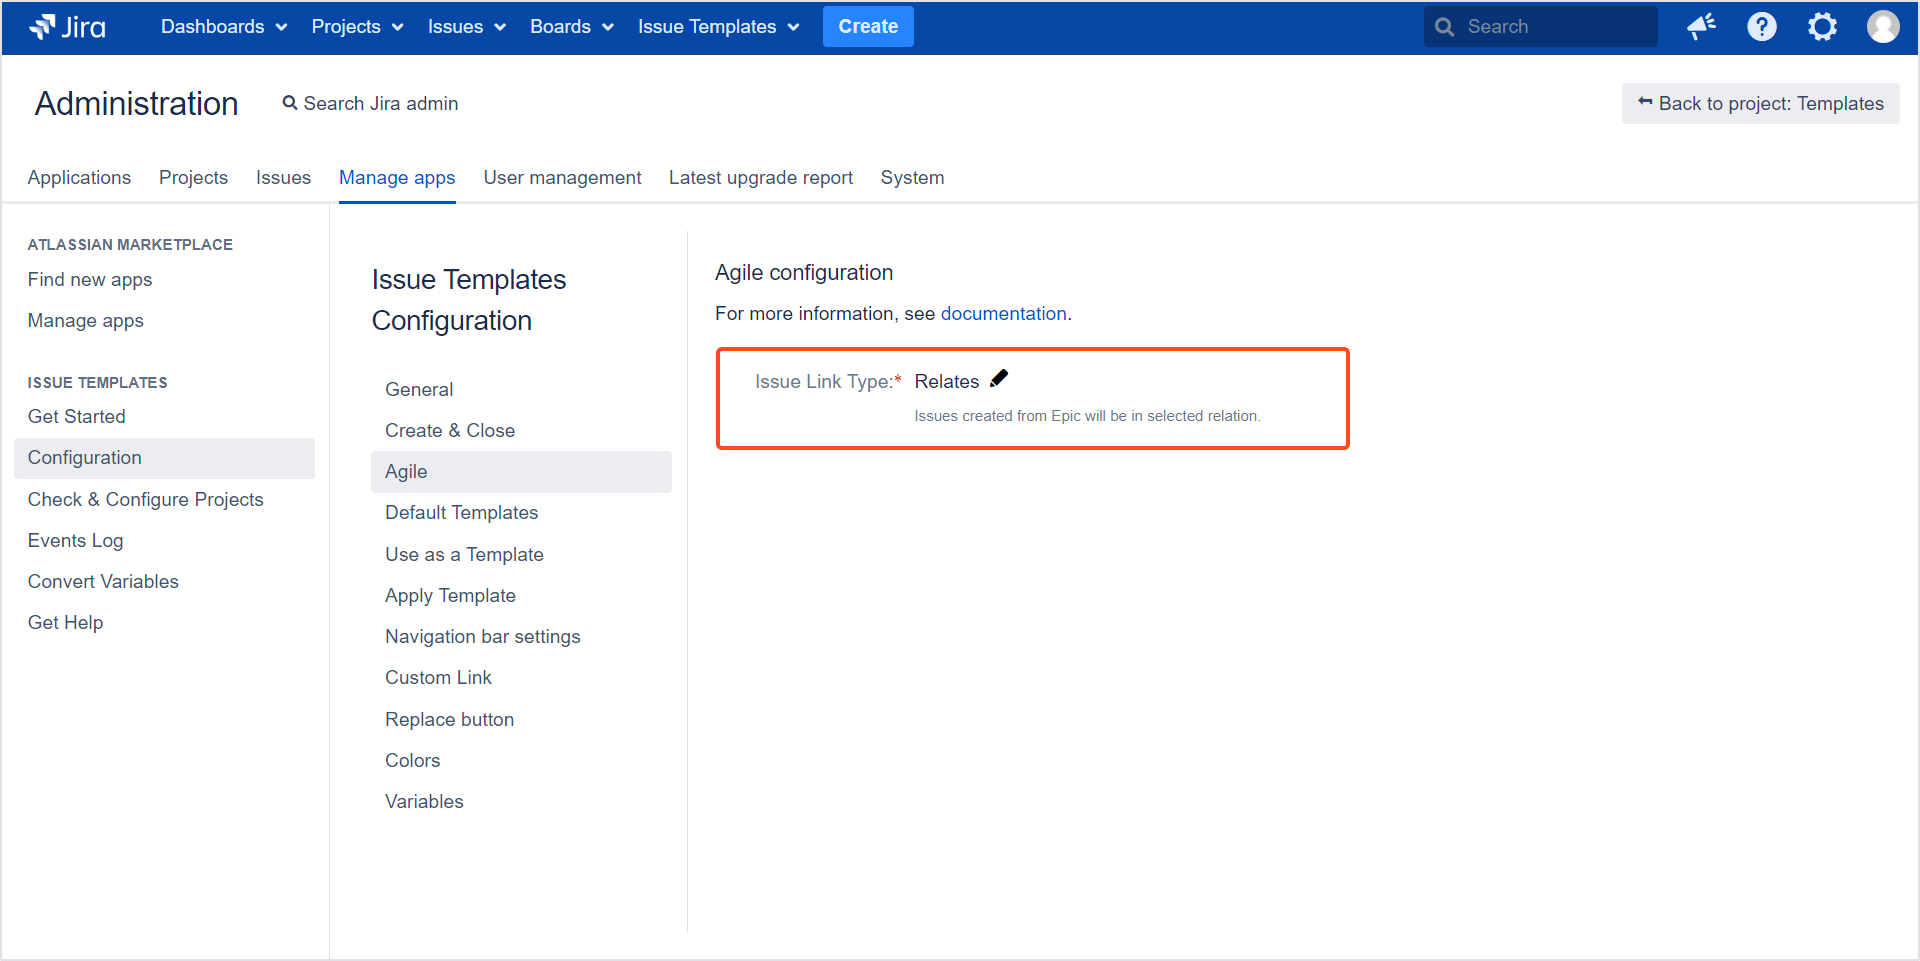
This option allows you to set up a default issue link type in issues created using epic templates.
If you have a template that is an epic with stories and you want to create an issue of a different type, for example a task, the template will create a task with stories that will be linked together with the relation chosen here.
Default templates
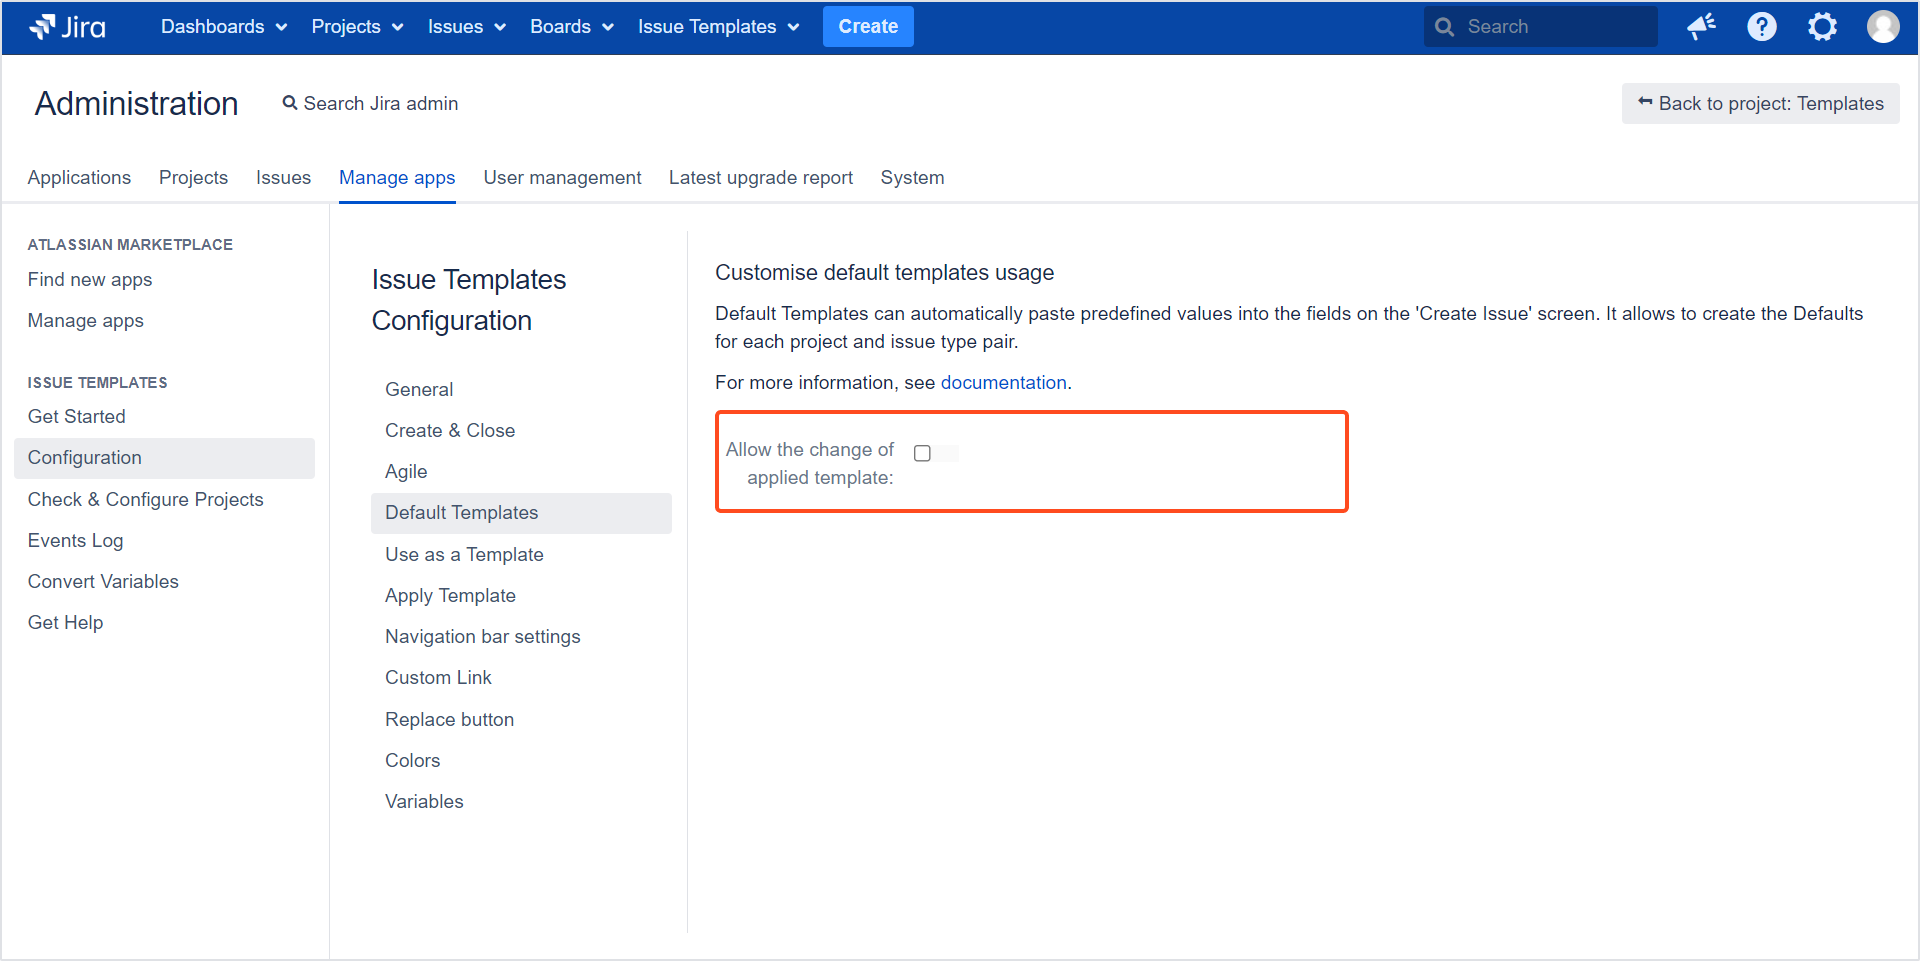
Here you can set up the Default Template feature.
Allow the change of applied template: If checked, users will be able to change the default template on the screen, using the Template custom field.
Use as a template
Here you can configure global settings of the Use as a template feature.
- Default Issue Type: choose the default issue type for templates created from other Jira issues.
- Hide Use as a Template: If checked, the Use as a Template navigation item will be hidden from the More menu in the issue view.
- Let selected groups use the feature: Here you can limit the visibility of the Use as a Template navigation item to selected Jira groups. Start typing to see a list of available groups.

Apply template
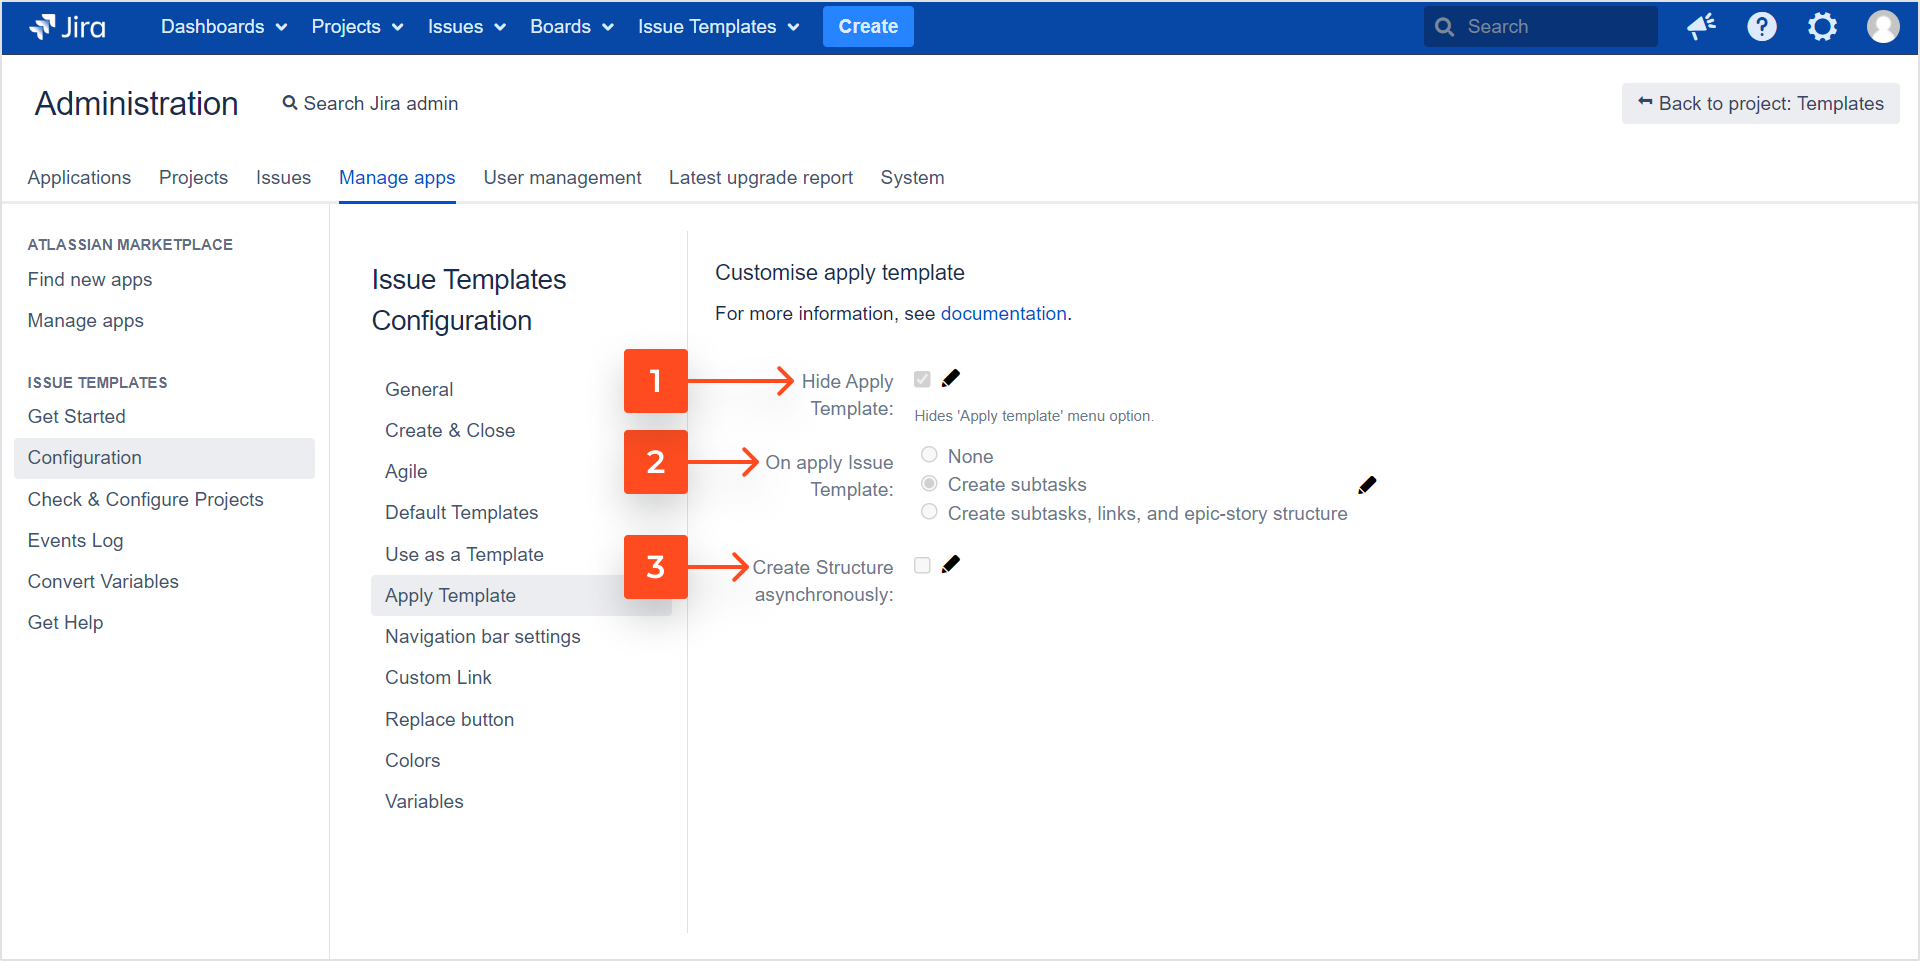
Here you can configure global settings for the Apply template feature.
- Before you start, check the template’s Set of fields tab. If you leave an empty value there, nothing will be populated.
- Remember to add the Template custom field to the Edit issue screen in your target project’s settings.
- Hide Apply Template: If checked, the Apply template navigation item will be hidden from the More menu in the issue view.
- On apply Issue Template: Choose which parts of the structure should be created when using the Apply template feature.
- Create Structure asynchronously: Check this box to always apply a template that has a larger structure of issues asynchronously. This will help you avoid a Jira session timeout. All the linked issues will be created one by one in the background.
To learn more about creating issues asynchronously, see Execute post function asynchronously.
Navigation bar settings
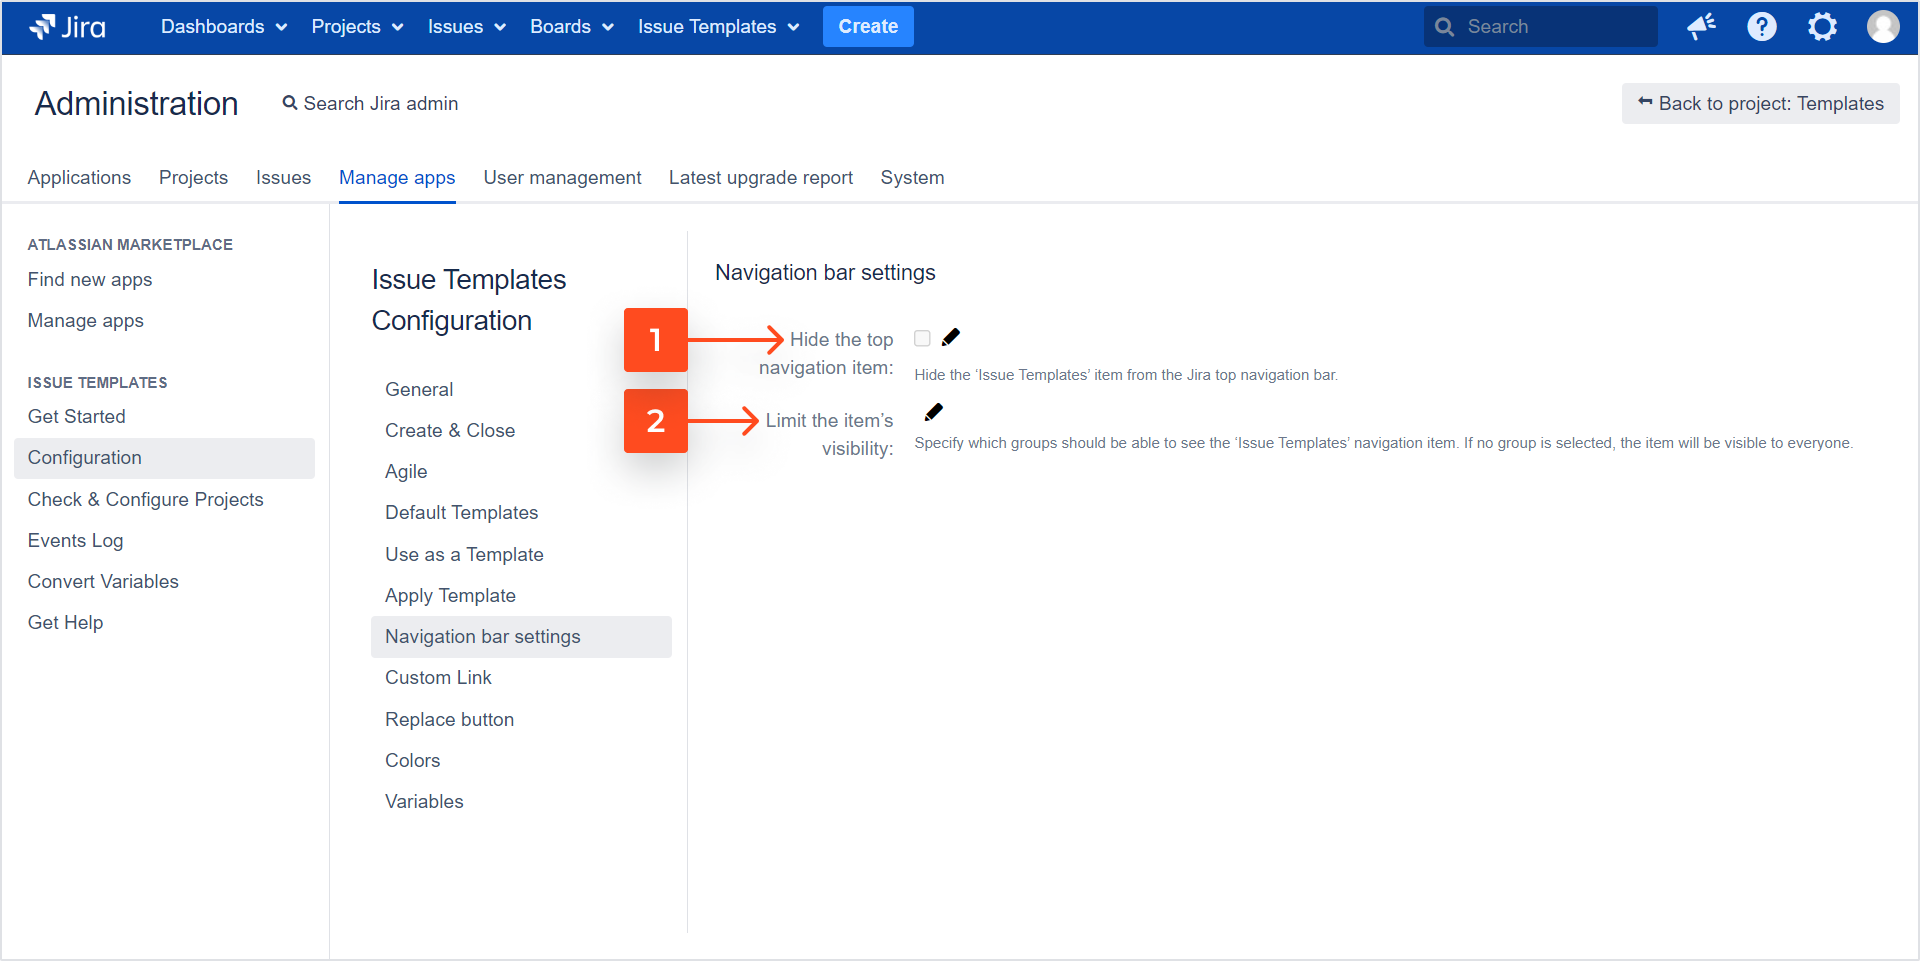
You can define the visibility of the Issue Template navigation item which is added by default to Jira top navigation.
- Hide the top navigation item: If checked, the Issue Template navigation item will be hidden from the top Jira navigation.
- Limit the item’s visibility: Here you can limit the visibility of the Issue Template navigation item to selected Jira groups. Start typing to see a list of available groups.
Custom link
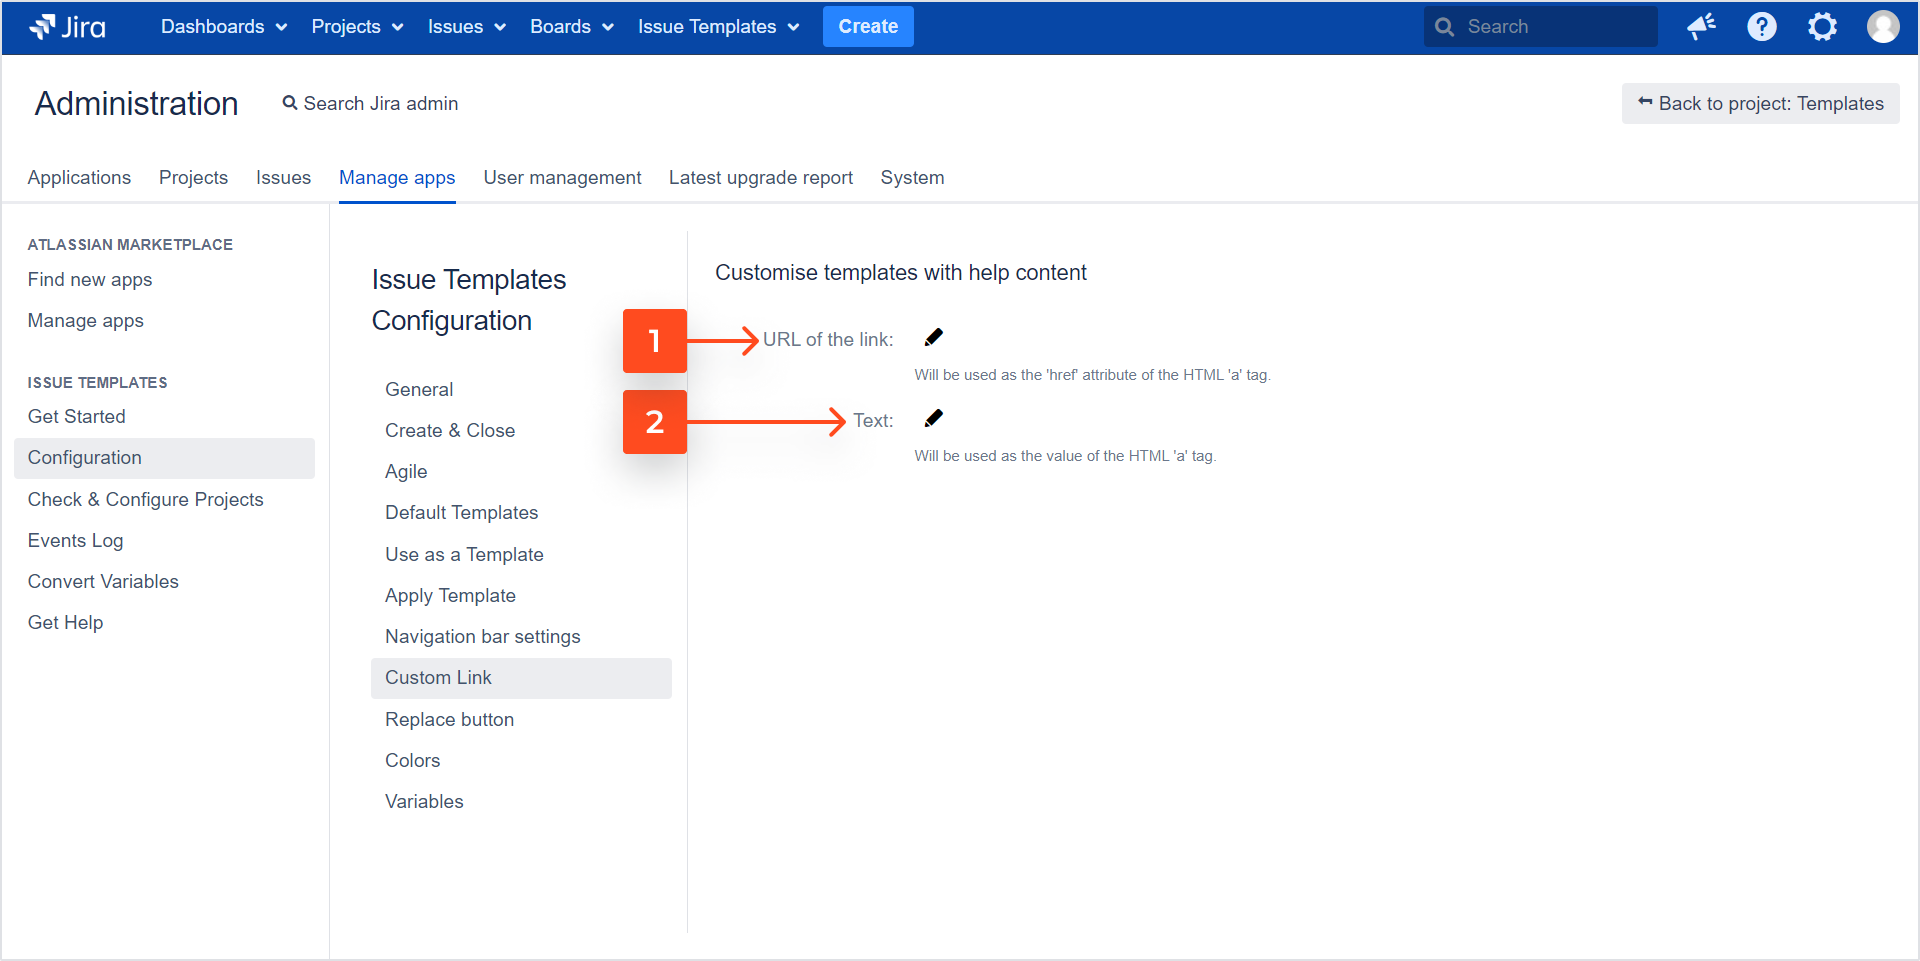
Here you can add a custom URL that will appear right under the Template custom field. It might be a link to a Confluence page, or any other information you wish to share with people that will select templates on the screen.
- URL of the link: Type in or paste the full URL.
- Text: This text will be displayed under the Template field. People will open the URL by clicking it.
Replace button
Here you can change the label on the Replace values in fields button that appears on the screen when variables are applied.
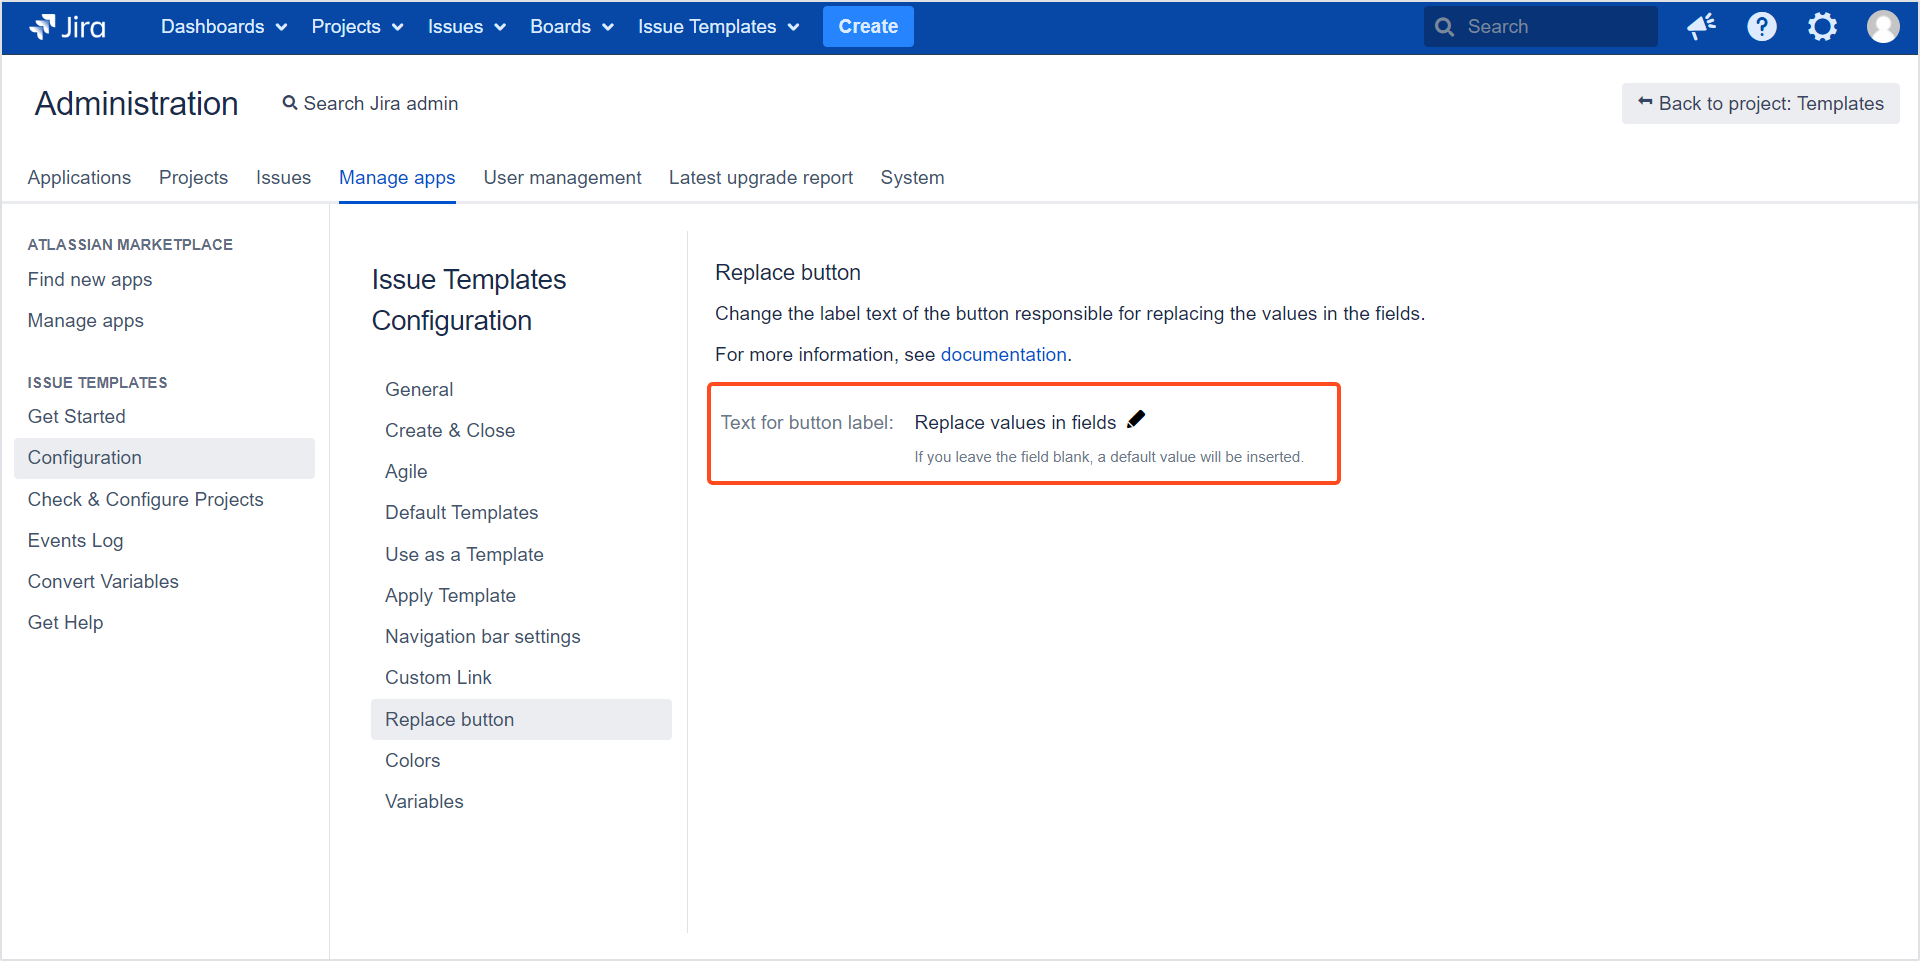
It’s possible to switch off the Replace values in fields button and automatically replace all variables with provided values. See the Variables section for more details.
Colors
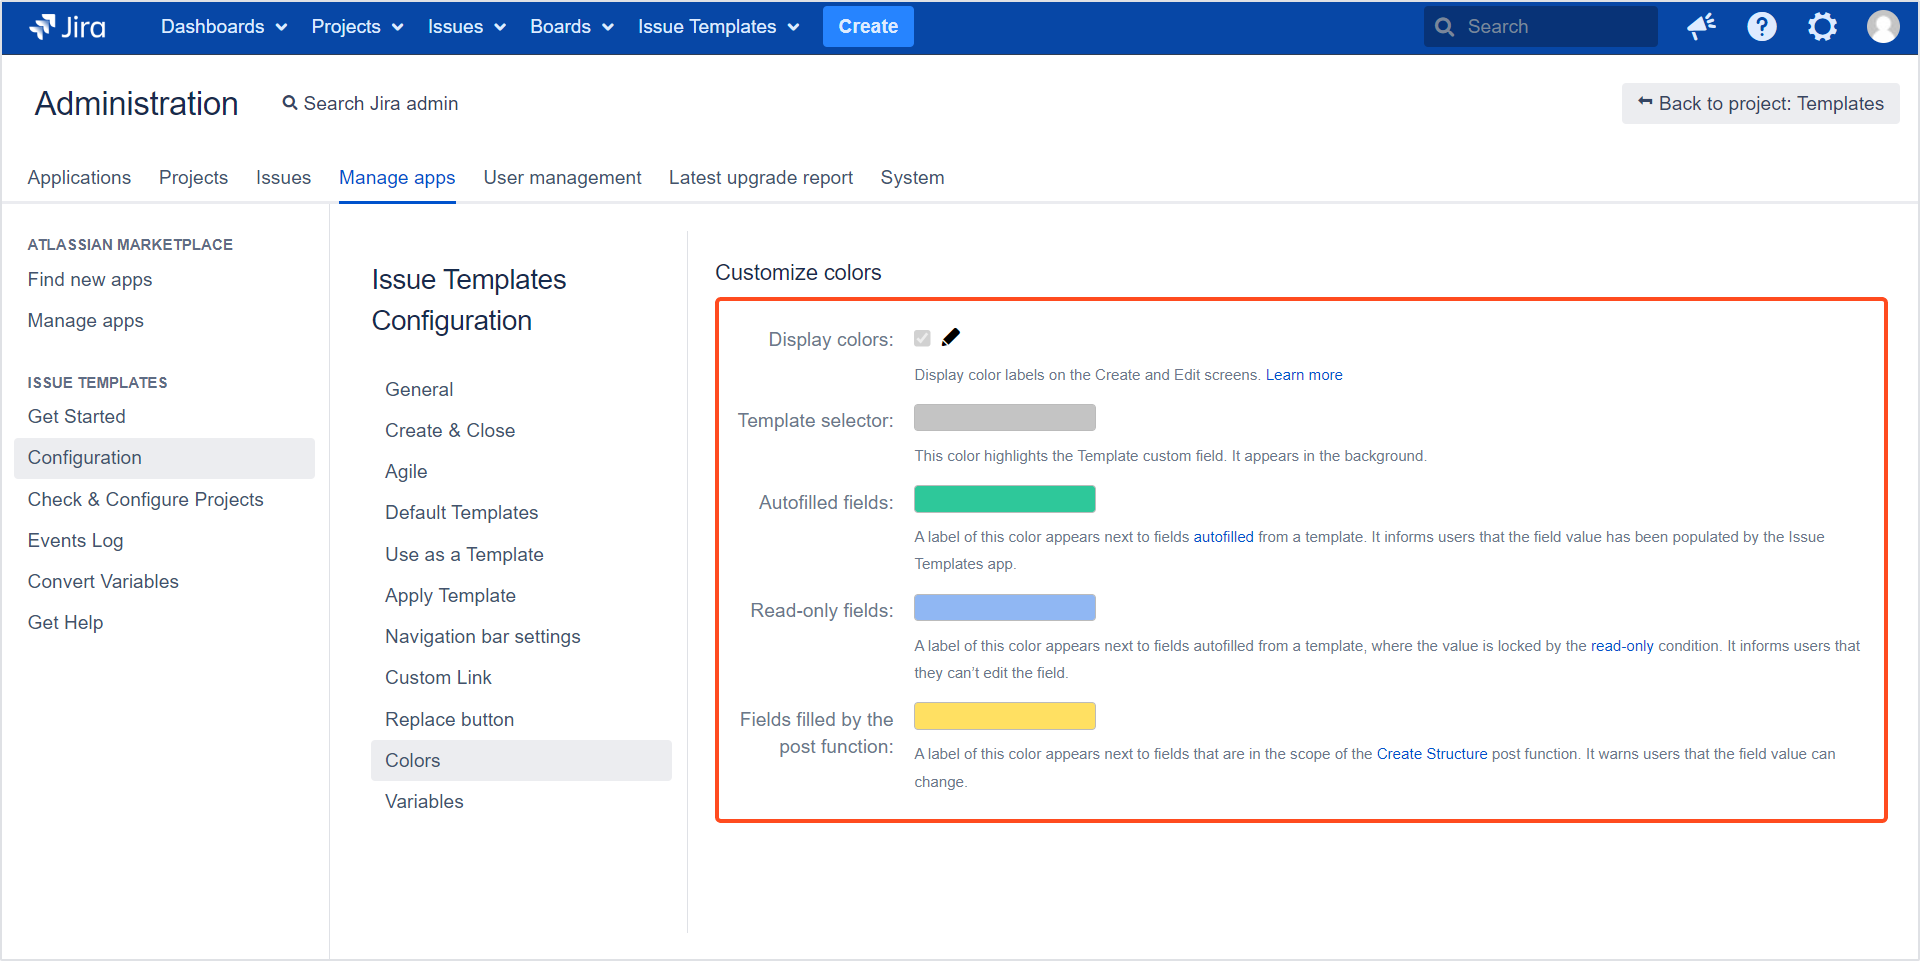
Issue Templates adds color markings to fields included in the template’s scope. You’ll find all the information about the configuration in the Colors chapter.
Variables
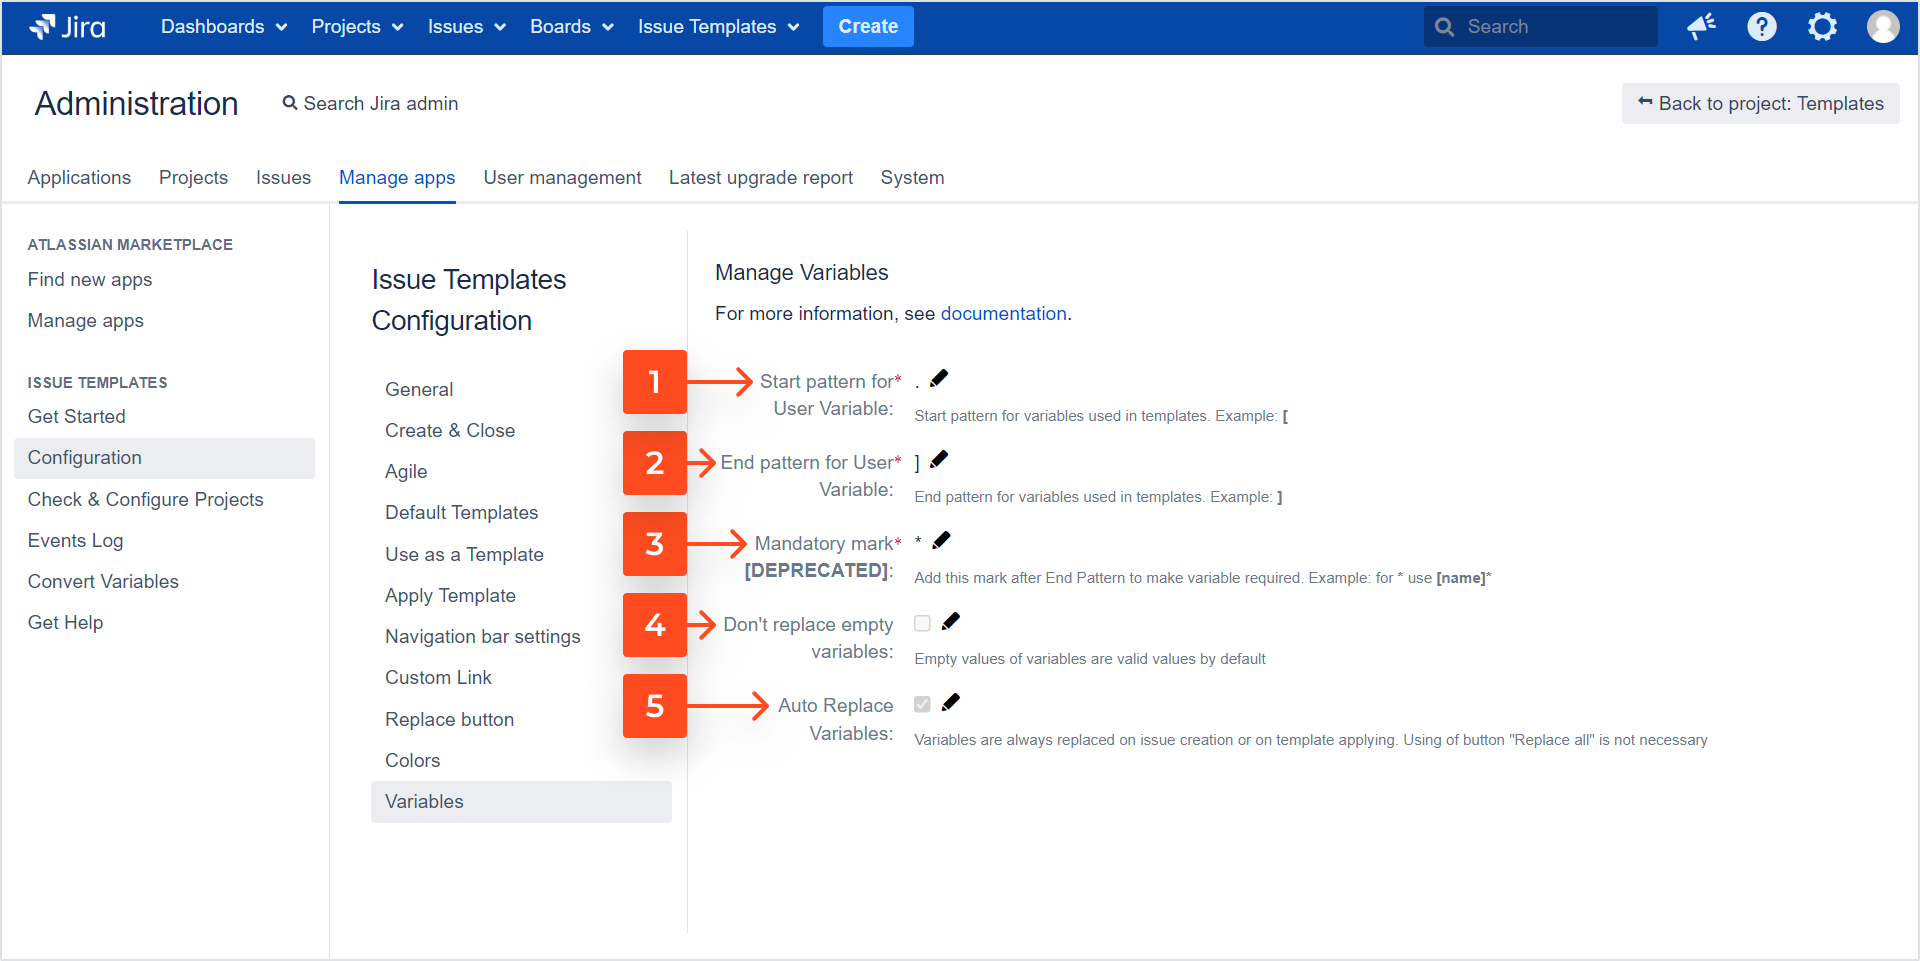
This section lets you define settings that apply to all variables across Jira.
- Start pattern for User Variable: Here you can change the default opening sign that indicates a variable’s key. By default, it’s a left square bracket “[”).
- End pattern for User Variable: Here you can change the default closing sign that indicates a variable’s key. By default, it’s a right square bracket “]”).
- Mandatory mark [DEPRECATED]: You can make a variable mandatory by adding an asterisk at the end of the key. This setting is deprecated.
- Don’t replace empty variables: By default, when users won’t type anything in the variable field, the app will save it anyway and show an empty space in the target issue. Check this box to prevent this, so that the variables’ keys won’t be replaced by any values.
- Auto Replace Variables: While using variables on the screen, people often have to click the Replace values in fields button. By checking this box, you can allow for skipping this step, so that users only have to click the Create button.
To configure particular variables, see the following chapters:
If you can’t find the answer you need in our documentation, raise a support request.
